
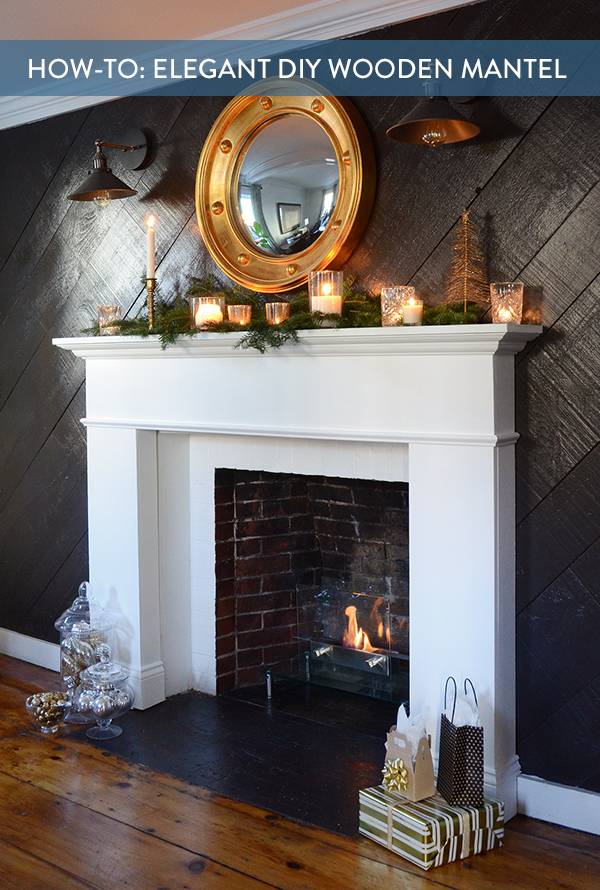
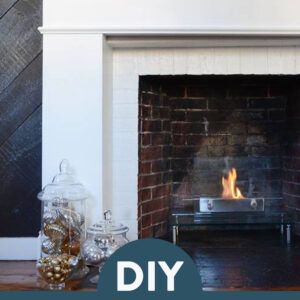
I recently tackled a big project for my dining room—a DIY wooden mantel for my brick fireplace—and today, I’m pretty excited to share the process with you. If you have a fireplace without much character, this DIY project might be the perfect solution for you. And let me be clear … I only have basic woodworking skills, so this is feasible for anybody with a bit of crafty know-how and a willingness to try. I’m starting with a brick fireplace, but the same process would apply to a framing an electric fireplace as well. Click through the tutorial to check out the new fireplace surround and fireplace mantel shelf.
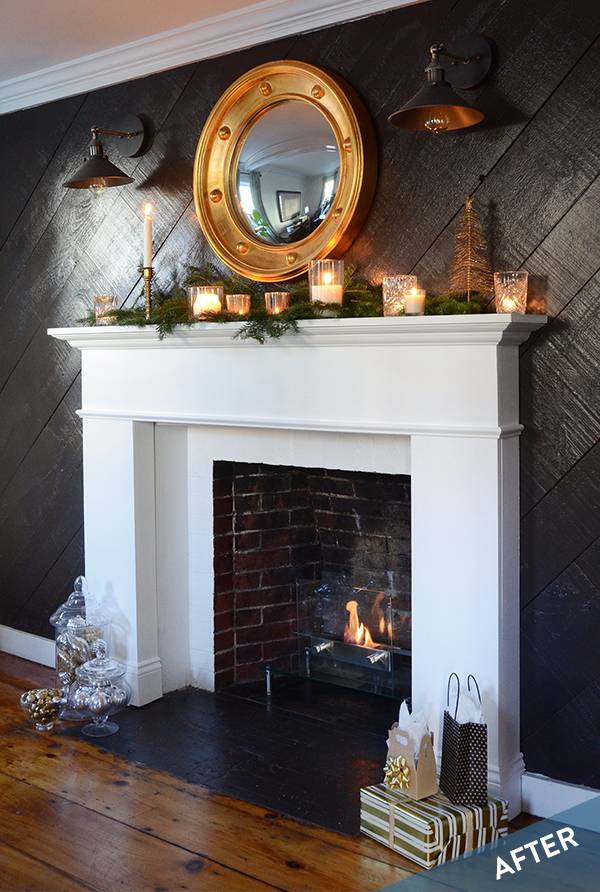
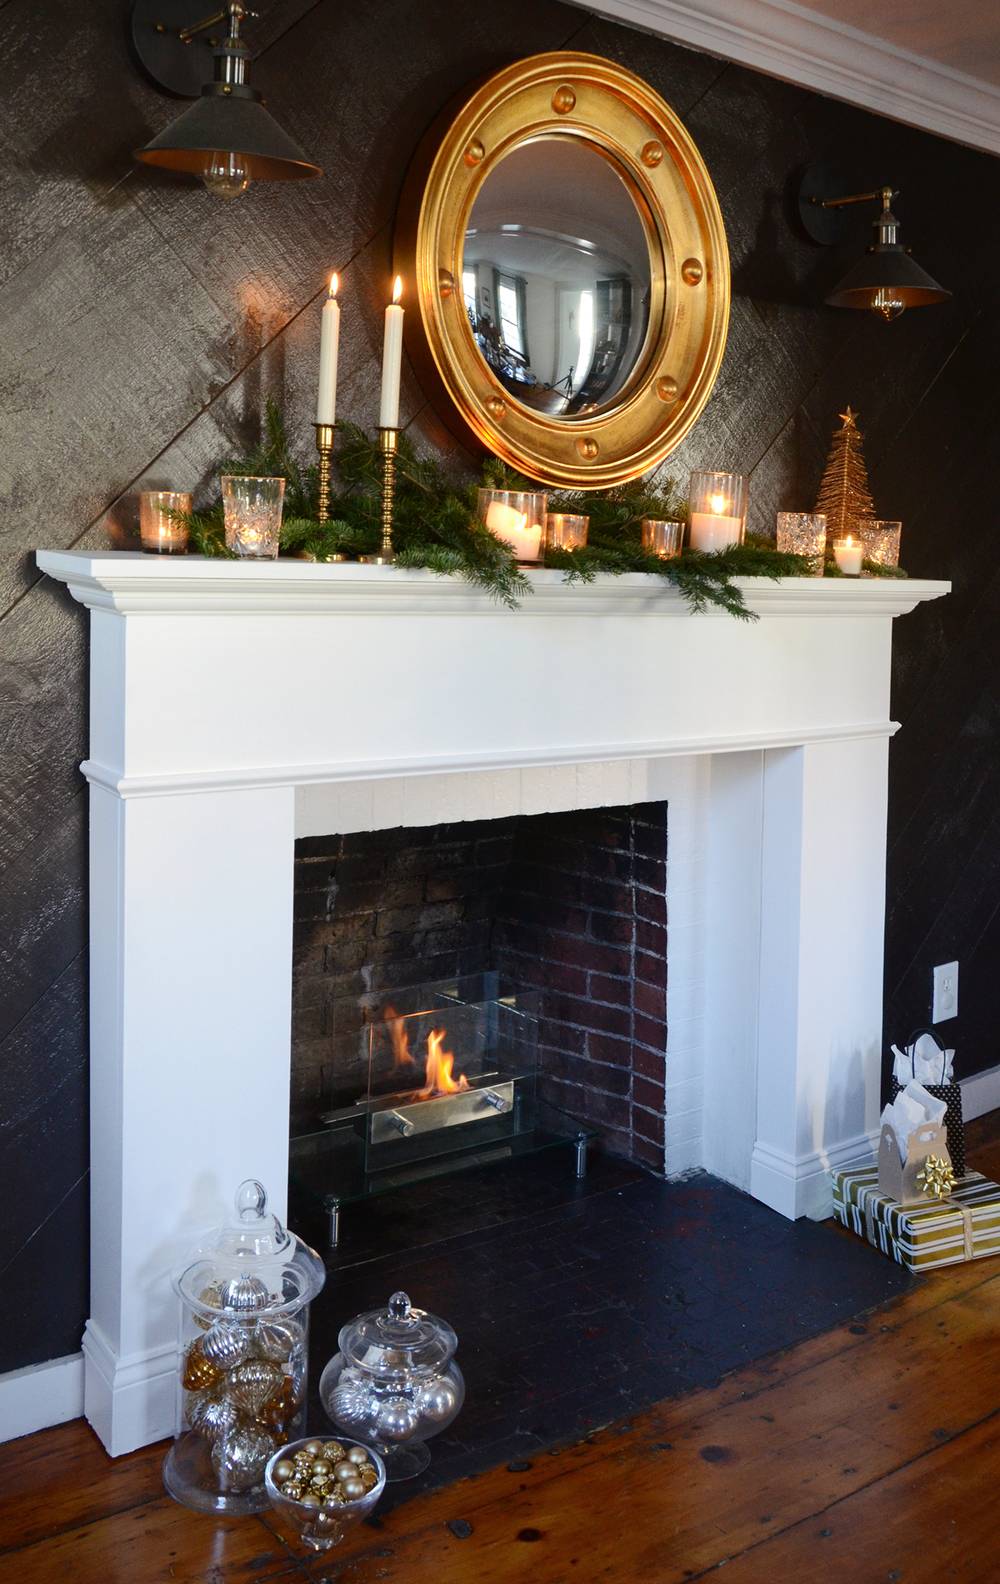
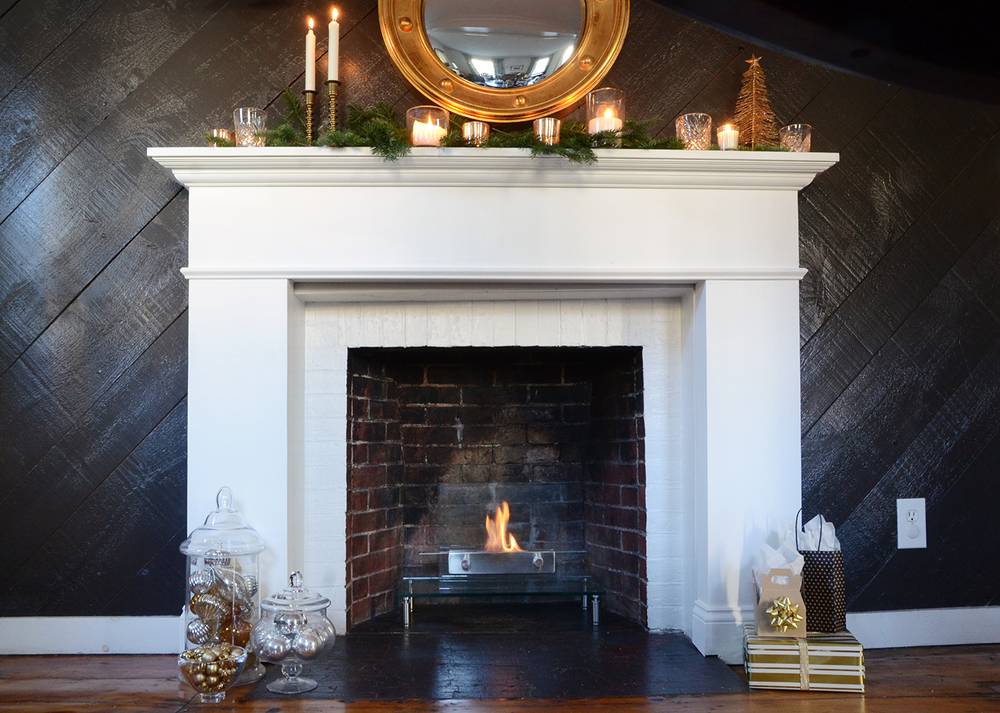
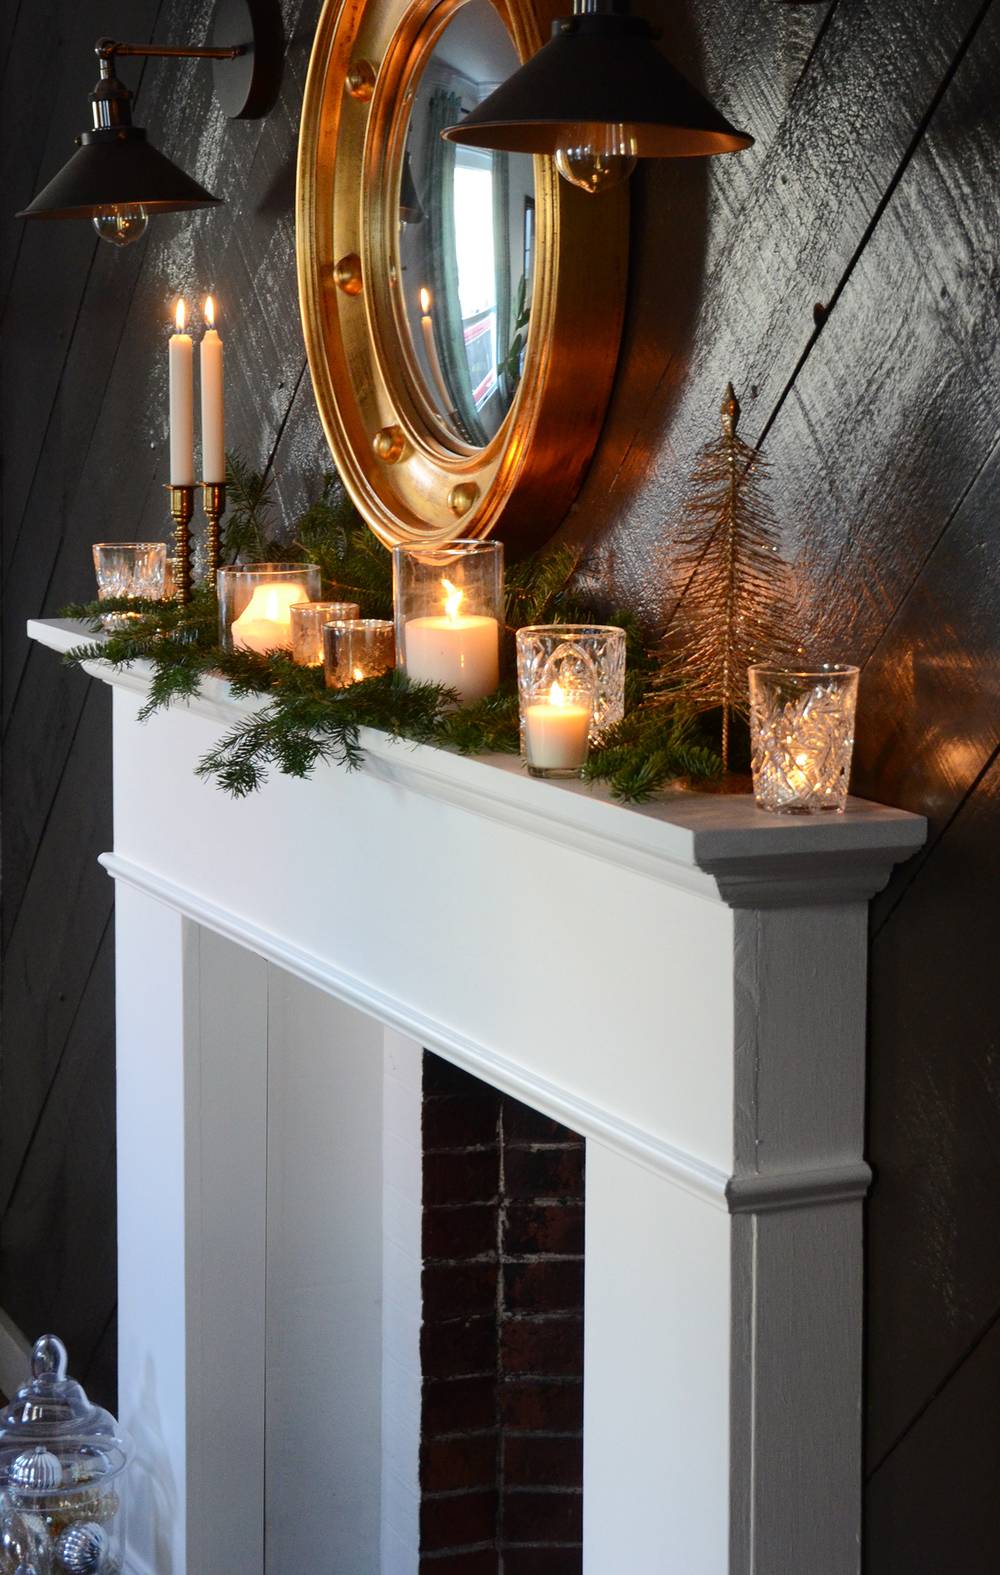
The mantel gives the fireplace more presence in the room, creating a beautiful focal point on which to add seasonal decorations. It also adds warmth and character to any living room. The dark accent wall has such a unique vibe that the tiny fireplace felt lost against it. Not anymore!
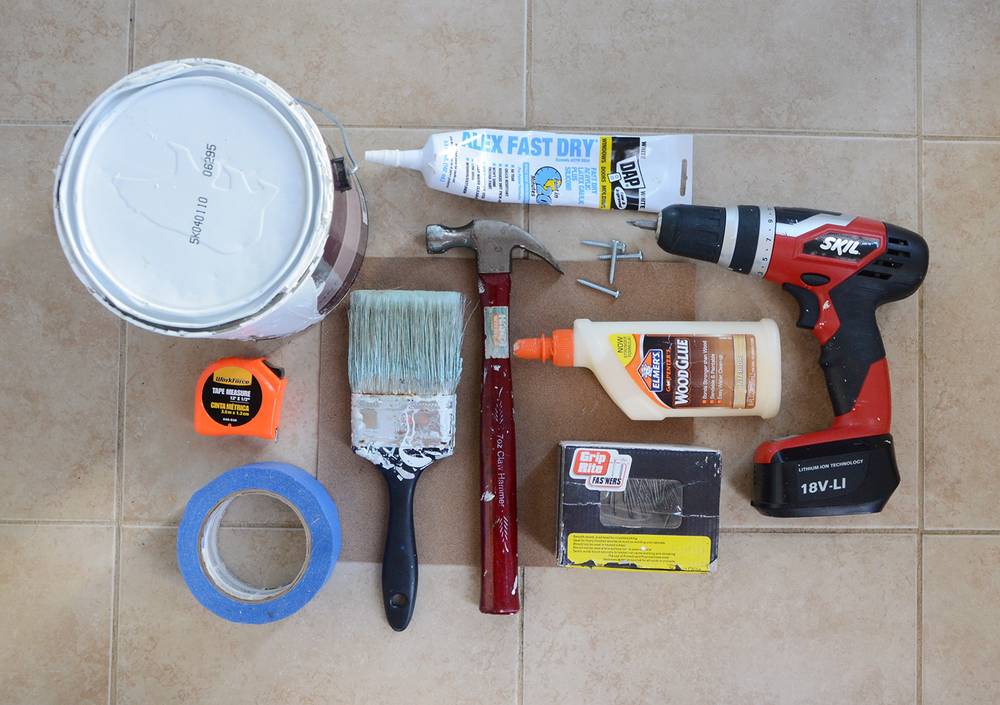
Here’s what you’ll need for this DIY fireplace mantel:
- Lumber (see below)
- White latex paint
- Tape measure
- Blue painter’s tape
- Paintbrush
- Hammer
- 1″ nails
- Awl (not pictured)
- Wood glue
- 5″ wood screws (not pictured)
- Electric screwdriver
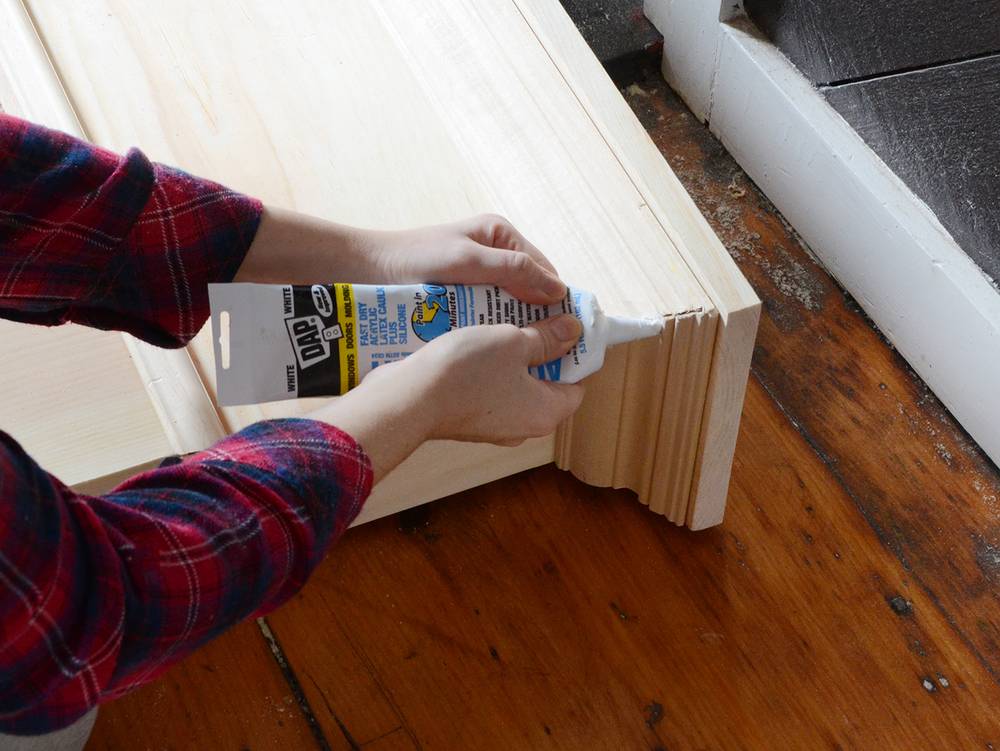
- DAP Alex Fast Dry Caulk
- Sandpaper
- Miter box (not pictured)
- Dremel Saw-Max or similar (not pictured)
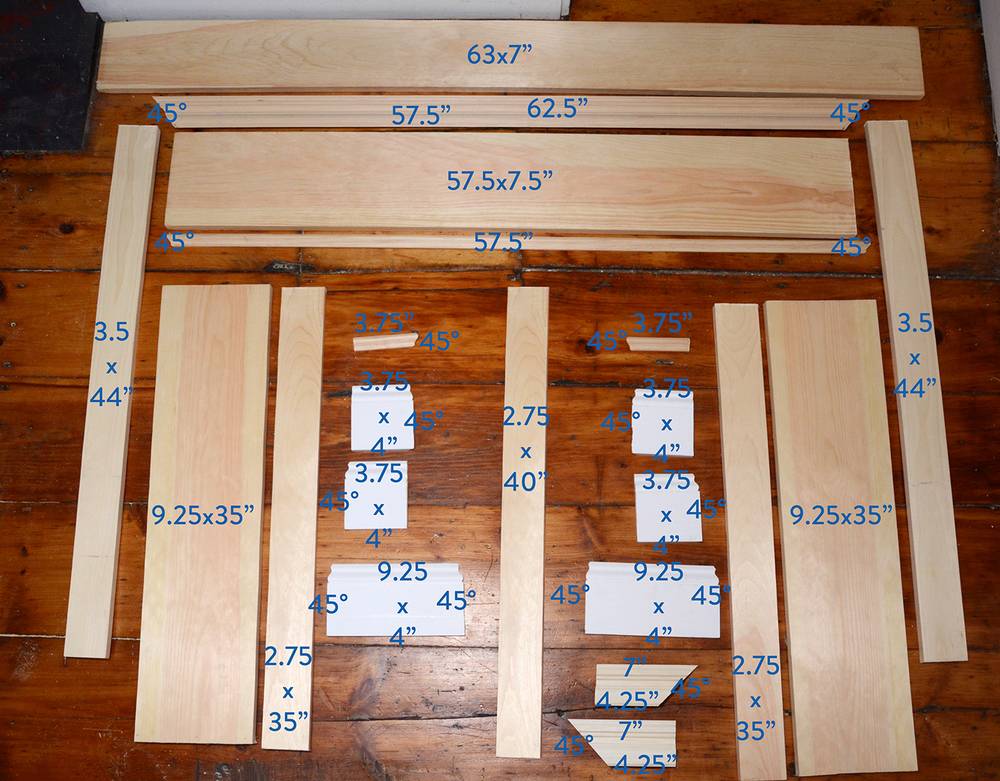
To begin the DIY mantel, start by cutting all of your wood. Please note that you may need to adjust the measurements if you already have existing trim around your fireplace or if it is much larger or smaller.
The larger moulding was 3″ wide when measured on the diagonal (since it is crown moulding) and the smaller moulding is 1″ wide. The measurements shown on the white pieces are taken on the top and side (so the bottom measurement will be longer due to the 45-degree angle cut).
Make sure to account for about 1/8″ that will turn into sawdust when you make your cuts. Use the miter box to cut all of the angles that are noted with a 45° above.
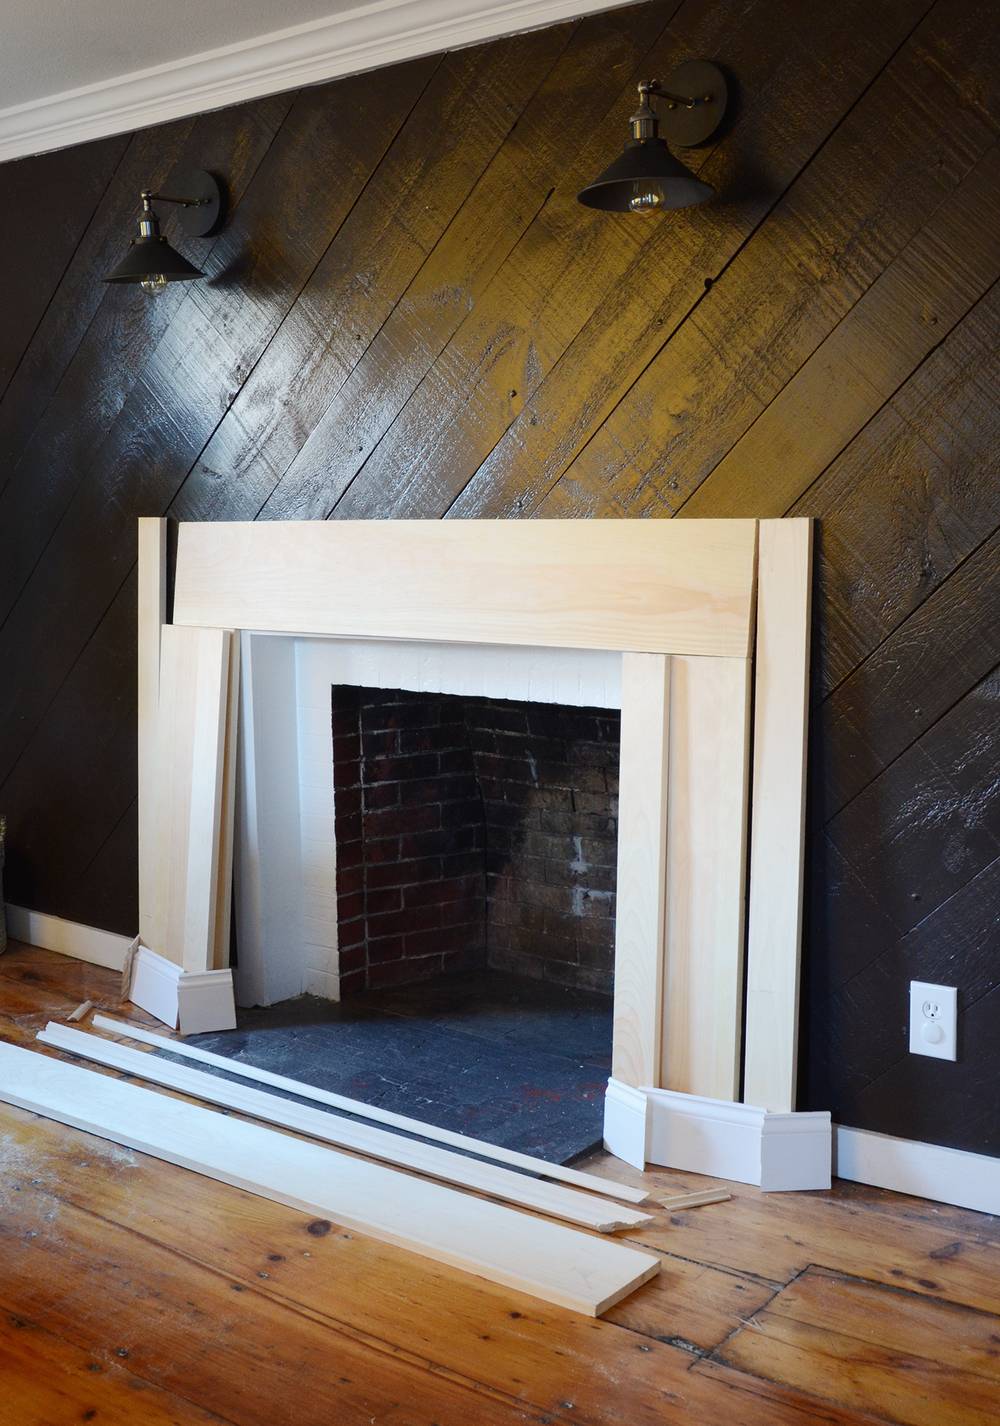
Here’s some of the lumber leaning against the wall (y’know, just lounging) to give you an idea of how everything will be laid out.
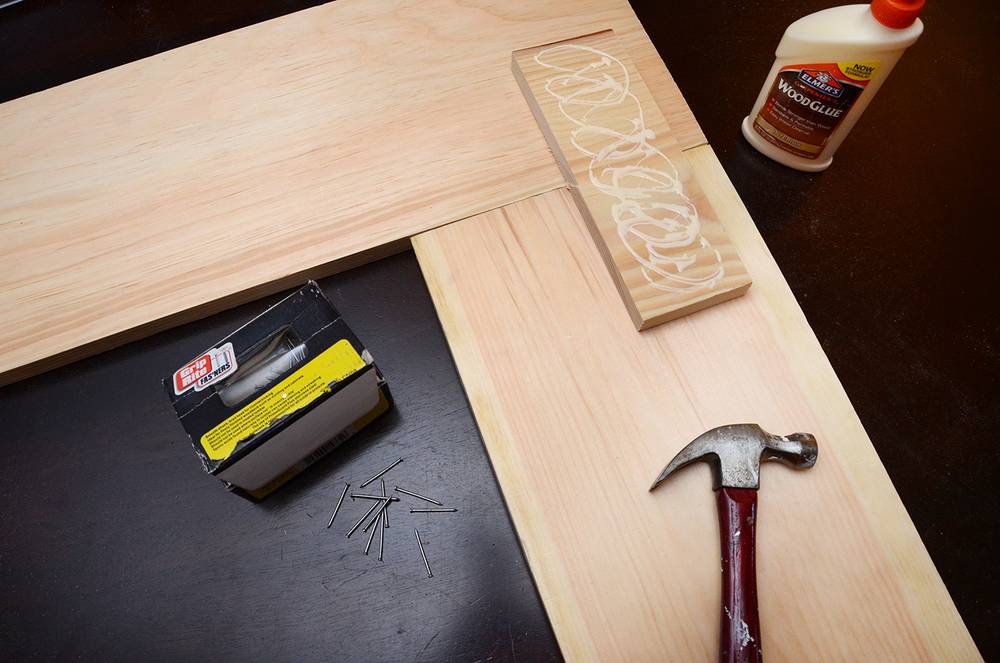
We’ll assemble the front face of the mantel first. Arrange the 57.5×7.5″ piece and the 35×9.25″ pieces as shown in the image below. Use two pieces of scrap wood (about 3×10″) to attach the pieces together. Apply wood glue to the back of it and then flip it over so it spans the distance between the two pieces. Hammer in two nails on each side as shown below, and then repeat for the opposite side of the mantel face.
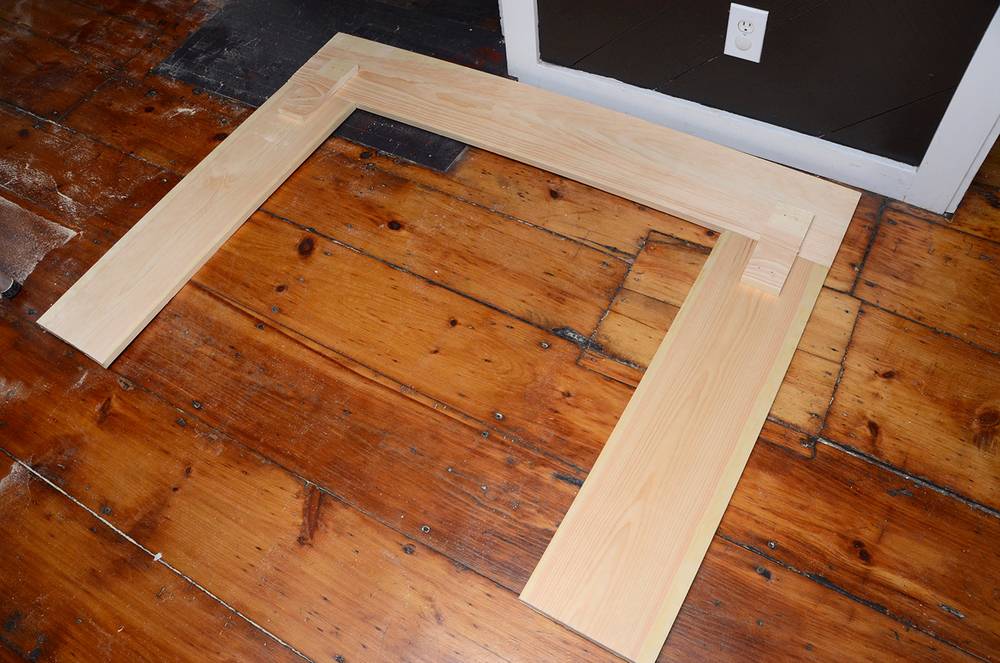
Next, lay out the side wood pieces. You’ll notice that some of my pieces have small notches in the corners – these are to compensate for the strange construction of our fireplace which was built back in 1830. I also made notches to accommodate for the moulding because I didn’t want to remove it for fear of ruining the accent wall. You may need to do this as well, but it will depend on your particular moulding.
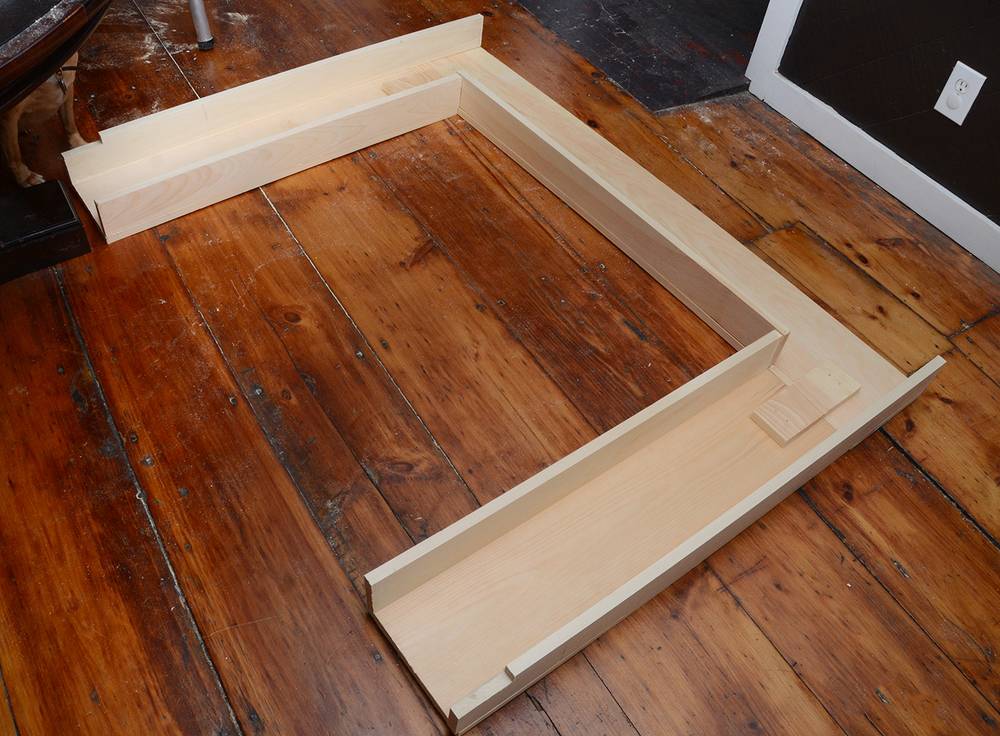
The 44×3.5″ pieces will go on the outsides, while the 35×2.75″ pieces will go on the inner parts of the sides. The 40×2.75″ will go horizontally between them. Glue everything in place and all them to dry for a couple of hours.
Flip the mantel over and glue the moulding down as shown below. You will need something to prop up the larger piece of moulding so that it does not fall off while it’s drying (I used a cardboard box).
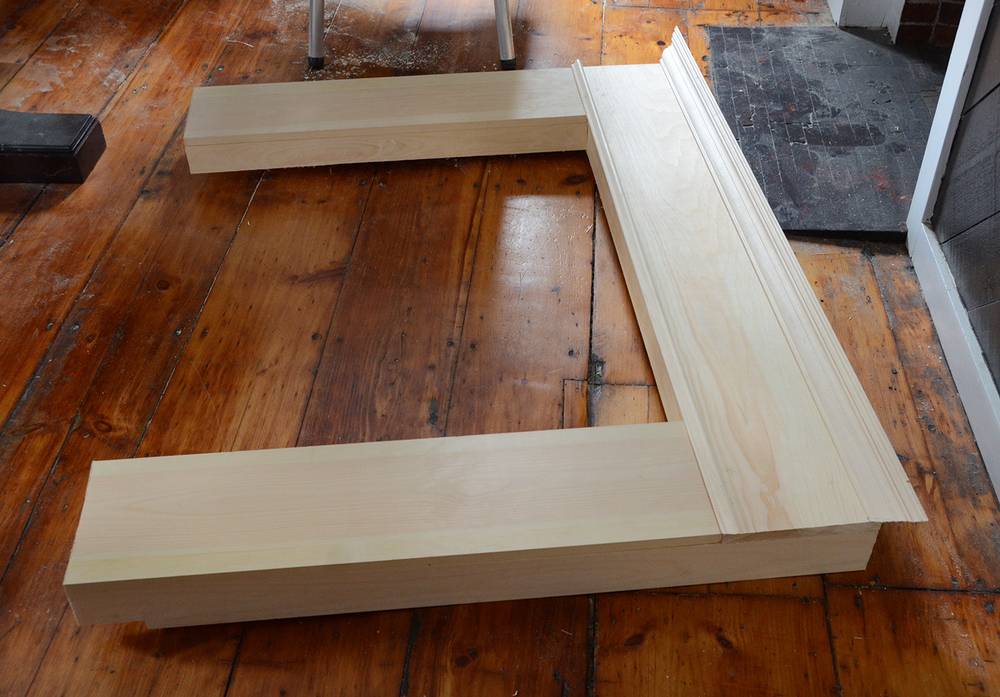
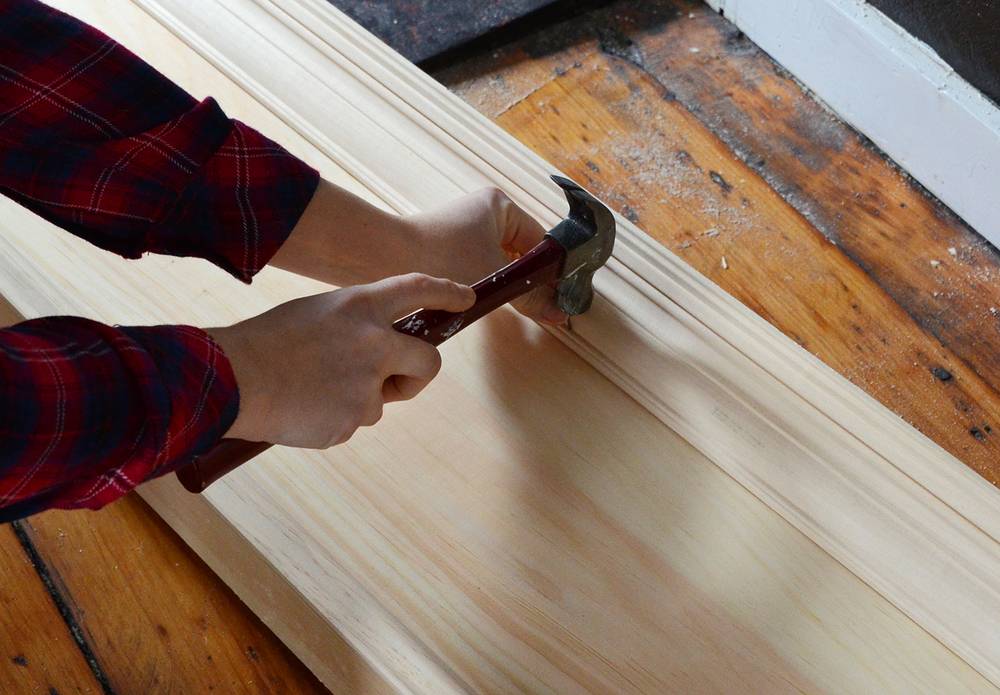
Hammer in a couple of nails along the bottom of the moulding to make sure that it is secure. Use an awl to ensure that it goes in all the way without denting the moulding with the hammer.
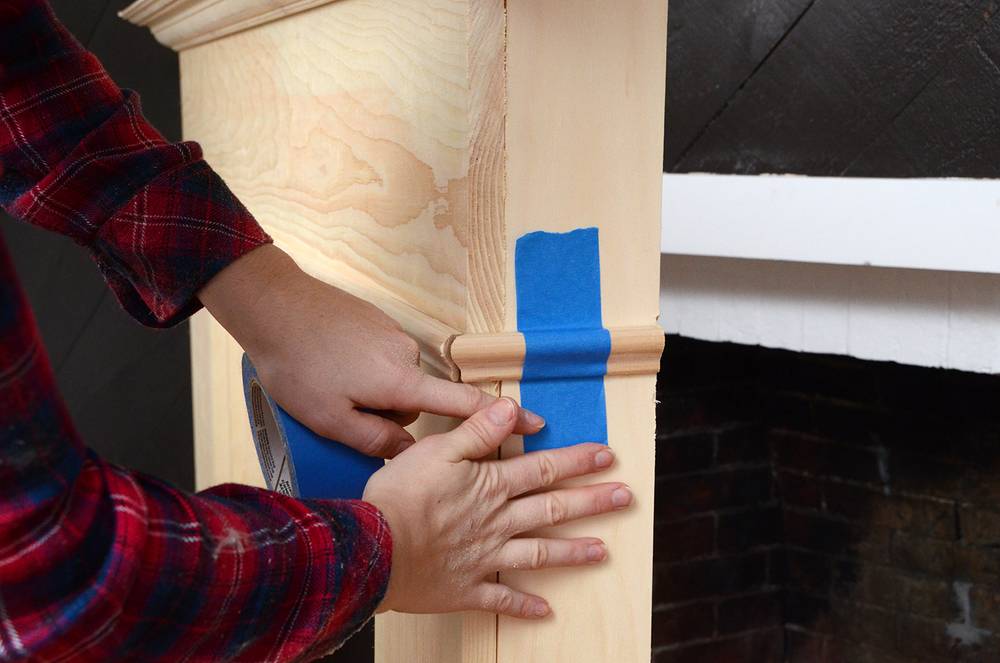
Move the mantel to an upright position. Apply the small pieces of moulding to each side and glue them in place. Use blue painter’s tape to keep them in place while they dry. This includes the moldings up by the top of the wood mantel, the one pictured, and the pieces around each base.
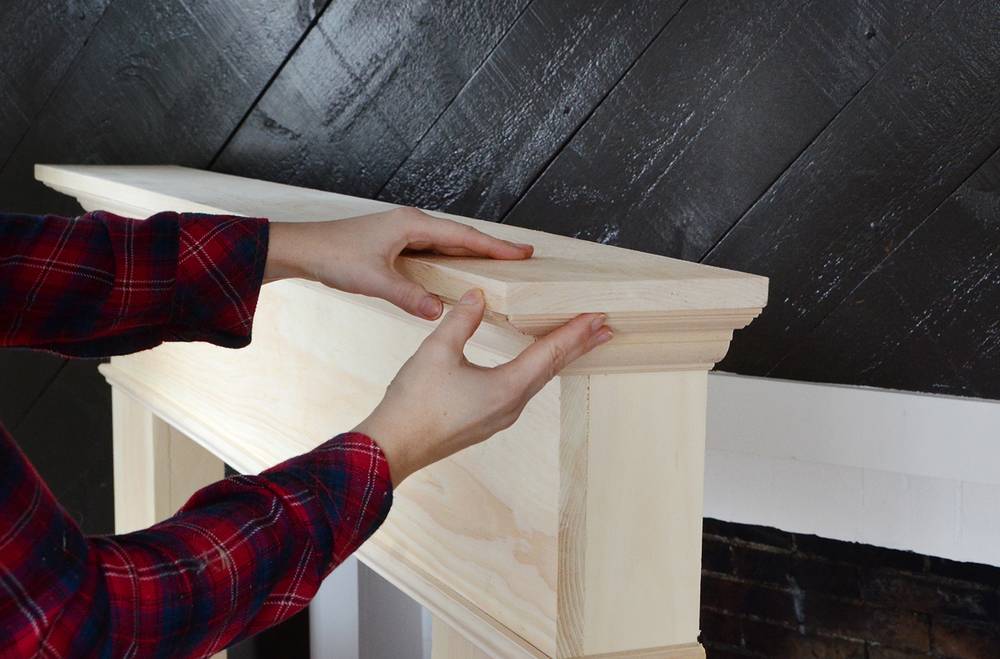
Now it’s time to put the top surface on. Attach it with a healthy dose of glue.
Sand everything thoroughly.
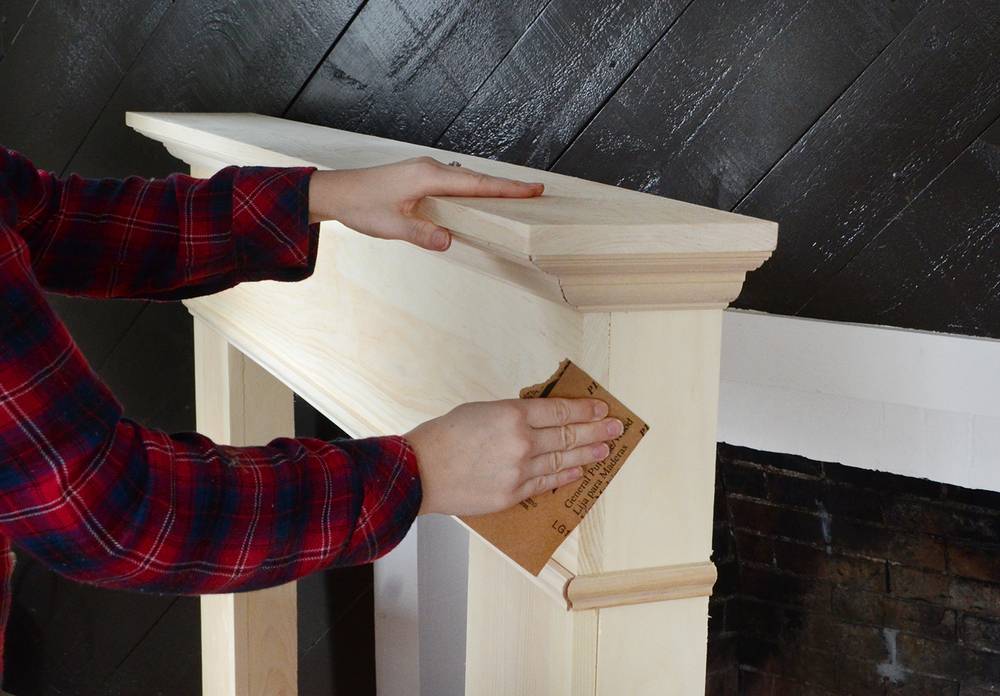
If there are any gaps between pieces that shouldn’t be there (mine were mostly in the corners), fill them in with the DAP caulk and smooth it out with a paper towel. Let it dry for half an hour.
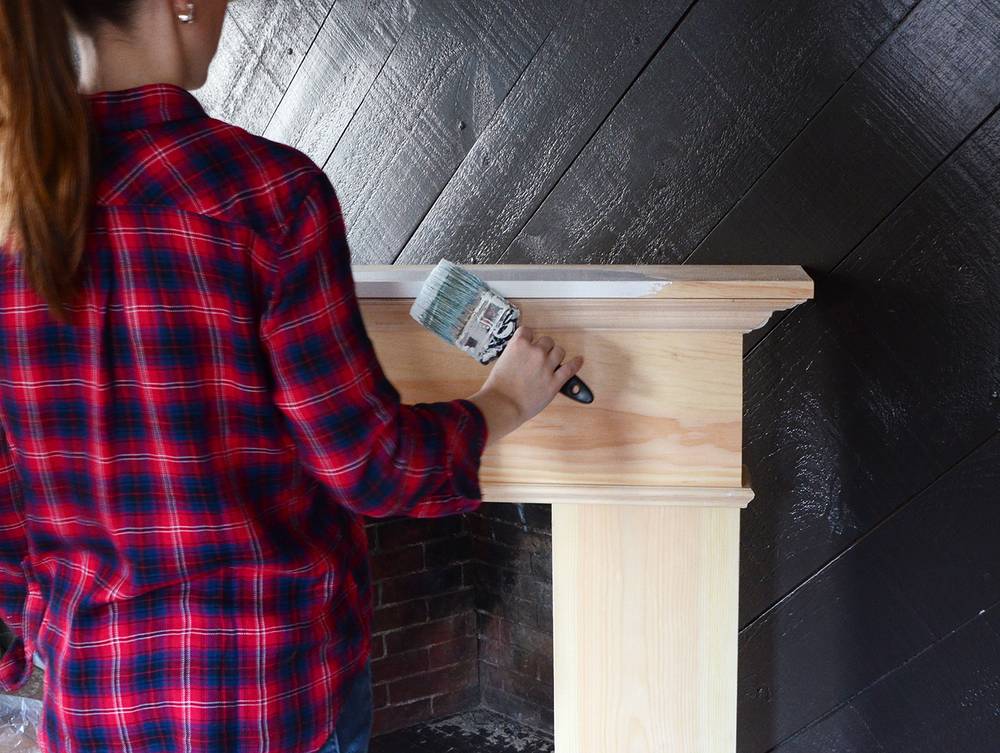
Now it’s time to paint! I used a basic white paint and primer combo from Behr. It will most likely take two coats because you’re painting bare wood … let it dry for a few hours in between coats.
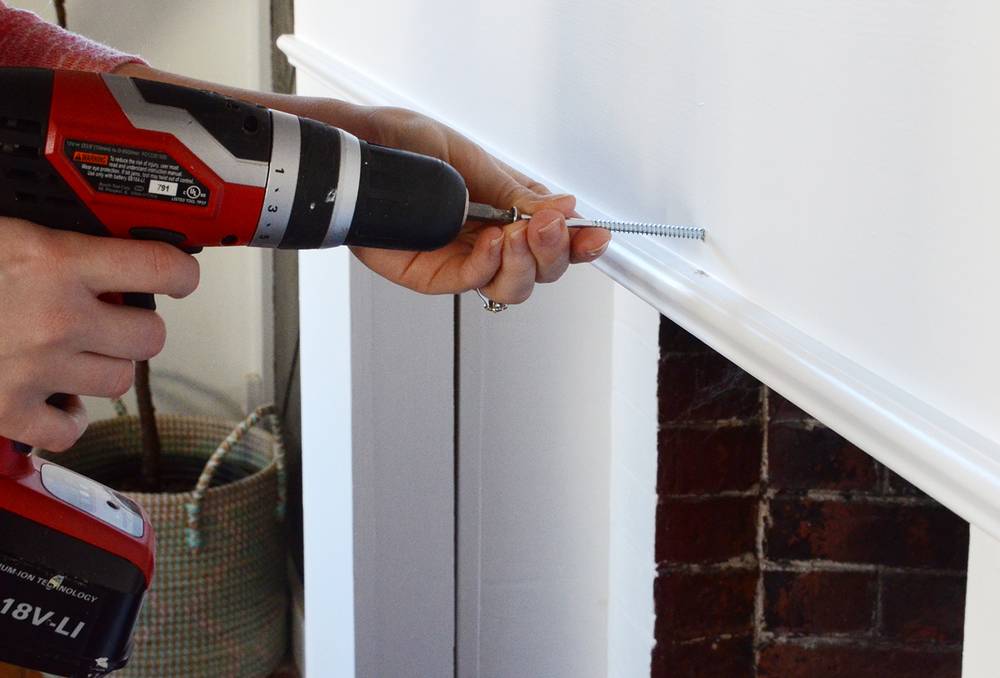
The final steps are to attach the mantel to the wall. Apply wood glue to every back surface that touches the wall, and then move it into place. Insert a couple of 5″ wood screws through the front of the mantel and into the wall behind. Screw them in so they are flush with the front surface. Cover them with DAP caulk, sand and touch up with a bit of paint. Let the glue dry for a couple of hours before you place anything on the new mantel.
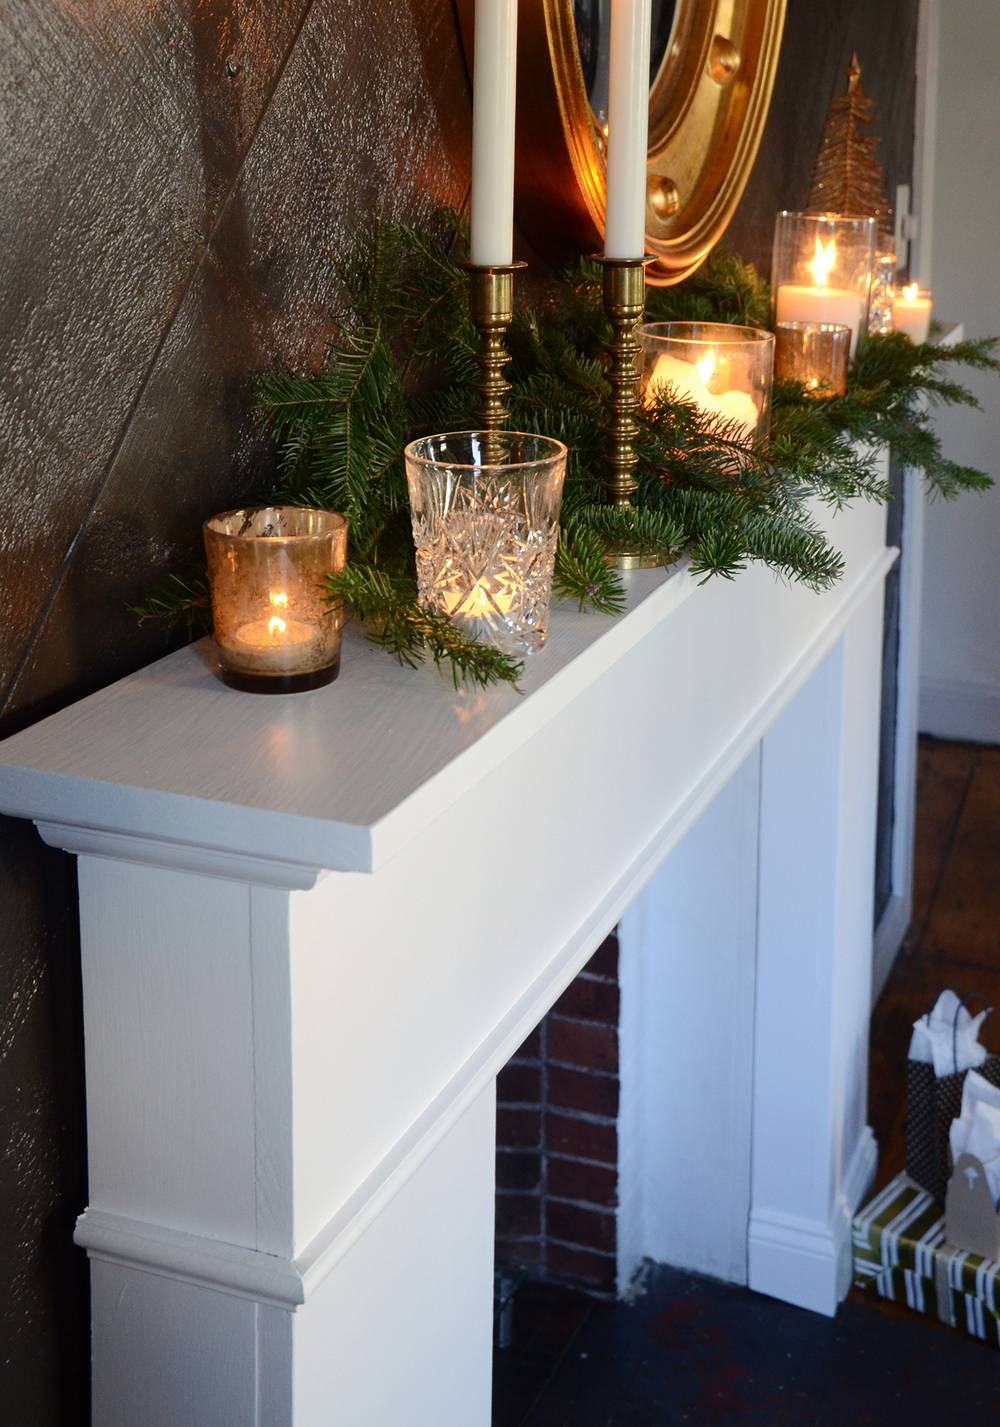
And you’re finished! It’s not the quickest project, but it makes such a huge difference. And now you can go decorate it for the holidays, which is pretty much the whole point of a mantel, right?!
You could even make one of these if you don’t have a fireplace at all, and attach it to a bare wall. Then you can get creative with the faux fireplace area inside (perhaps using an arrangement of candles).
There are lots of different types of moulding available too, so feel free to dress it up in any way you’d like.
You could also stain it instead of painting it if you prefer a more natural look.
Happy woodworking everyone!

Holy cow, Faith! This has to be the biggest project you’ve ever taken on, and you totally nailed it. Awesome job!
Wow! What a difference the fireplace surround makes. Keep on trying new challenges! I hope you ask Santa for more tools..my best Christmas gift ever was new table saw…..
@Chrisjob thanks so much! It was definitely a big undertaking, but I’m loving having a mantel to decorate 🙂
@Catherine thanks for your kind words! Yes, crafting and woodworking tools are always my favorite gifts 🙂