Ever since I built a mantel a couple of years ago, I’m always on the hunt for fun new ways to decorate it. So as I browsed the paper aisle at my local craft store, it hit me – a folded paper tree forest! I’m a big fan of non-traditional colors, so I bought a few of my favorites and got to work. Click through to check out the full tutorial.
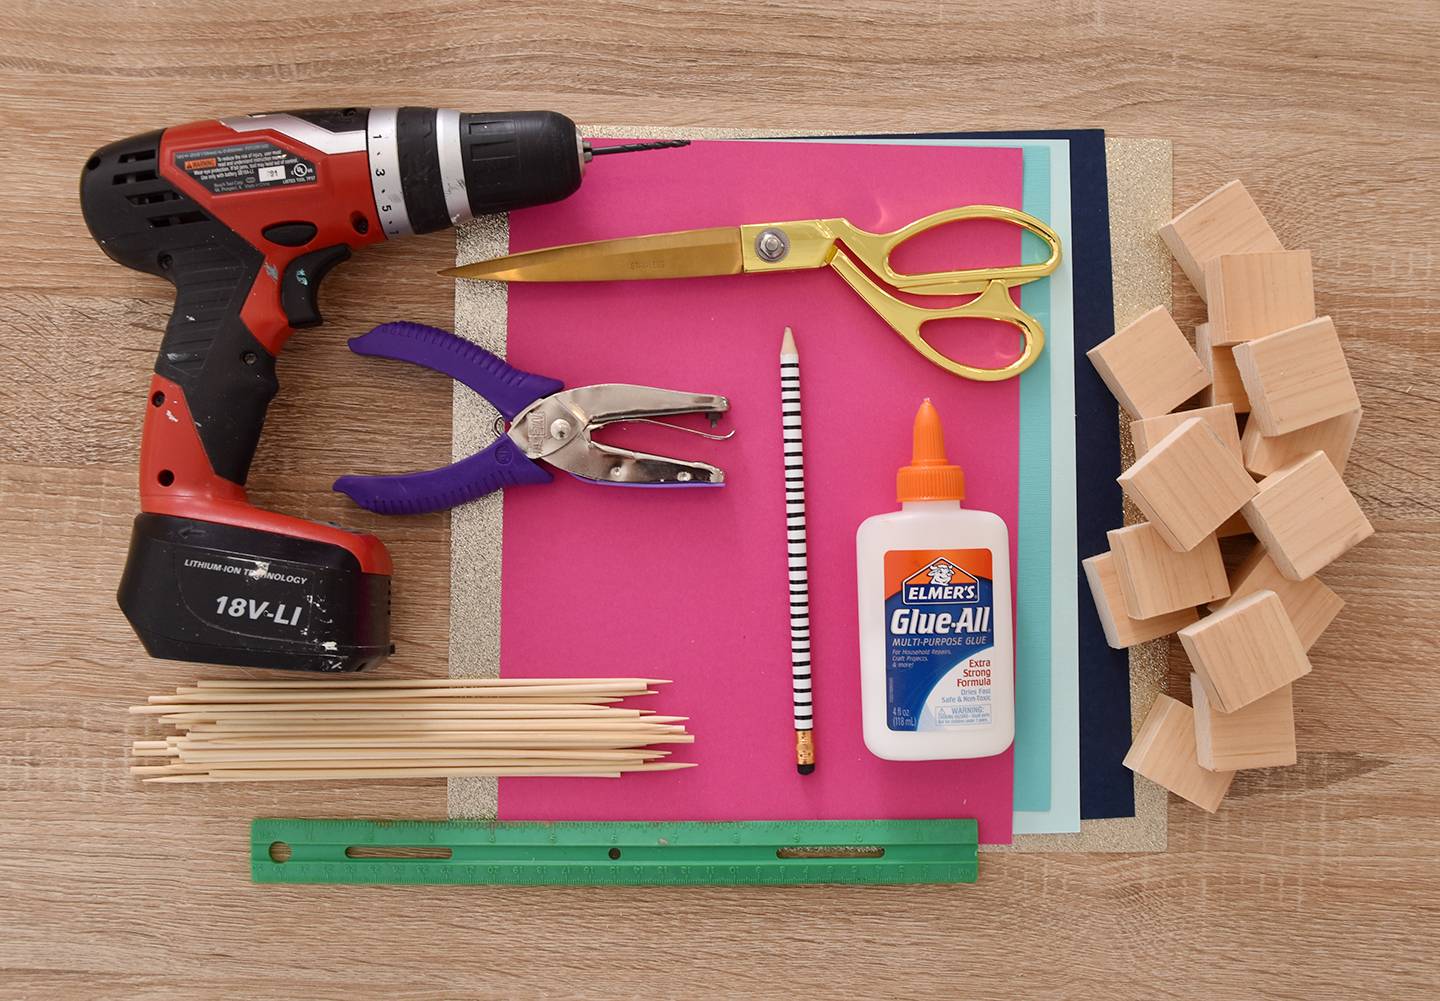
Materials
- Cardstock in assorted colors
- 8 inch wooden skewers, 1/8 inch diameter
- 1 1/2 x 1 1/2 x 3/4 inch pieces of wood for the bases
- Scissors
- Elmer’s Glue
- Pencil
- Ruler
- 1/8 inch hole punch
- Electric drill with 1/8 inch bit
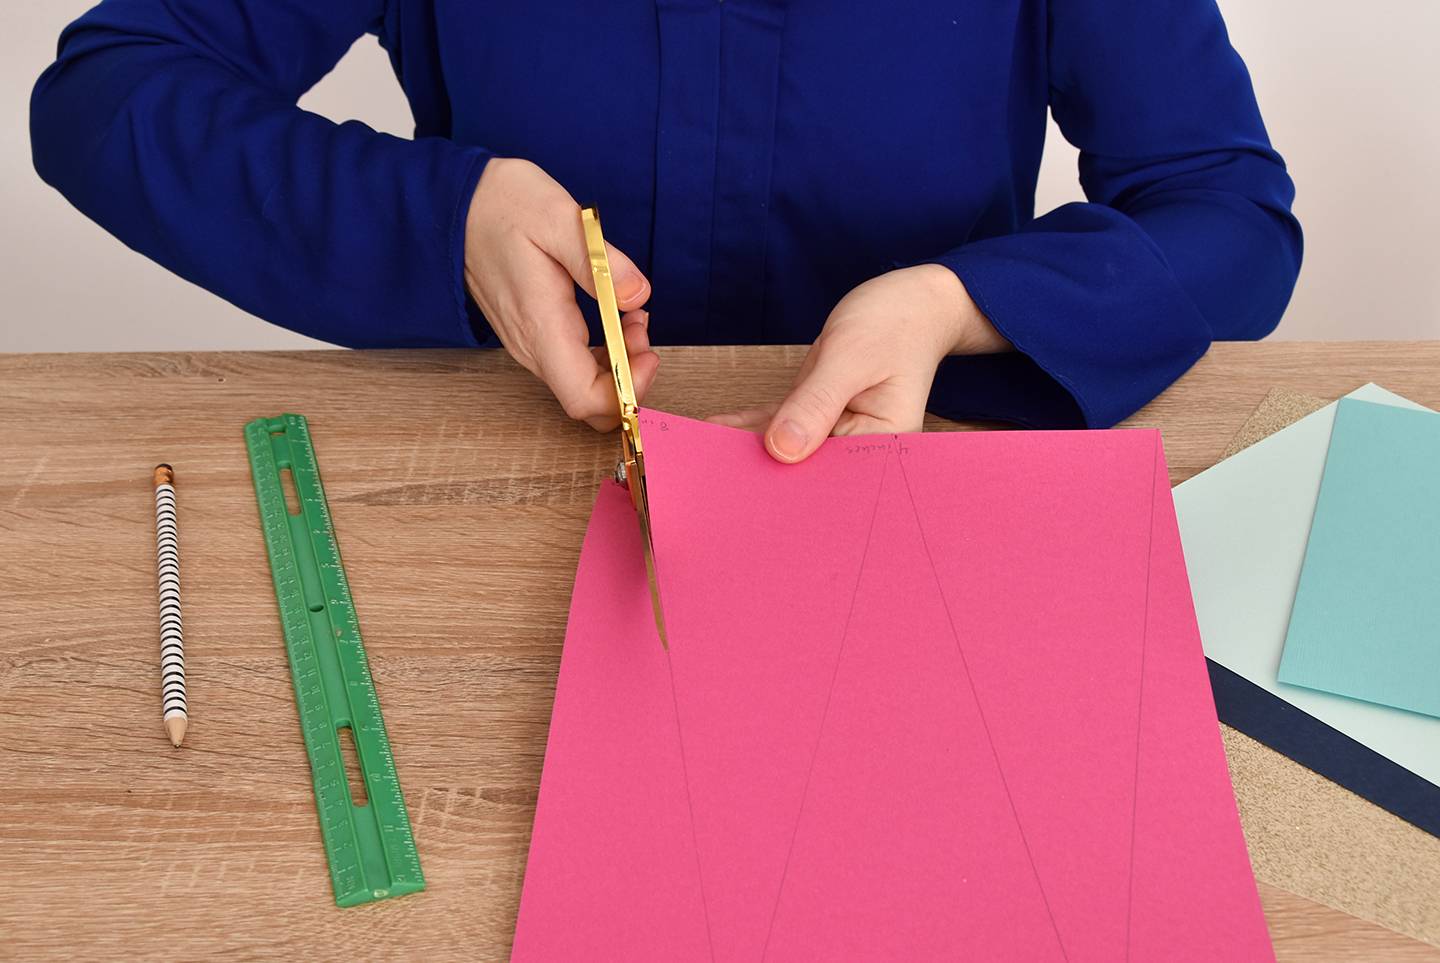
Step 1
Begin by drawing tall triangles on the back of a piece of cardstock. They should be about 4 inches wide at the bottom, so if you have an 8 1/2 x 11 inch piece of cardstock, then you should make a mark at the 4 inch point along the bottom edge, and at the 8 inch point. Along the top edge, make a mark at the 2 inch point and the 6 inch point. Connect the dots from top to bottom and then cut out the triangles.
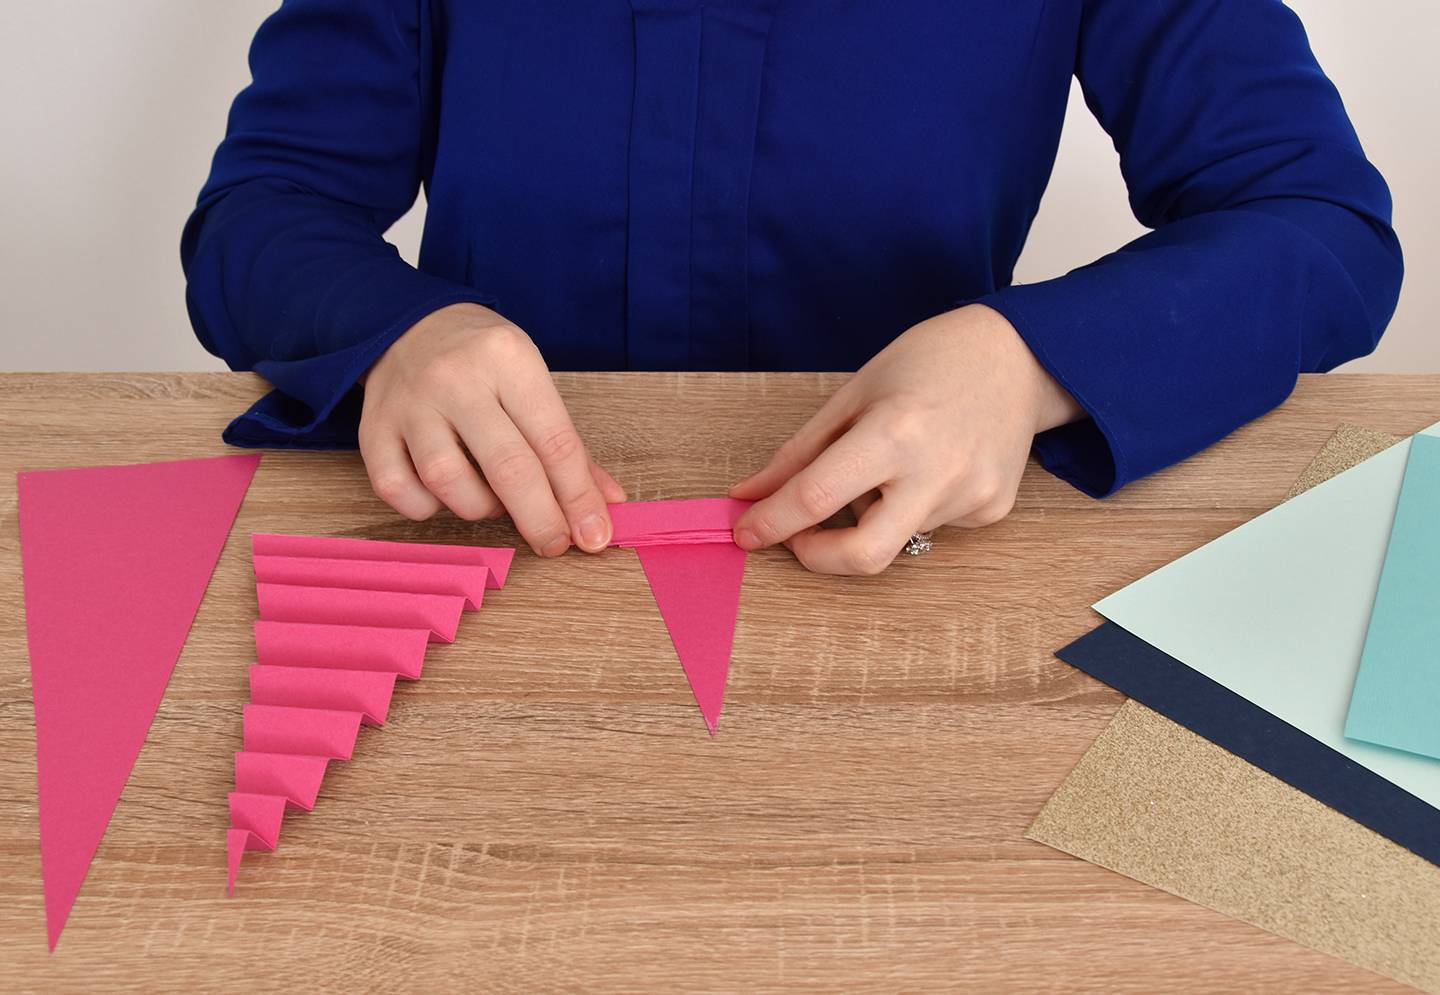
Step 2
Each piece of 8 1/2 x 11 inch paper should make 3 triangles. Fold them each accordion style as shown above, making sure that each fold is about 1/2 an inch wide. Repeat this process on all of your triangles.

Step 3
Next, punch a hole through the middle of the first couple of layers as shown above.
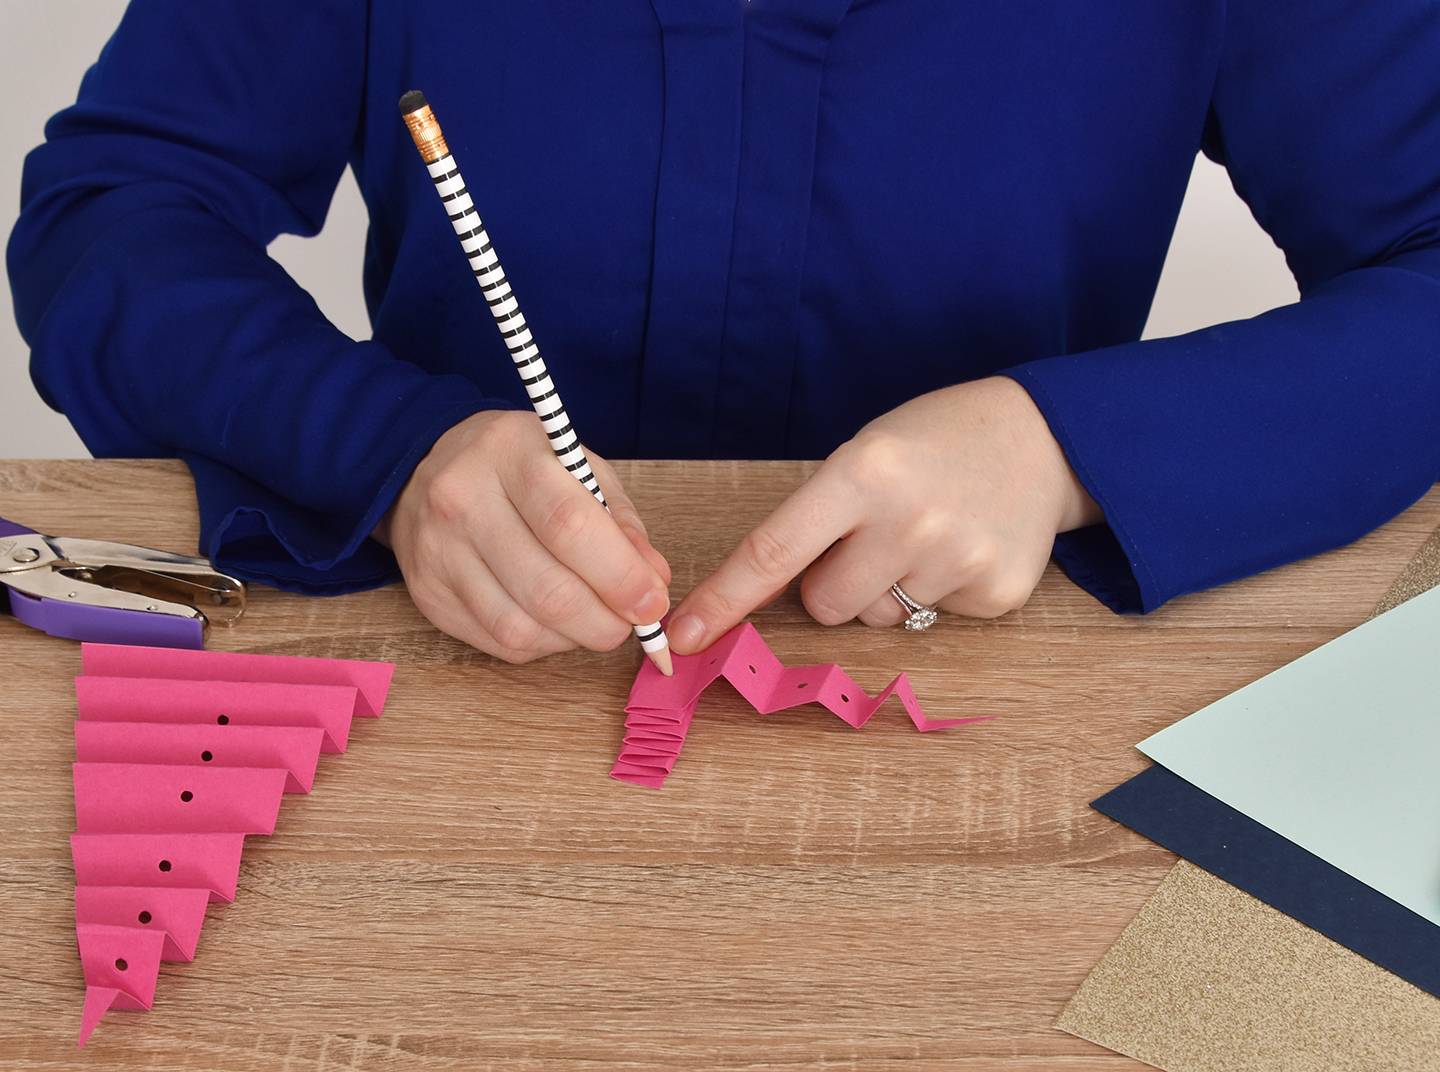
Step 4
Make a mark inside the lowest hole and then punch through that spot to make sure that all of the holes are centered. Repeat this until you have made holes through the entire tree.
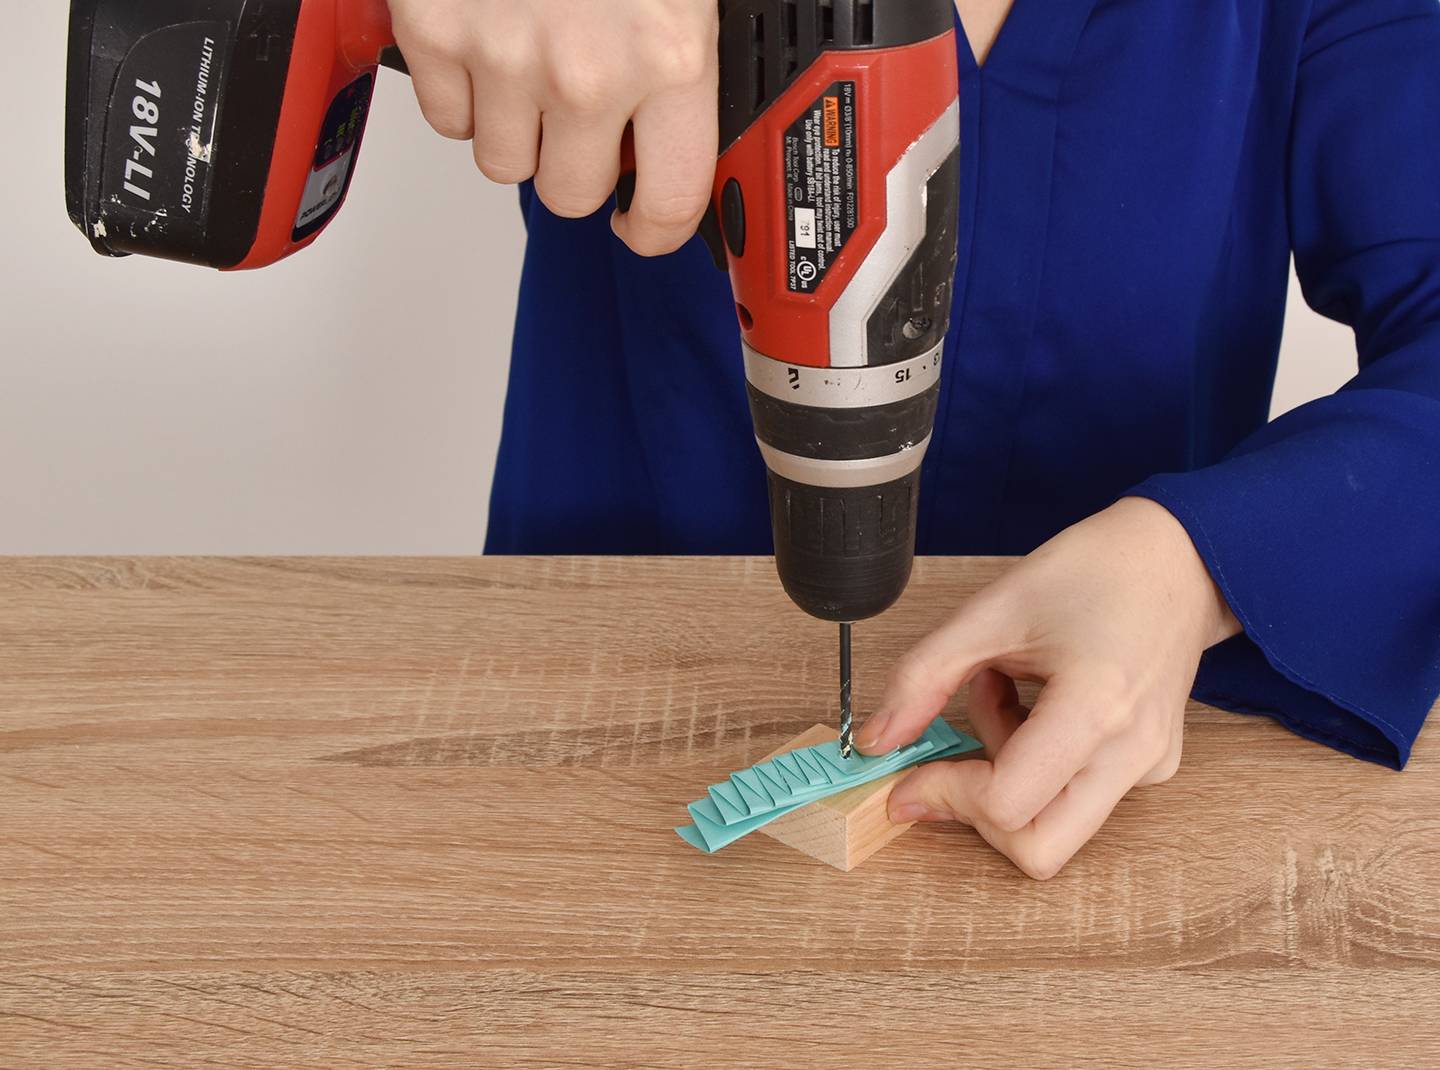
Alternate method: If you’re impatient like me, you may want to use your drill to make the holes instead. They do come out slightly ragged this way, however, whereas the hole punch method cuts very crisp holes. But it also takes much longer. You decide.
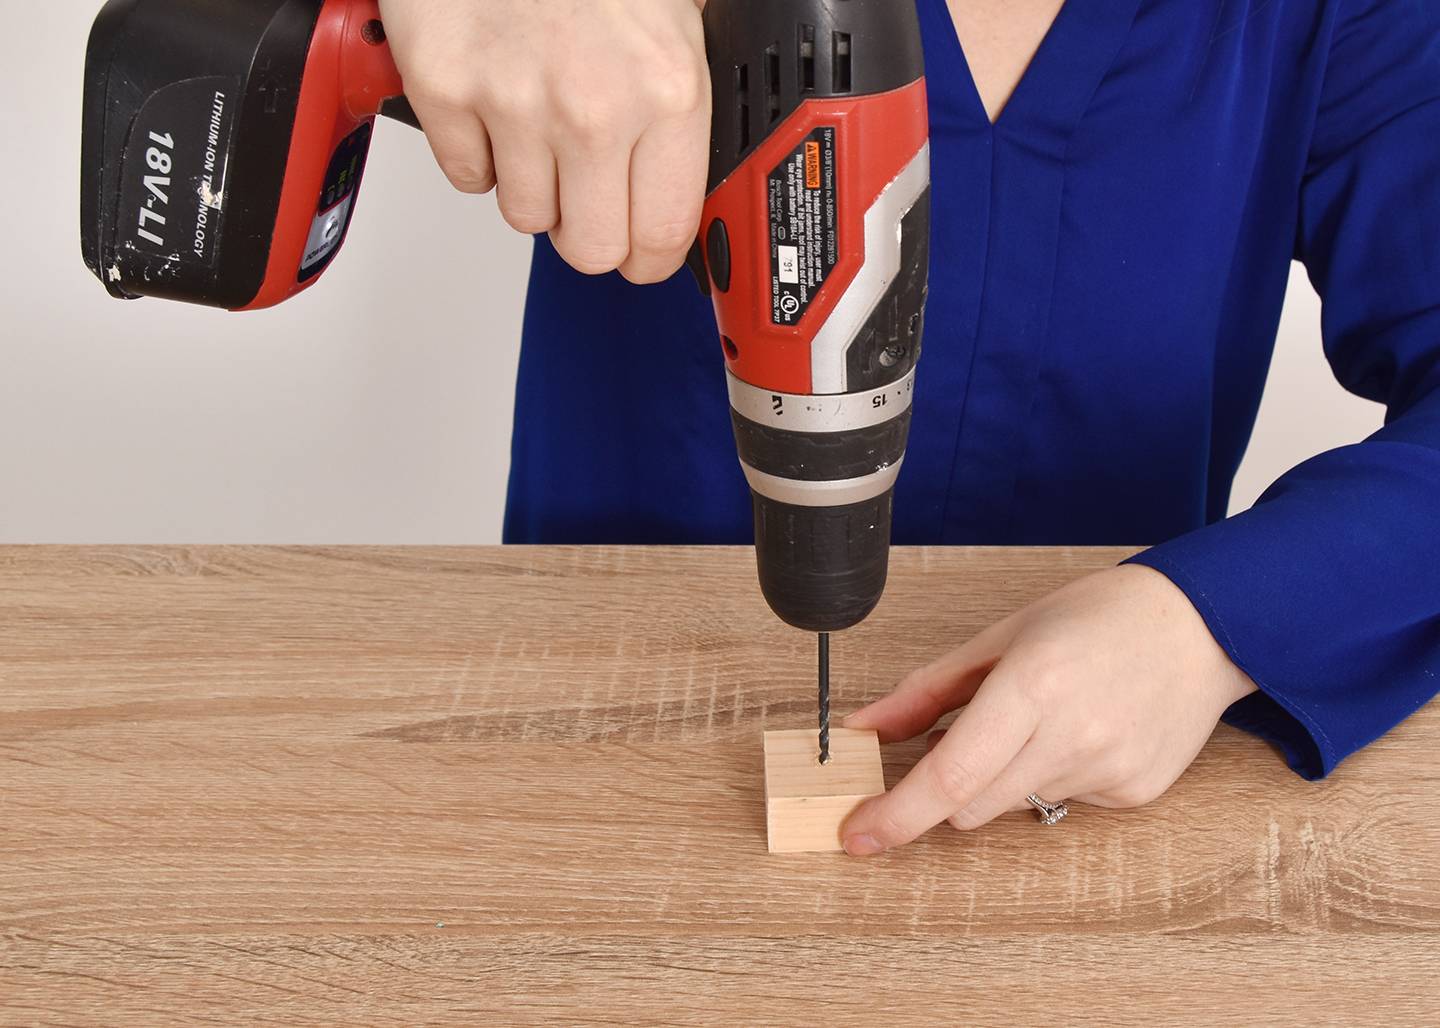
Step 5
Drill a hole through the center of a piece of wood, stopping about half way through.

Step 6
Put a tiny dot of glue in the hole and insert the skewer so that the pointy side is on the top.

Step 7
Fold a paper tree back up and slip the skewer through the holes. Spread out the accordion folds so that everything looks even. Set it aside and repeat the process as many times as you like, depending on how big you want your forest to be.

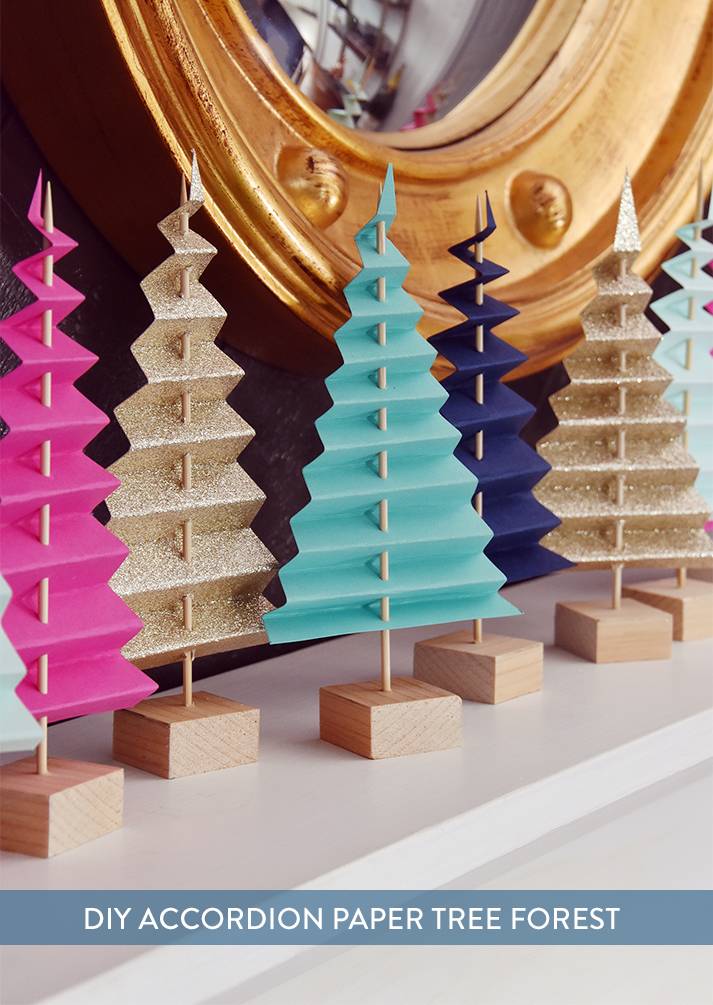
The end result is super unique and festive, thanks to the glitter paper and bold colors. I love non-traditional colors, but if you’re more of a traditionalist, you might want to experiment with greens and reds.
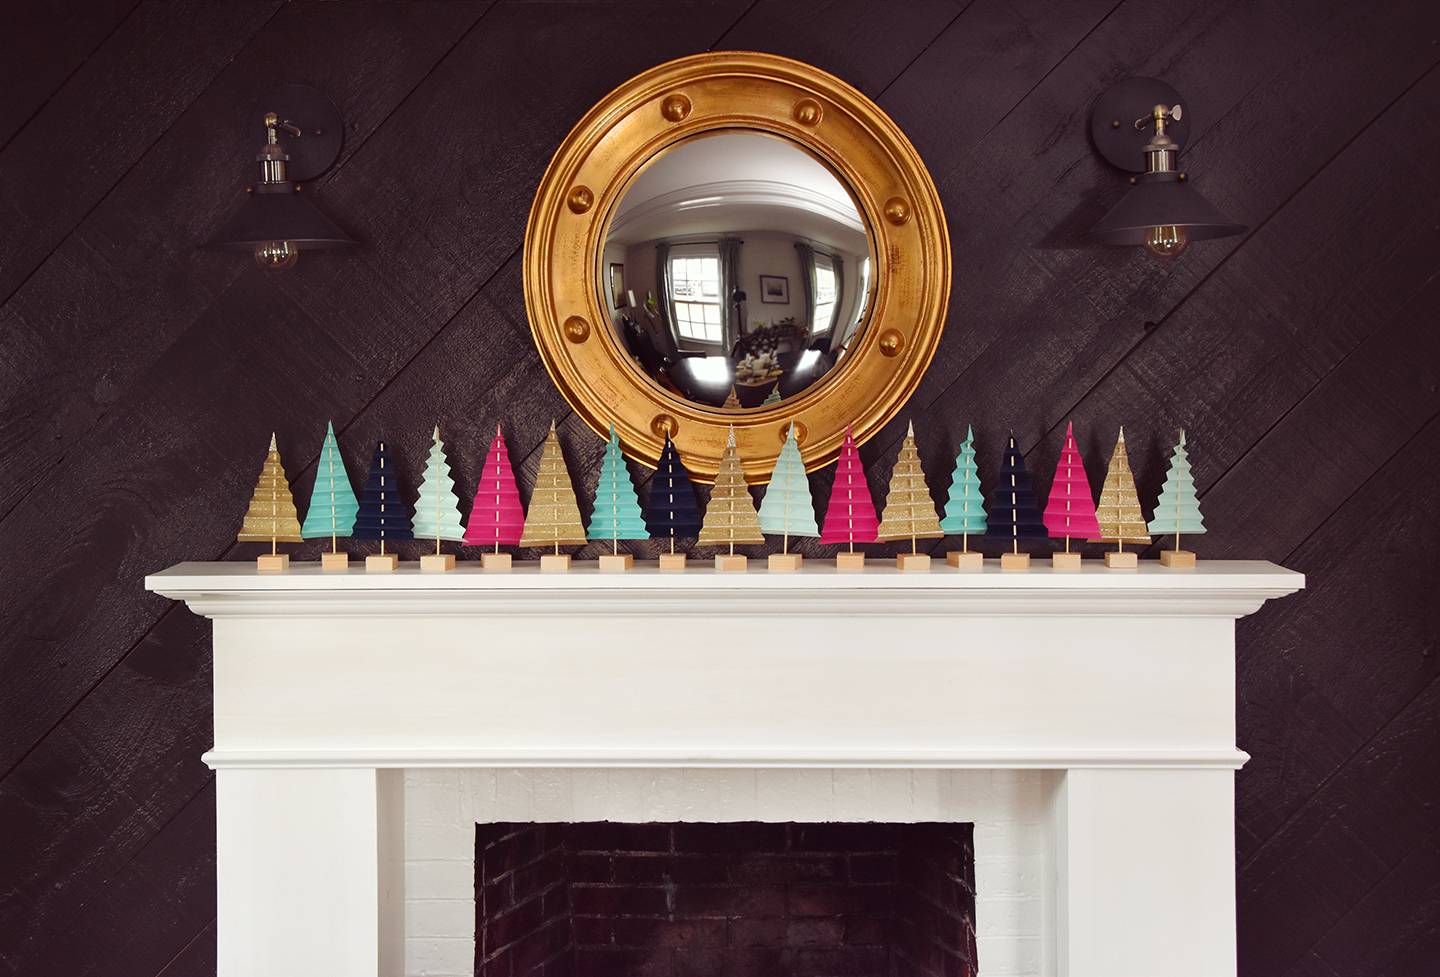
Or if you like more of a neutral look, you might consider all white and beige papers with different textures. You could use them throughout the winter if you opt for less of a holiday color scheme.

They look quite impressive lined up all together, but you could also scatter them around the house where ever you need a bit of extra holiday cheer. You could also keep the paper folding going and add this super simple DIY Life-Sized Folded Paper Christmas Tree to your holiday decor!
Happy crafting friends!




Faith! These are SUPER cute. Very creative and festive. I’ve never seen anything like them. Awesome job 🙂
Thanks so much @Chris Gardner! They were really easy AND fun to make 🙂
I made these! Love them. I used slightly different materials for the base, and I didn’t glue them in the hopes that I can dismantle them and they’ll be easier to store after the holidays. Thanks for the great idea!
Thank You! Beautiful craft project… Merry Christmas