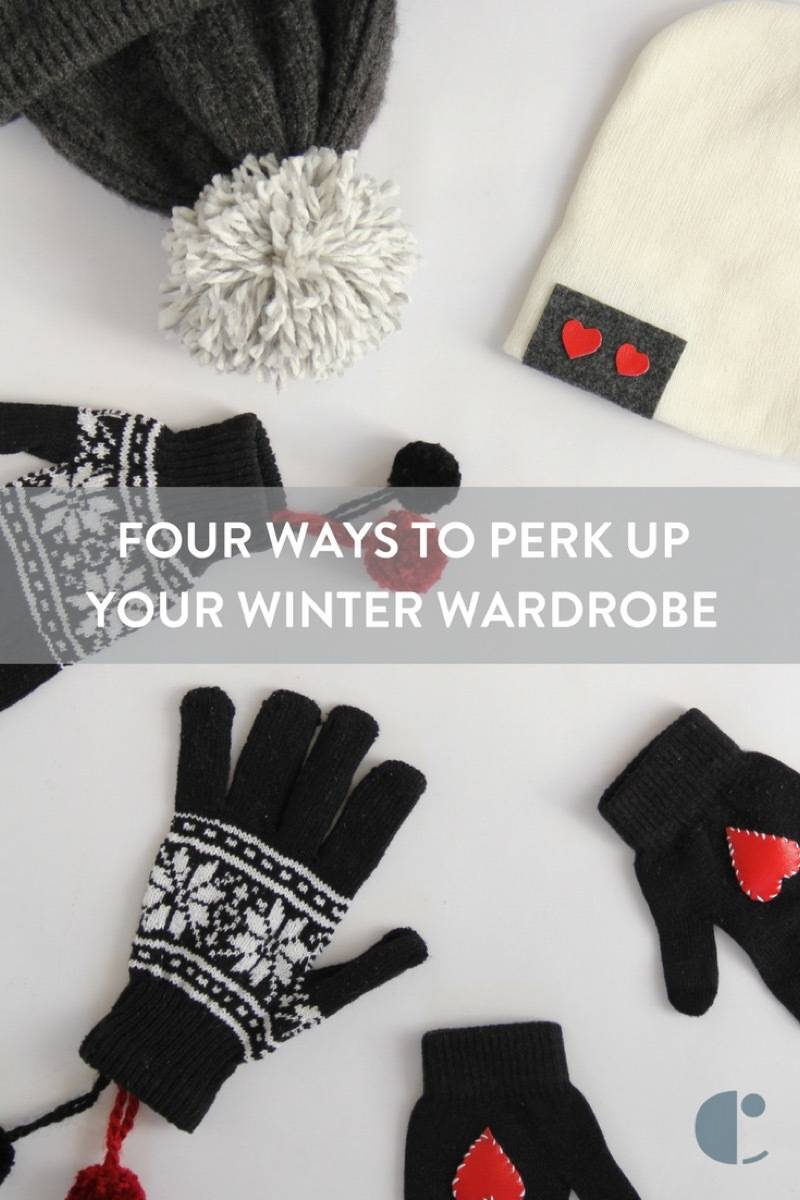
After the hustle and bustle of the holidays, it’s easy to feel like you’re stuck in a rut. The parties are over, the celebrations are done. The winter has you feeling all “bleghh,” but it doesn’t have to be that way. If you have the mid-winter blues, a great place to start is by mixing things up. It’s still cold outside, but that’s no excuse to be blah. We have four quick and easy ways for you to perk up your winter accessories!
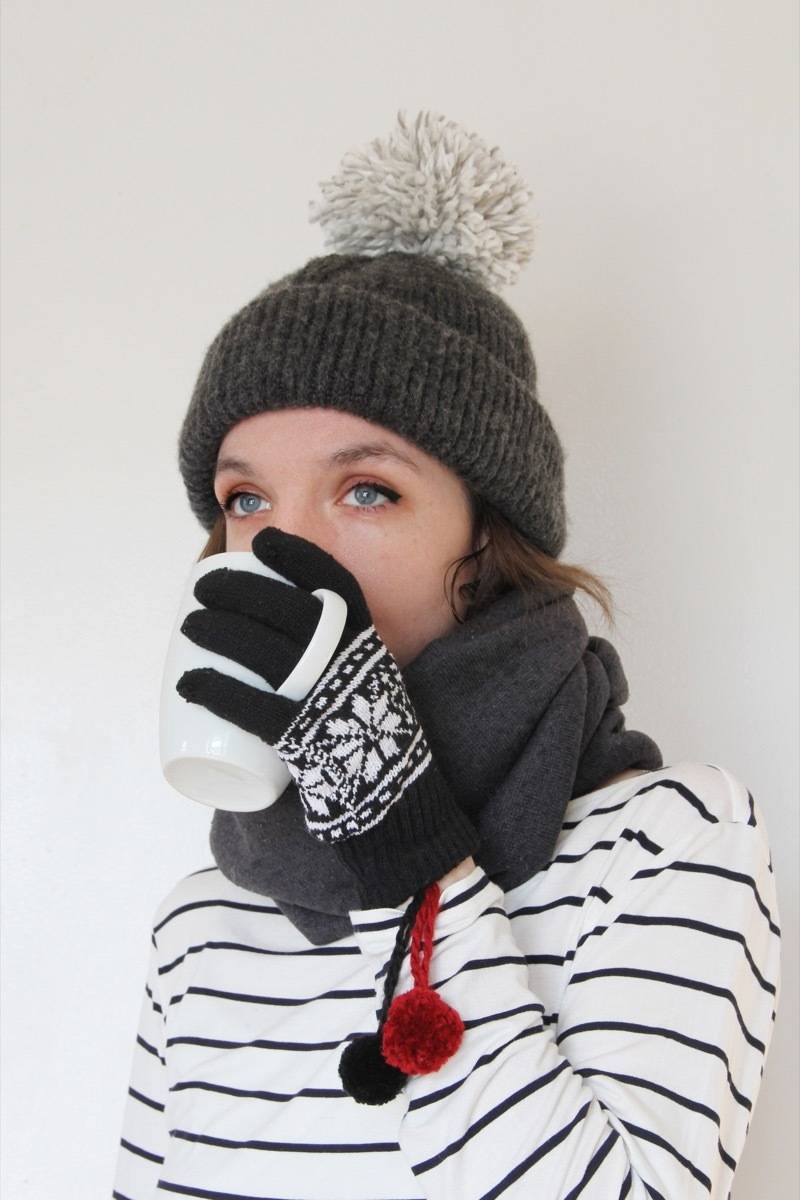
With Christmas and New Year’s long gone, I’m itching for a holiday to get excited about. I picked hearts and shades of red for my winter accessories because I’m already excited about Valentine’s Day!
Watch the video for a quick walk through, or follow the steps below to see exactly how we jazzed up our winter accessories.
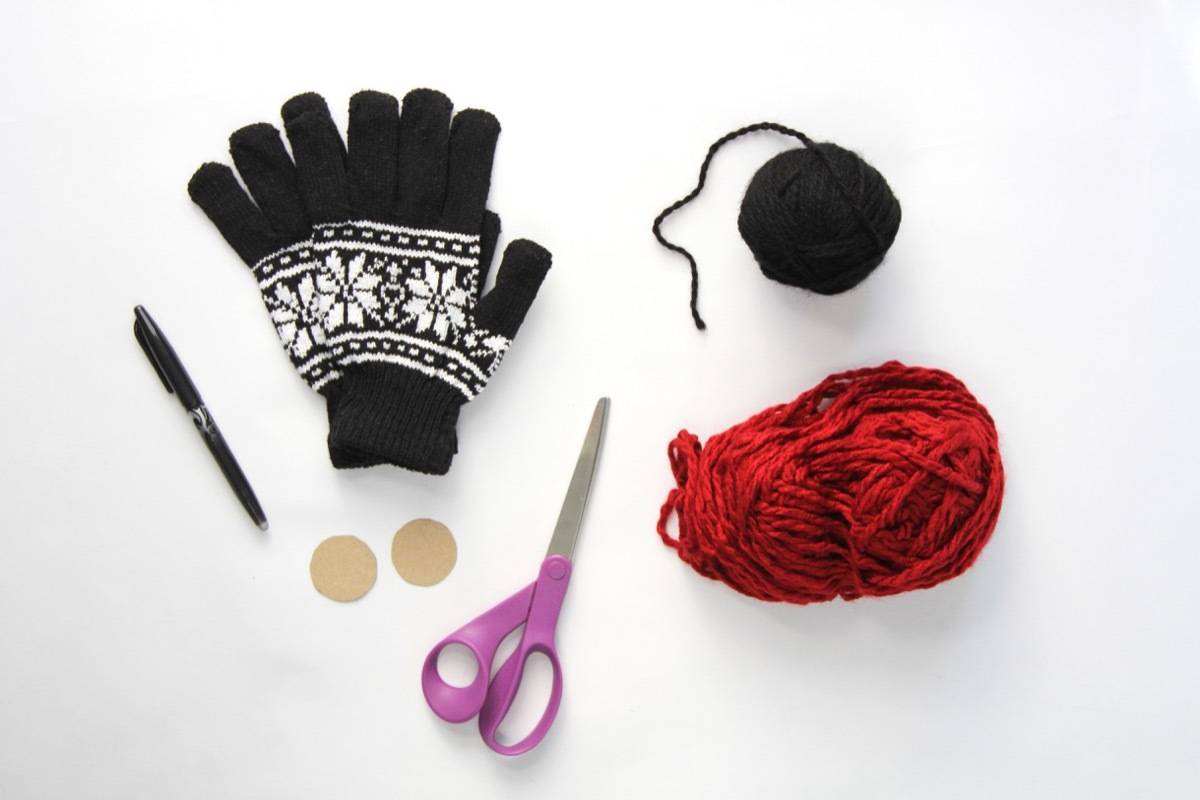
PROJECT #1
You’ll need:
- A pair of gloves that need more razzle-dazzle
- Some yarn
- Scissors
- Two cardboard circles, about 1 1/2 inches in diameter
- A pen
- Needle and thread
Step
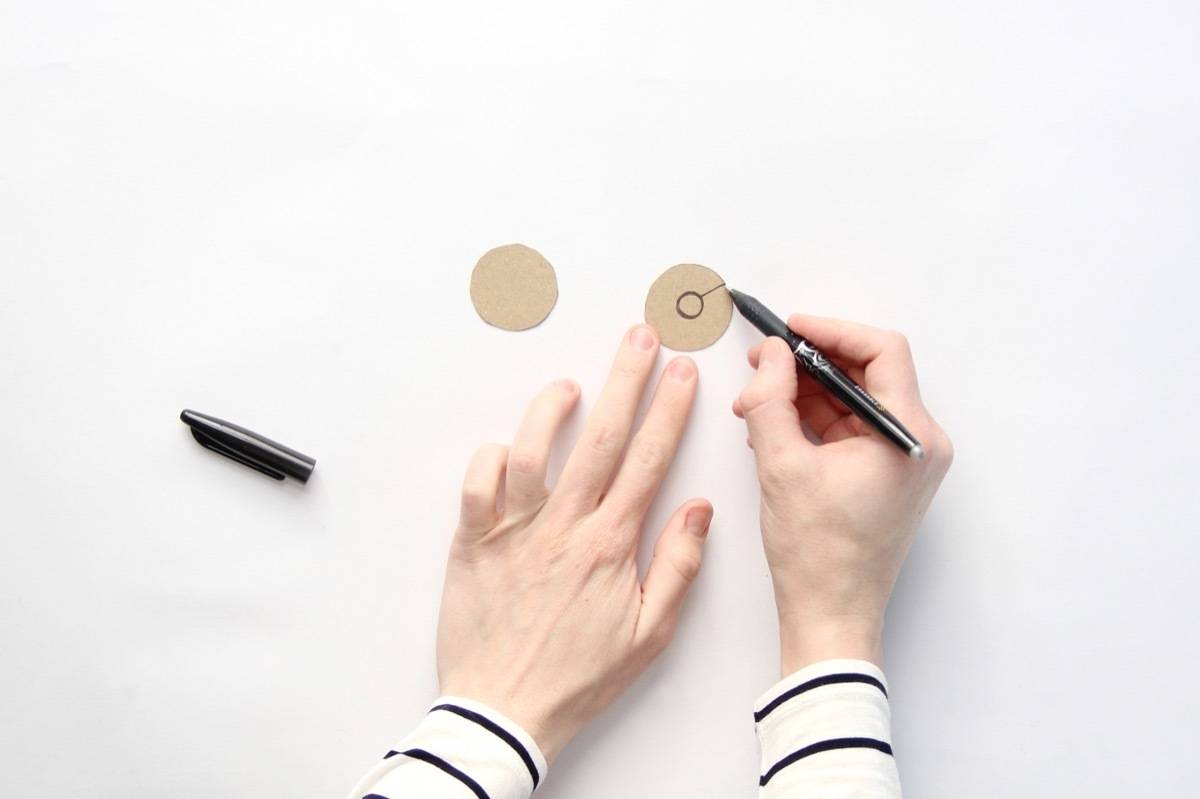
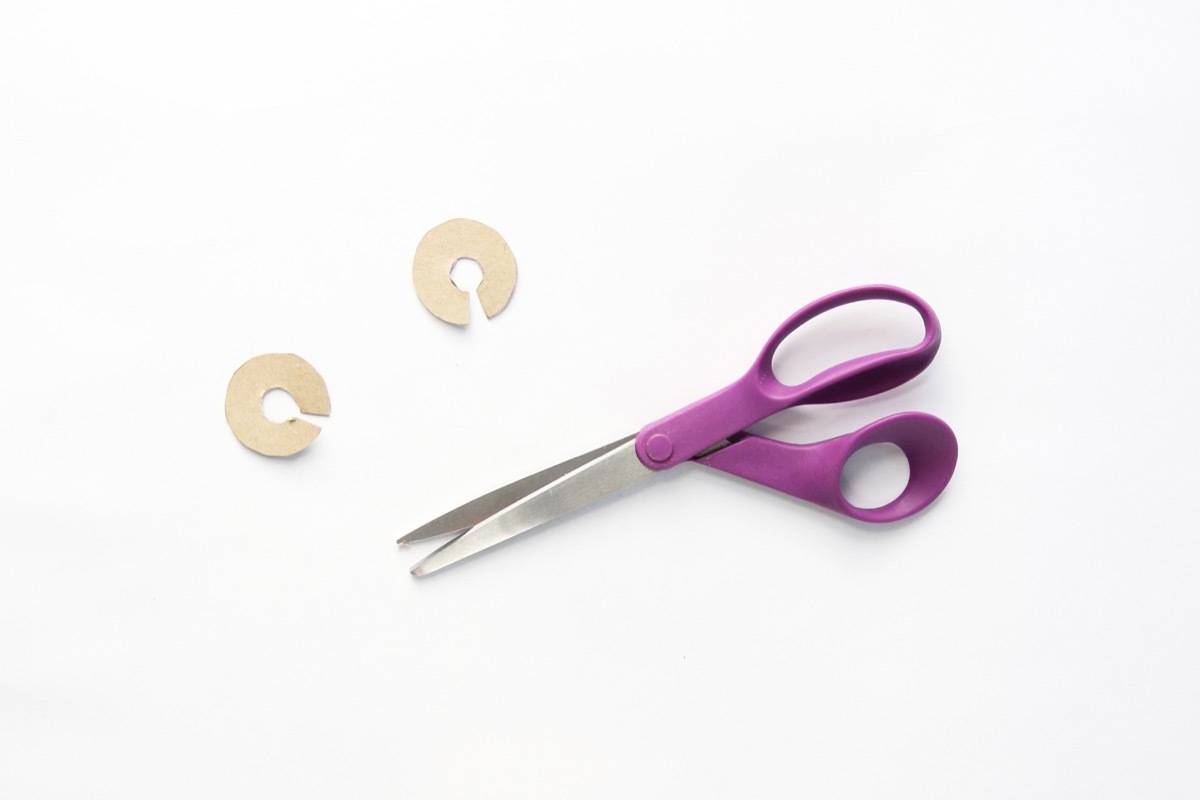
In the middle of one of the cardboard circles, draw a smaller circle. Then draw a line from the smaller circle to the edge of the cardboard. Stack both pieces of cardboard together. With scissors, cut up the drawn line, and cut out the inner circles.
Step
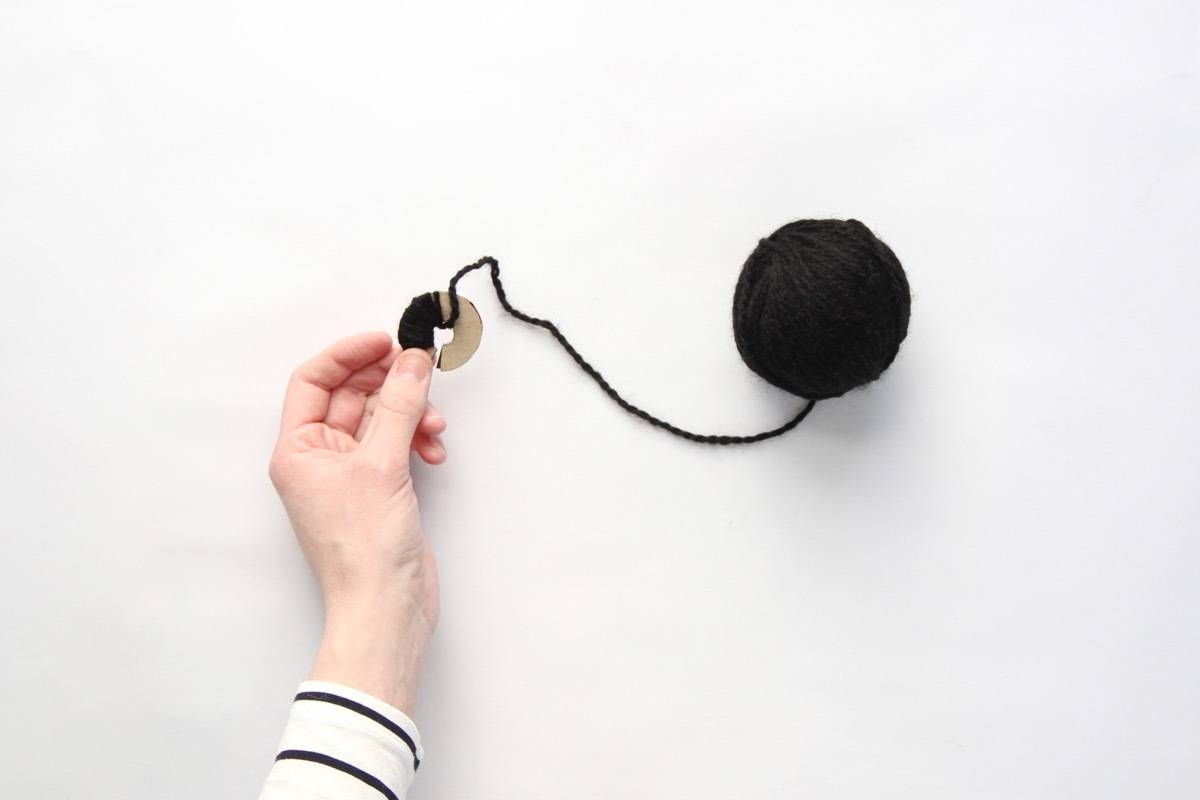

Begin wrapping yarn around the cardboard circles. Wrap about 175-200 times, holding the opening of the cardboard to keep the yarn in place. Next, use the scissors to cut the yarn in between the two pieces of cardboard.
Step
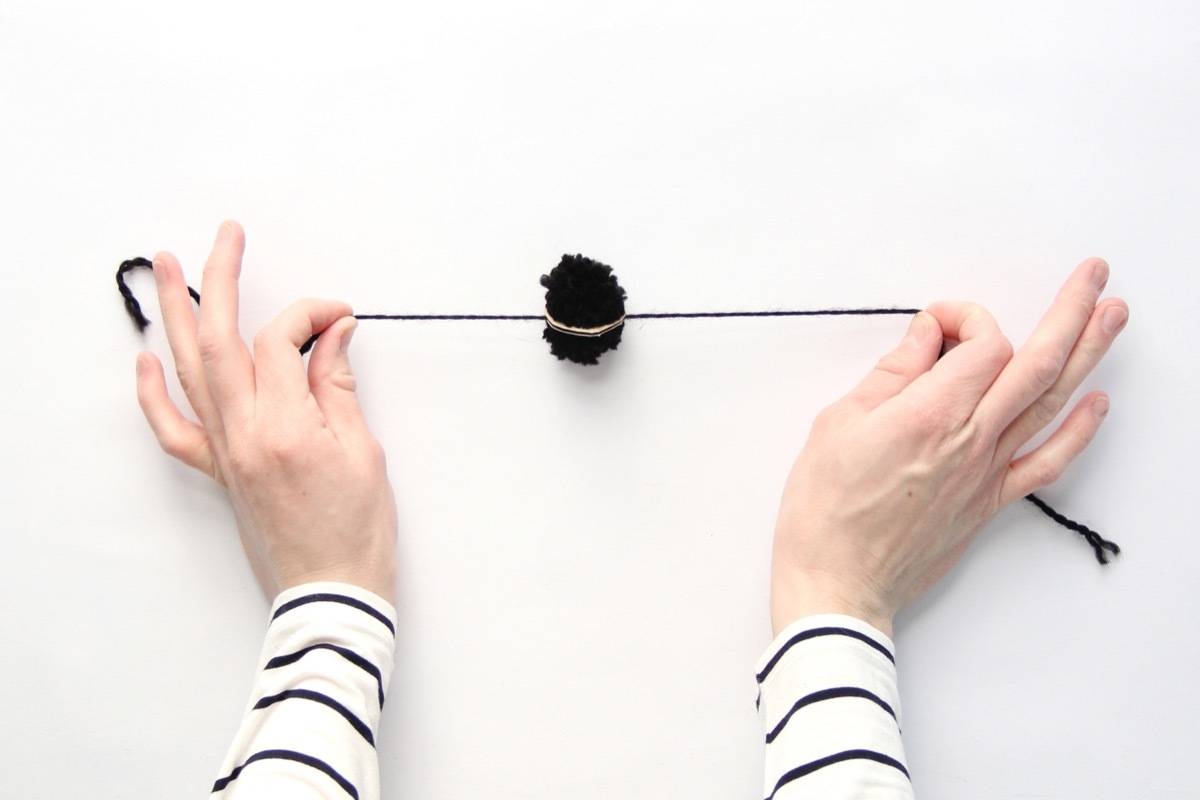

Grab another piece of yarn (about 5-6 inches in length), and double-knot in place between the two cardboard circles. Remove the cardboard, and trim the pom pom.
Step
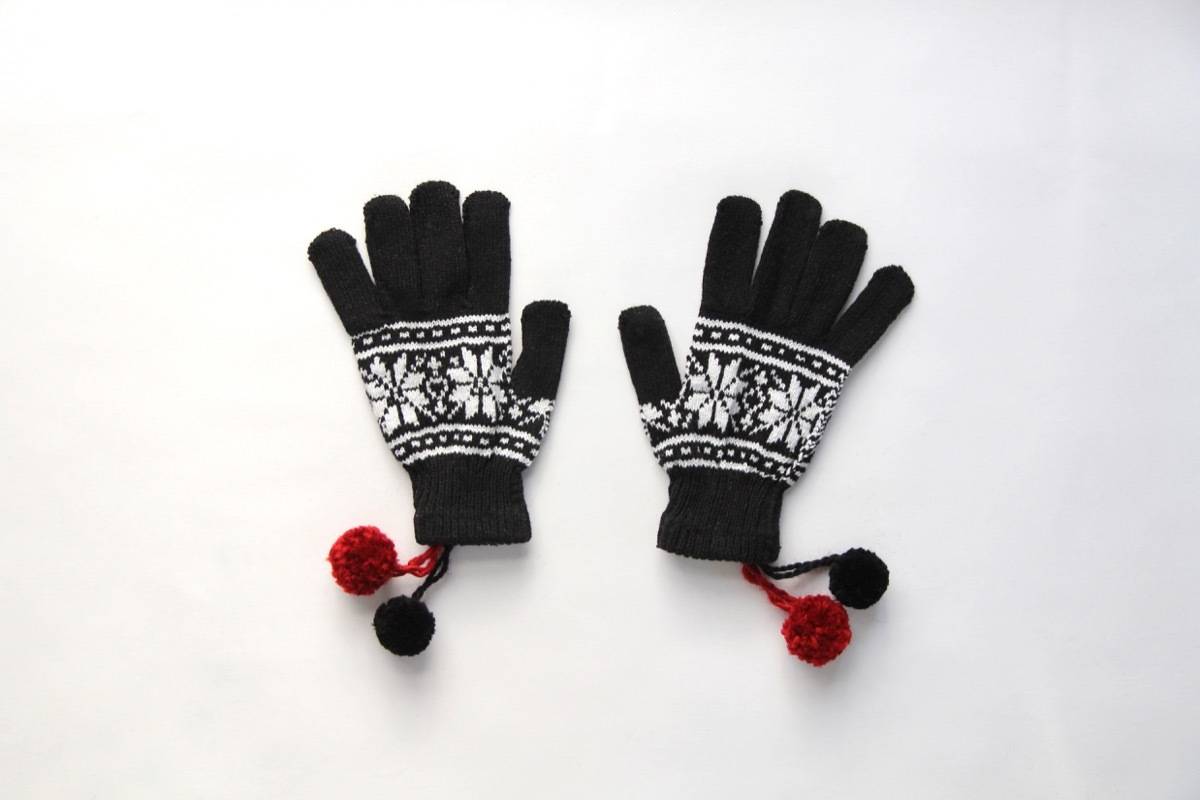
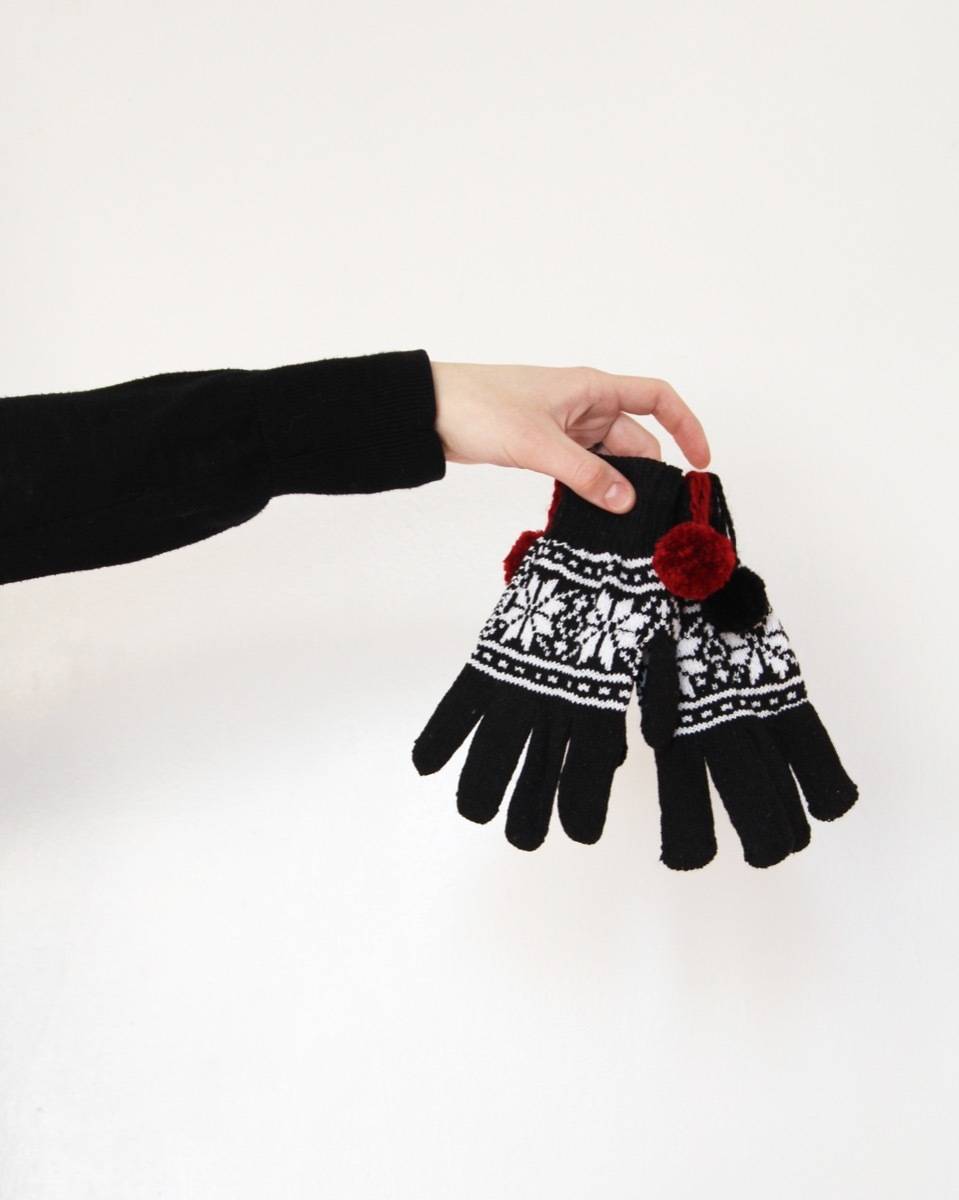
After making four pom poms, knot them together by twos. Sew each pair in place under the cuff of the gloves. Happy gloves!
PROJECT #2
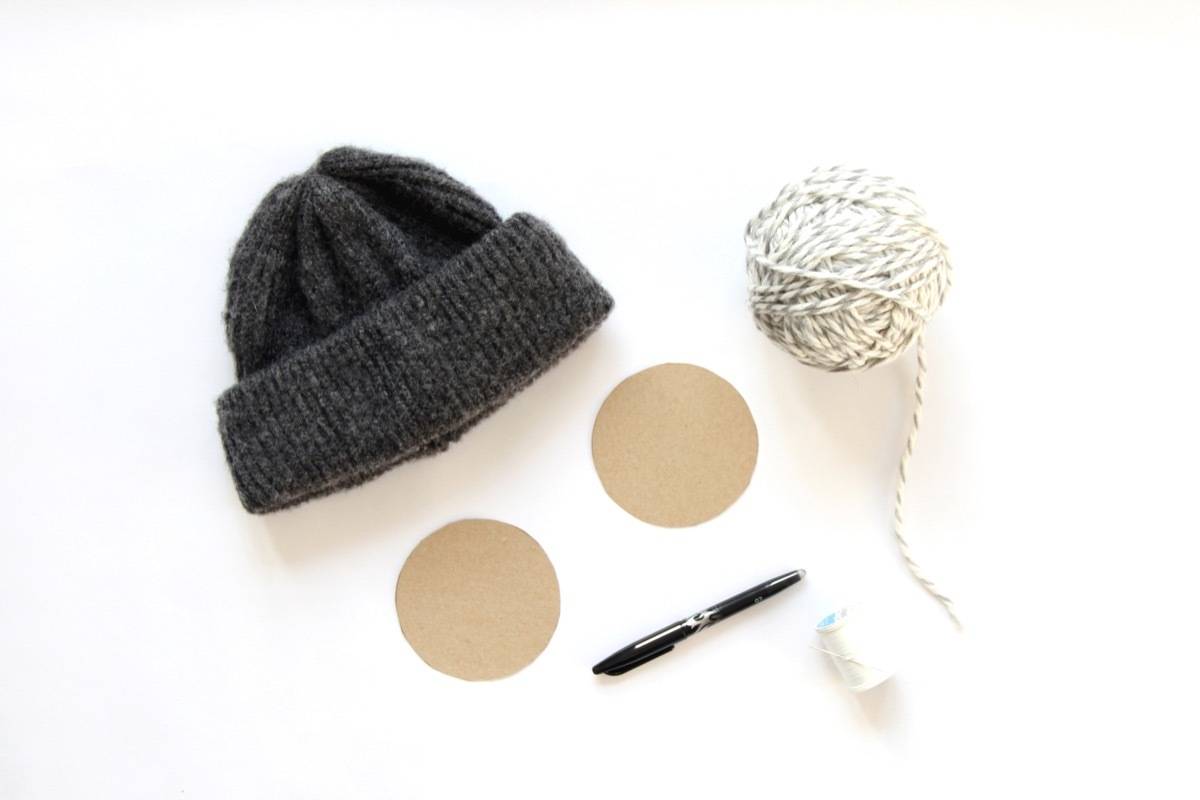
You’ll need:
- A boring hat
- Yarn
- Two cardboard circles, 4-5 inches in diameter
- Scissors
- A pen
- Needle and thread
Step 1
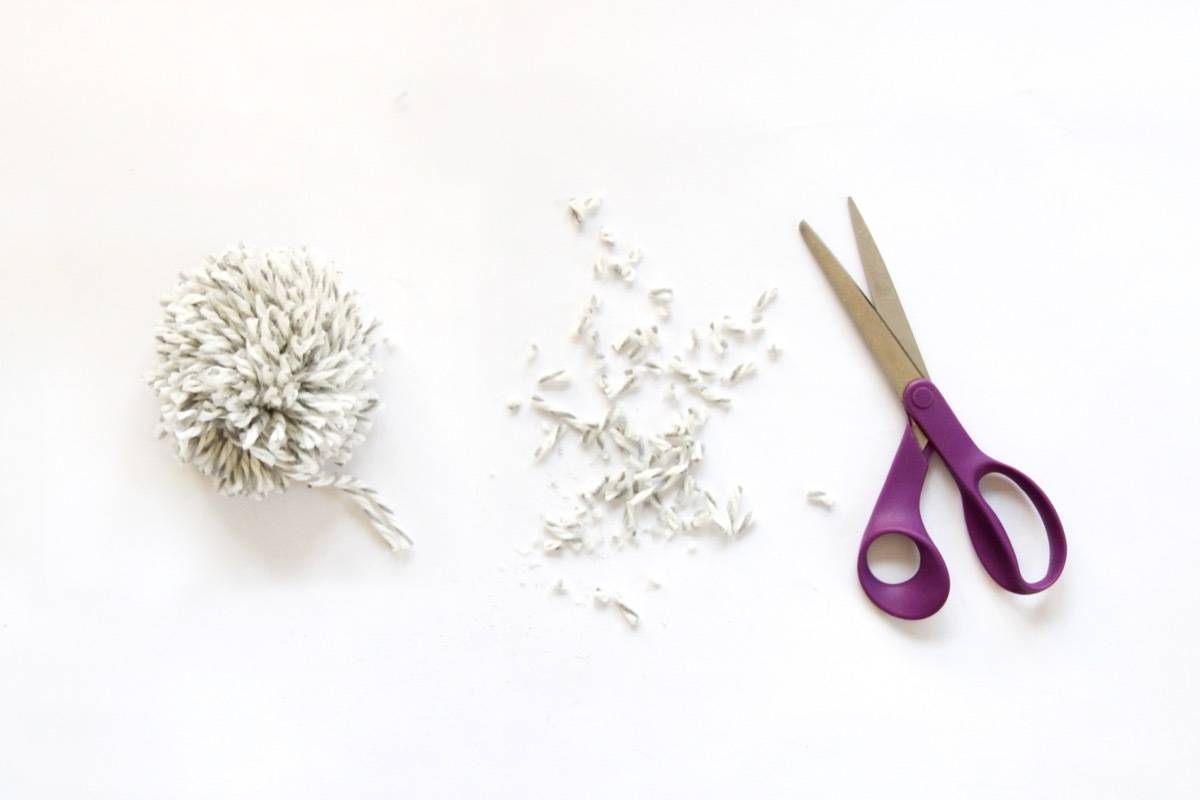
Like in project one, use the cardboard and yarn to make a pom pom. Because the diameter of this pom pom is bigger, wrap the cardboard 250-300 times.
Step 2
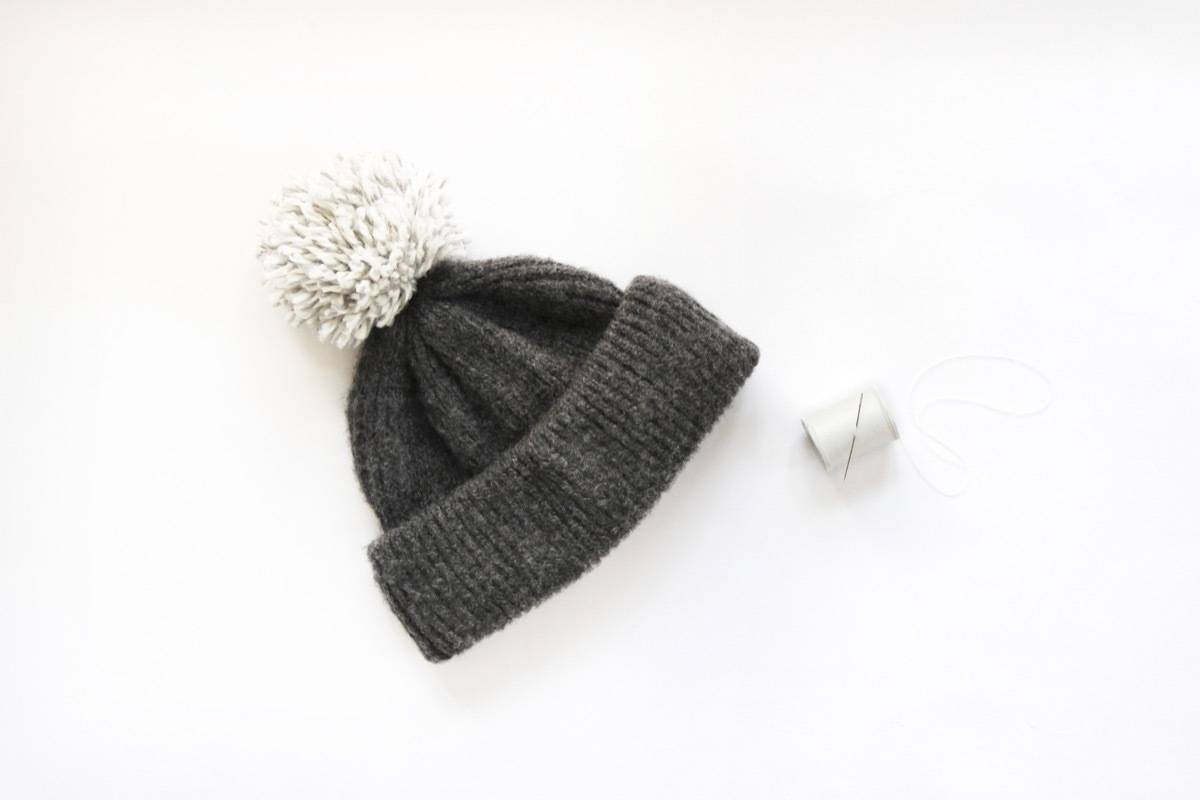
Sew the pom pom to the top of your hat. Done!
Project #3
You’ll need:
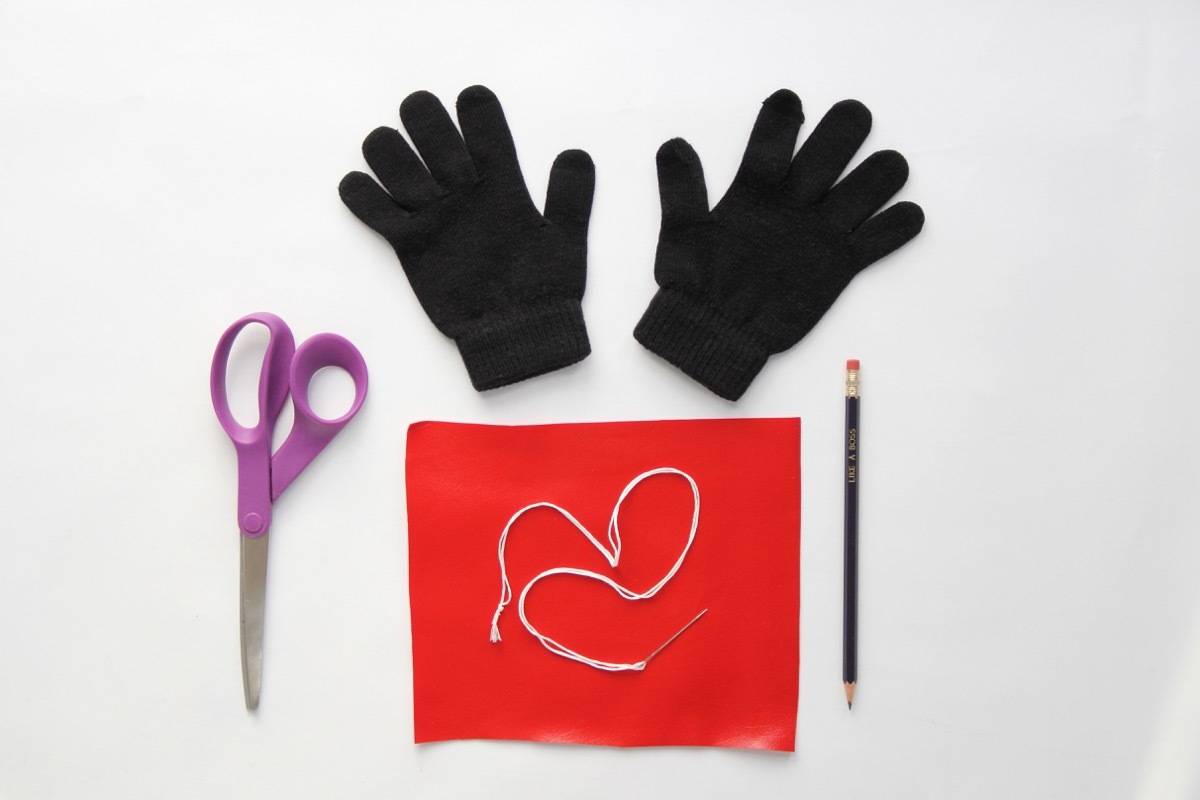
- A sad pair of gloves
- Vinyl or felt fabric (it can be any fabric that doesn’t fray)
- Large needle and embroidery thread
- Scissors
- A pen or pencil
Step 1
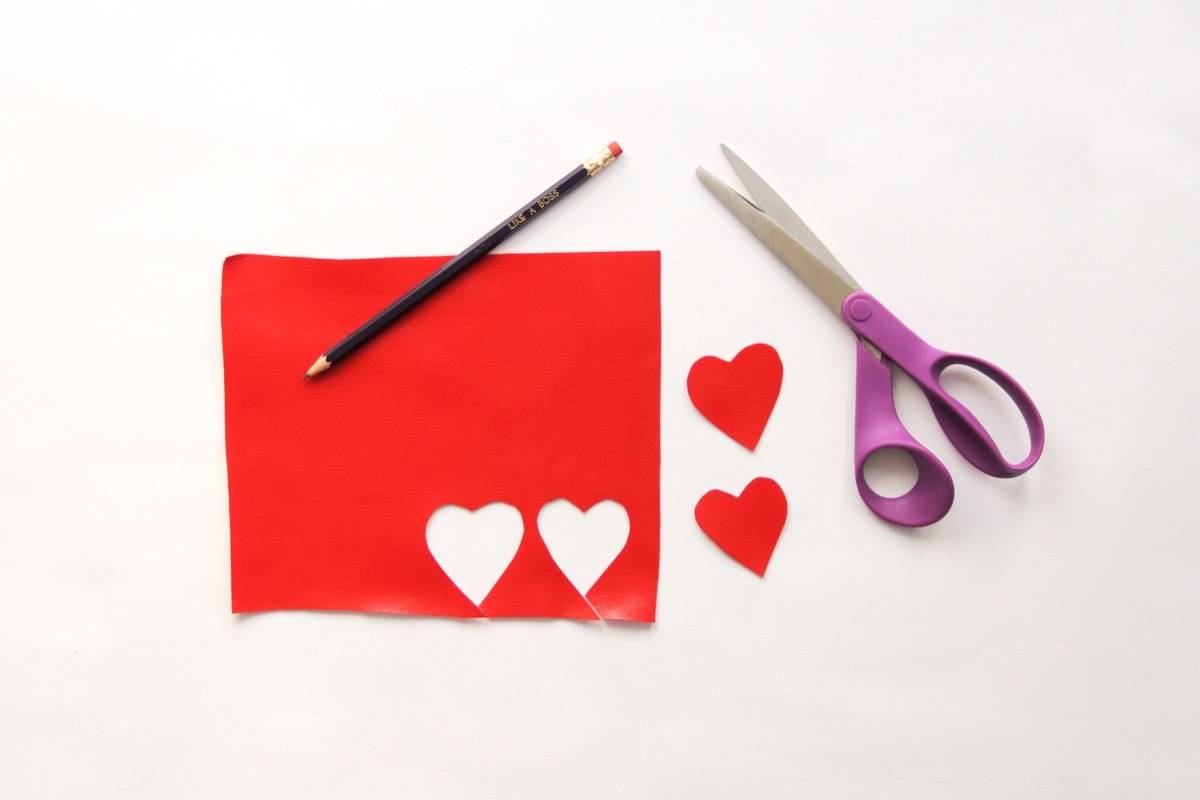
On the back of the fabric, trace a heart shape. Cut the heart out, and use it to trace a second heart. Cut that one out as well.
Step 2
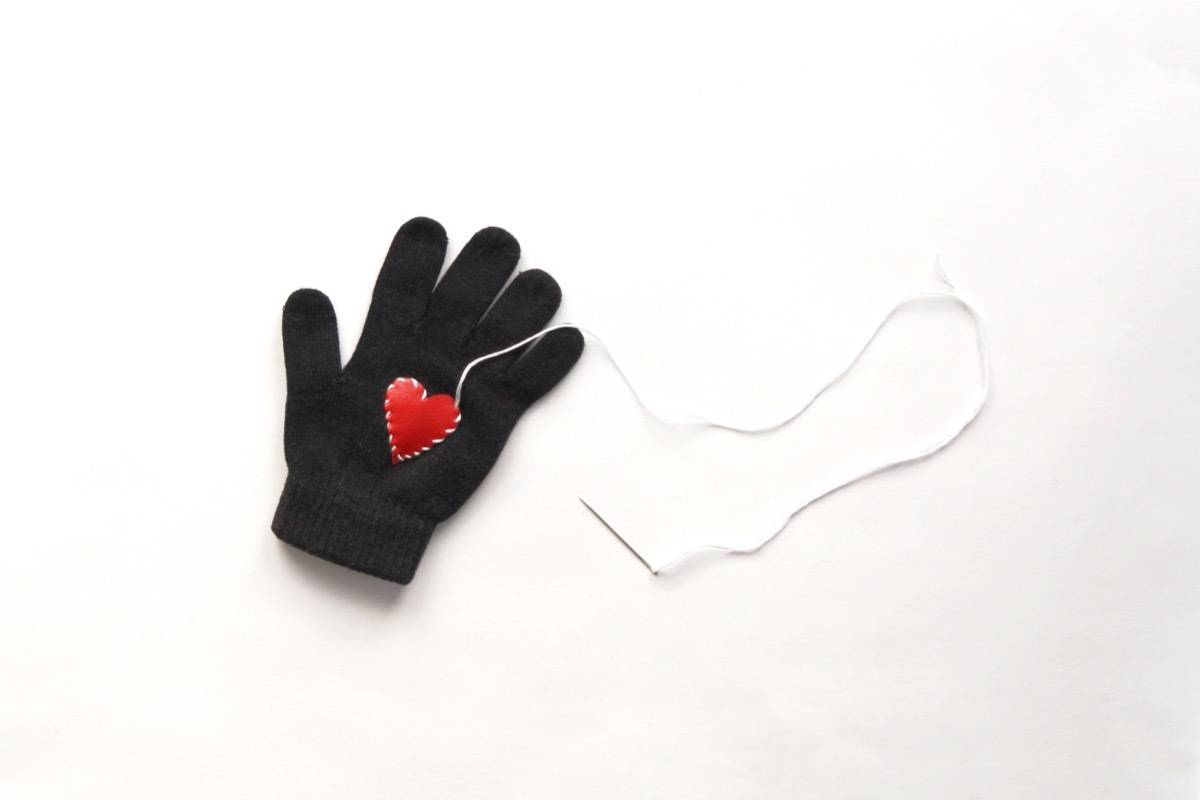
Stitch one of the hearts into a glove using embroidery thread. When you’re finished, knot the thread on the inside of the glove so it doesn’t show. Do the same for the second glove. Lovely!
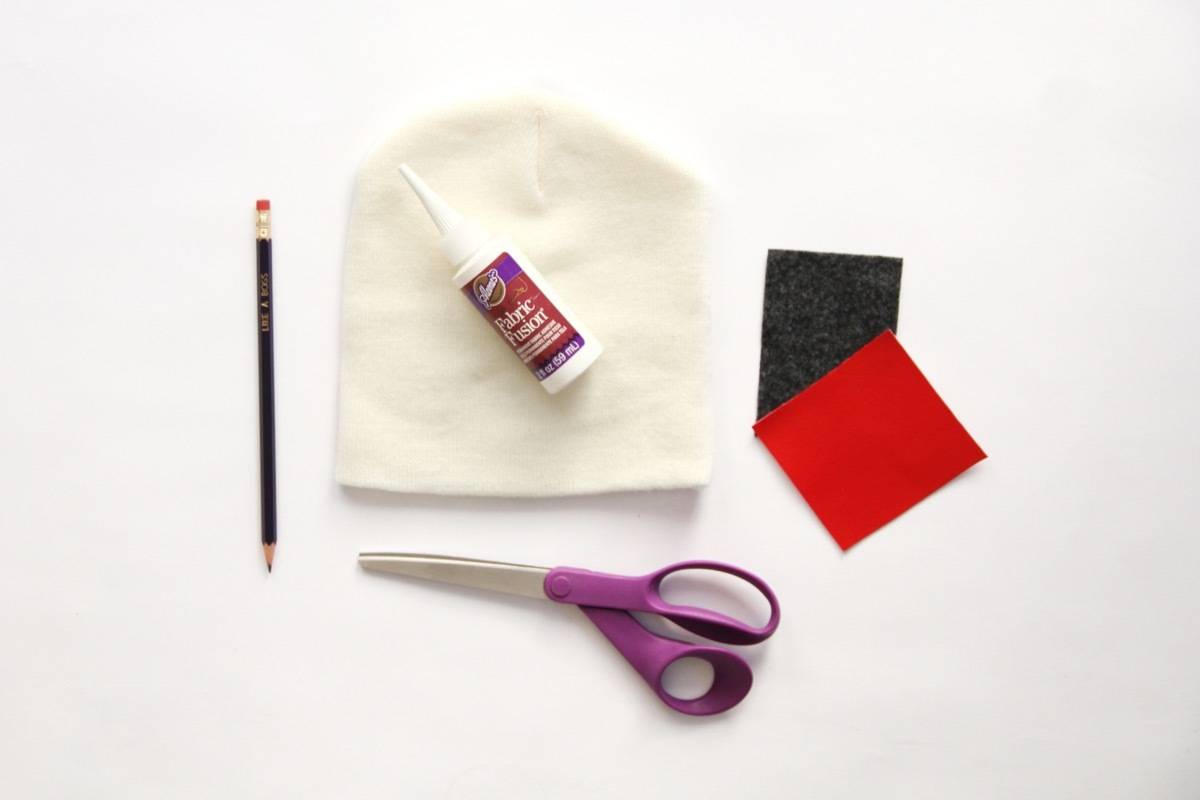
Project #4
You’ll need:
- A hat that’s missing that extra “something”
- A piece of felt measuring 2.5 x 4 inches
- Vinyl or felt fabric (it can be any fabric that doesn’t fray)
- Fabric glue
- Scissors
- A pen or pencil
- A small piece of cardboard
Step 1
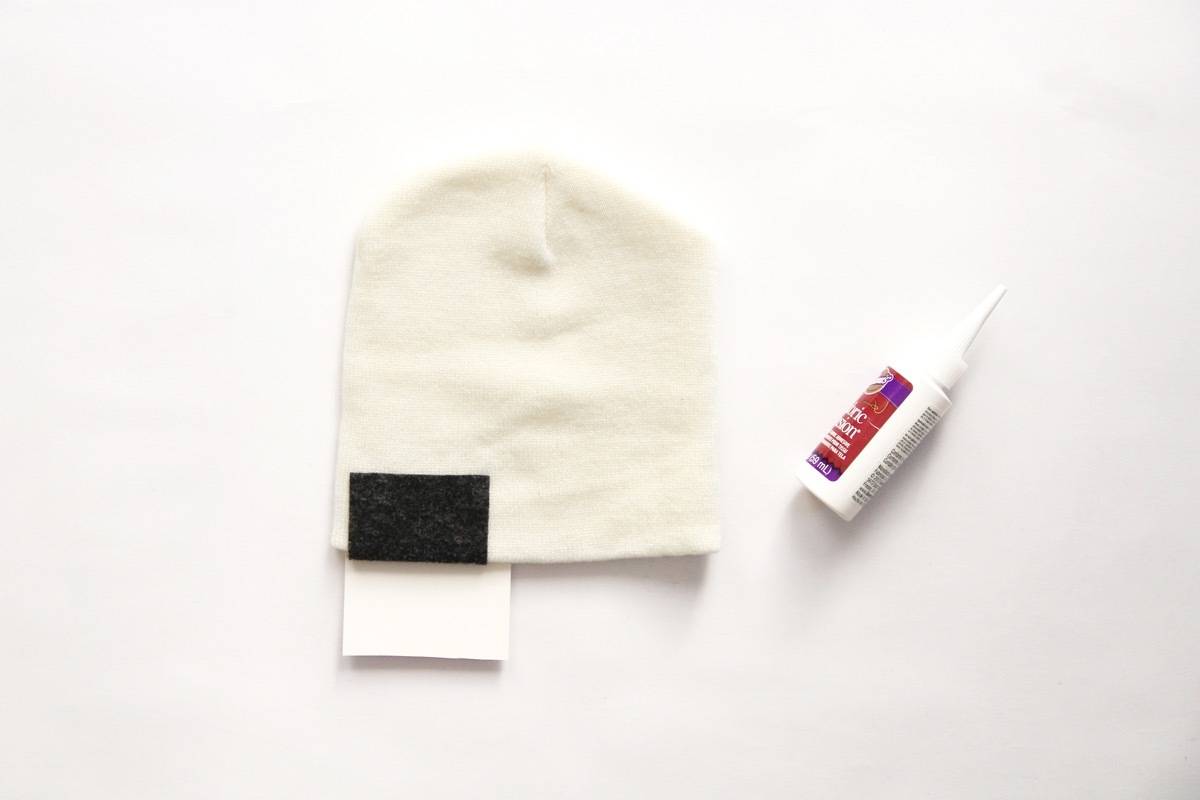
Place a small piece of cardboard or paper in between the front and back of the hat to protect the back from glue. Attach the felt with fabric glue to the bottom corner of the hat, wrapping underneath the cuff.
Step 2
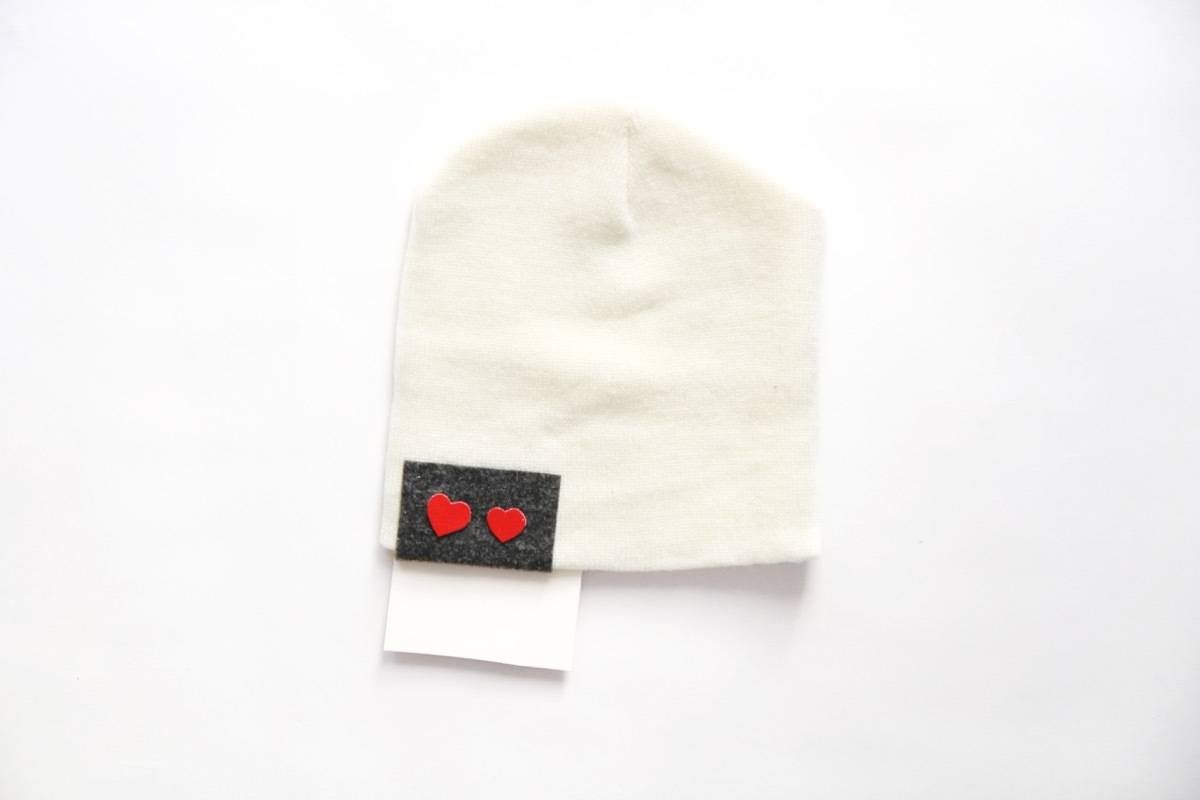
As in the previous project, trace two hearts out of vinyl. Glue them to the felt, and let dry before wearing. Ta-da!


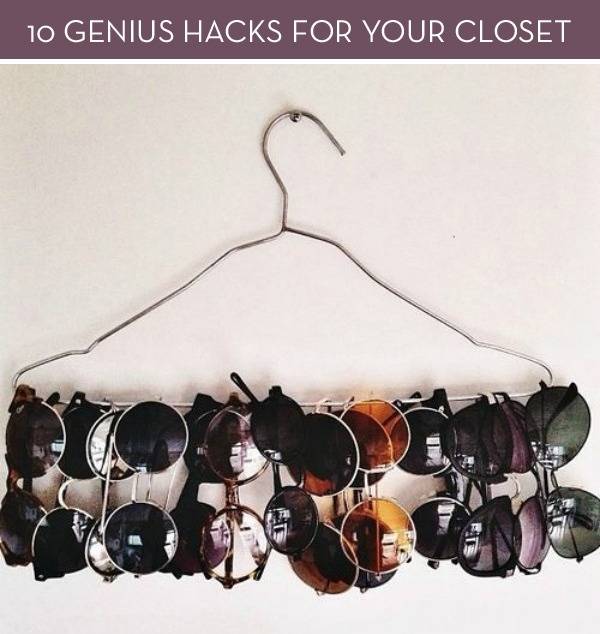
Looking for tips on organizing all your winter accessories? Check out these genius closet hacks!