
It’s time for getting organized and making resolutions to STAY organized. Easier said than done, right? To start small, try making this simple DIY chalkboard calendar that you can reuse every month to keep your dates straight.
Store it in your office or use it as a command central for your family. The great thing about a chalkboard calendar is that it’s easy to use and erase when plans change because they always do!
Chalkboard paint is useful for so many projects, and it comes in multiple colors if you’d rather have a pop of color on your chalkboard calendar. You don’t have to stick with this black and white palette!
The only difficult aspect of this DIY is the measurements, which is why I planned them out for you with a basic template to follow. If you use a 2 ft x 2ft base for your calendar, this project will come together in no time!
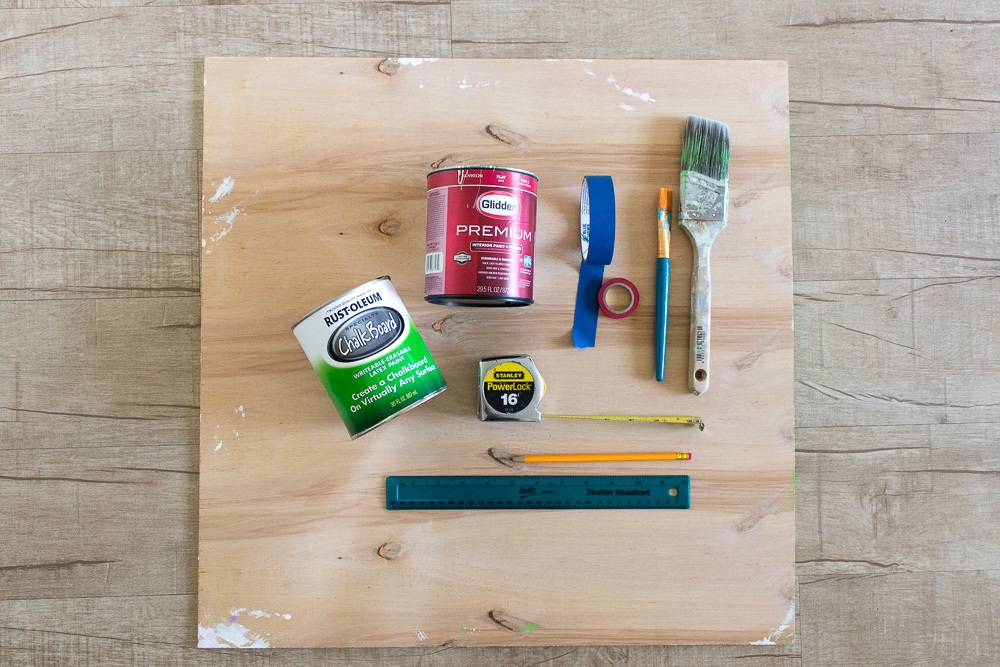
Materials:
- Plywood, cut to 2 ft x 2ft
- Primer or desired base paint
- Chalkboard paint
- Paint brushes
- Ruler
- Pencil
- Measuring tape
- Painter’s tape
- Thin washi tape
- Chalk
I used 1/4-inch plywood and had it cut to size when I purchased it. You can use any size, but note that measurements will change according to the size of the base you use.
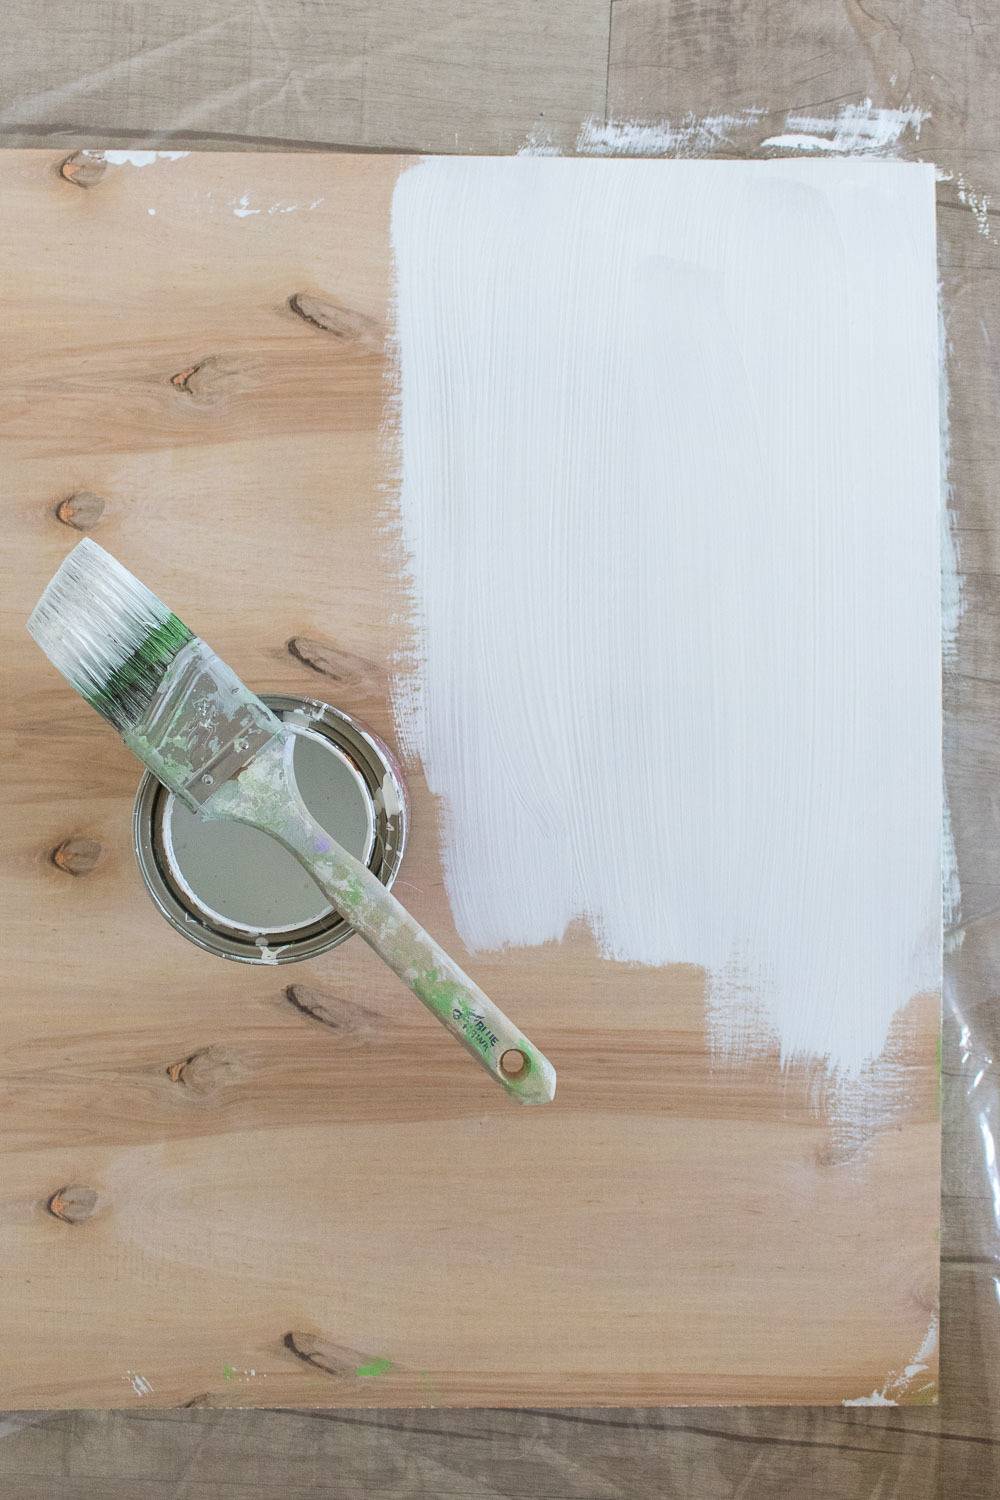
Step
Paint the cut piece of wood with your desired base color. In this case, I used two coats of white primer.
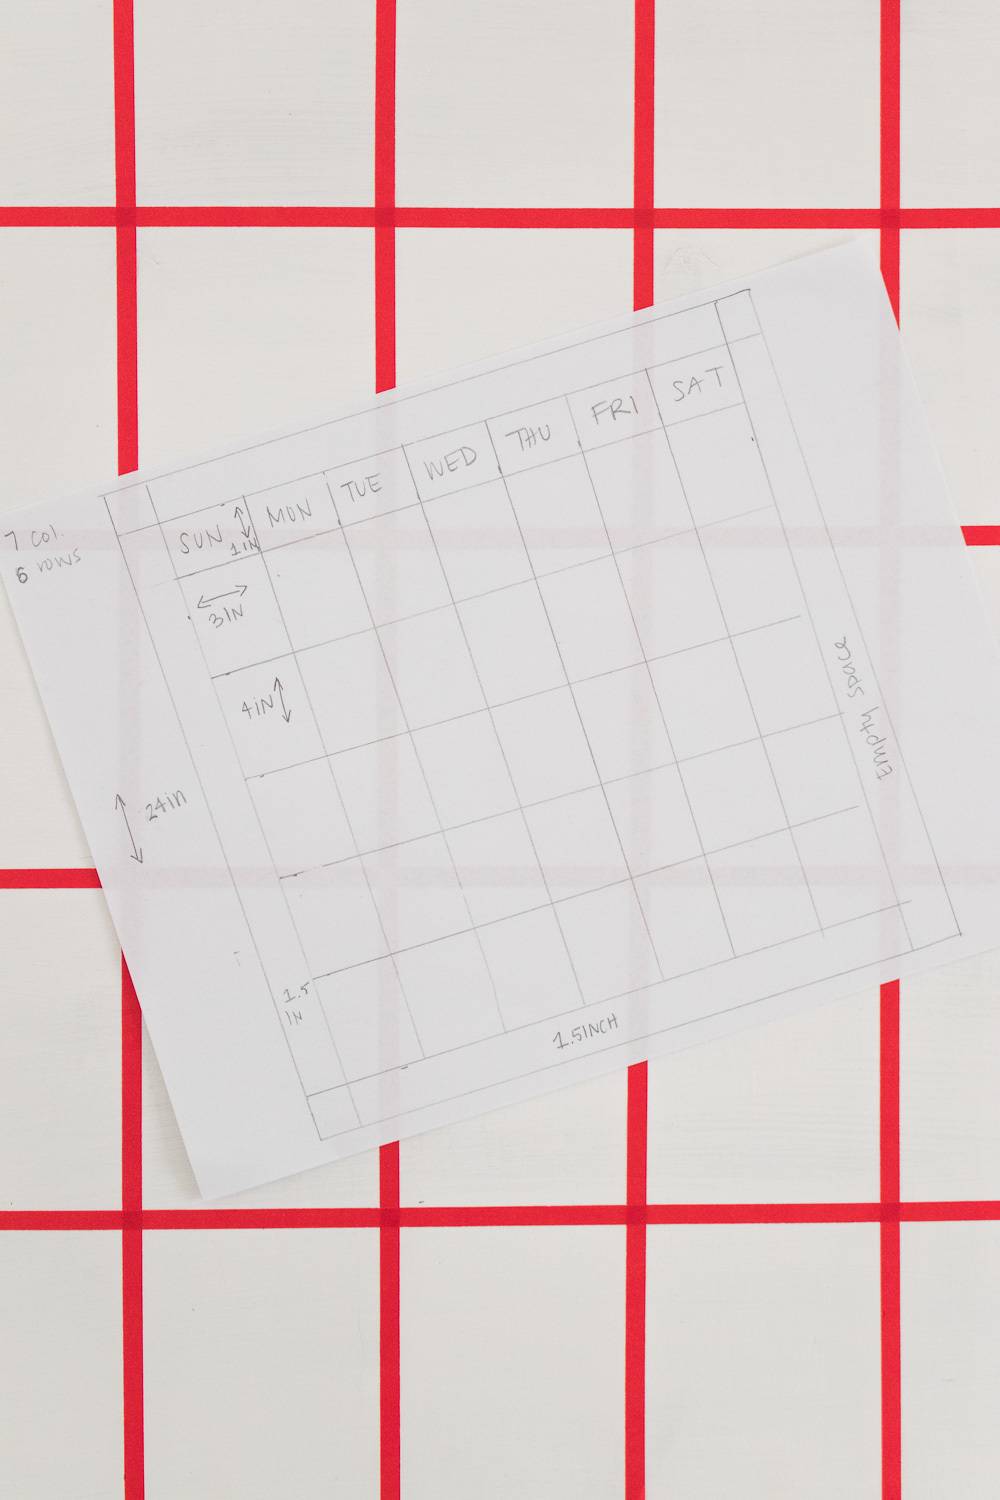
Step
Once the paint is dry, plan out the calendar grid. Apply painters tape around the edges so that there is 1.5-inch border. Then place the thin washi tape in a grid pattern so that there are 7 columns (days of the week) and 6 rows. For a 2 ft-square base, each box is 3 in x 4 in with the exception of the top row, which should only be about 1 inch to write in the days of the week.
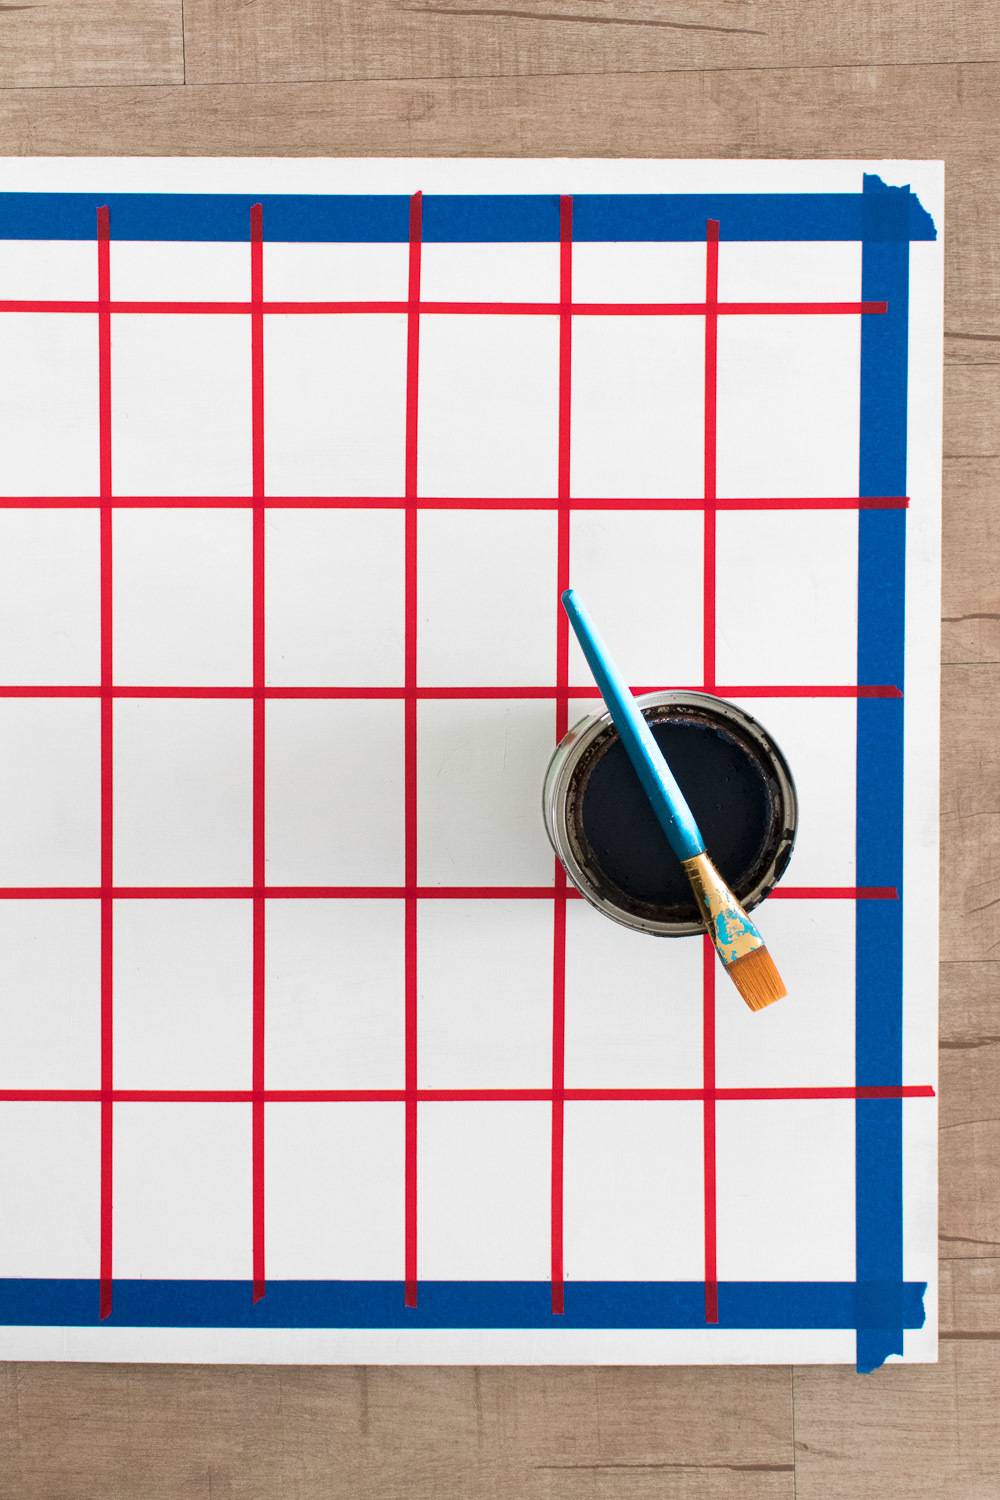
Step
Once the grid is planned out, dab the chalkboard paint over the grid. Apply a minimum of two coats of chalkboard paint and let dry.

Remove the tape to reveal the calendar grid. Use the chalk to write in the days of the week at the top and number each box according to the date. Write in your plans and simply erase it to start over every month! This simple DIY chalkboard calendar could be the first step to helping you feel more organized.