
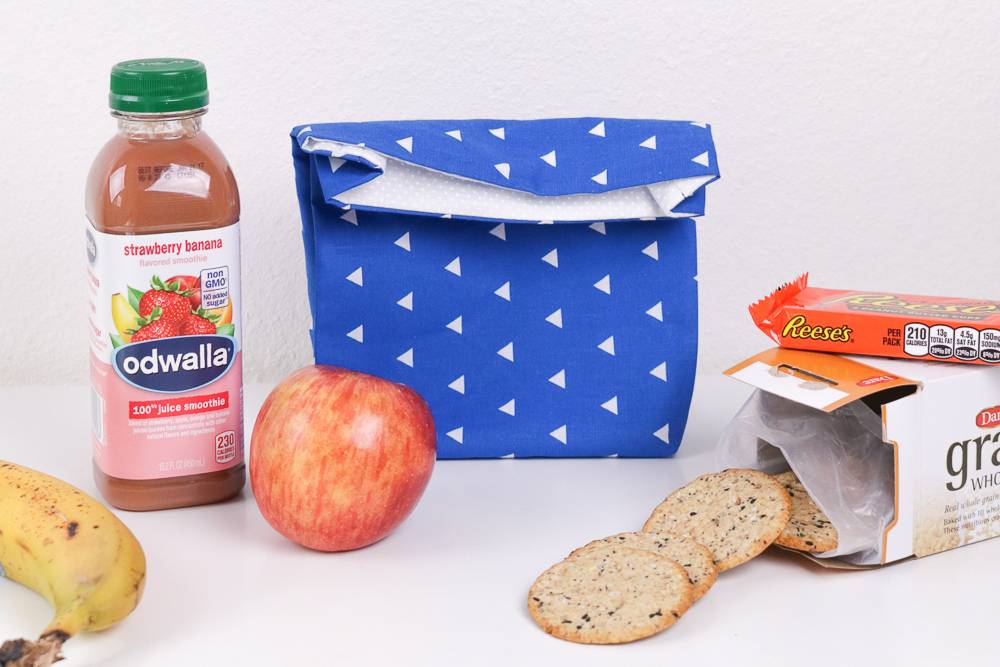
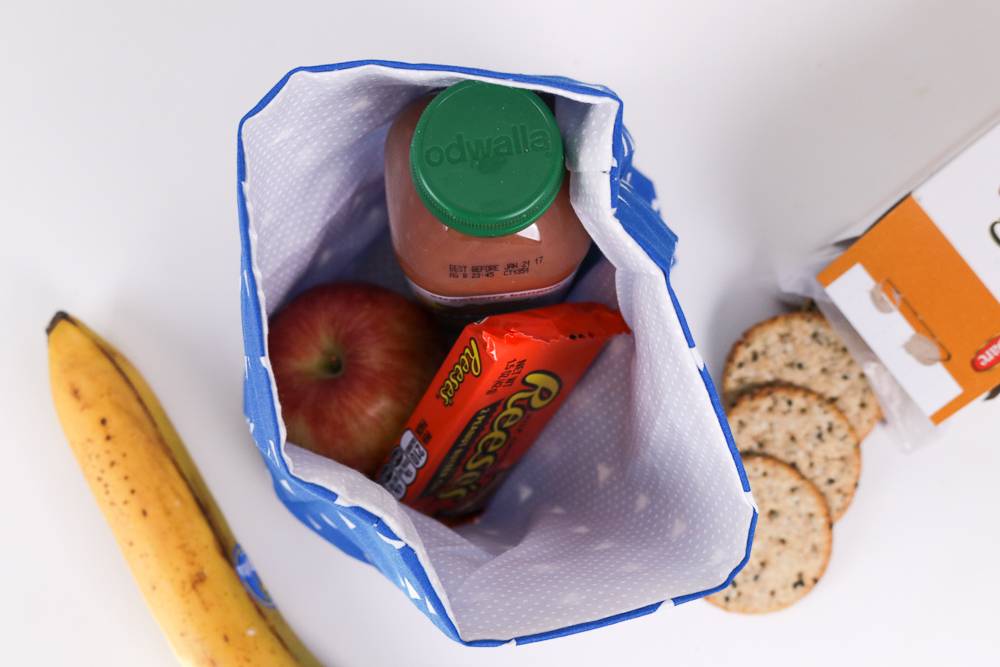
Remembering to pack my lunch is a constant struggle. I don’t think I’ve even had an actual lunch bag for years, but it turned out that all I needed to get me motivated to pack my lunch again was a pretty lunch bag. This easy-to-sew stylish lunch bag is great for adults – I used fun fabric to make a lunch bag that I would want to remember to bring, and it didn’t take me long at all.
I’m not an expert with a sewing machine, but luckily I didn’t need to be to make this lunch bag using two complimentary cotton fabrics. I loved the bright blue color with a minimal pattern for the outside of the bag, and the bright white fabric for the inside has a light polka dot pattern that matches well. Put together, the fabric has just enough stiffness to hold the bag together without feeling heavy or difficult to fold. Overall, the design is reminiscent of the classic brown bag but with a whole lot more color (and reusable, of course)!
MATERIALS:
- ½ yard patterned cotton fabric*
- ½ yard complimenting cotton fabric
- Matching thread
- Measuring tape
- Rotary cutter
- Scissors
- Pins
- Sewing machine
- Iron (optional, recommended)
- Hand sewing needle (optional)
*For simpler sewing, avoid directional patterns that require the fabric stay facing one direction
Step
Unfolded, cut both pieces of fabric into 10 in x 20 in rectangles.
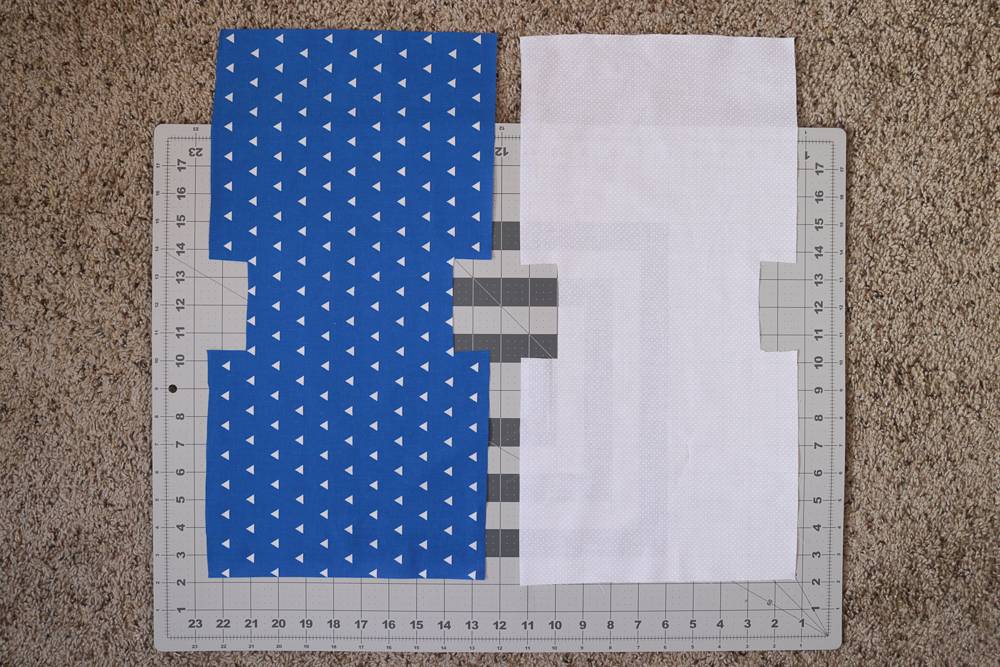
Step
Along the 20-inch side, measure the middle. Cut out a 1 in x 3 in notch on either side, so that it looks like the above photo.
Step
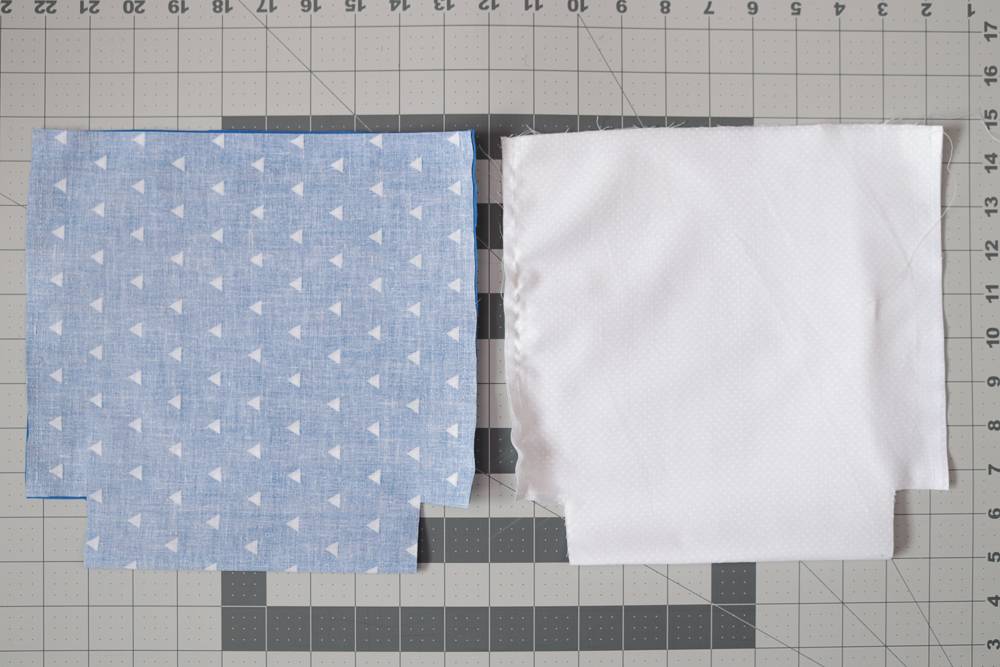
Take the patterned piece intended to be the outside of the bag and fold in half (inside out) with the notches at the bottom. Sew along each side.
Step
Take the piece intended to be the inside of the bag, and fold in half (inside out) with the notches at the bottom. Sew along one side. Along the other, sew halfway, leave a 1-inch opening and sew the rest – you will need this opening for later.
Iron the seams open. This makes it less bulky later.
Step
Pinch the bottom notches together and sew a straight line across to square off the bottom. Repeat on each side of both pieces of fabric.

Step
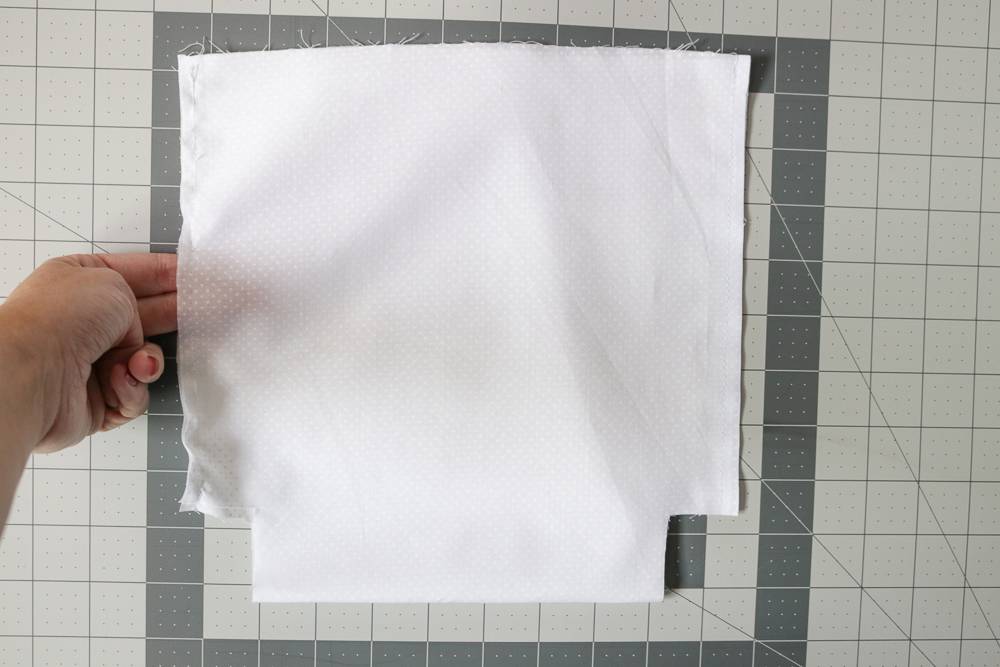
Turn only the internal piece right side out. The outside piece should remain inside out. Both pieces should resemble bags with squared bottoms.
Step
Place the internal piece inside of the outside piece so that the patterned sides are facing each other. Sew a thin seam all the way around the top to secure the pieces together.
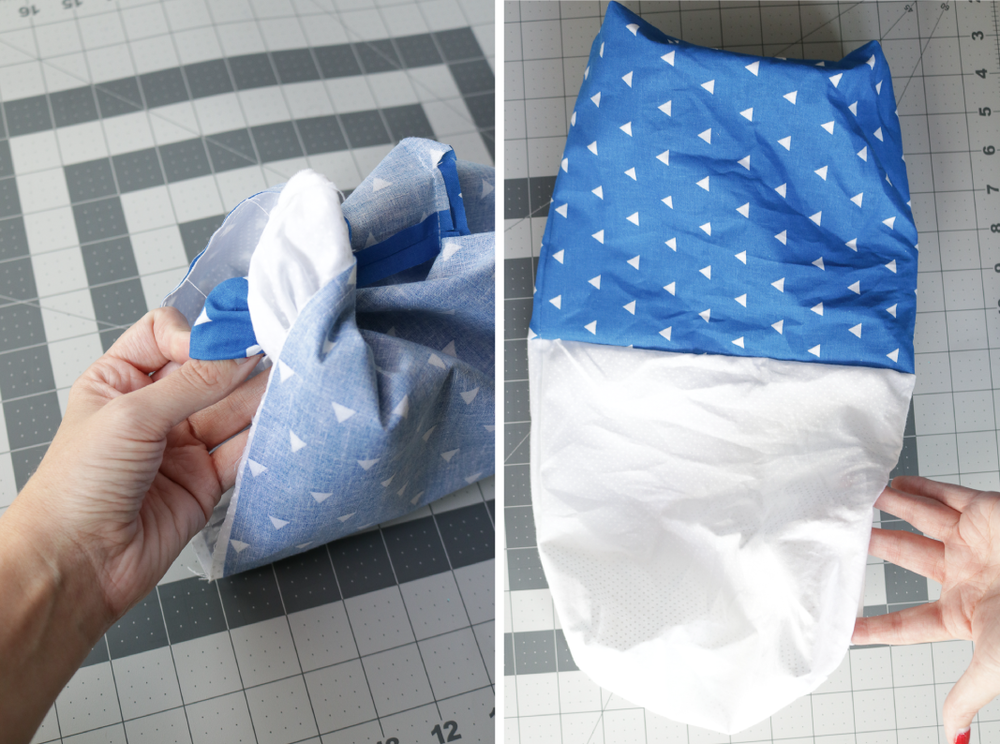
Step
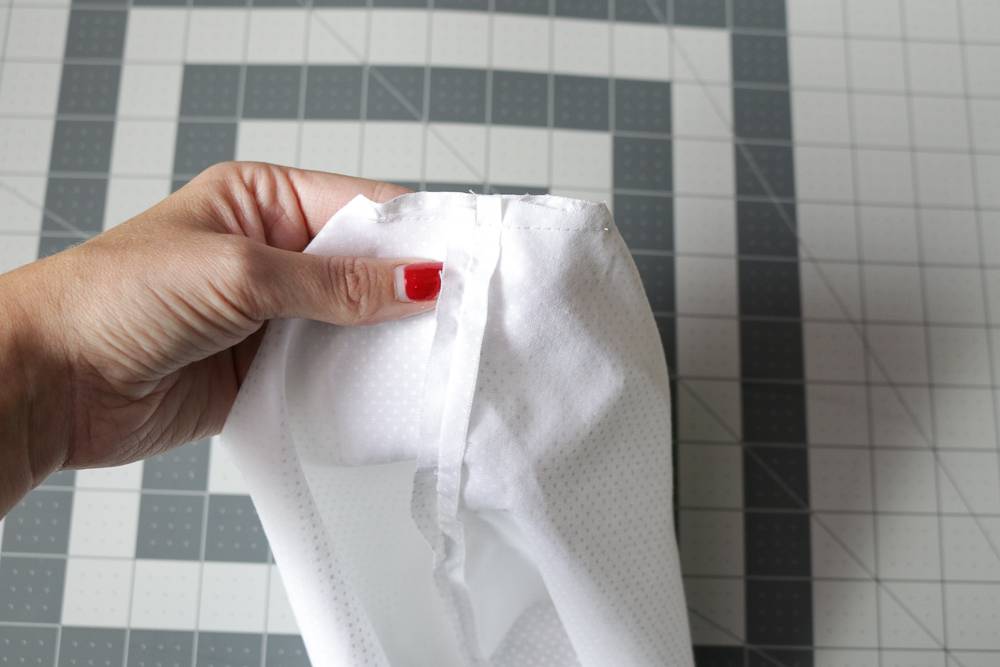
Trim excess threads and pull the entire bag right side out through the hole left in the internal piece.
Step
Using a hand sewing needle or your machine, sew the hole shut. Using your machine will not look as clean, but it is not necessary because it will be the inside lining of the bag.
Step
Push the lining into the inside of the bag and iron as needed.
To use, place items inside and simply pinch the sides and roll the top of the bag. You can certainly adjust the measurements to make a larger or smaller bag, but I found that these measurements work best for fitting everything I needed. The rolled top makes it feel like I’m carrying a much classier version of an old school brown bag lunch, and I love it!
If you’re looking for more great sewing projects, check out this collection of Simple Sewing Projects for All Skill Levels.