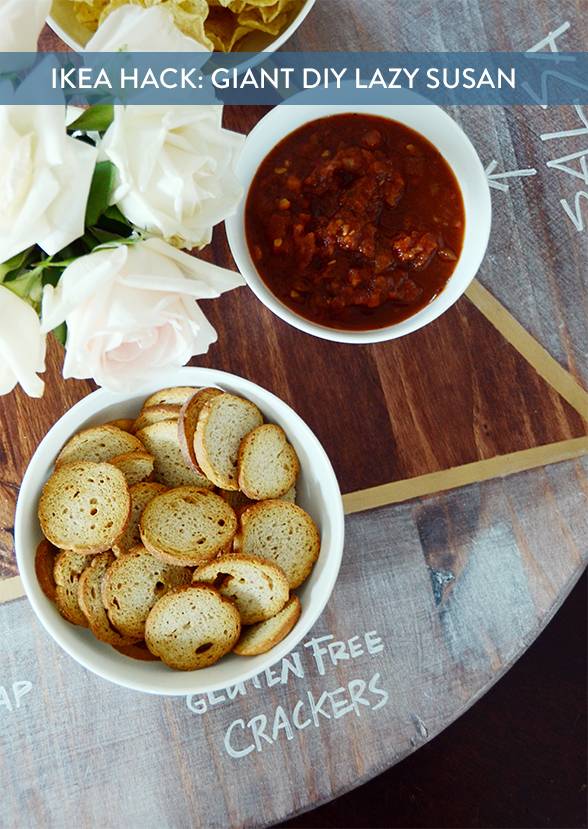
With Thanksgiving right around the corner, I’ve been thinking about ways to up my entertaining game… so when I walked by the Snudda at IKEA I had an idea. Why not turn the humble wooden lazy susan into a glorified, beautiful serving piece with more space for snacks and a way to label them too? Well, I turned this idea into a reality. Click through to check out the full tutorial!
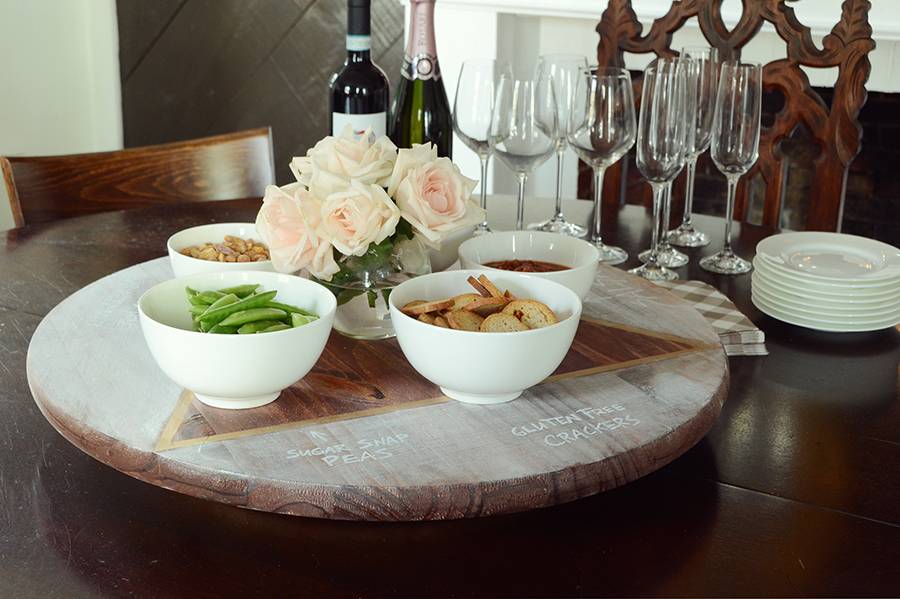
The large scale lazy susan is big enough for quite a few different items, and has a chalk board finish around the edges so that you can label your dishes… which is especially handy when catering to those with dietary restrictions. And here’s the best part – it’s surprisingly easy to make! So let’s get started.
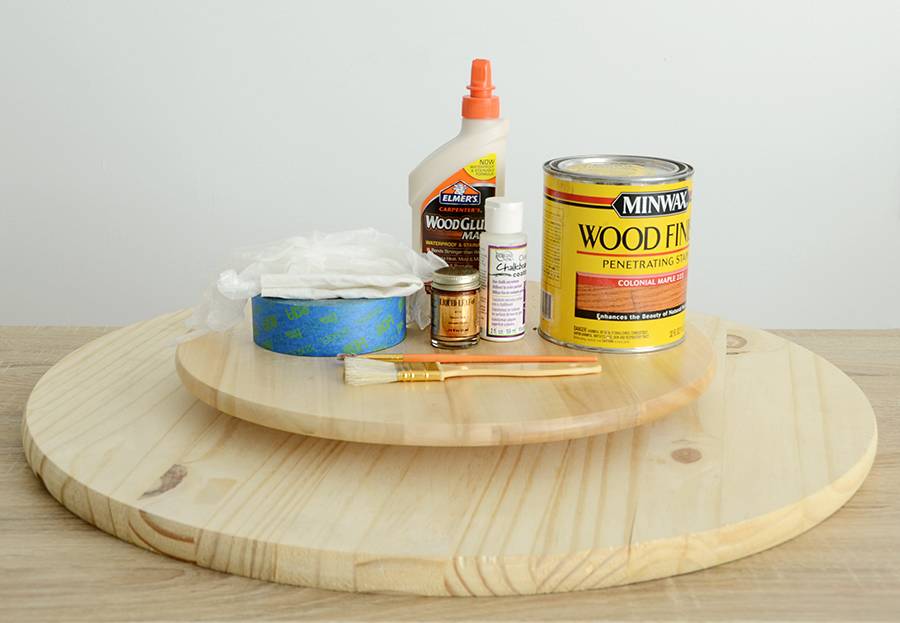
Here’s what you’ll need for your giant lazy susan:
- IKEA Snudda
- Edge Glued Pine Round
- Wood glue
- Wood stain
- Americana Clear Chalkboard Coating
- Liquid Leaf in gold
- Wide and narrow paint brushes
- Painter’s tape
- Old rag
- Gloves
- Chalk
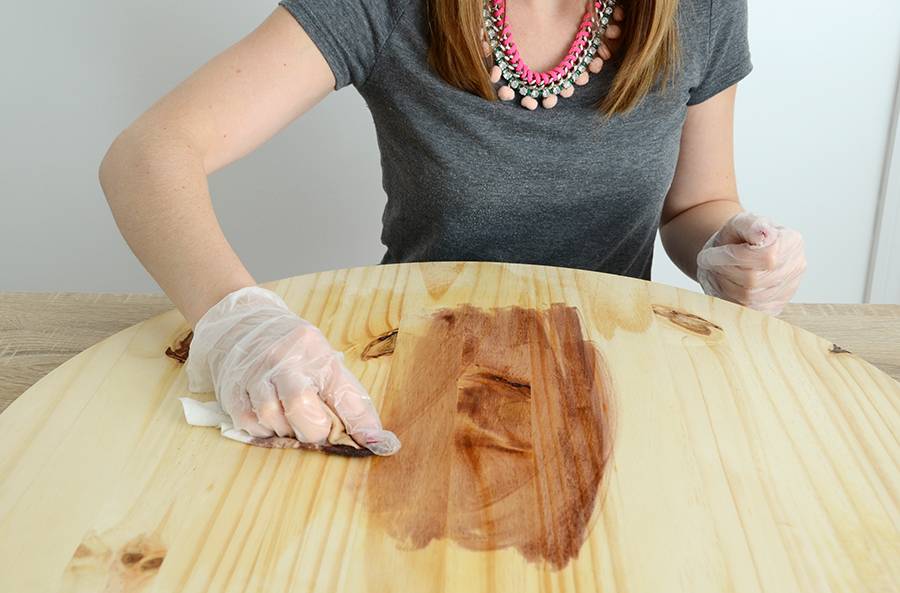
Begin by staining your pine round. I bought mine at Home Depot… click the link in the materials list if you’d like to see it online. Stain it according to the instructions on the can – I did two coats. Be sure to do this whole project in a well-ventilated area.
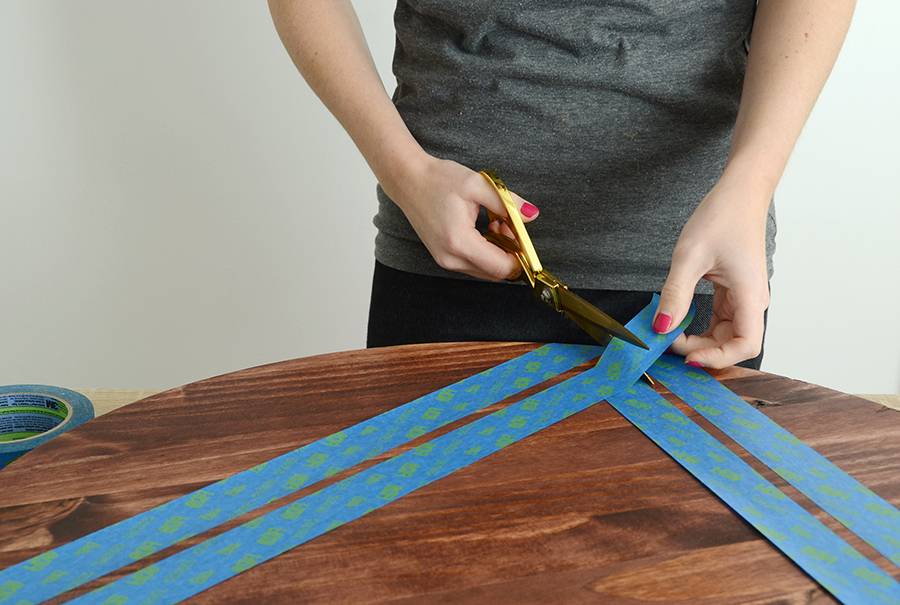
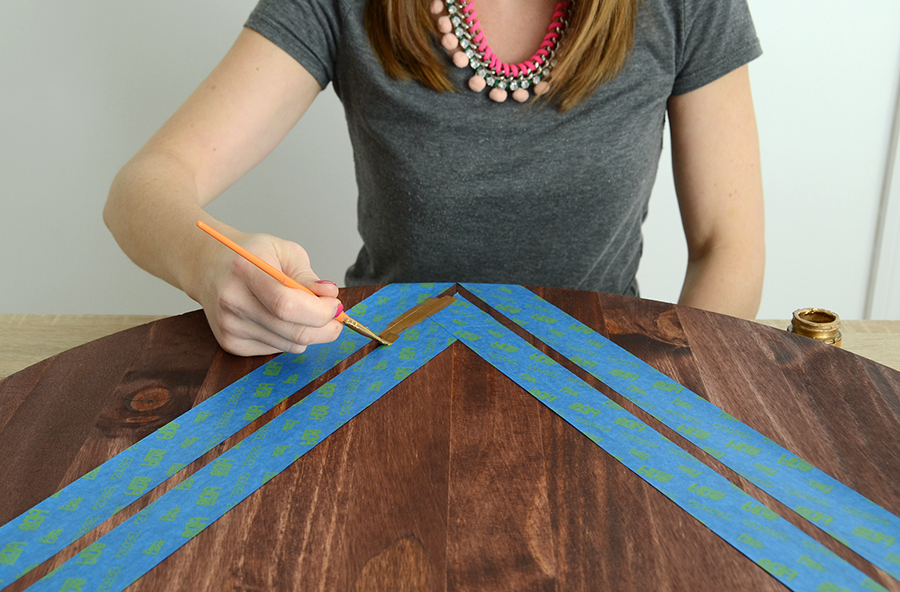
Once it is completely dry, create a 1/2 inch wide triangle shape on your pine round using painter’s tape. Use scissors to create crisp corners. Press down firmly on the edges of the tape so no gold leaf leaks underneath in the next step.
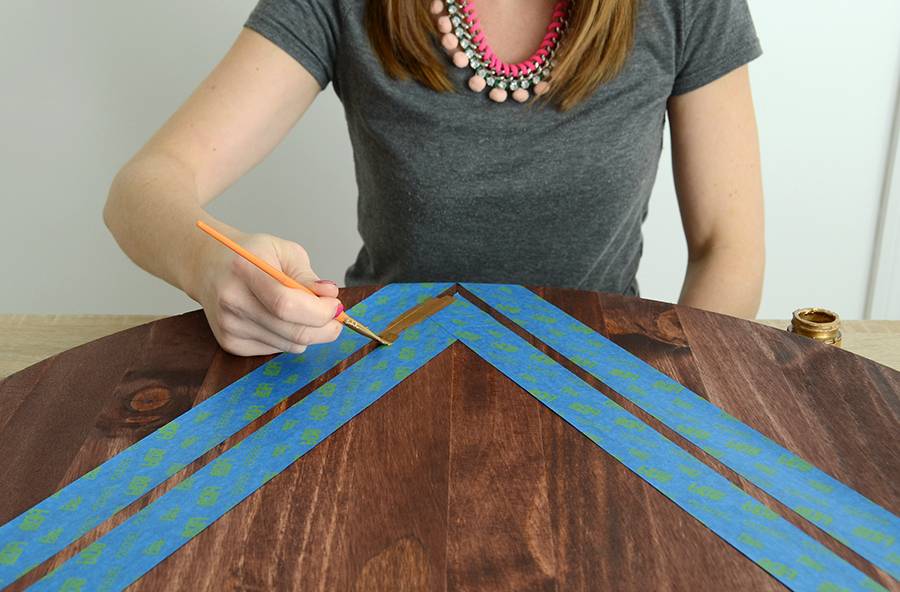
Use a narrow paint brush to apply the Liquid Leaf paint inside the painter’s tape.
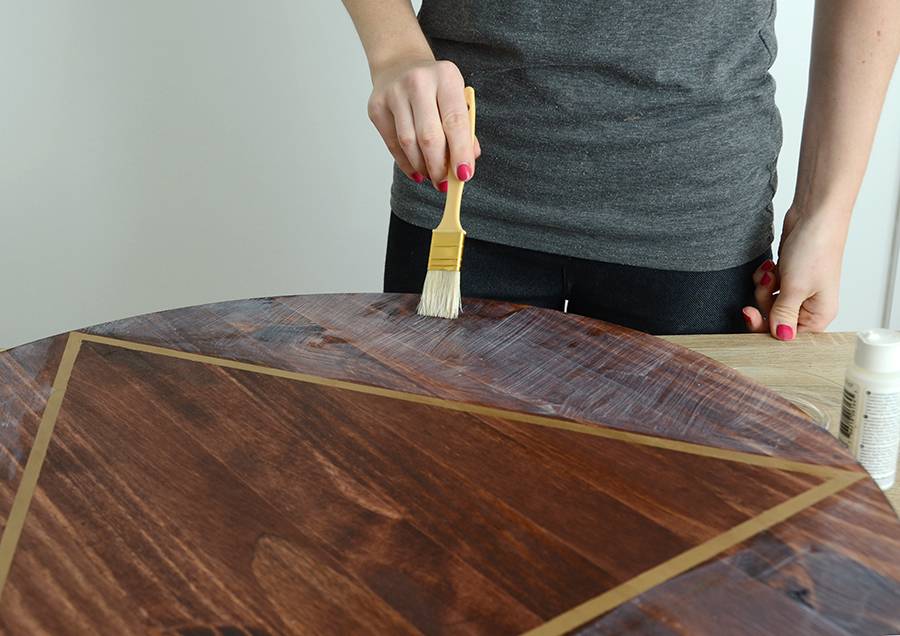
Once the Liquid Leaf is dry, paint two coats of chalkboard coating in the space outside the triangle, according to the instructions on the bottle.
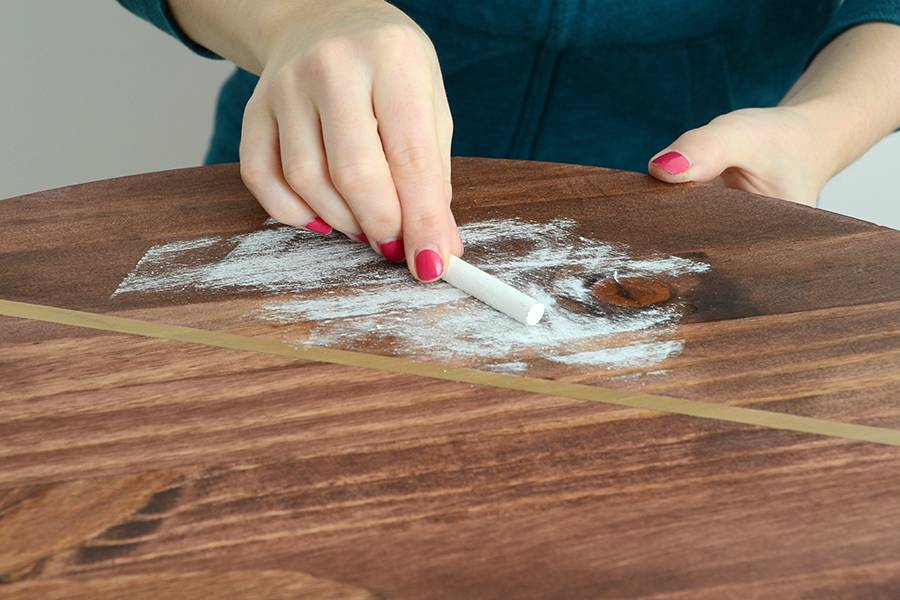
Let it dry, and then condition the chalkboard areas with a piece of chalk laid on its side as shown above. Wipe with a paper towel.
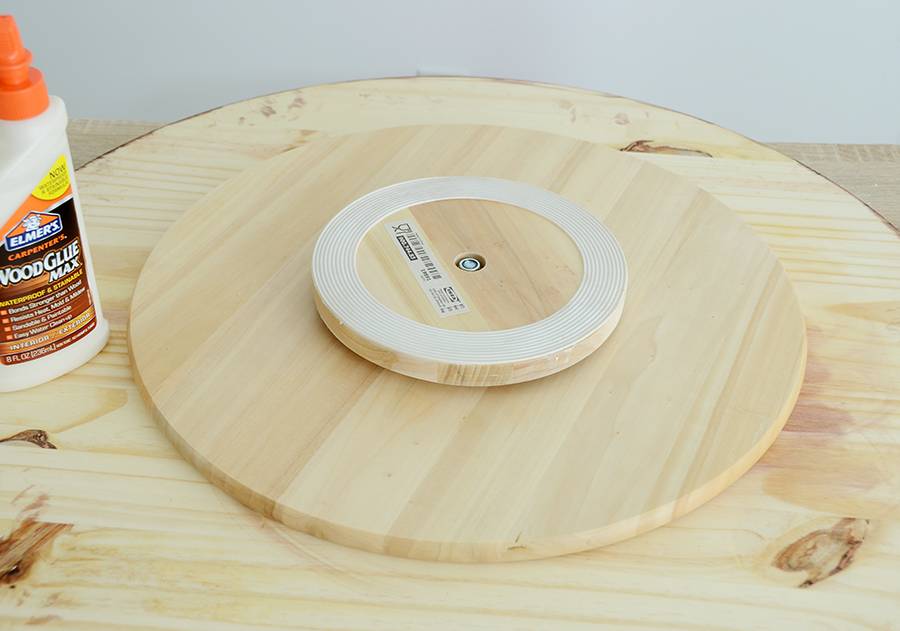
Flip the pine round over and glue the Snudda to the bottom. Make sure it is centered by measuring from the edge of the Snudda to the edge of the pine round.
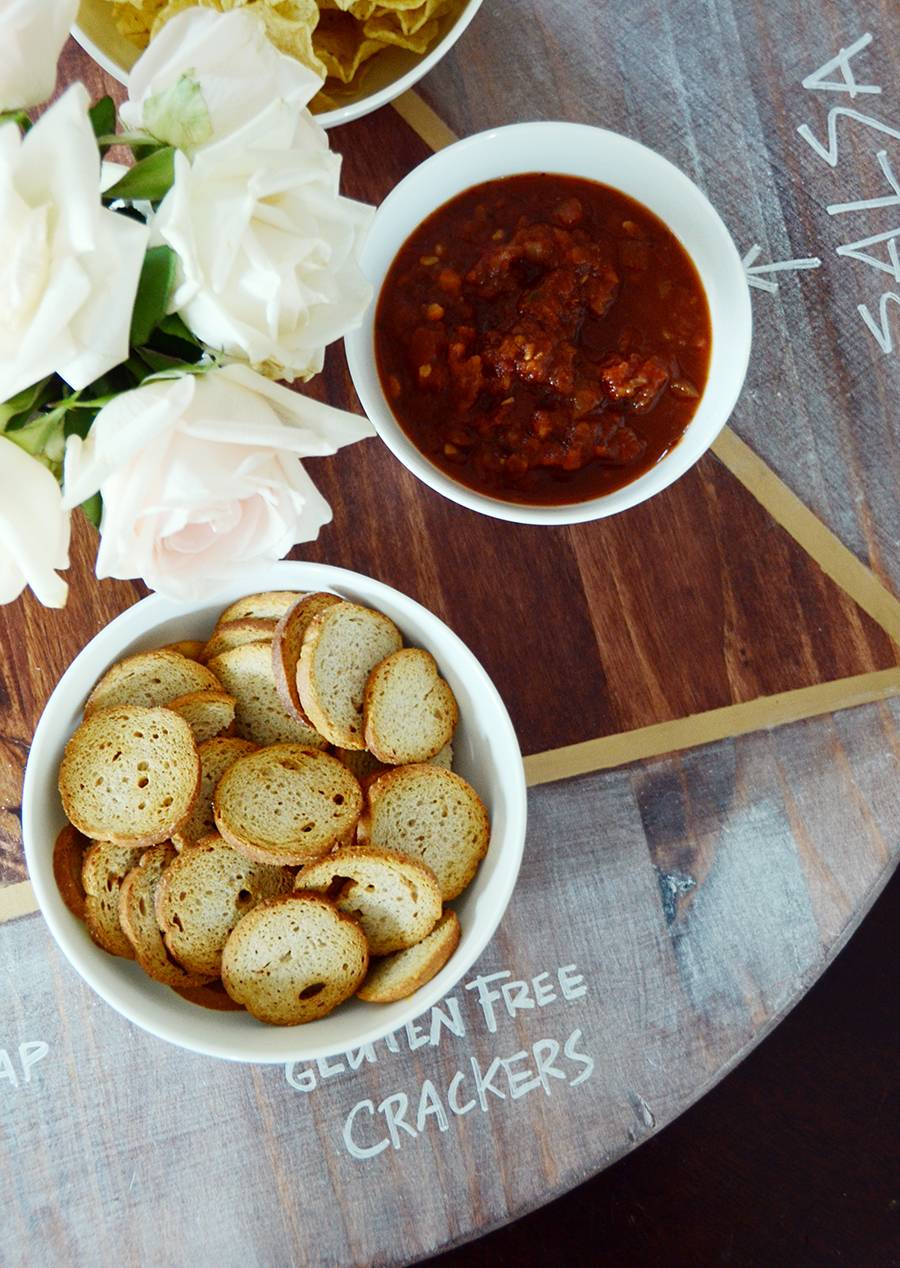
Let it dry, and then flip it over and add snacks! Not too hard, right?!
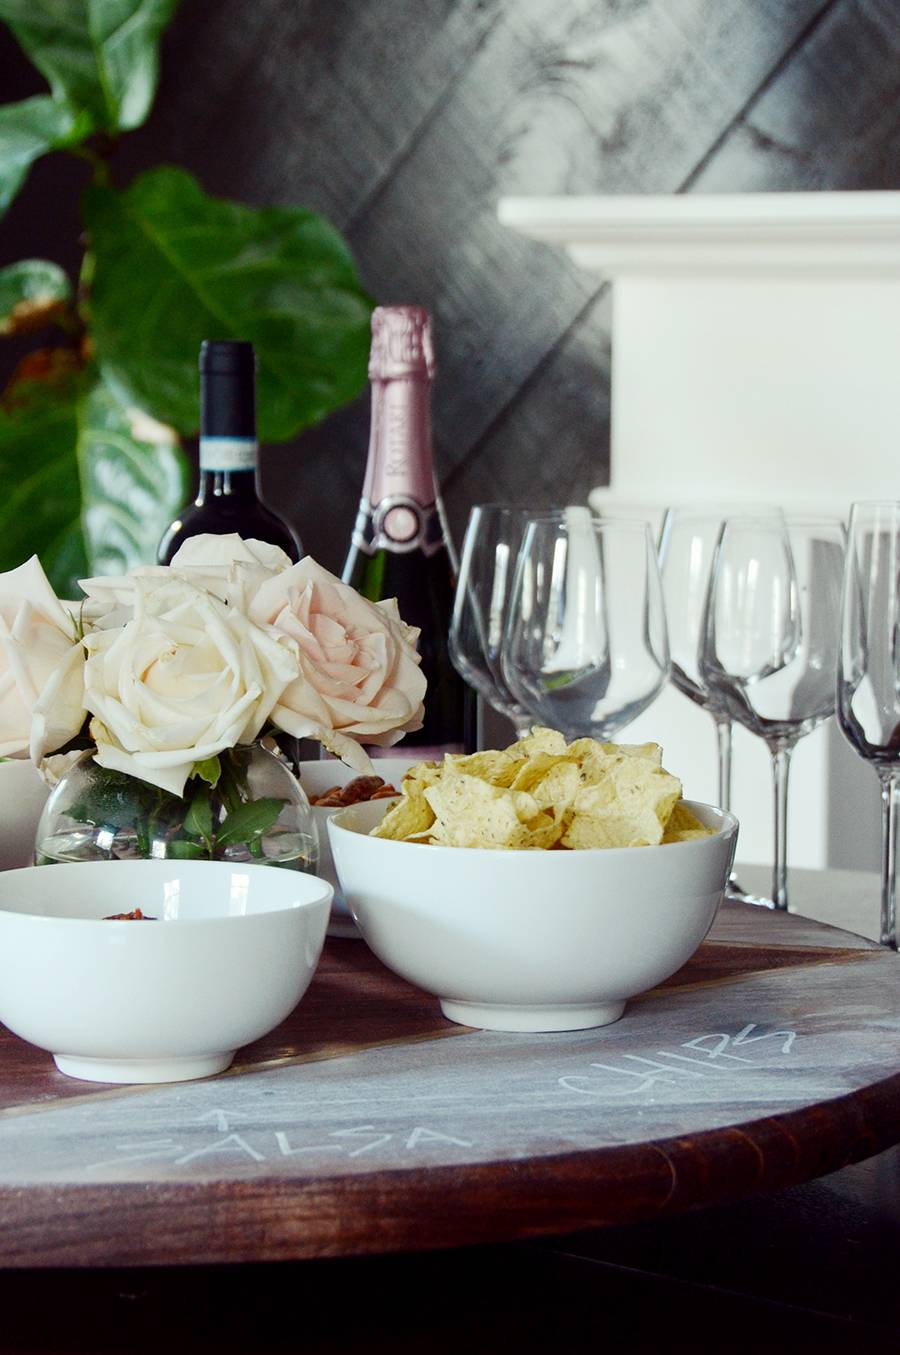
Use chalk to label your food. Pro tip: use a pencil sharpener to create a pointy tip.
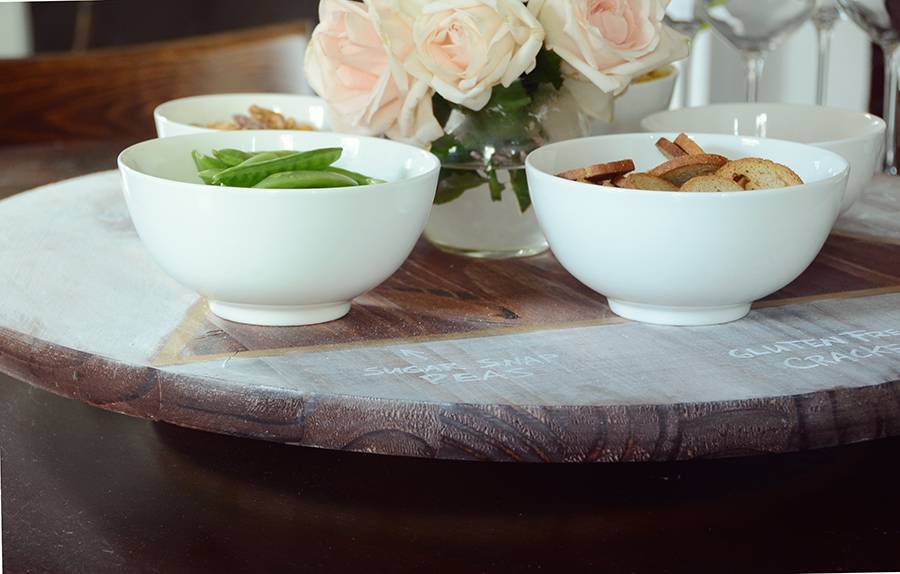
People will love that they can spin it around to reach whatever they want without having to interrupt the conversation to ask for something.
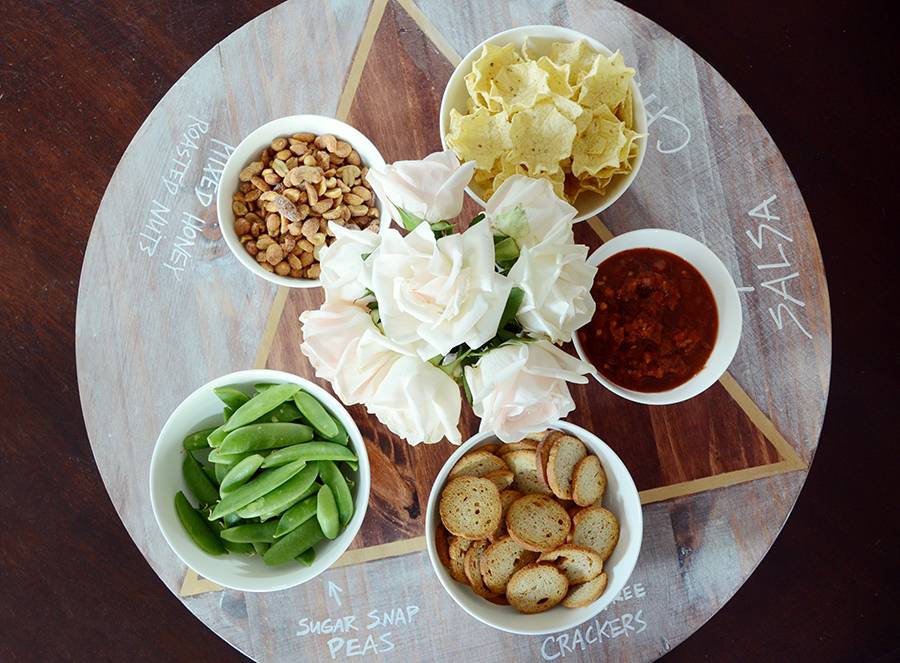
It’s really quite elegant, with a touch of playfulness thanks to the chalkboard sections.
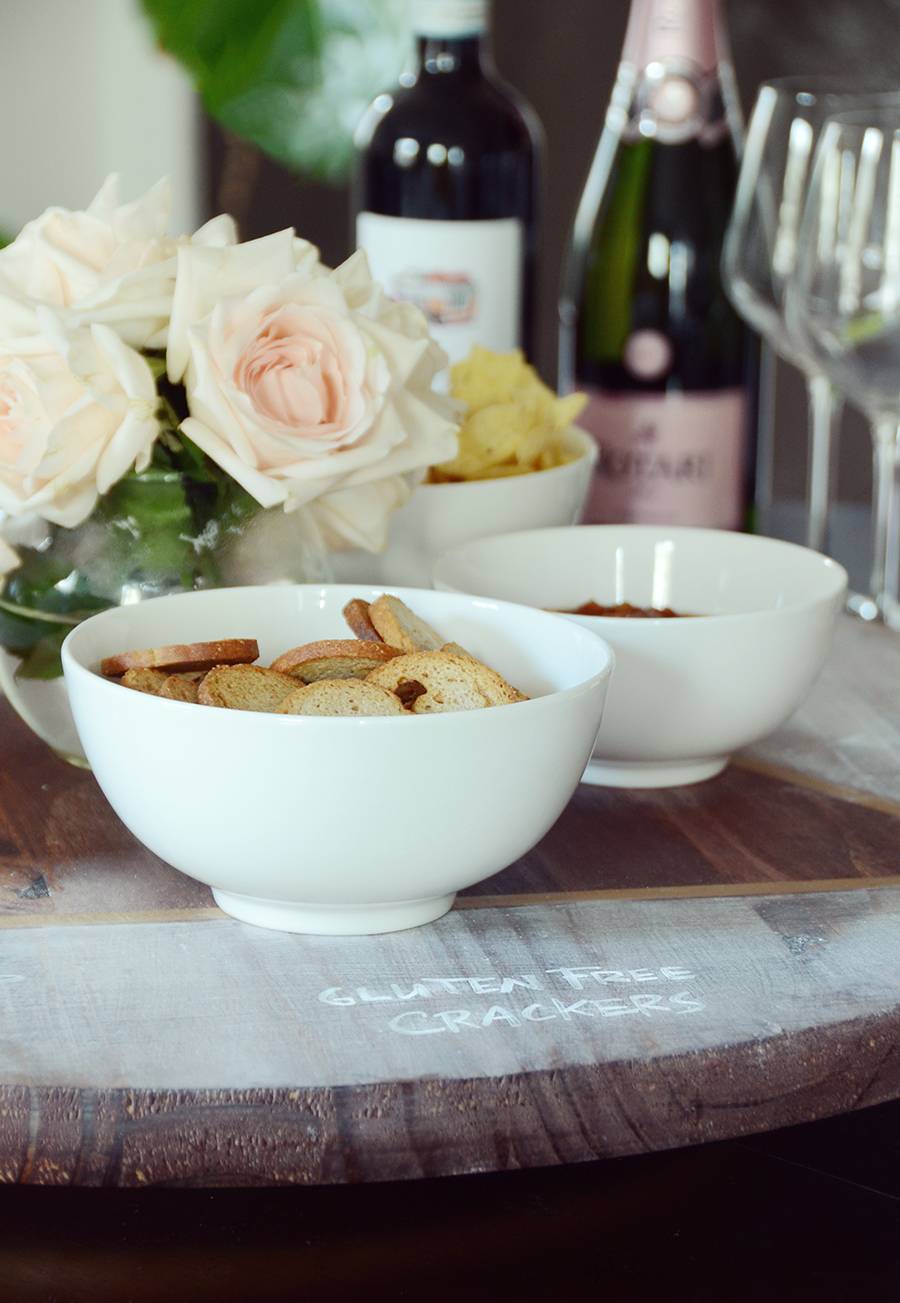
It can be especially handy for labeling things like gluten free crackers or other items for those of us with dietary restrictions.
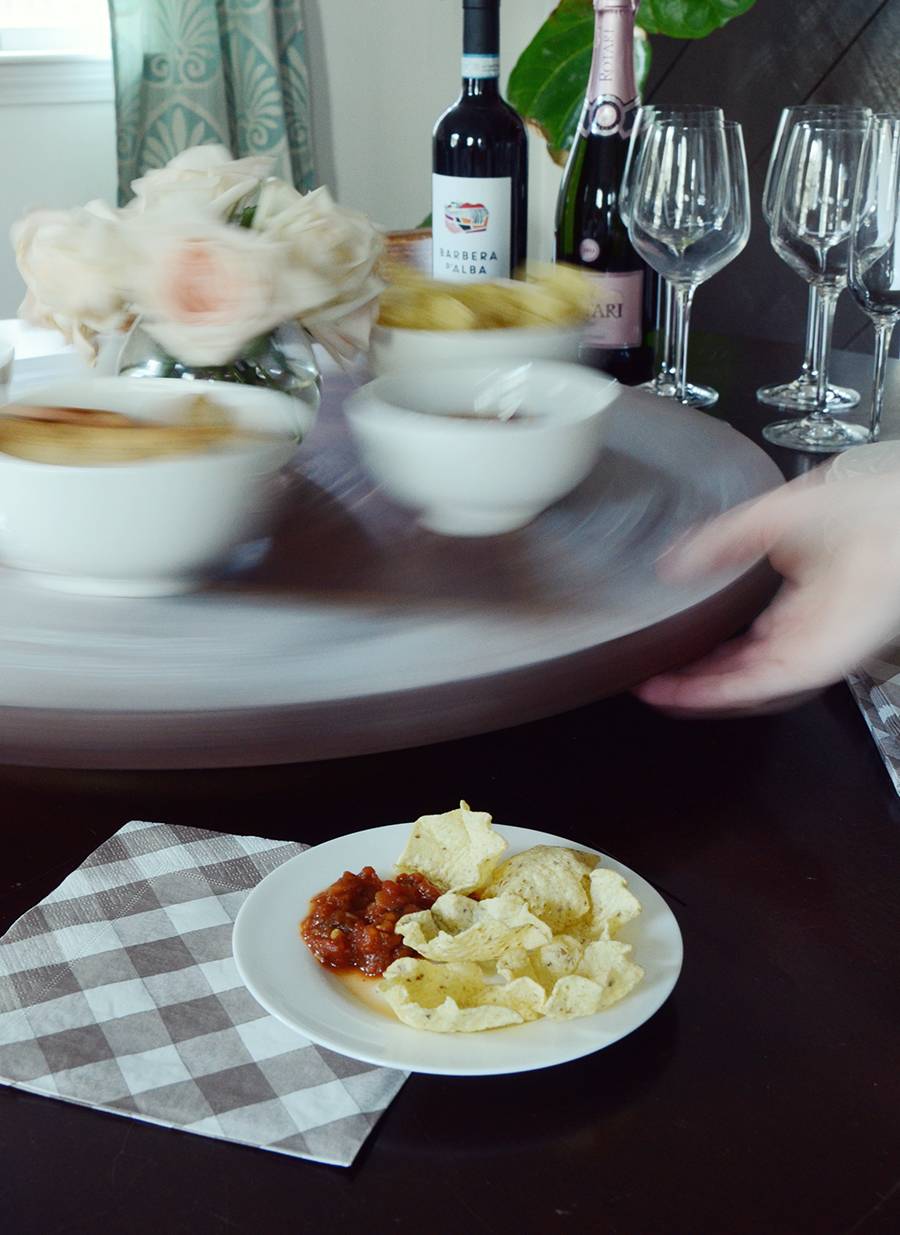
And you won’t be able to stop spinning it around!
Hello. Is it stable enough. Won’t it tilt id tbe dishes are heavy? TIA.