Discover essential tips and techniques to effectively clean and maintain your wood cutting boards, ensuring they stay durable, hygienic, and beautiful for years to come.

Importance of Cleaning and Maintaining Wood Cutting Boards
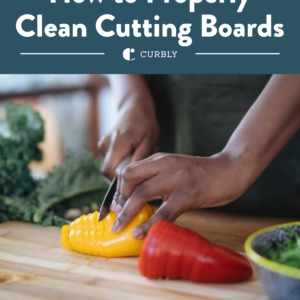
Let’s be honest, your wood cutting board has seen some things.
Sunday meal prep, midnight snack sessions, that ambitious sourdough phase. It’s one of the most-used surfaces in your kitchen, and if you’re not caring for it properly, it might not be doing you any favors when it comes to hygiene.
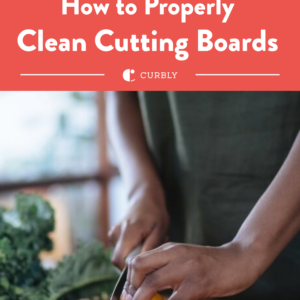
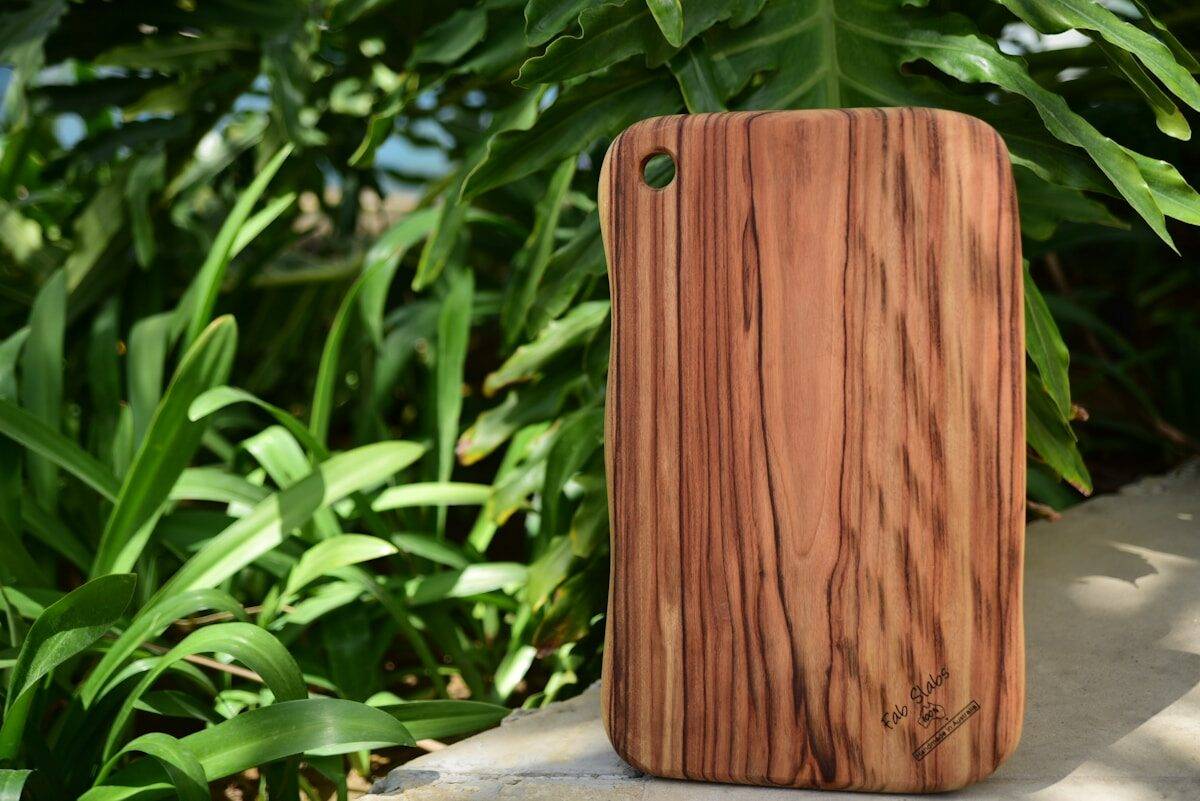
Wood cutting boards are an investment worth protecting. When maintained correctly, they can last for decades, and often get better looking with age.
Ignore them, though, and you’re looking at warped boards, deep cracks, funky odors, and a breeding ground for bacteria.
The good news? Caring for your board is surprisingly simple once you know what to do (and what to avoid).
Why Wood Cutting Boards Require Special Care
Wood is a natural, porous material, which is exactly why it performs so well as a cutting surface, and also why it needs more attention than a plastic board.
Unlike a plastic cutting board, wood has natural antimicrobial properties; bacteria that sink into the grain tend to die off rather than multiply. But that doesn’t mean you can skip cleaning. Wood items also absorb water, oils, and food particles, which means:
- Excess moisture can cause warping, cracking, and splitting
- Trapped food particles lead to odors and bacterial growth
- Harsh cleaners strip the wood’s natural oils, making it dry and brittle
- Dishwasher heat and soaking can destroy the board’s structure entirely
Wood cutting boards thrive with gentle, consistent care, not harsh scrubbing or neglect.
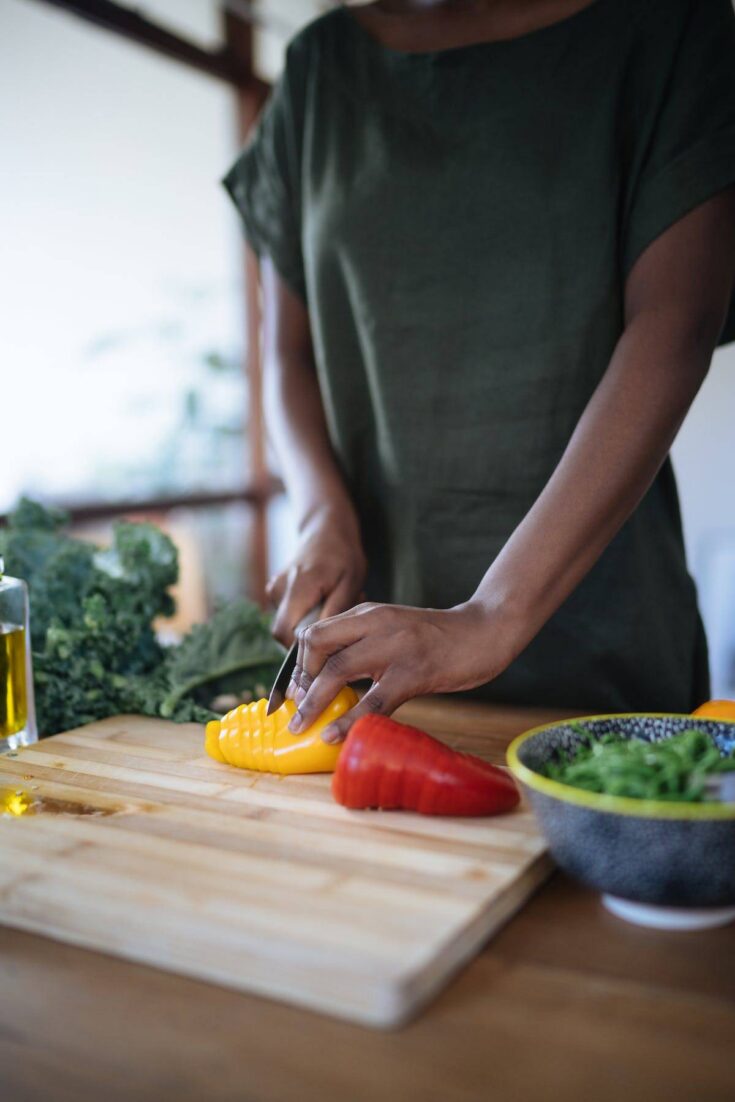
Daily Cleaning Tips for Wood Cutting Boards
After every use, your board will need cleaning, but keep it simple:
- Wash by hand with warm (not hot) soapy water and a stiff-bristle brush or clean sponge
- Clean both sides of the board to prevent uneven moisture absorption, which causes warping
- Rinse thoroughly and dry immediately with a clean towel
- Stand the board upright or prop it at an angle to allow airflow on both sides; don’t lay it flat on the counter
Never submerge your board in water, and absolutely never put it in the dishwasher, the combination of heat, prolonged moisture, and harsh detergents will cause it to swell, crack, and split, sometimes after just one cycle.
Also, alternate sides when cutting to distribute wear evenly.
Deep Cleaning Methods to Remove Stains and Odors
Even with daily washing, your board will eventually pick up stubborn stains and odors. Here are three tried-and-true methods:
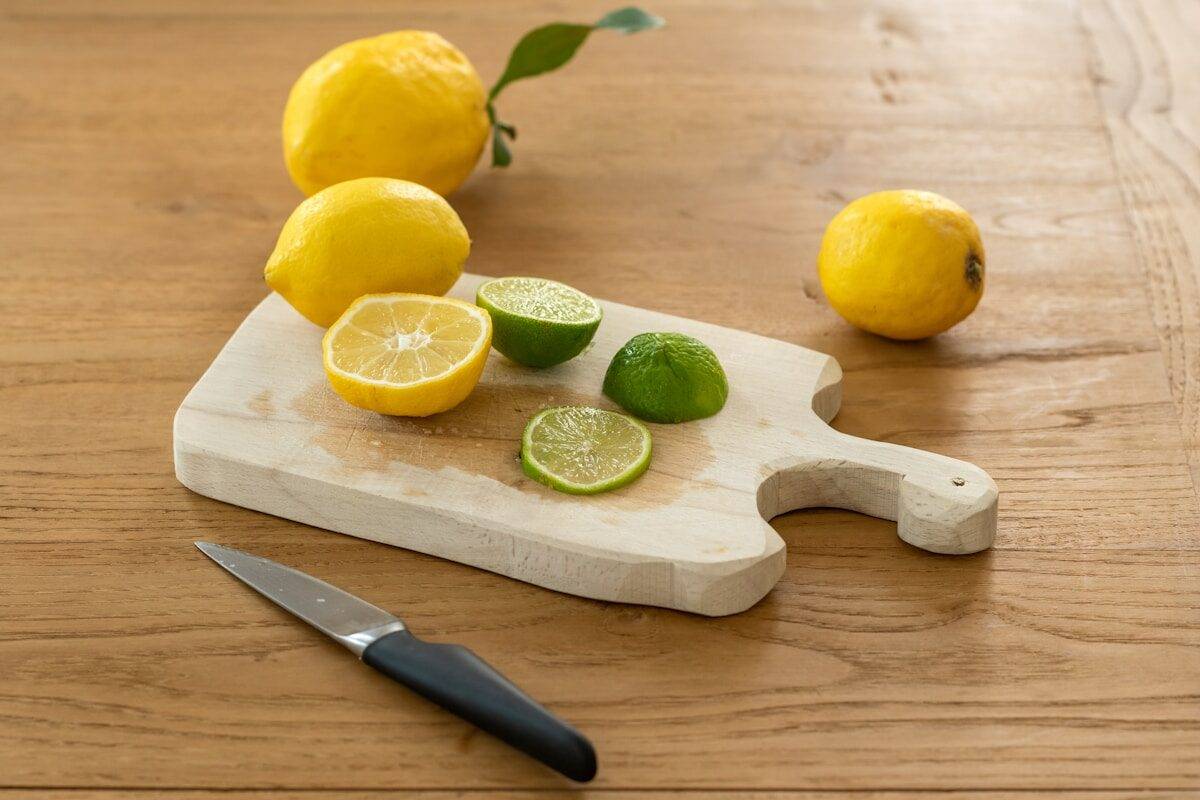
Salt and Lemon Scrub
Sprinkle coarse salt over the surface, then scrub in circular motions using the cut side of a lemon half. The salt acts as a mild abrasive while the lemon juice deodorizes and lifts stains. Let the mixture sit for a few minutes, then scrape off and rinse.
Baking Soda Paste
Mix baking soda with just enough water to form a paste, spread the slurry over the stained area, let sit for 5 minutes, then scrub and rinse. It’s a natural deodorizer that’s gentle enough not to damage the wood.
White Vinegar or Hydrogen Peroxide
Spray undiluted white vinegar across the surface, let it sit for a few minutes, then rinse. For food safety after raw meat or poultry, use a 3% hydrogen peroxide spray instead, letting it sit several minutes before rinsing thoroughly.
Go easy on the vinegar. If used too frequently, its acidity can dry out the wood over time.
How to Properly Dry Wood Cutting Boards to Prevent Warping
Drying is arguably the most overlooked step in cutting board care, and it’s where many boards meet an early end. The goal is even, thorough drying with good airflow:
- Pat the board dry with a clean dish towel right away after washing
- Never lay a wet board flat; moisture gets trapped underneath
- Stand it vertically in a dish rack or lean it against the backsplash
- Keep it away from direct heat sources like burners or heating vents
When one side of the board dries faster than the other, the board warps into a curve — annoying and a safety hazard. In a humid kitchen, let the board air-dry for several hours to remove residual water, then store it flat.
Regular Maintenance: Oil and Condition Your Cutting Board
If daily cleaning is the baseline, oiling is the upgrade. Think of it like moisturizing — wood dries out over time, and regular oiling replenishes the natural oils that prevent cracking and splitting.
Food-grade mineral oil is the gold standard: affordable, odorless, flavorless, and it won’t go rancid.
Find it at most hardware stores or pharmacies.
Avoid vegetable, olive, or coconut oils; they’ll eventually go rancid inside the wood. Board cream (a blend of mineral oil and beeswax) is also excellent, offering both conditioning and a protective surface seal.
To oil your wooden cutting board, make sure it’s completely clean and dry, then apply a generous layer with a soft cloth, rubbing with the grain.
Let it soak in overnight, then wipe off any excess.
Repeat monthly, or whenever the wood looks dull.
Quick test: sprinkle a few drops of water on the surface — if they bead up, you’re good; if they soak in, it’s time to oil.
Tips to Prevent Cracks and Splits in Wood Cutting Boards
Cracks are the nemesis of a good cutting board. Once they form, they’re tough to reverse and can harbor bacteria.
Here’s how to stop them before they start:
- Oil consistently: dry wood cracks; well-oiled wood stays supple
- Avoid thermal shock: don’t place a cold board on a hot stovetop or under a broiler
- Never soak: prolonged moisture causes swelling, followed by cracking when it dries
- Store in a cool, dry spot with good airflow — not wedged in a tight cabinet
- Avoid the dishwasher: the heat and moisture cycle is devastating for wood boards
If you notice hairline cracks forming, act fast: sand the area lightly with fine-grit sandpaper (going with the grain), then immediately apply mineral oil.
Catching cracks early can stop them from deepening.
When to Replace Your Wood Cutting Board
Even the best-maintained board has a lifespan. It’s time for a new one if you notice:
- Deep grooves or gouges that can no longer be sanded out
- Persistent odors after deep cleaning — bacteria may have penetrated deep into the wood
- Severe warping that makes the board unstable
- Large cracks or splits running deep into the wood
- Mold or dark discoloration that doesn’t respond to cleaning
Minor scratches are normal and can often be sanded smooth. But if the board feels unsafe for food prep, trust your instincts. When shopping for a replacement, look for end-grain or edge-grain hardwood in maple, walnut, or cherry — dense, durable, and gentle on knife edges.
The Ultimate Guide to Properly Clean and Maintain Your Wood Cutting Boards
Discover essential tips and techniques to effectively clean and maintain your wood cutting boards, ensuring they stay durable, hygienic, and beautiful for years to come.
Materials
- Stiff-bristled brush or scrubbing sponge
- Mild dish soap
- Coarse salt (kosher or sea salt)
- 1 lemon, halved
- Baking soda
- White vinegar (in a spray bottle)
- Hydrogen peroxide, 3% (in a spray bottle)
- Clean dish towels or rags
- Food-grade mineral oil or board cream
- Fine-grit sandpaper (optional)
Instructions
DAILY CLEANING
- Rinse with warm water immediately after use
- Scrub both sides with soapy water and a stiff brush
- Rinse thoroughly and pat dry right away
- Stand upright or prop at an angle to air dry — never lay flat while wet
DEEP CLEANING
- For stains: Sprinkle coarse salt on the surface and scrub with the cut side of a lemon half. Let sit a few minutes, then rinse.
- For odors: Spread a baking soda and water paste over the surface. Let sit 5 minutes, then scrub and rinse.
- For sanitizing: Spray undiluted white vinegar, let sit for a few minutes, then rinse. After raw meat, use 3% hydrogen peroxide instead.
OILING & CONDITIONING (Monthly)
- Make sure the board is completely clean and dry
- Rub food-grade mineral oil generously into the surface with the grain
- Let soak overnight, then wipe off any excess
- Repeat whenever water stops beading on the surface
CRACK PREVENTION
- Oil regularly — dry wood cracks
- Never soak or put in the dishwasher
- Store in a cool, dry spot with airflow
- Sand hairline cracks early, then oil immediately
NEVER DO THESE
- Put the board in the dishwasher
- Soak in water
- Lay flat while wet
- Use vegetable, olive, or coconut oil
WHEN TO REPLACE
Replace your board if you see deep gouges that can't be sanded out, persistent odors after deep cleaning, severe warping, large cracks, or mold that won't come clean.
Benefits of Proper Care for Longevity and Hygiene
A wood cutting board isn’t just a kitchen tool. It’s a surface you use every single day.
With a simple routine of gentle washing, proper drying, regular oiling, and occasional deep cleaning, your board can stay hygienic, beautiful, and functional for decades.
Proper maintenance also makes your kitchen safer. A clean, well-oiled board with a smooth surface is far less likely to harbor bacteria than a cracked, neglected one.
And once these habits become part of your routine, they take almost no extra effort: wash it after use, dry it standing up, oil it once a month.
Your cutting board has your back at every meal — a little regular care is the least you can do in return.