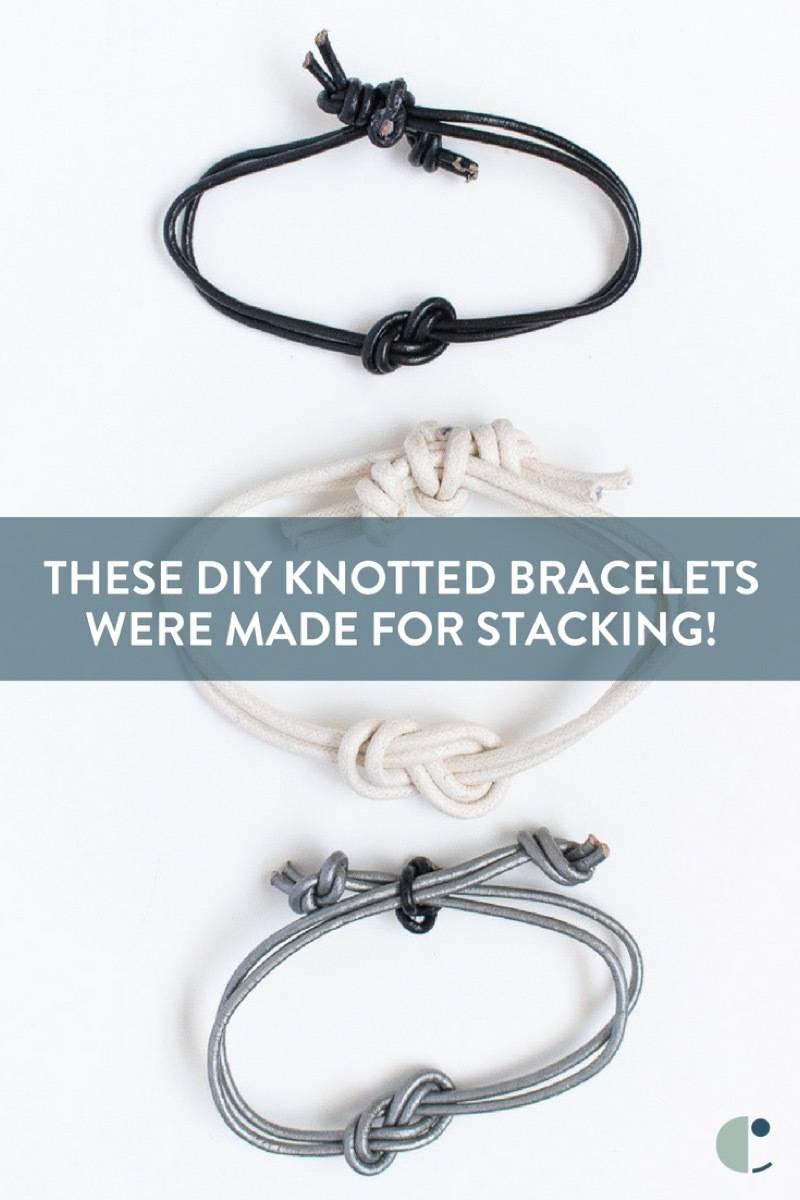
When I was in high school, I was obsessed with stackable bracelets made out of leather, hemp and other cording materials. Since all things do make a comeback, I wanted to return to my roots and make a set of stackable knotted bracelets that weren’t macrame. I didn’t think it was possible, but I may actually be getting sick of macrame (I know, crazy!) but these simple infinity knotted bracelets were a welcome change! Make a set of simple knotted bracelets with any cording material and use a sliding knot to adjust it to your wrist size, and they’re great for stacking on your wrist.
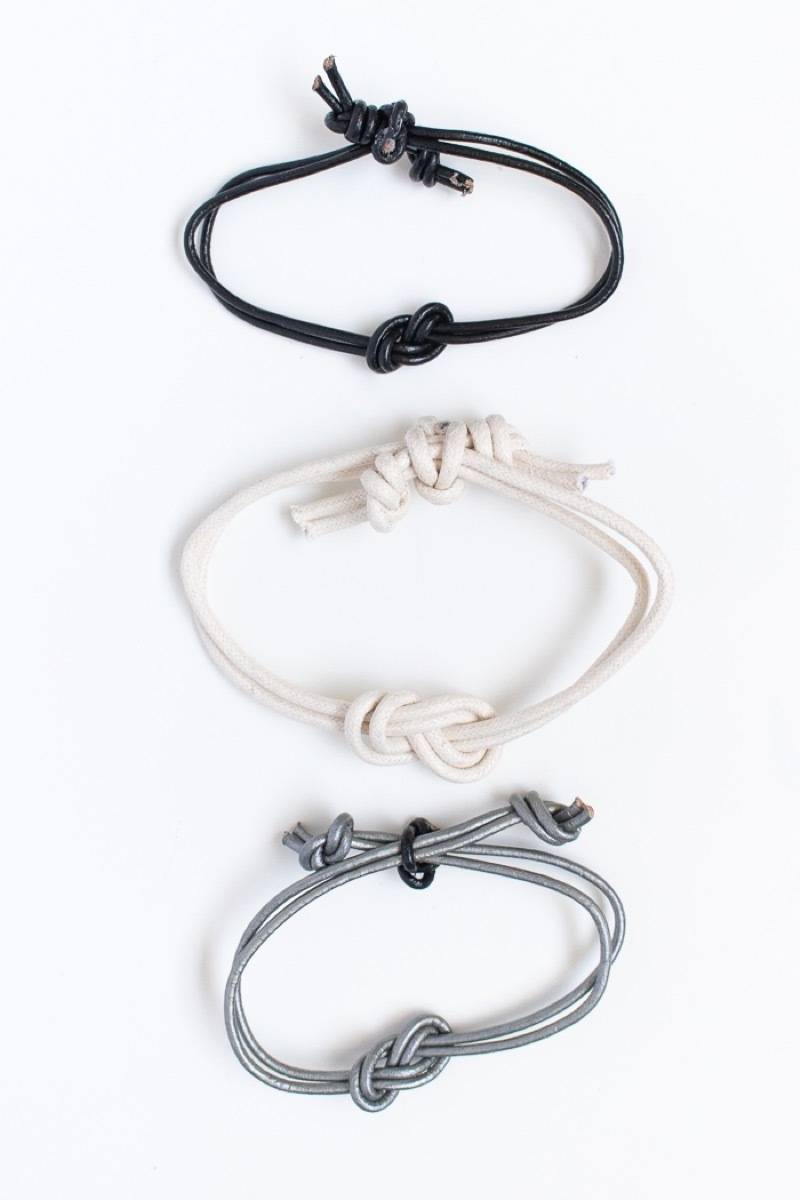
As you can probably guess, these infinity knots get their name because they look like an infinity symbol. They’re simple to make in about 5 minutes, and if you want to dress them up more, you can easily add beads or use bright colored cording. For a more simple, nautical look, use a basic rope-like cording.
A square macrame knot holds both sides of the bracelet together and allows it to adjust in size so that you don’t have to tie your bracelets on each time. I like this method because they’re easy to secure yourself in case you don’t have someone around to help you tie bracelets!
Materials:
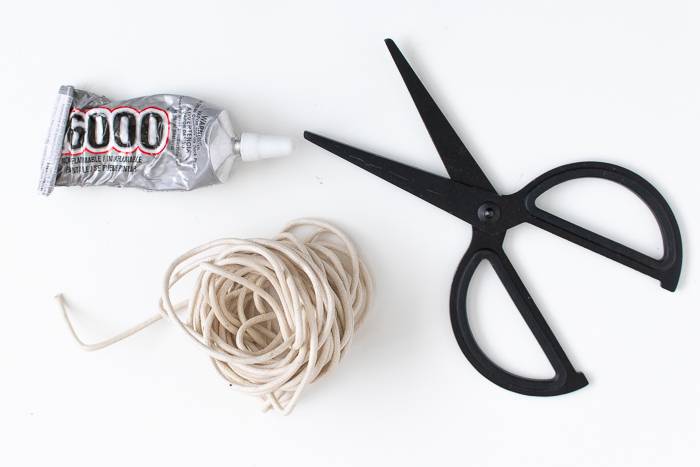
- Thick cording
- Scissors
- Clear glue (heavy duty)
Step
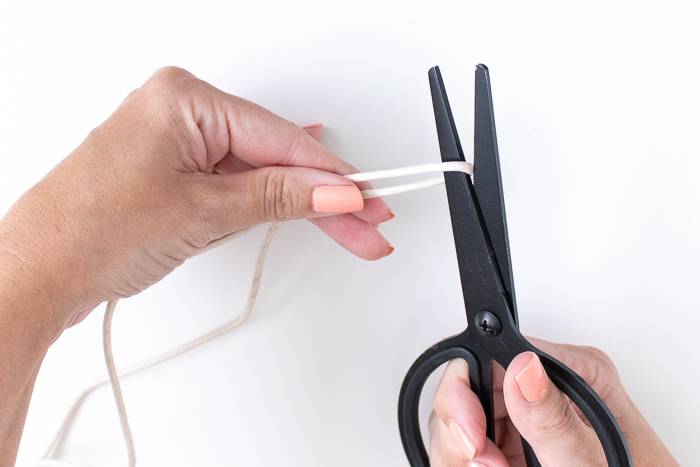
Measure a piece of cording about the length of your arm, then double it and cut the piece in half so that you have two long pieces.
Step
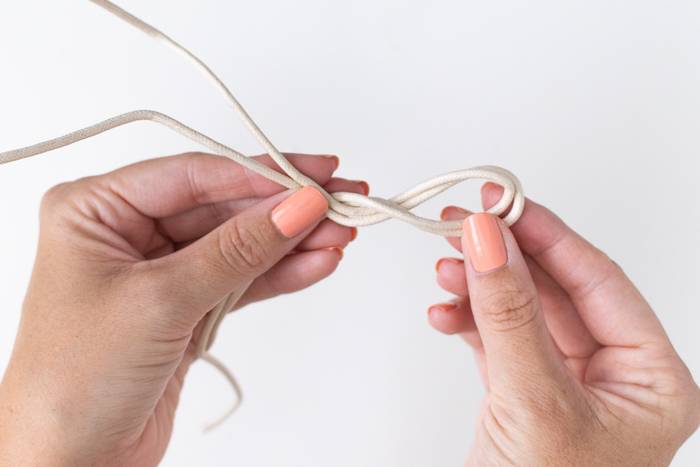
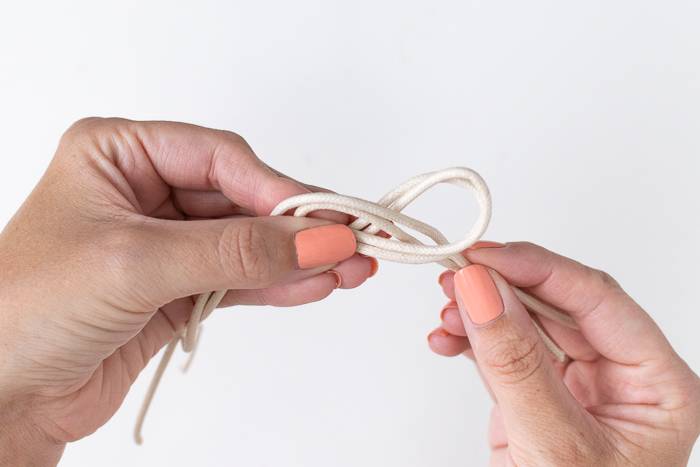
Double up the pieces, and starting in the middle, curve it in half and wrap the working side around like an infinity symbol. Then use the working end to pull through the loop to create an “infinity knot.” Adjust as needed so that you have approximately equal amount of cording on either side of the knot.
Step
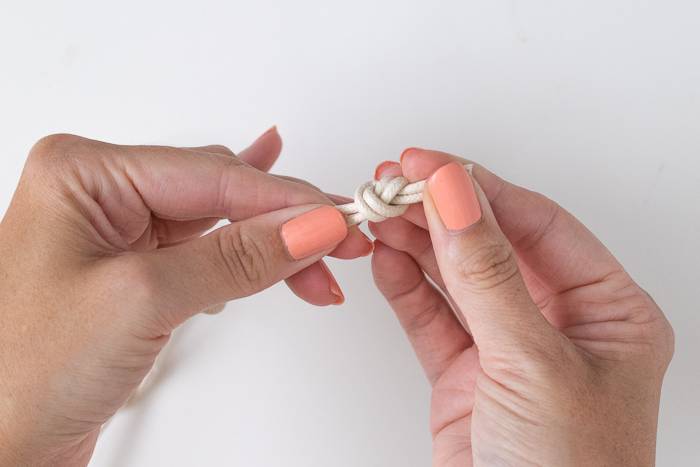
Wrap around your wrist to determine size. Add some space (about 2 inches) and tie knots at either end of the bracelet.
Step
To make a sliding knot, wrap the bracelet around itself as it would be if it were on your wrist. Cut one extra piece of string or cording about 5 inches long and thread it underneath all 4 pieces of cording in the bracelet.
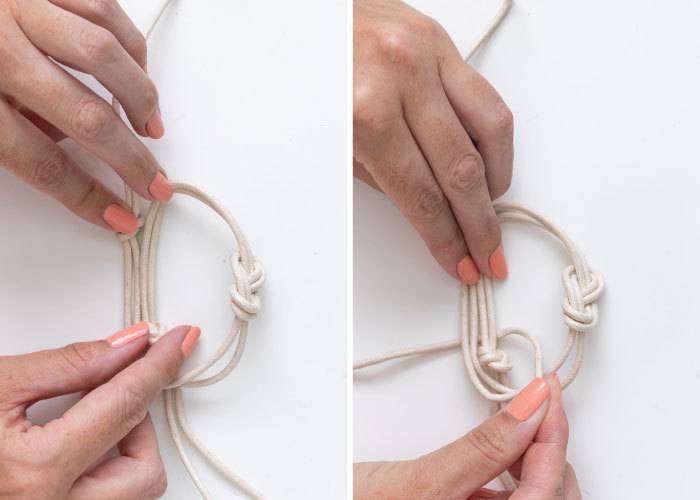
Step
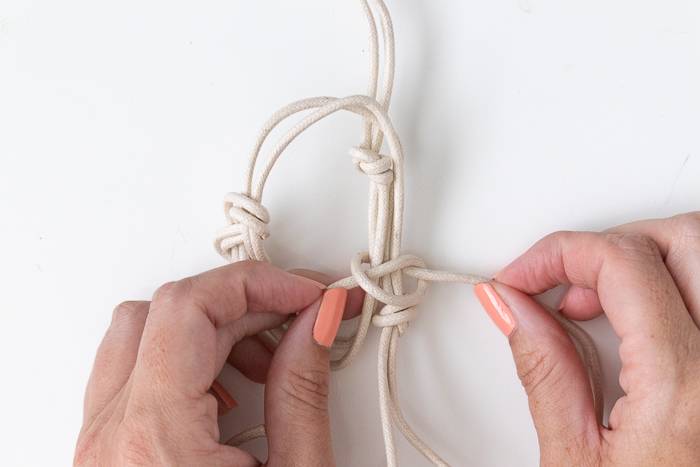
Use a macrame square knot (2 knots) around all of the pieces to secure it in a bracelet form. The knot will allow it to easily slide.
Step
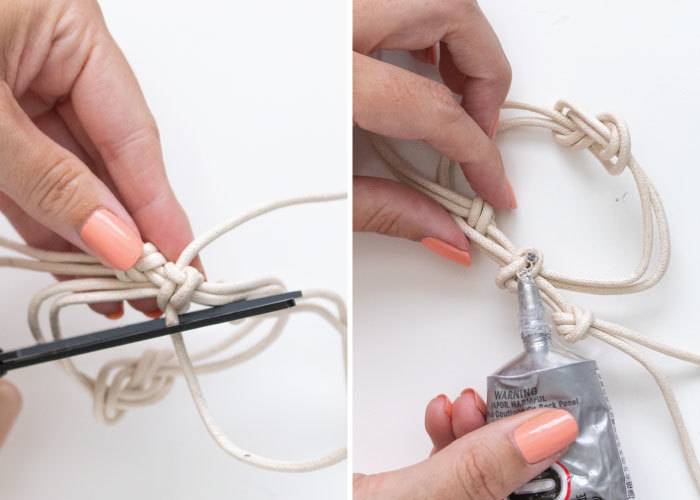
Cut the excess cording from the macrame knot. Dab glue on the area to prevent the knot from unraveling. (The importance of this step varies based on the cording you use, but it’s still recommended.)
Step
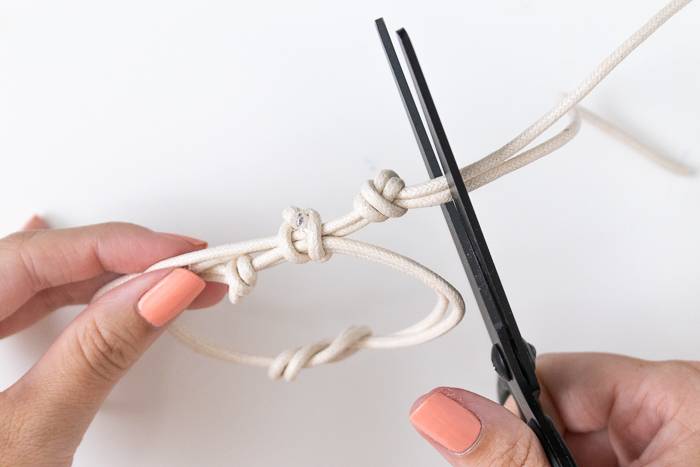
Put on the bracelet again to check the sizing and adjust the knots if needed. Cut excess cording from the knots at either end of the bracelet.
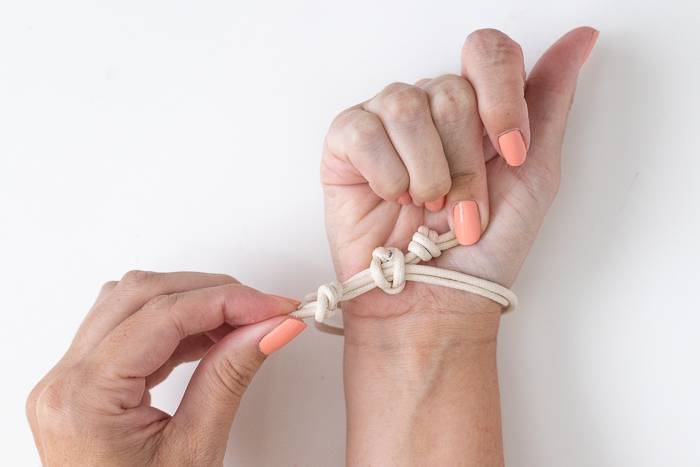
To wear it, simply pull the sides of the bracelet until the knots catch. Slip it on your wrist. Pull the knots to tighten.
Make them with various colors and cording, and you can mix them, match them and stack them!