
As winter approaches, so does more required time indoors. All that time inside makes my home feel stuffy, cramped, and stale. In essence, my house feels like it’s full of bad energy. I recently discovered palo santo, and I’m really enjoying the way it seems to cleanse the spaces around me, and even purify my own energies. Keep reading to find out more about this holy wood, and how to make a minimal palo santo holder.
What is Palo Santo?
If you’re unfamiliar with palo santo (which, until recently, I was too!), it’s a type of wood originating from Central and South America. Burning this wood is believed to promote healing because of its anti-bacterial properties. It’s commonly burned in a ritual setting in order to purge bad energies, however, it also smells amazing. The scent is woody but fresh, and it’s a great alternative if you don’t care for the richer smells of incense.
Where Can I Buy Palo Santo?
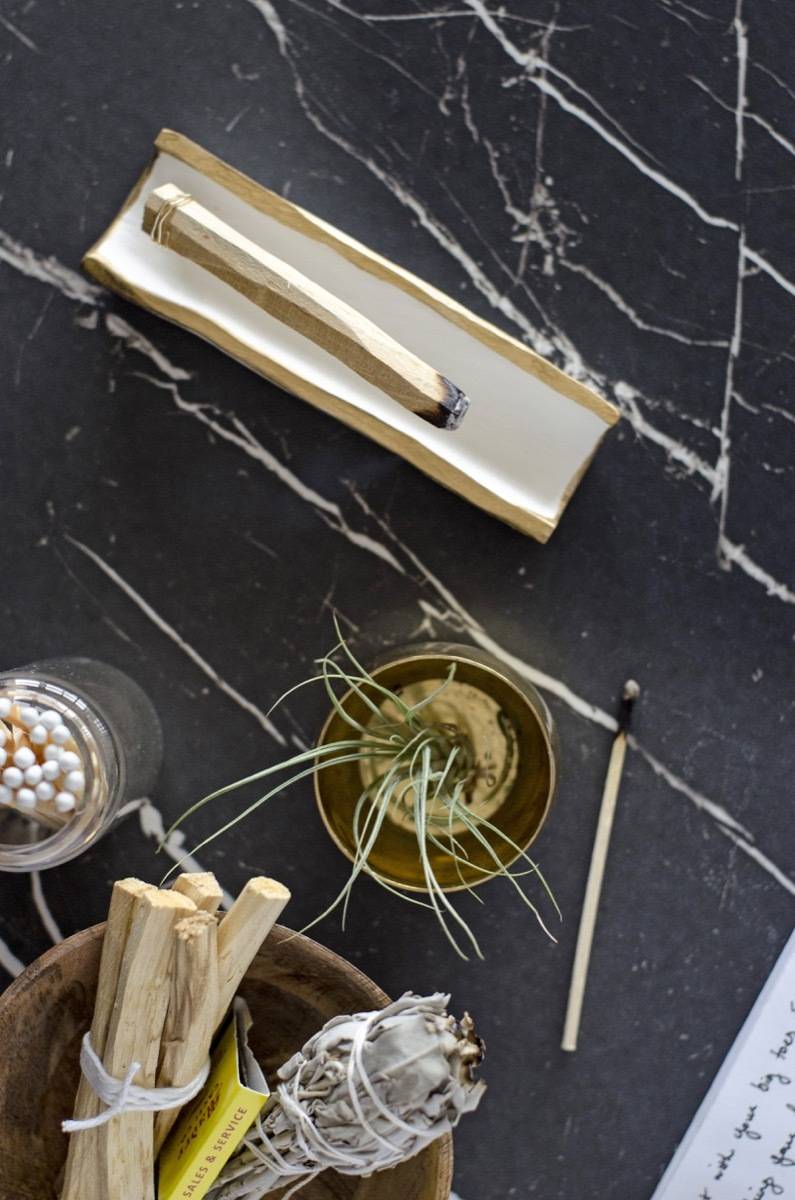
I picked up my pack of palo santo from a local plant shop, and I have also seen it for sale at some natural food stores and cooperatives. You can also buy palo santo on Amazon, at CB2, and off of Etsy.
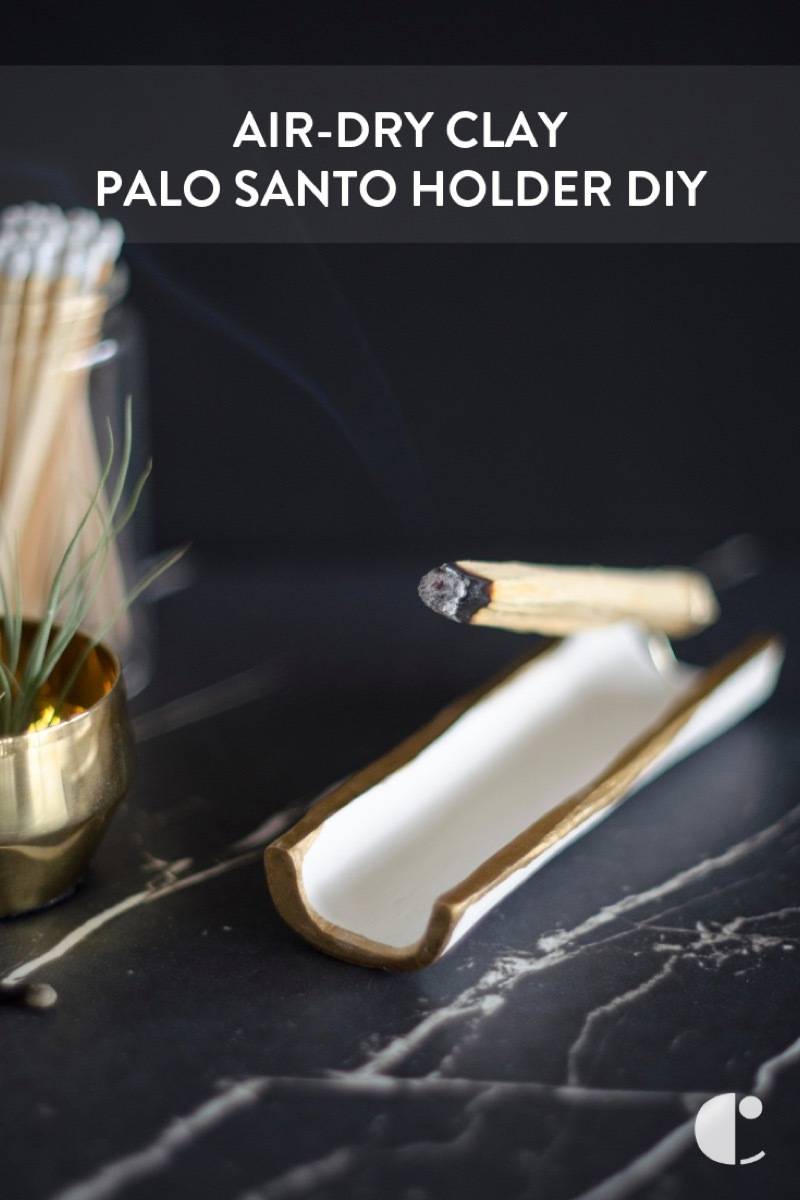
How to Make a Palo Santo Holder
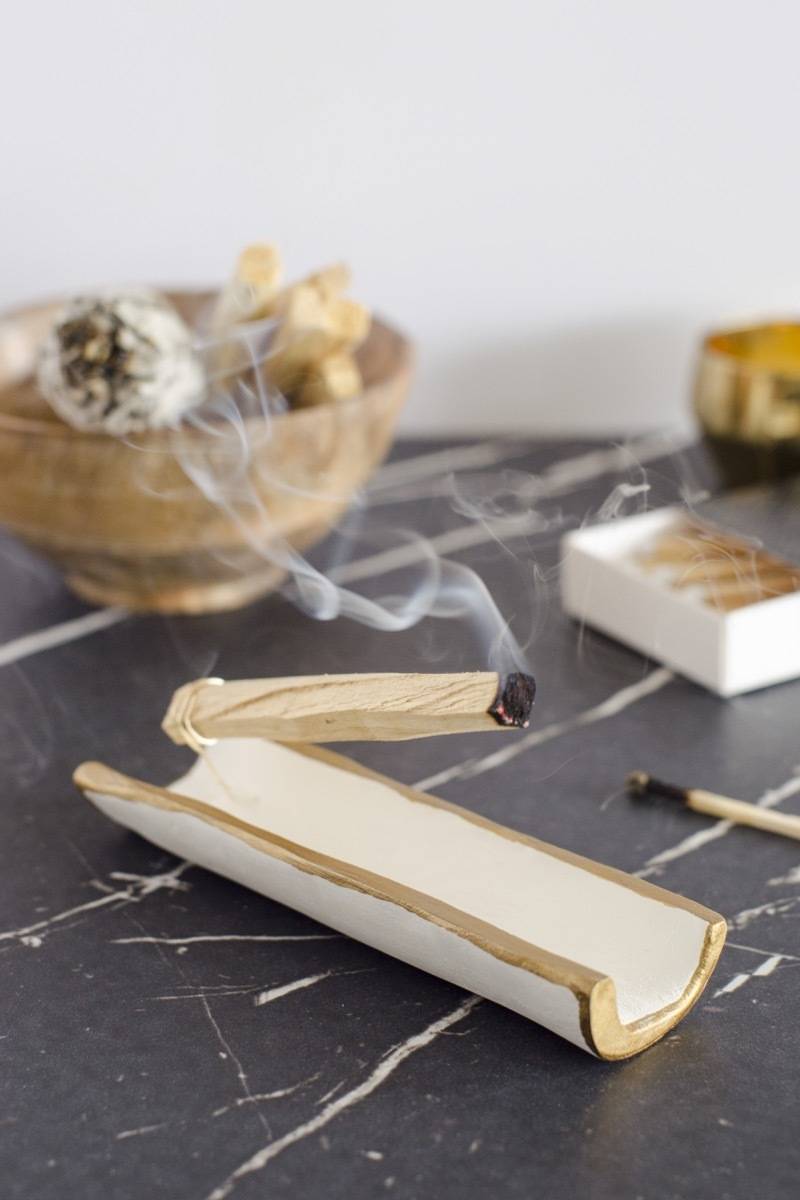
Okay, you have your palo santo, now where to burn it? You want to set it in a non-flammable vessel like a dish or shallow bowl, as it will produce hot ash. Or, you can go one step further and make a simple palo santo holder like this one:
Materials
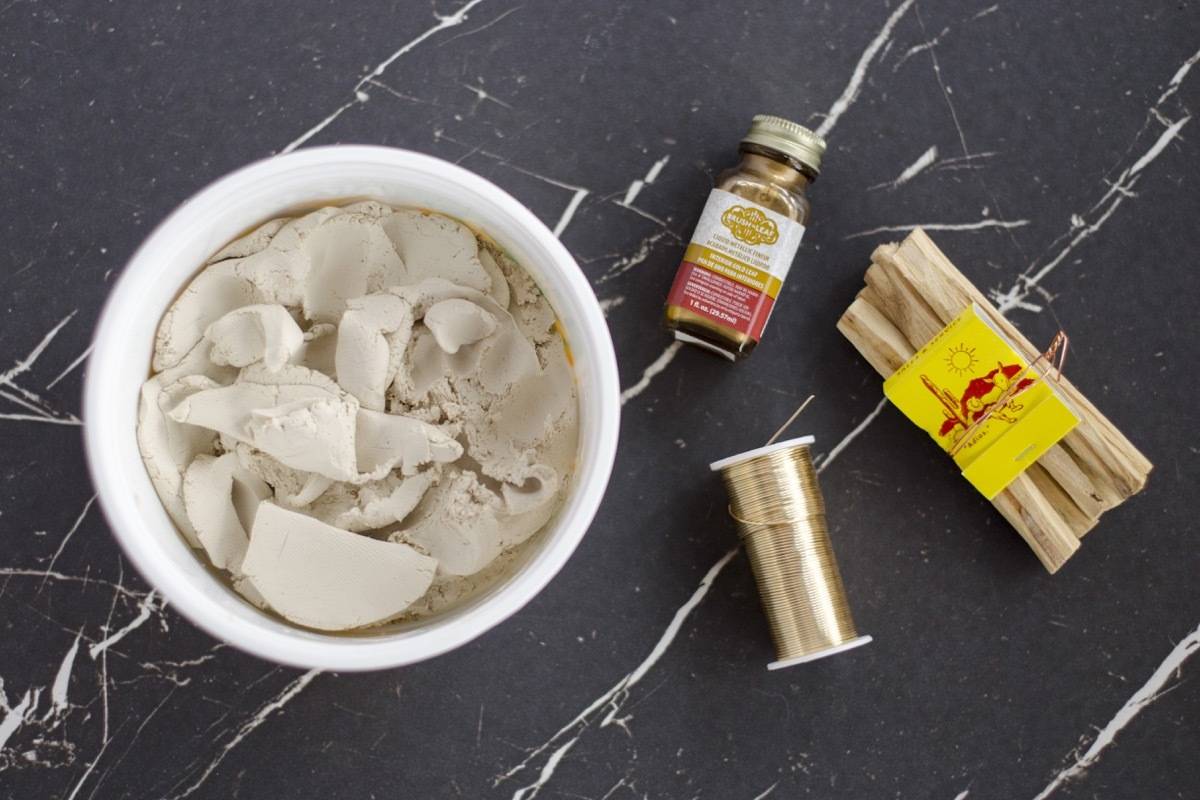
- White air-dry clay
- Liquid gold leaf or gold metallic paint
- Sturdy gold wire
- Craft knife
- Paint brush
- Fine grit sandpaper (220 and above)
Step
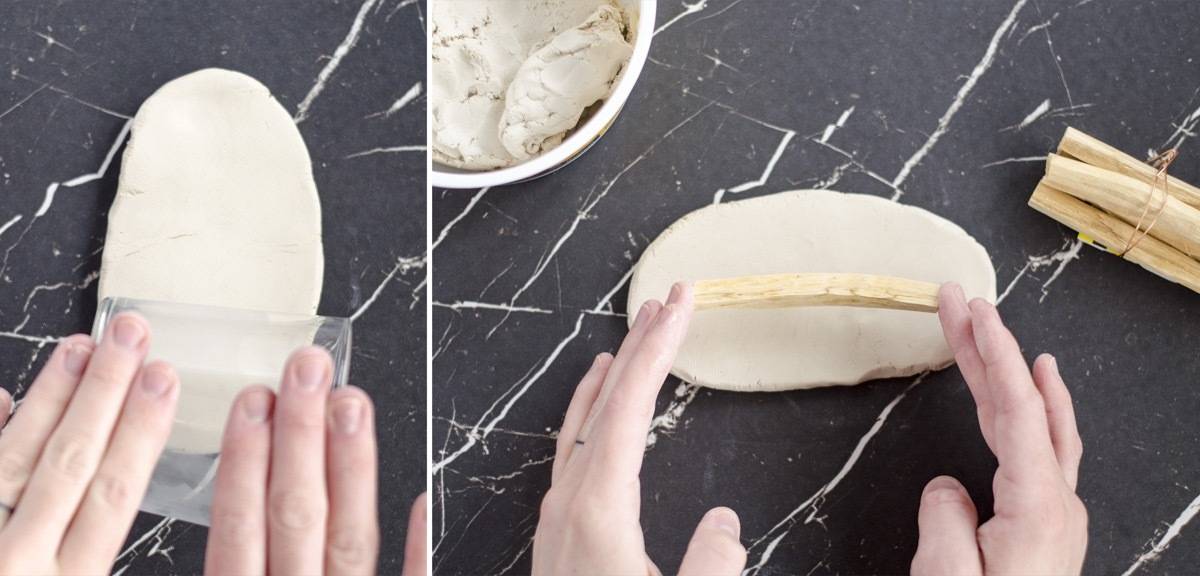
Roll a ball of air-dry clay to about 1/4 inch thickness. Ultimately, you’ll want a rectangular shape, three or four times the size of a piece of palo santo.
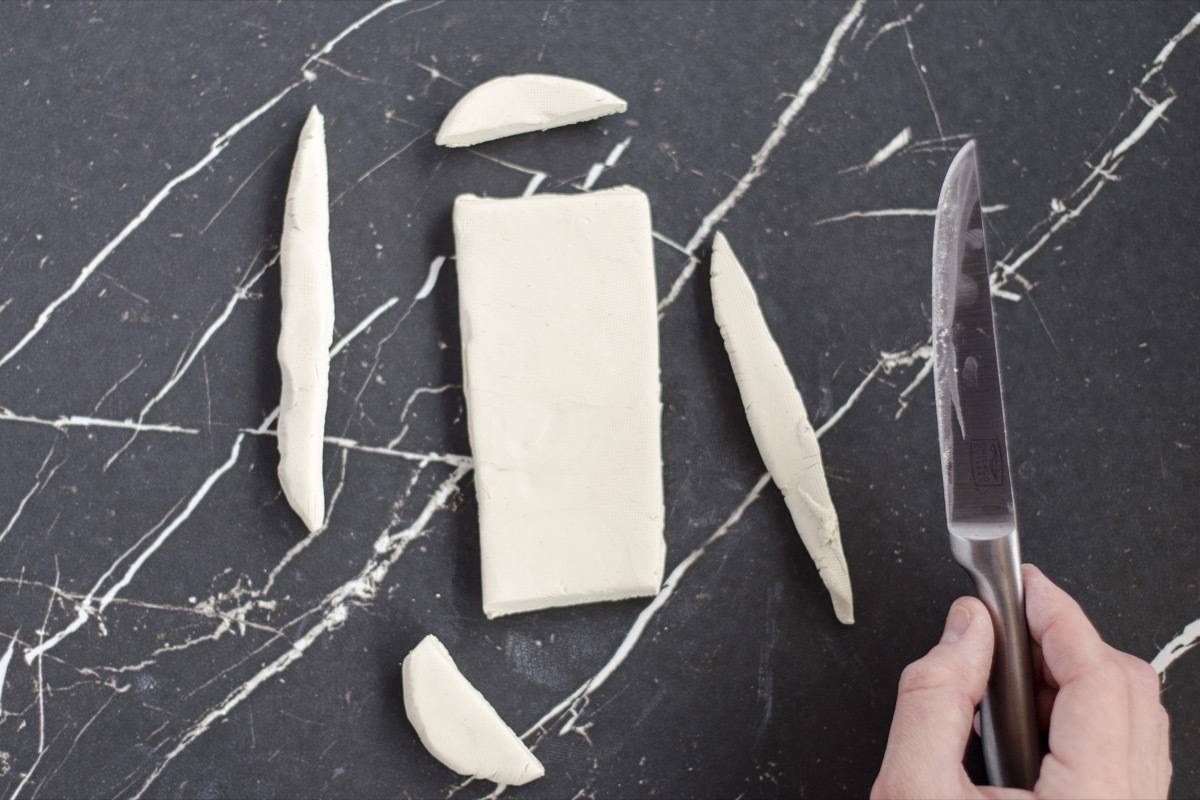
Once you’ve rolled your clay into an even slab, cut out a rectangular shape using a craft knife or kitchen knife. Don’t worry if the edges are jagged – we’ll clean them up later.
Step
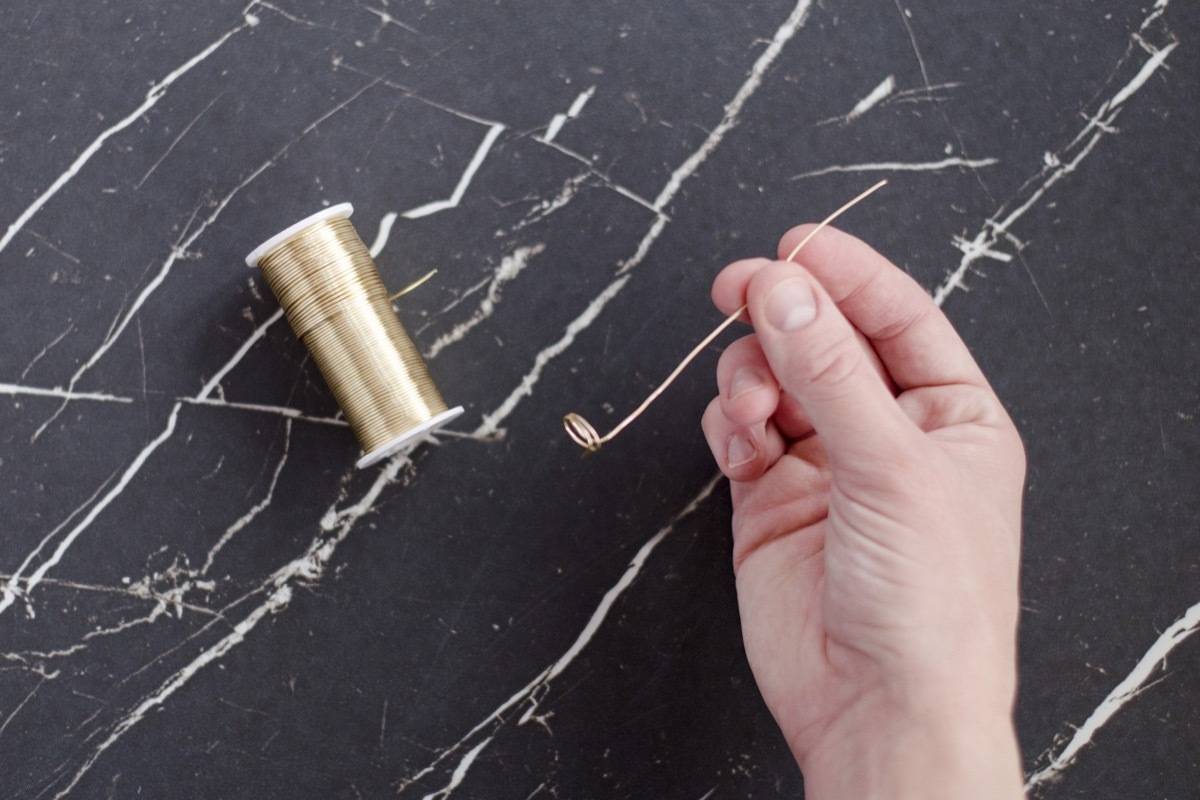
Cut a small piece of wire, about 4-5 inches long. Twist the bottom of the wire in a circle to create a stand, with the end of the wire sticking straight up.
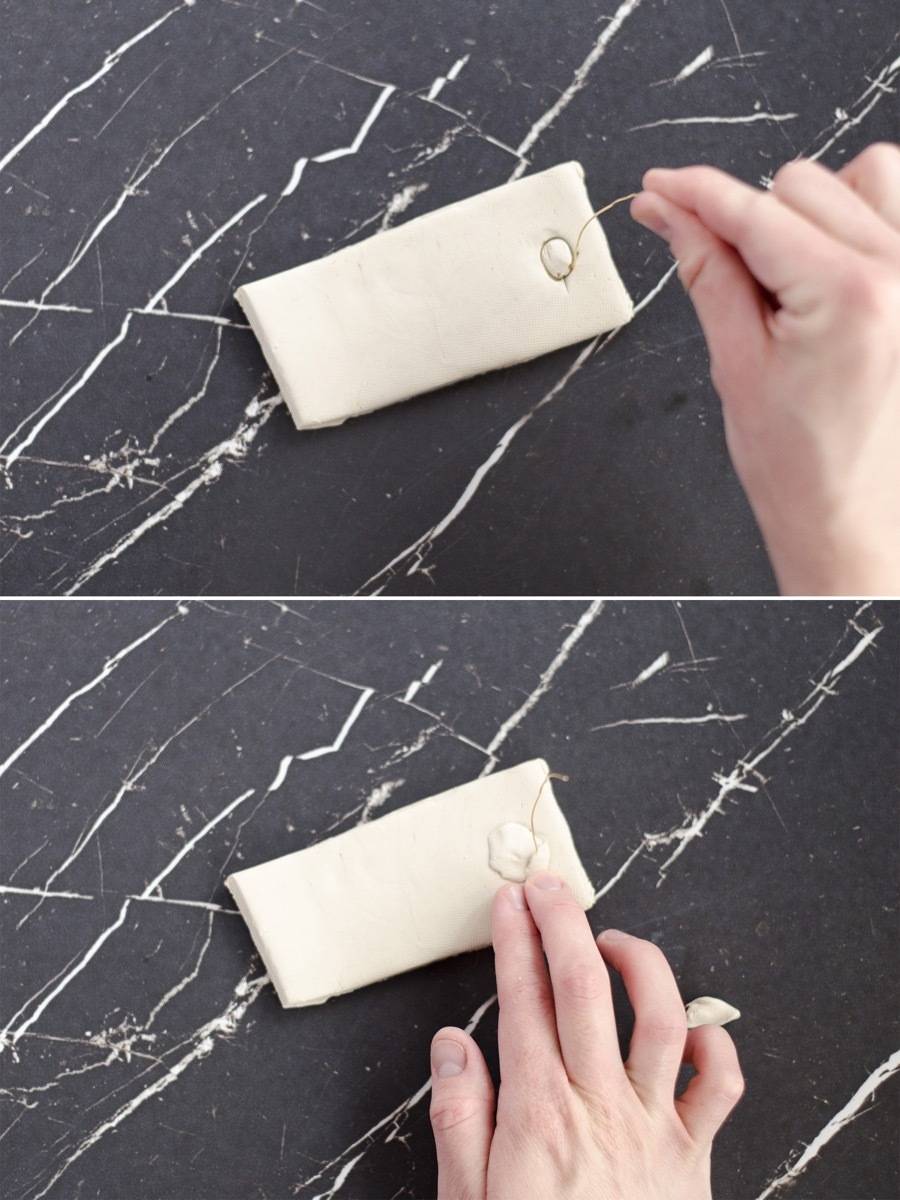
Press the circular end of the wire into the slab of clay, towards one end of the slab. Press it in until the base almost reaches the bottom, but doesn’t show through. Next, use a little clay to cover the base of the wire. Smooth out with your fingers.
Step
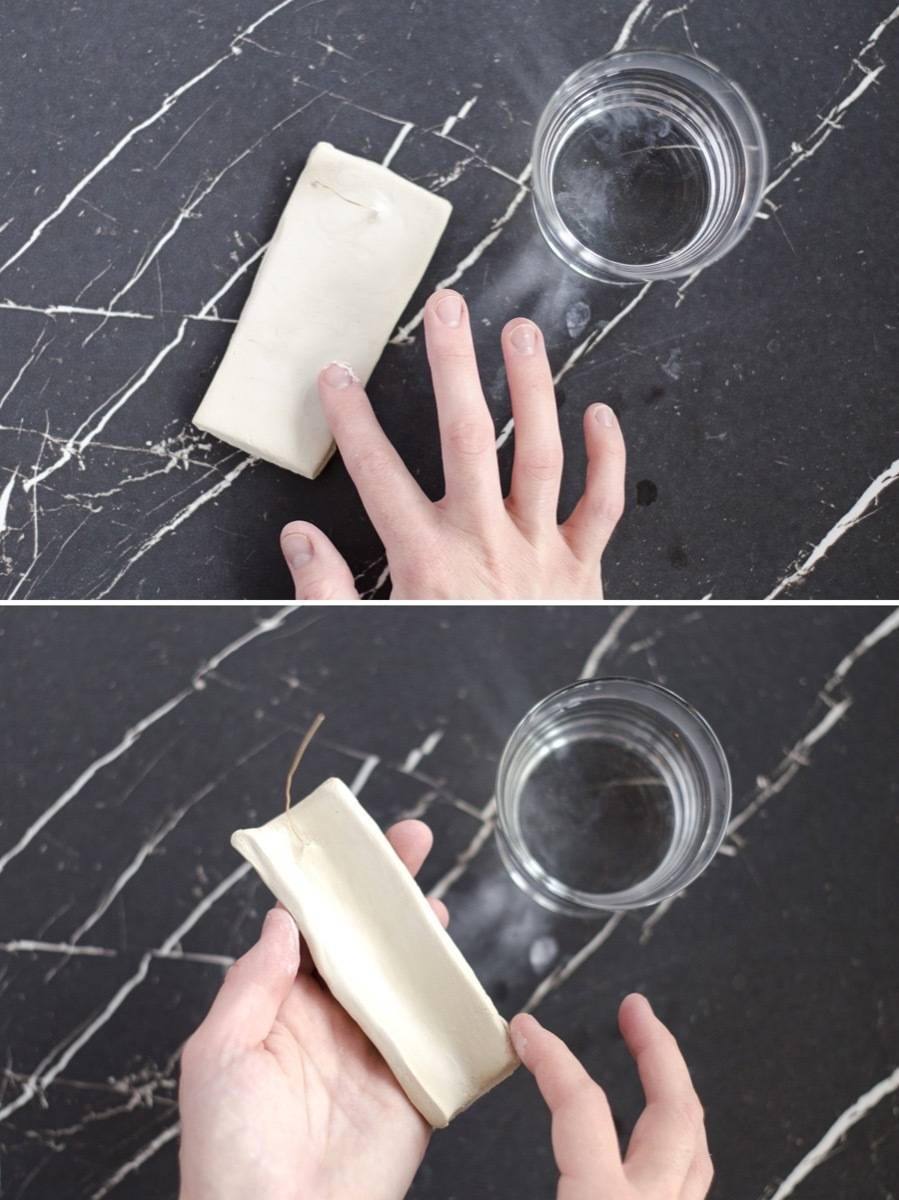
Clean up the clay with water. Use a dab of water on your fingertips to smooth over any rough edges. Then, bend the edges of the slab upward into a U-shape.
Leave the clay in a dry or sunny spot to dry for 24 hours, or overnight.
Step
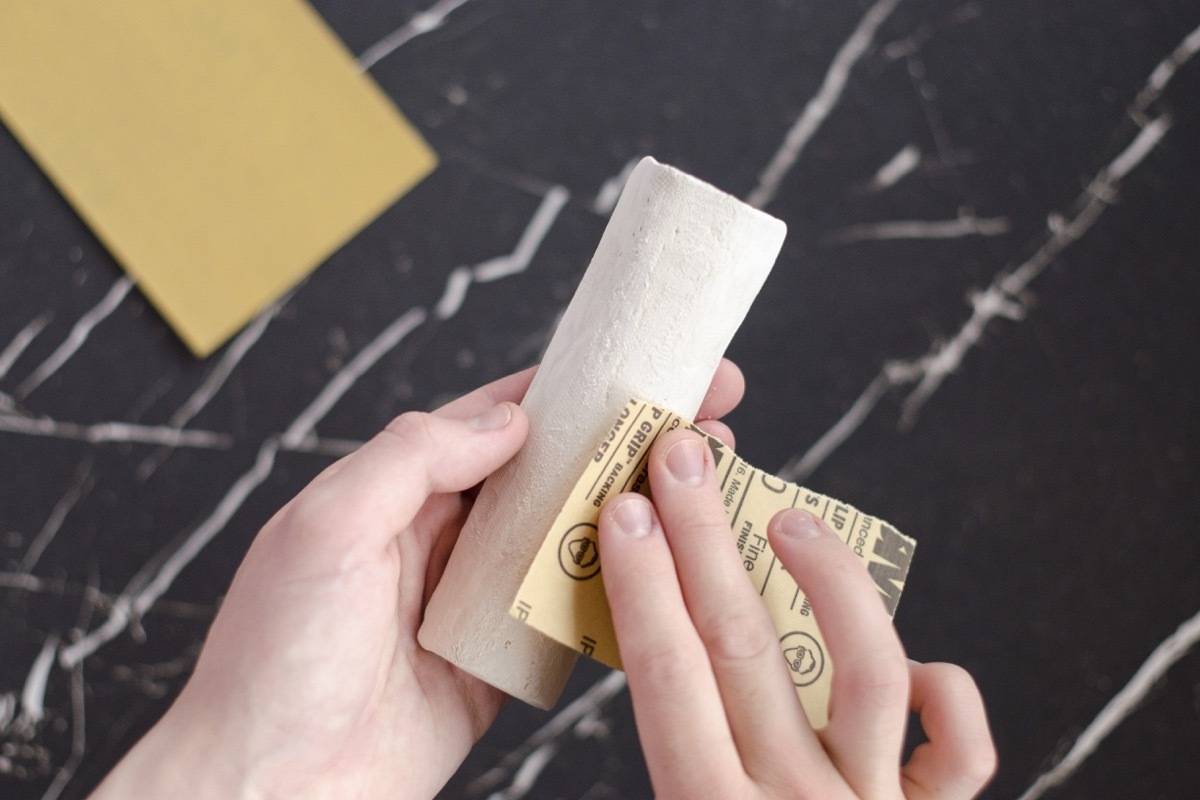
Once the clay is completely dry, you can do any final smoothing with a bit of fine-grit sandpaper. Be gentle as you sand, and don’t apply any uneven pressure to the palo santo holder – you don’t want it to crack!
Step
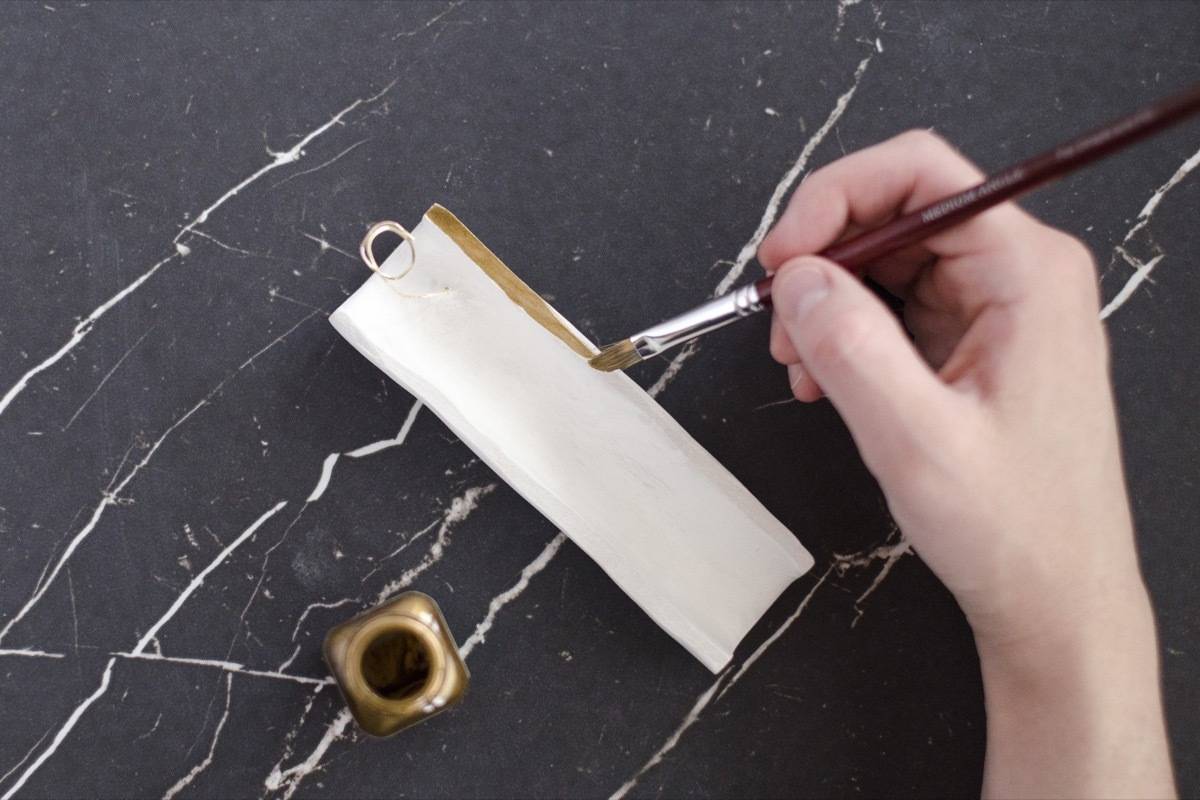
Use a bit of gold paint to decorate the edges of the palo santo holder. Let the paint dry completely, and your palo santo holder is ready!
Use the wire to wrap around the end of a stick of palo santo, and burn away.
How Do I Burn Palo Santo?
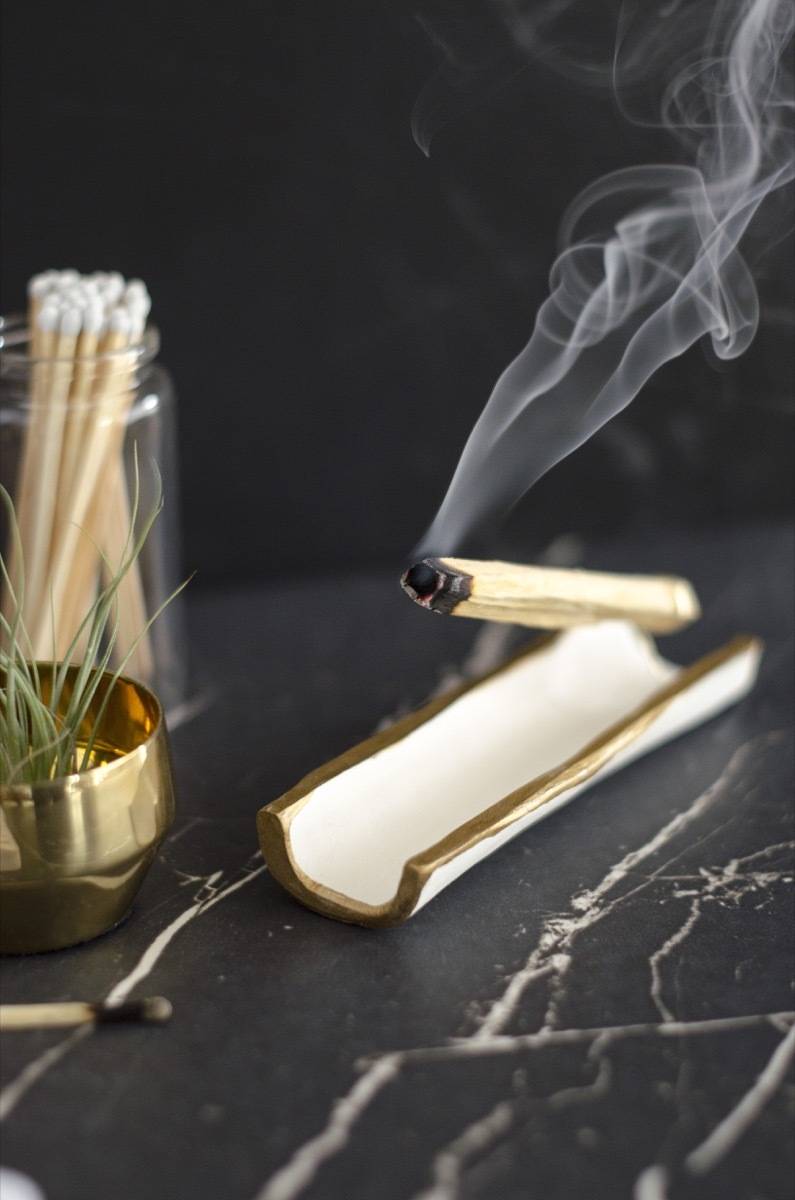
To light and burn a stick of palo santo, you’ll need a constant flame, like a candle or a lighter. Hold a flame under one end of the palo santo stick, and allow it to catch on fire. Let it burn for 30 seconds to a minute, then extinguish it by blowing it out. It should continue to produce smoke long after the flame has gone out.

I am really enjoying the scent of this wood. Sometimes candles and incense can be overly aromatic for my tastes, but palo santo produces a clean, light smell unlike any other. And it’s going to be a great way to purify my stuffy home in the dead of winter.
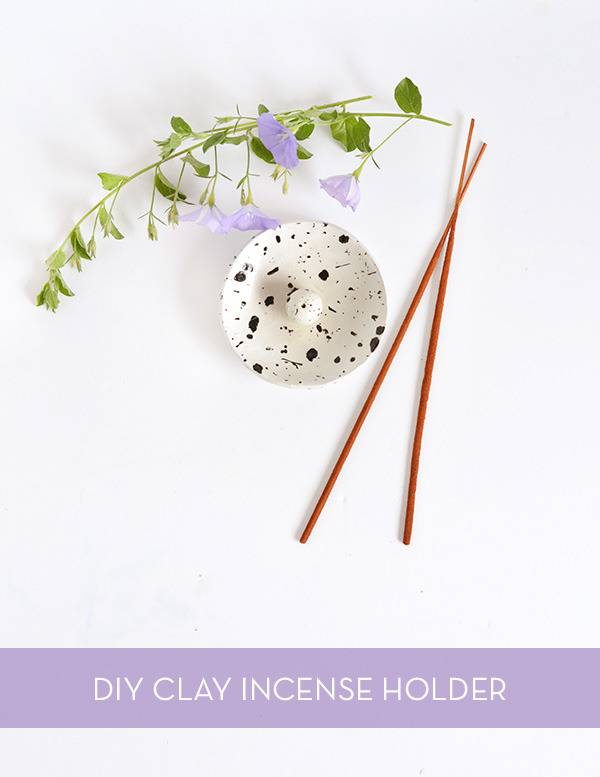
If you like aromatherapy, check out our clay incense holder project!
Please as poc we are so beyond exhausted…. palo santo is dear to us. It’s hard to find ethically sourced and will surely be endangered soon. Especially with people of Caucasian backgrounds using it to “clear the air”. Plz understand it’s not for you all. It’s for us. Black and brown people. This isn’t okay.