
When it comes to revamping a room in my home or studio, I love wall art projects because they usually give you the most bang for your buck in terms of transforming a space. Admittedly though, I don’t always have the time it takes to create awesome DIY art pieces. So, I came up with a modern, minimal way to add great artwork to your walls in under 30 minutes and thought I’d share the tutorial, in case you’re always in a time crunch for DIYs like I am.
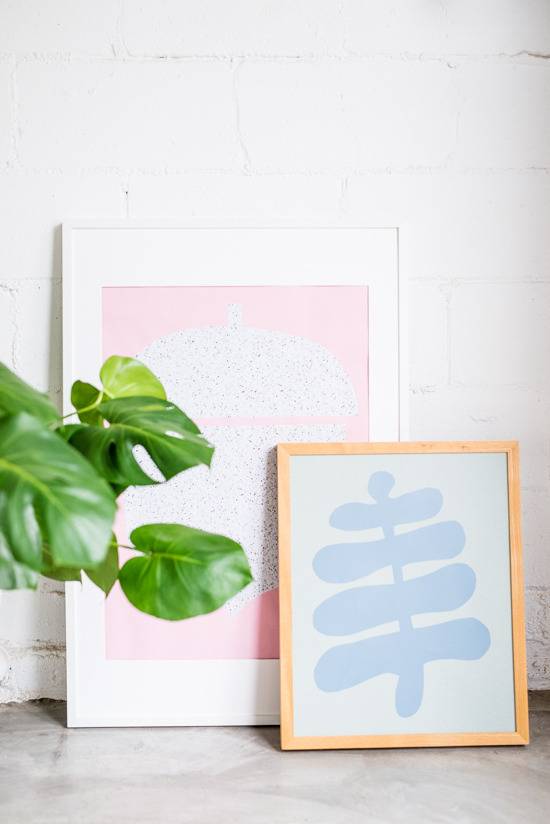
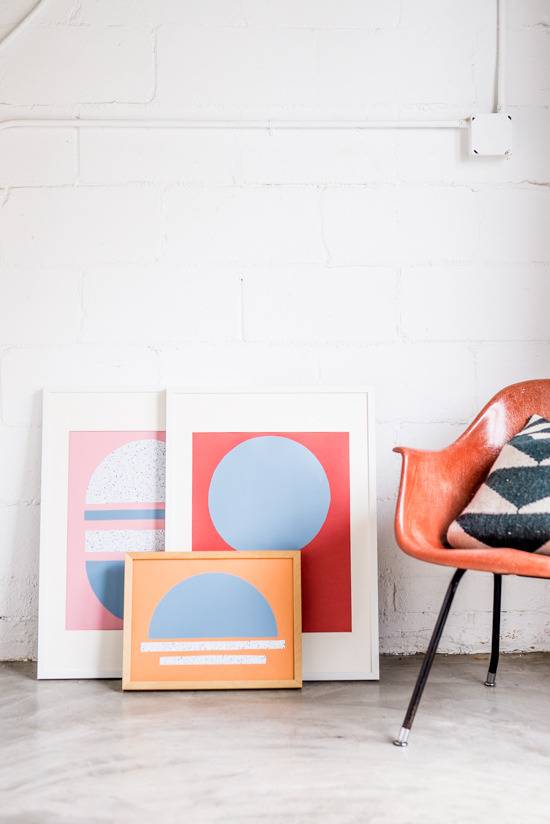
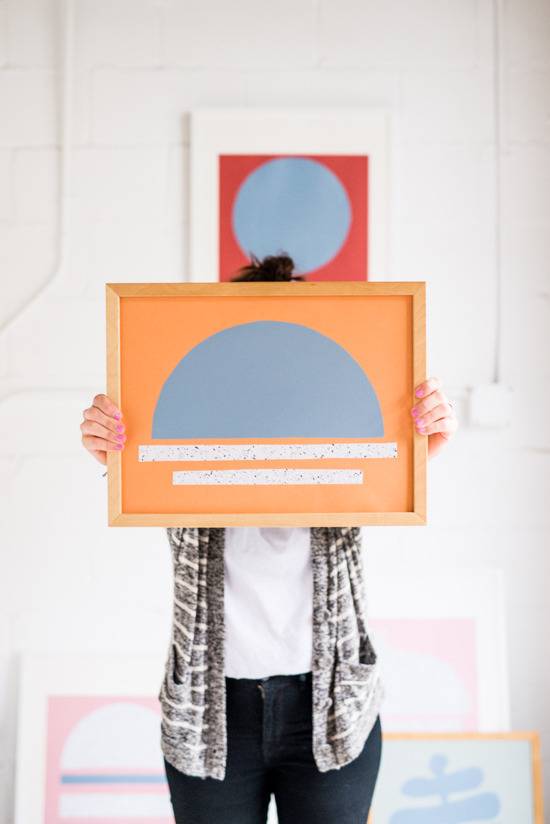
This project is great for all seasons, but I specifically catered these to fall with earth tons, mixed with pastels and a couple of fall shapes mixed in with the geometrics. Here’s what you’ll need to make your own DIY wall art in under an hour…
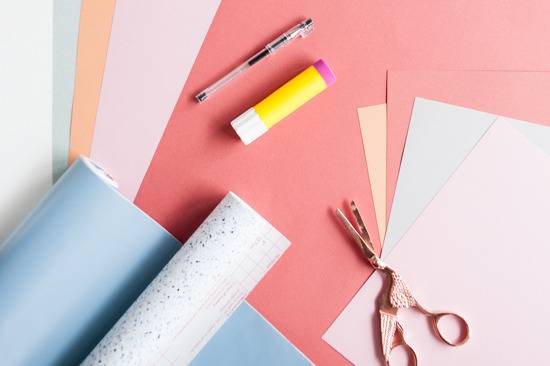
Materials:
- Large pieces of paper in fall colors (mine are 19.5 x 26.5)
- Contact paper (in at least two colors or patterns)
- Scissors
- Pen or pencil for drawing shapes
- Glue stick (optional)
- Frames that will fit the dimensions of your artwork
How To:
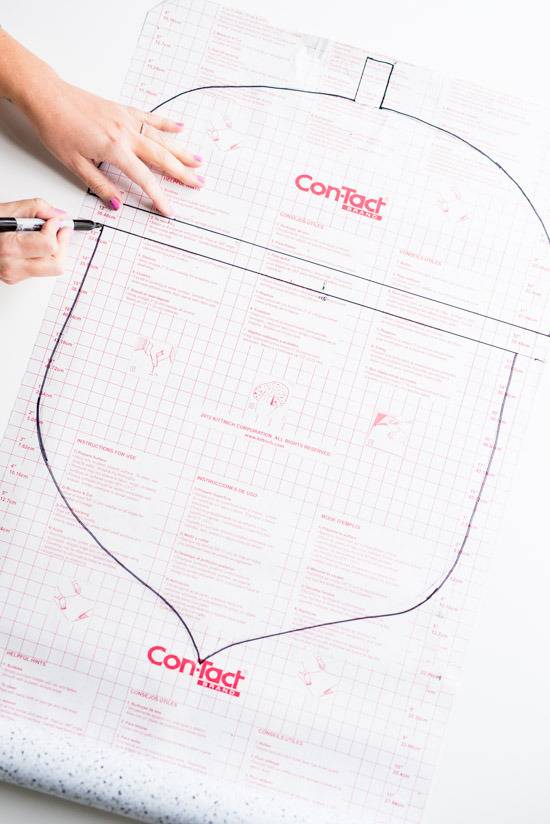
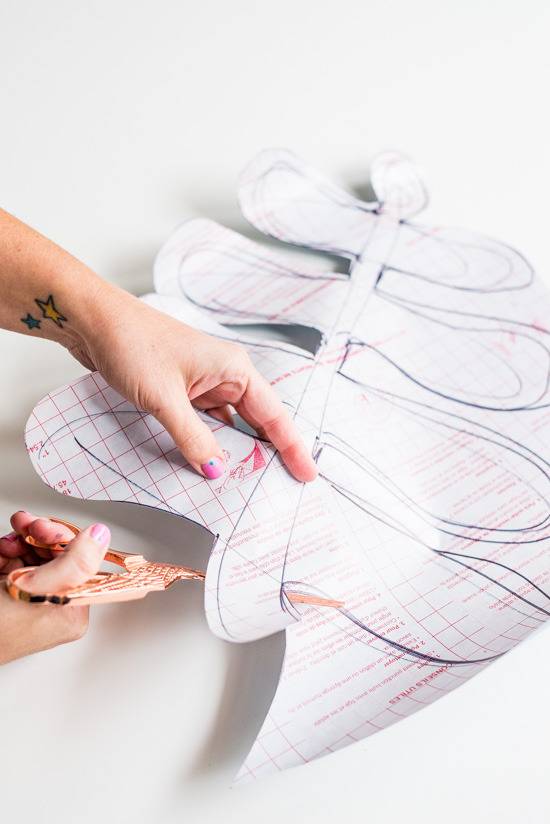
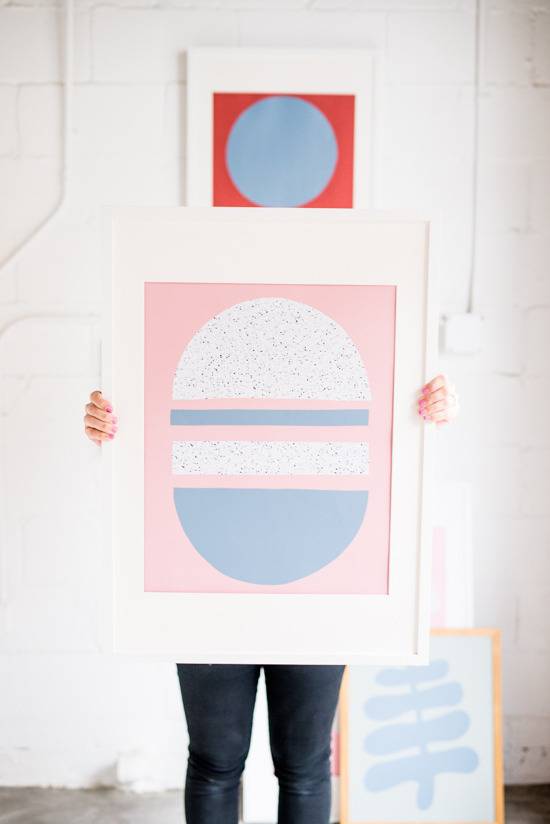
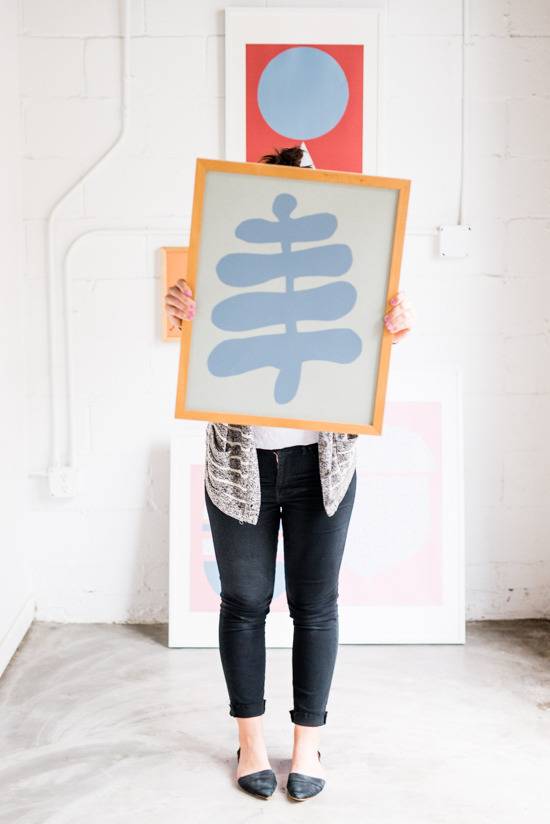
1. Start by deciding on the shapes you’d like to create. I did a mixture of fall shapes and geometric shapes. Then flip your contact paper over, so it’s wrong side up and draw out the shapes for your artwork.
For a perfect circle, use a large bowl or other household item to trace the outline. And for more organic shapes, like the leaf or the acorn, just freehand your drawing.
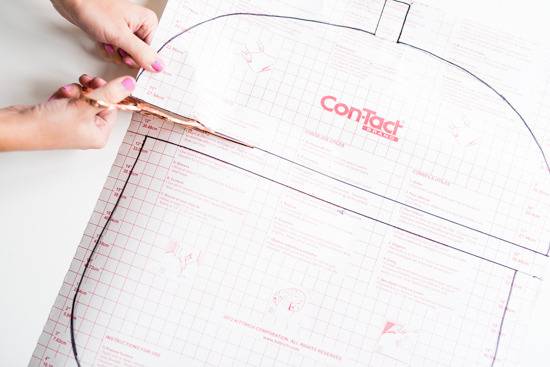
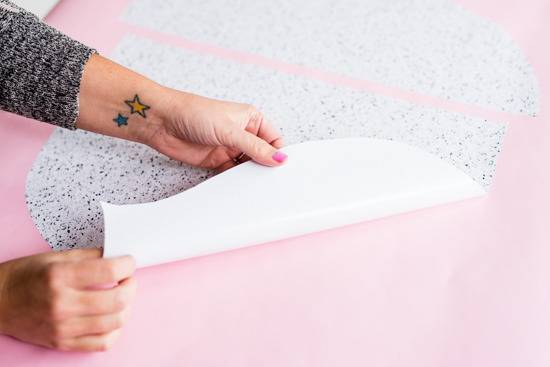
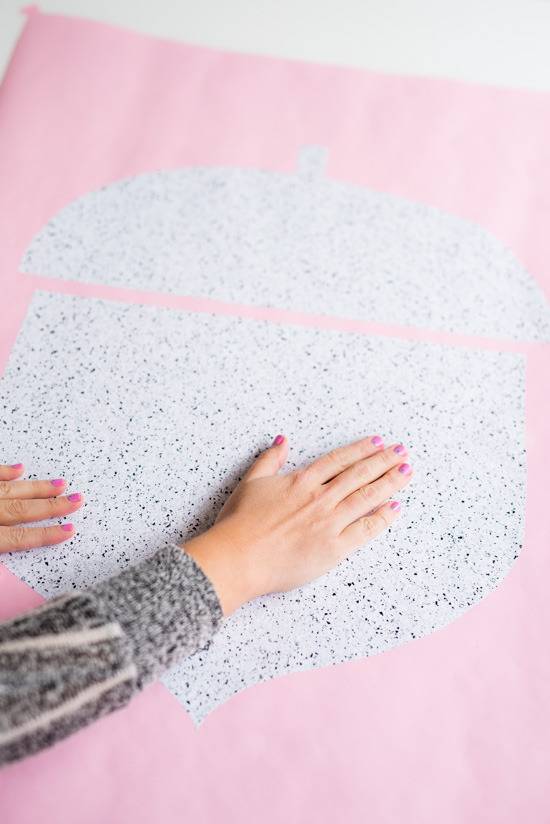
2. Cut along the outline of each shape with scissors and remove the paper backing (after you’ve figured out where you’d like each shape to be placed).
3. Now that the paper backing has been removed, attach the shapes to your paper. If you’re exclusively using contact paper you won’t need a glue stick, but if you decide to use regular paper or wrapping paper instead of contact paper, you will need to glue the paper down at this stage.
4. Now your artwork is ready to be framed and hung on the wall. Super easy!
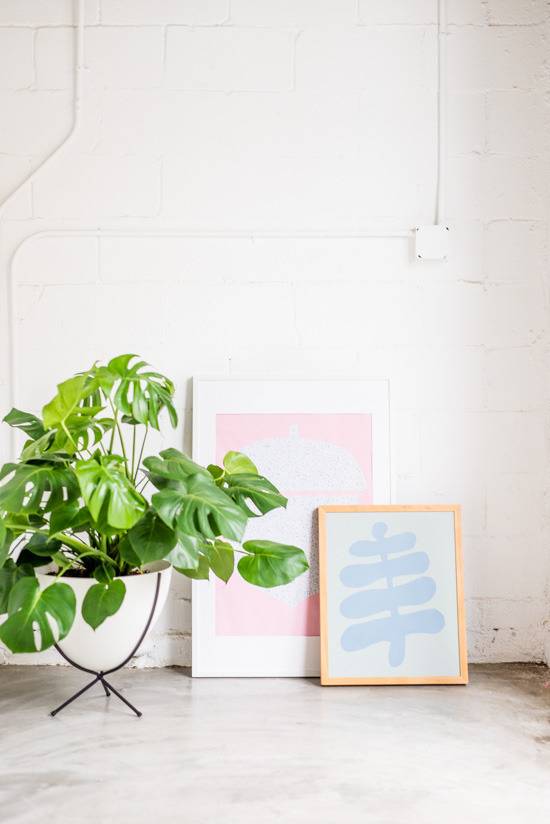
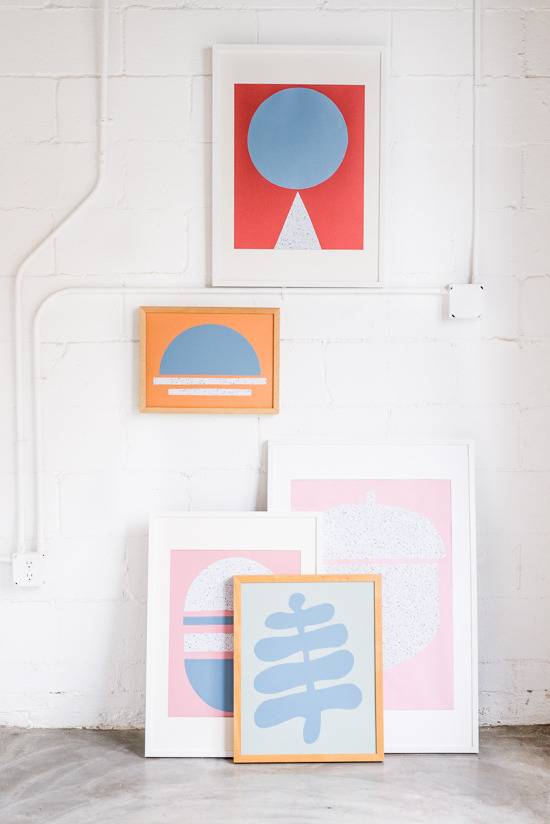
Each piece, on average, took me about 15 minutes to create and under $10 in supplies (for each piece – not including the frame). Think you’ll make your own?
Love. Love. Love.
Brilliant – I love the abstract shapes and color combinations. This will be perfect to give as a housewarming gift!