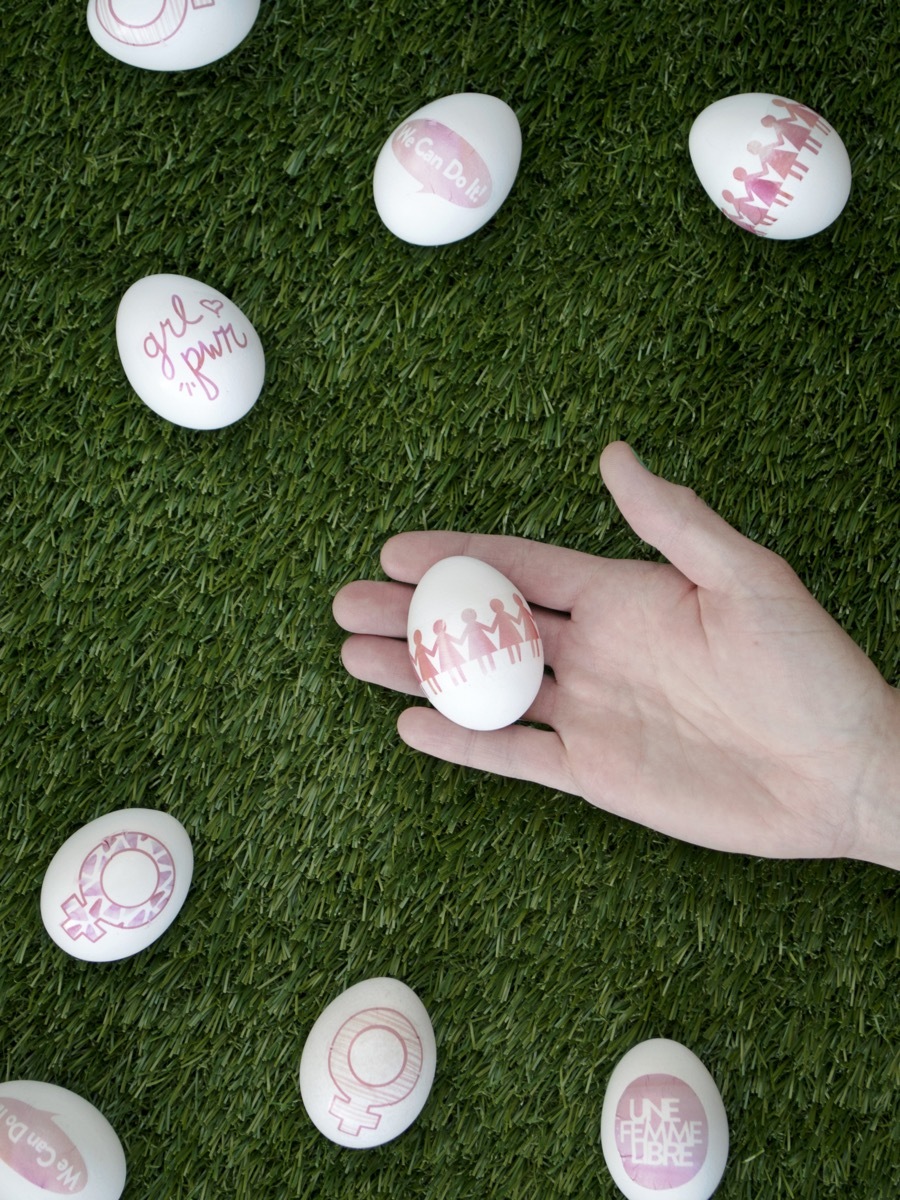
Eggs are inherently feminine, right? They are a direct manifestation of a female creature walking around, just doing her female thing. Easter, back in its day, was pretty feminine too. Originally a celebration of the spring equinox, it’s a day that used to be set aside in reverence of the Sumerian goddess of love and fertility, Ishtar. You know what else is pretty womanly? Me! The author of this post! With all of these elements combined (plus a dash of energy from the influx of female empowerment that I’m feeling everywhere around me), I decided to decorate my Easter eggs in pink and symbols of power. Girl power.
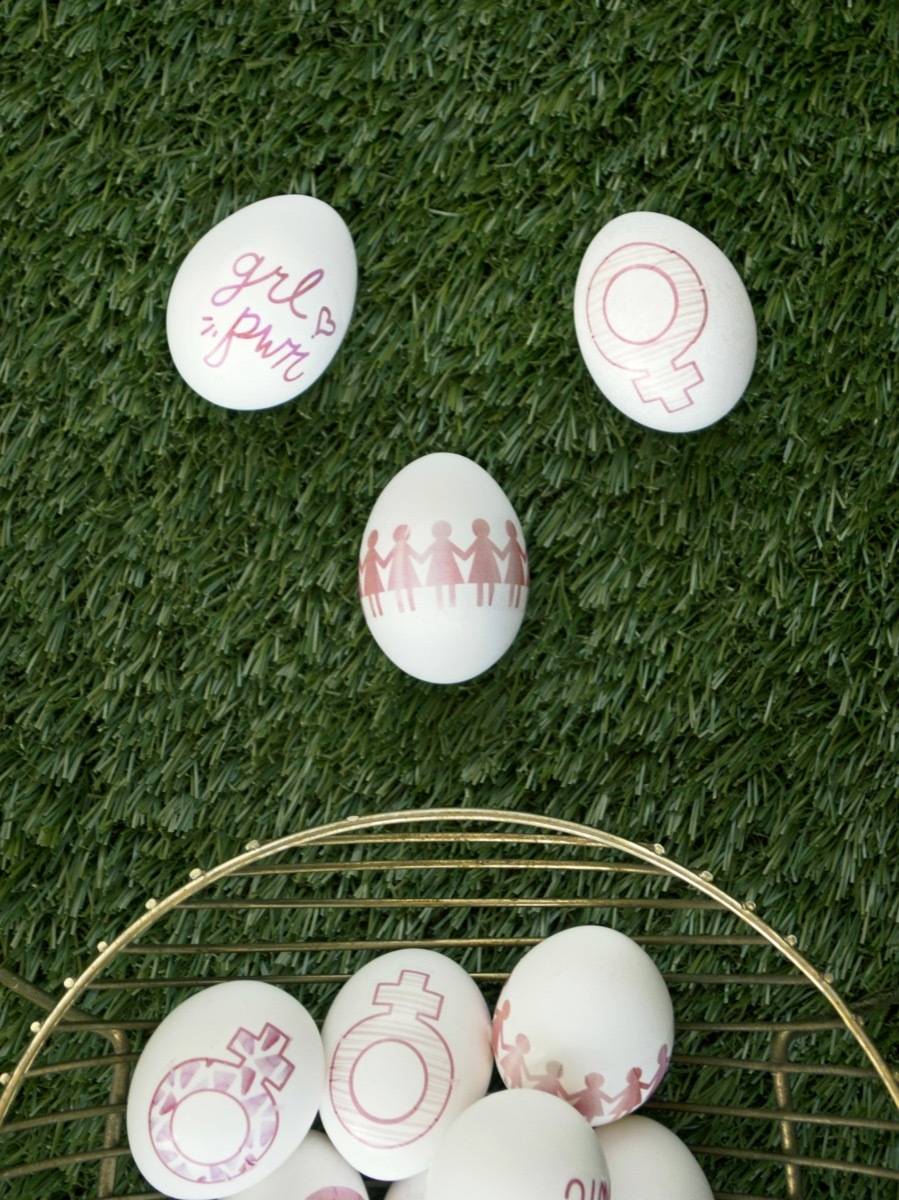
To decorate these boss chick(en) eggs, I used temporary tattoo paper. This is the first time I’ve tried this method, and it has totally changed the way I approach Easter egg decorating. I discovered the wonders of printable tattoo paper when I made party favors at New Year’s, and let me tell you what – I’m hooked. If you want to decorate your Easter eggs just like I did mine, read below for the free printable.
Materials
- 1 dozen hard-boiled eggs
- Temporary tattoo paper
- Inkjet printer
- Feminista Tattoos template
- Scissors
Step
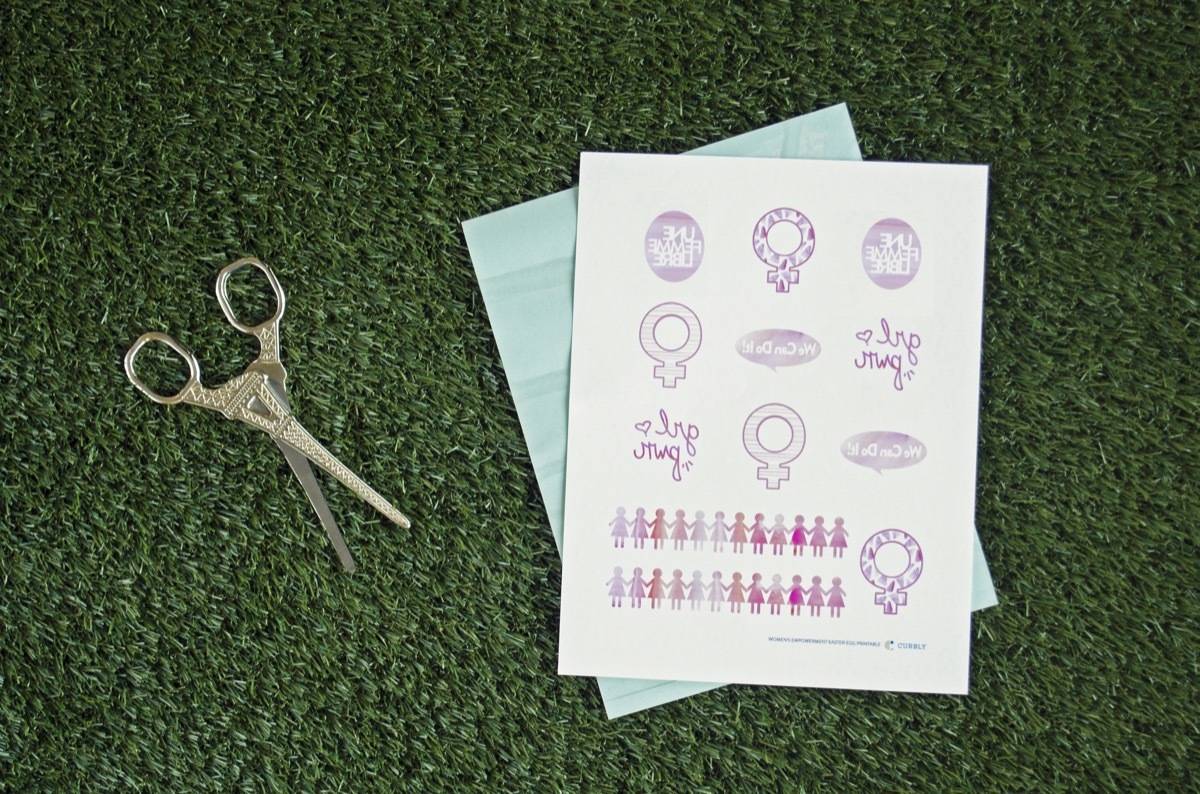
Download the temporary tattoo printable design. Load your printer with a sheet of tattoo paper so that the image will print on the glossy side. Print, and let the ink dry. Apply the adhesive plastic backing to the glossy side of the paper.
Step
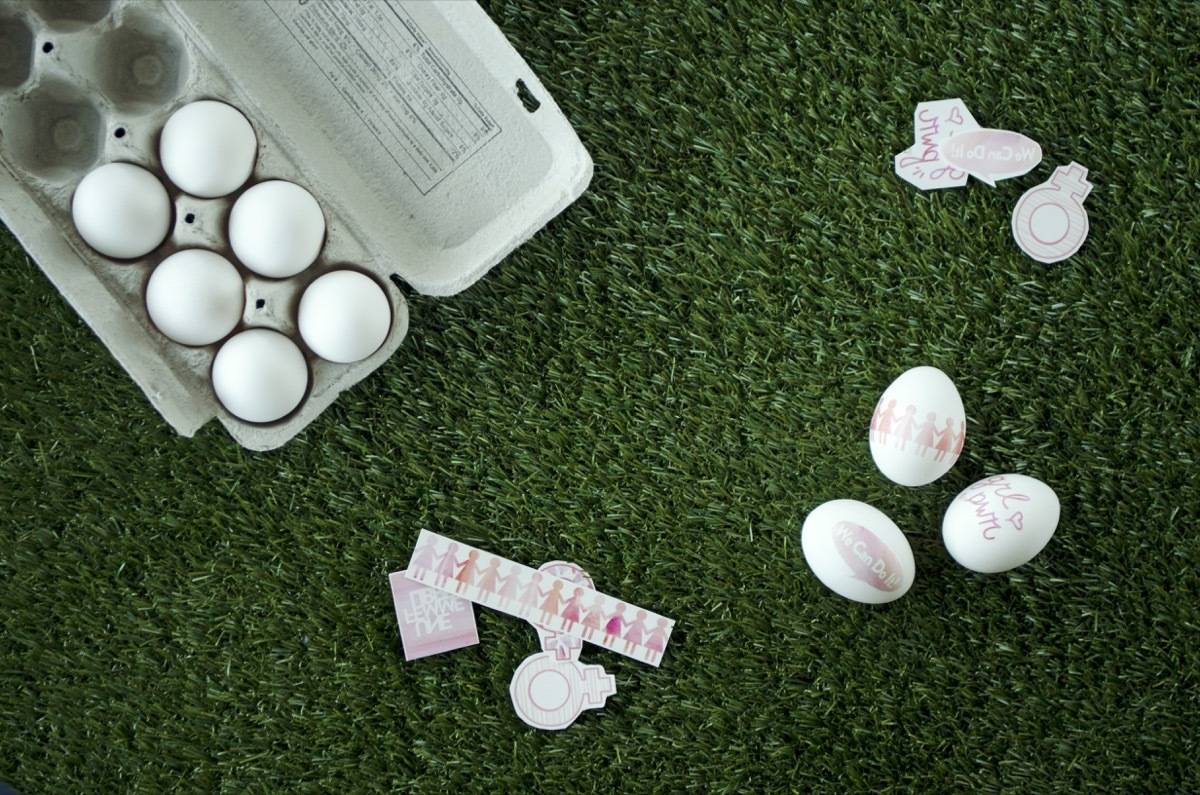
Cut out each tattoo. Try to cut away as much white space as possible.
To apply a tattoo to an egg, remove the plastic backing from the tattoo. Per the direction on the tattoo paper, apply with a damp paper towel. Because of the round nature of the egg, start from one end of the tattoo and work your way across as you apply with the damp towel. This way you can smooth out wrinkles as you go. After 30 seconds of applied dampness, remove the paper backing.
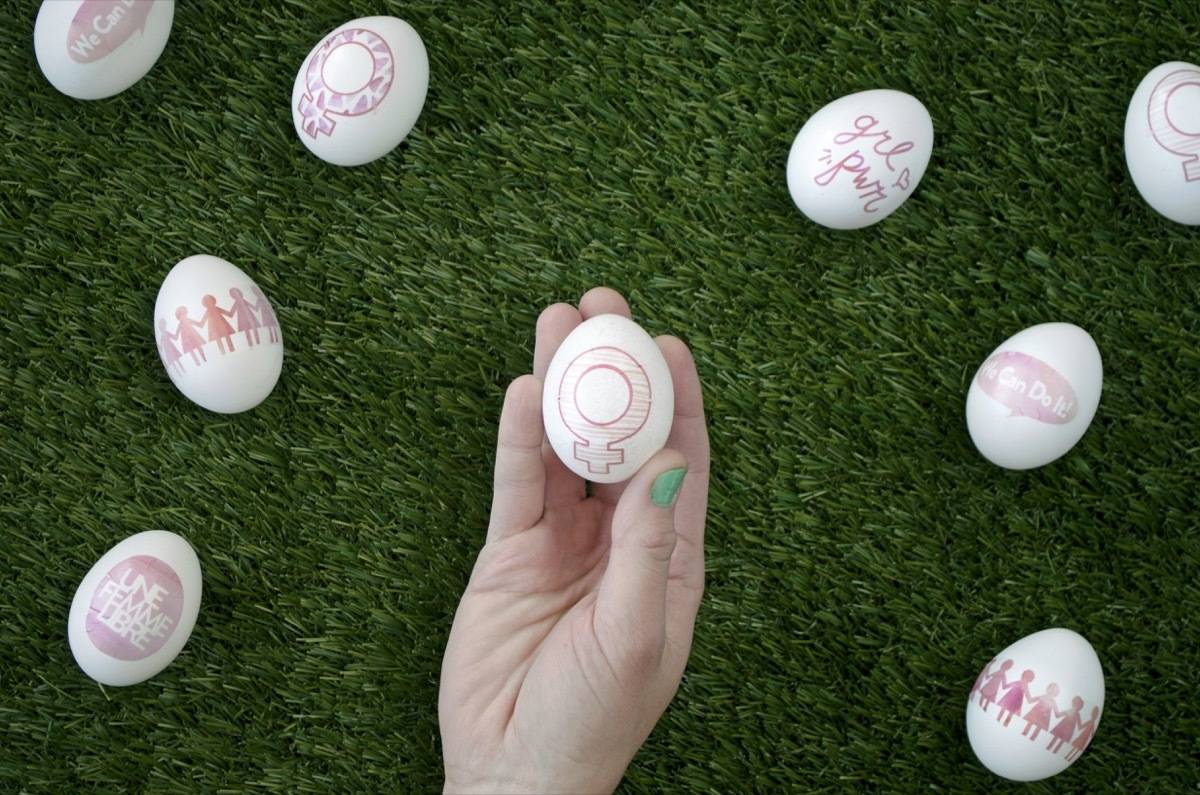
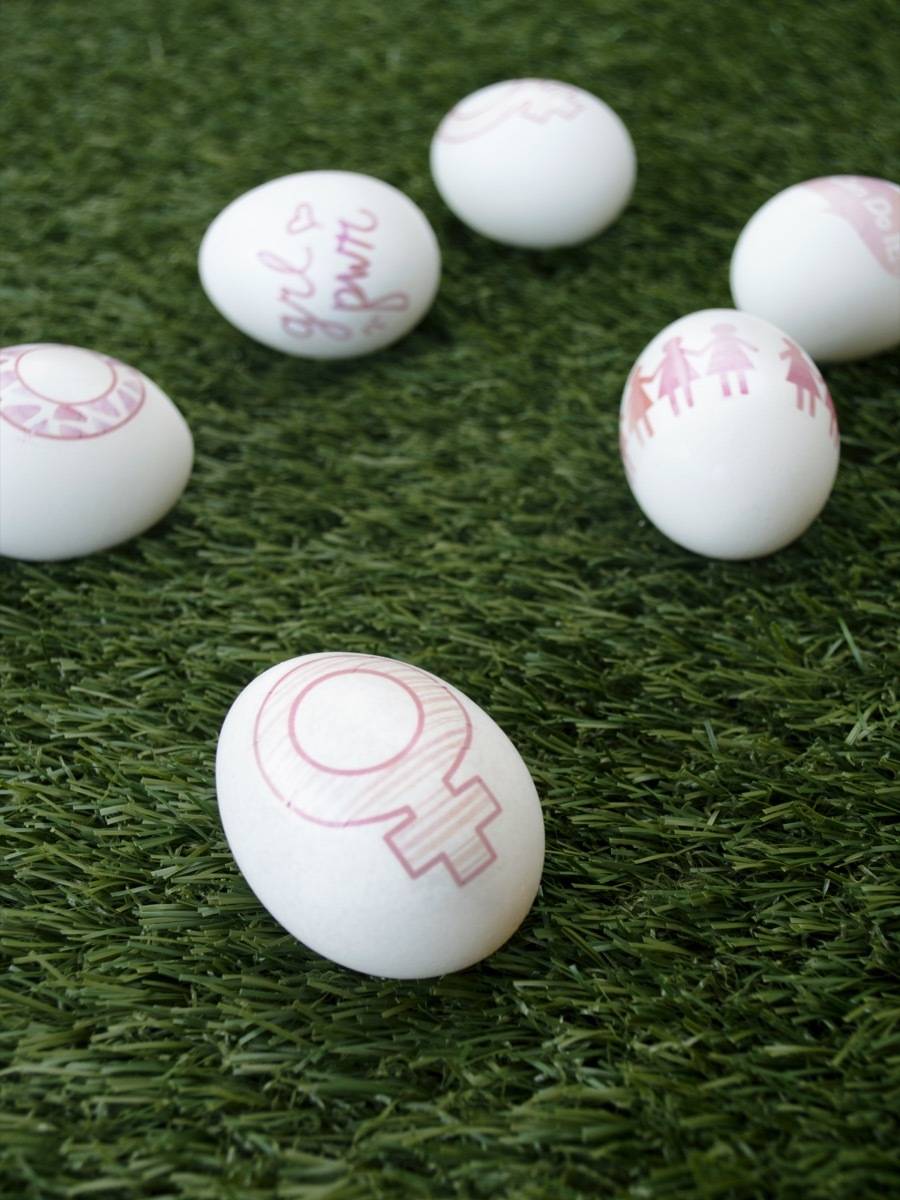
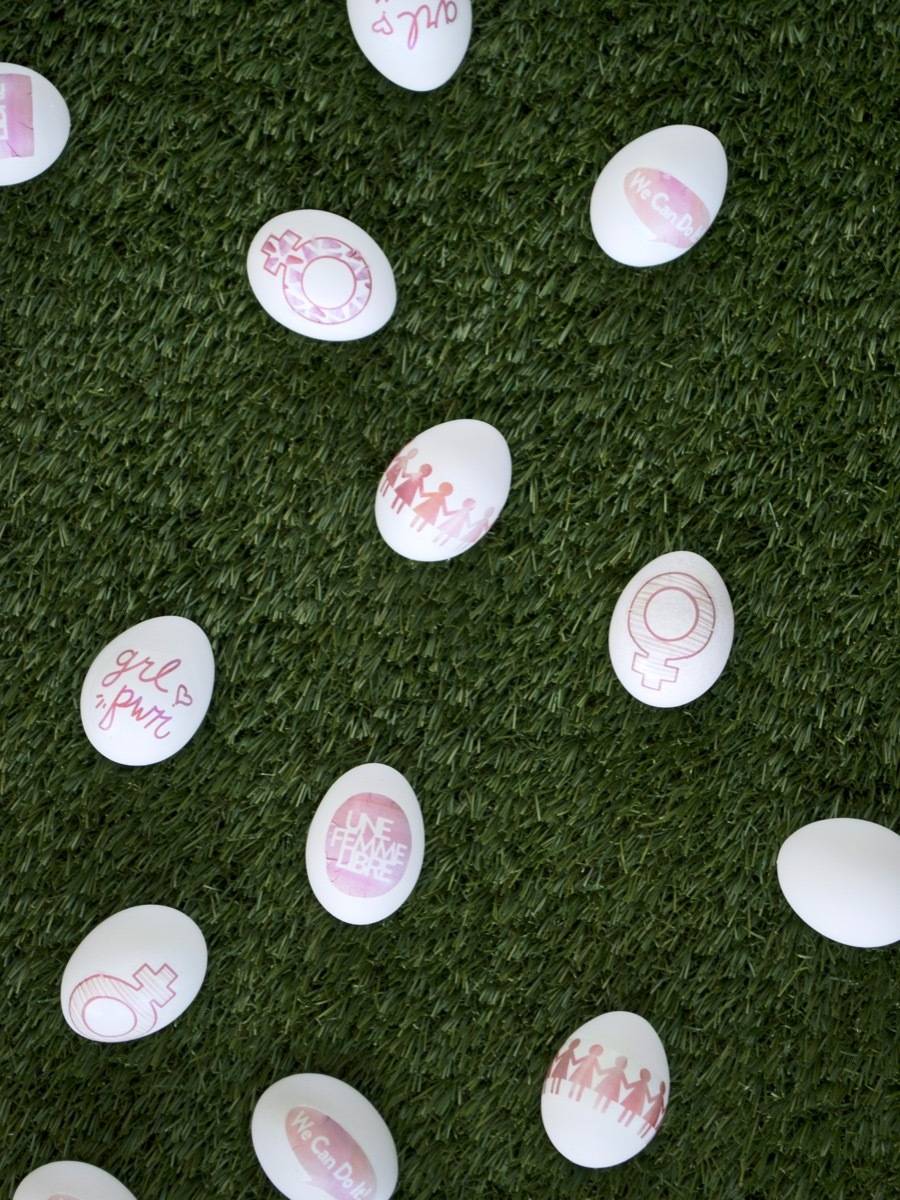
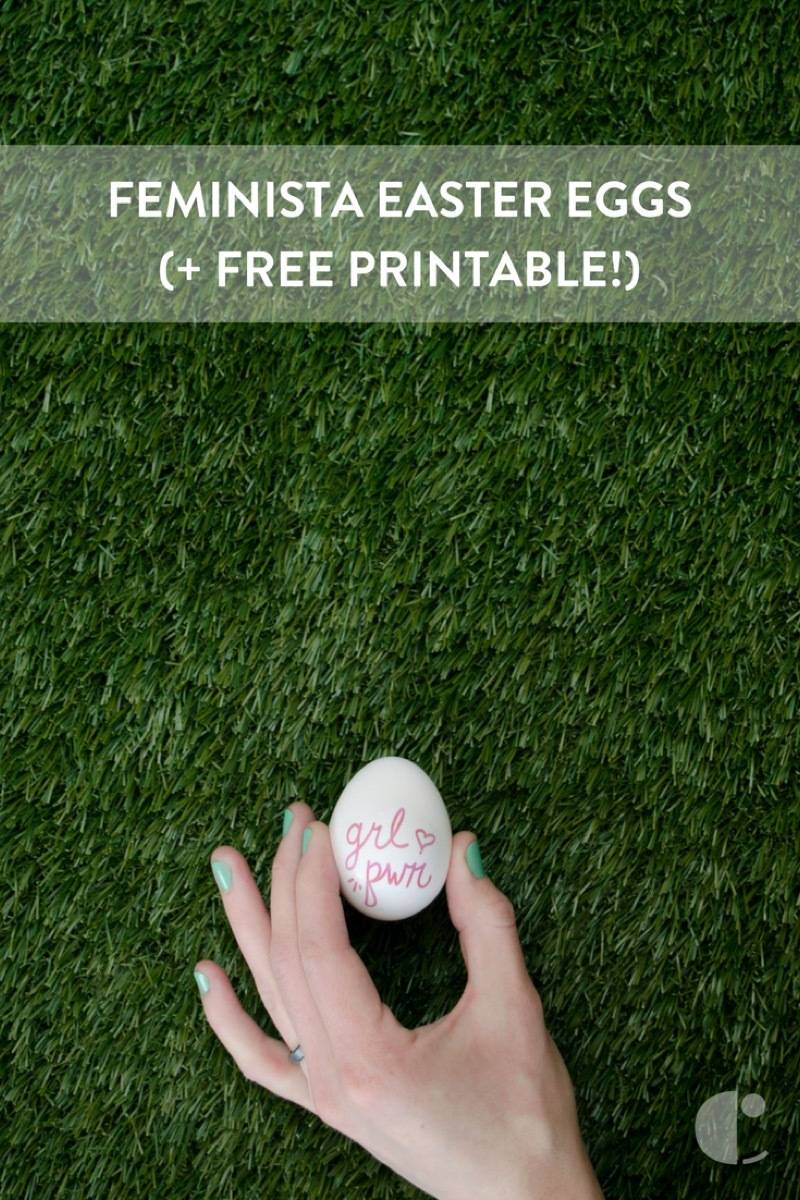
I think these turned out “egg-ceptionally,” don’t you? One of my favorite designs is the “Une Femme Libre” one, which translated means “A Free Woman” in French. Vive la révolution de féminine! Oh, and happy Easter!
Want your DIY efforts to have a longer-lasting effect this Easter? Check out our Easter egg planters tutorial!
