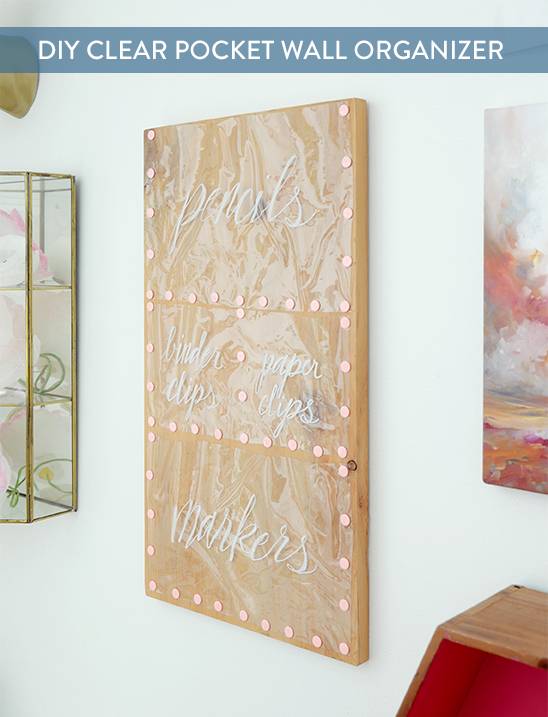
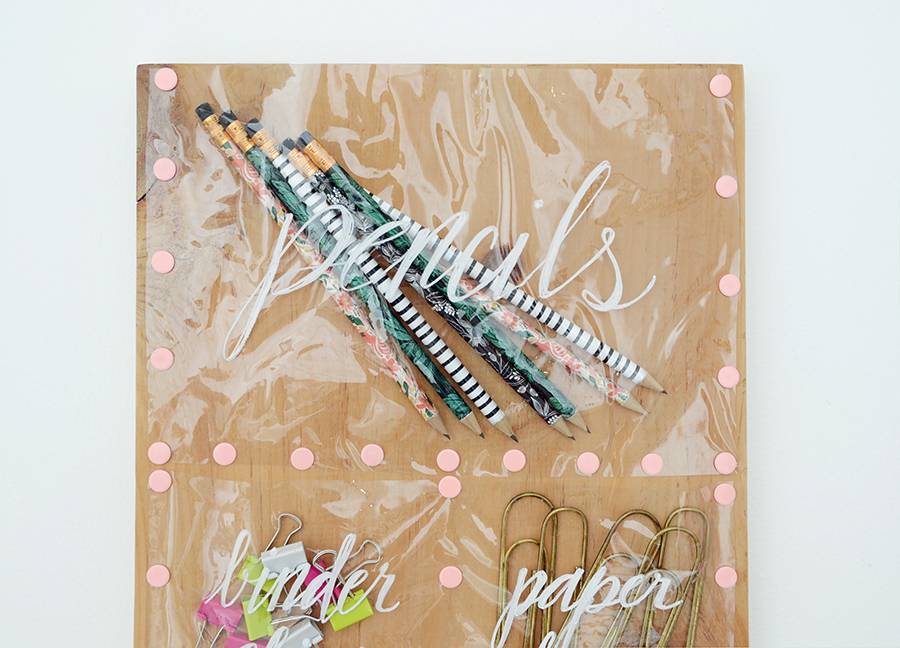
Everyone I know is on an organizing kick, myself included, now that the new year has rolled around. And one of the places that I have the hardest time keeping clean is my home office and craft space. So I thought it would be fun to create a wall-mounted organizer for my office supplies and share it with you guys. Keep reading to check it out.
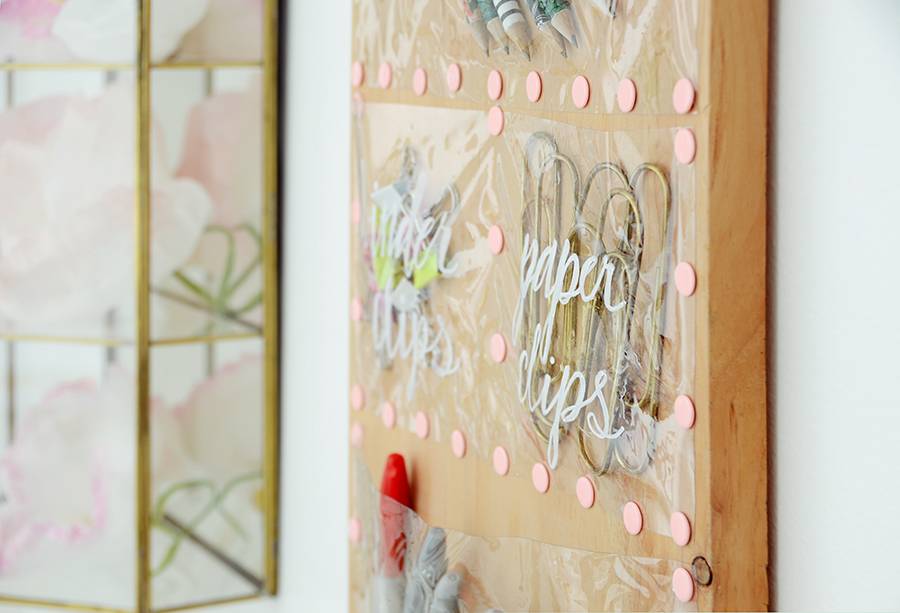
The clear vinyl pockets make it easy to see what’s inside, and the colored pushpins add some serious character. So let’s get started!
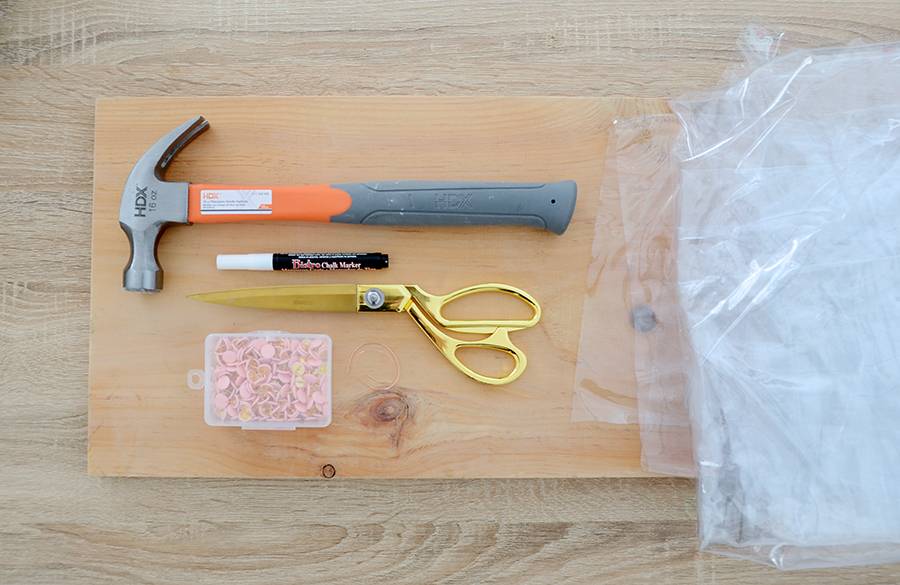
Here’s what you’ll need for your organizer:
- 12 x 24 inch piece of wood
- 1/4 yard of vinyl
- Colored pushpins
- 8 inches of thin wire
- Scissors
- Chalk marker
- Hammer
- Ruler (not pictured)
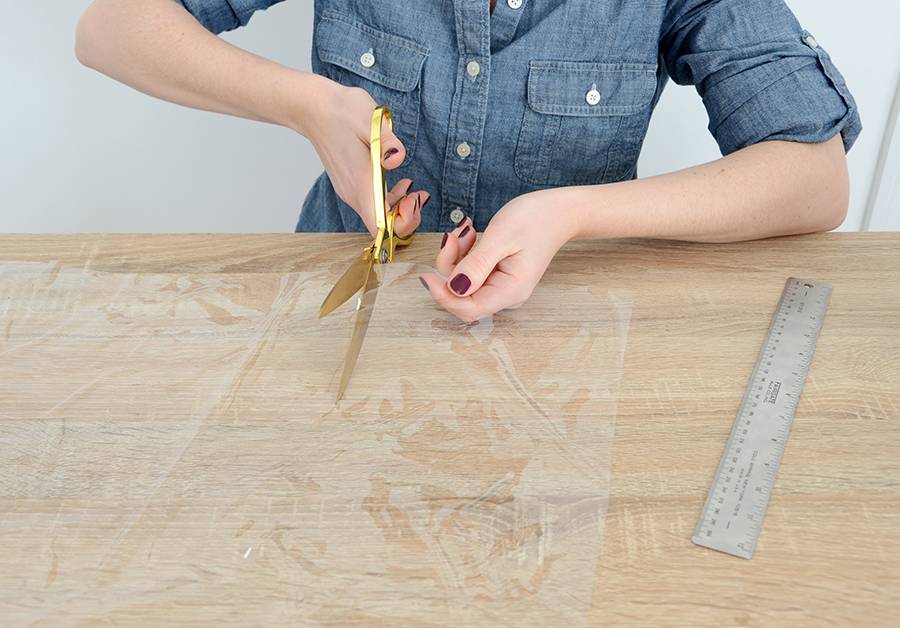
Begin by cutting a piece of vinyl that is 12 x 9 inches. Mark the measurements with the chalk pen. It wipes off easily with a paper towel if it’s still wet. Once it has dried, use a damp paper towel to remove the marks.
You can buy vinyl at many fabric stores, but you can also cut up a vinyl shower curtain liner if you’re having trouble finding it by the yard.
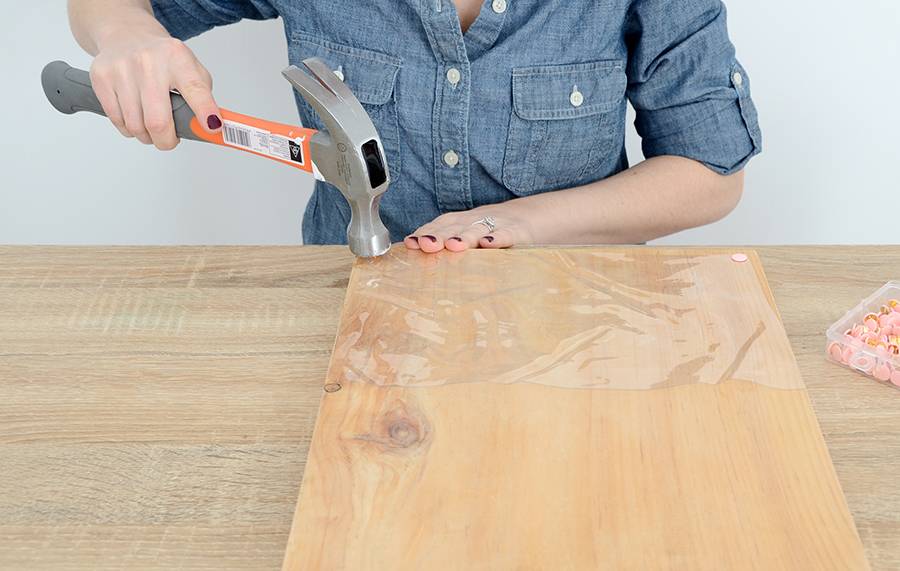
Lay the vinyl on the bottom section of the wood. You’ll want to trim the edges so that it forms a slight trapezoid – begin cutting 1/2 inch from the side up to the top corner on each side. This will give you a bit of extra vinyl at the top so you can fit items into the pocket. Gently hammer in a pushpin on each corner.
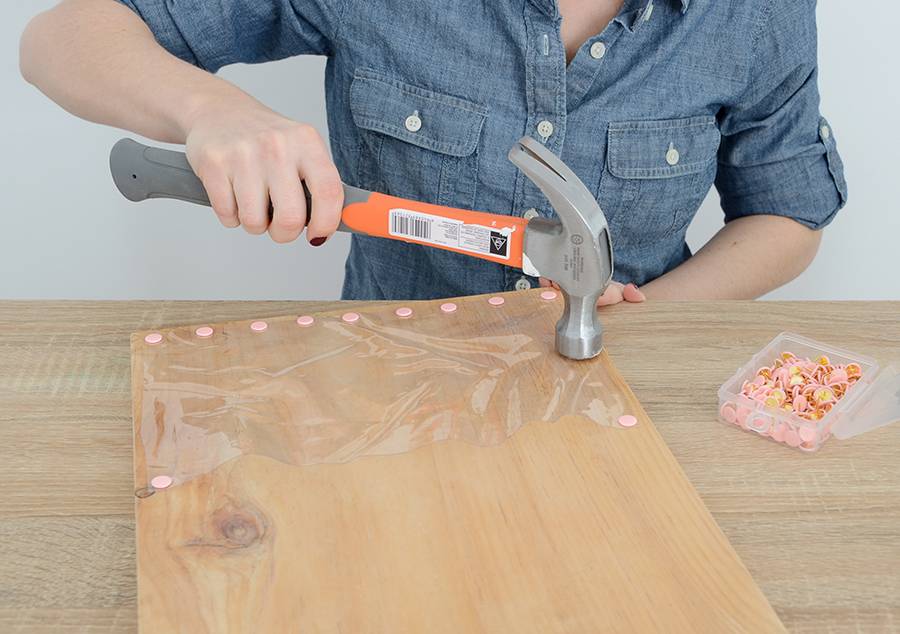
Add pushpins around the bottom and sides of the pocket. Space them out so that they are about an inch apart.
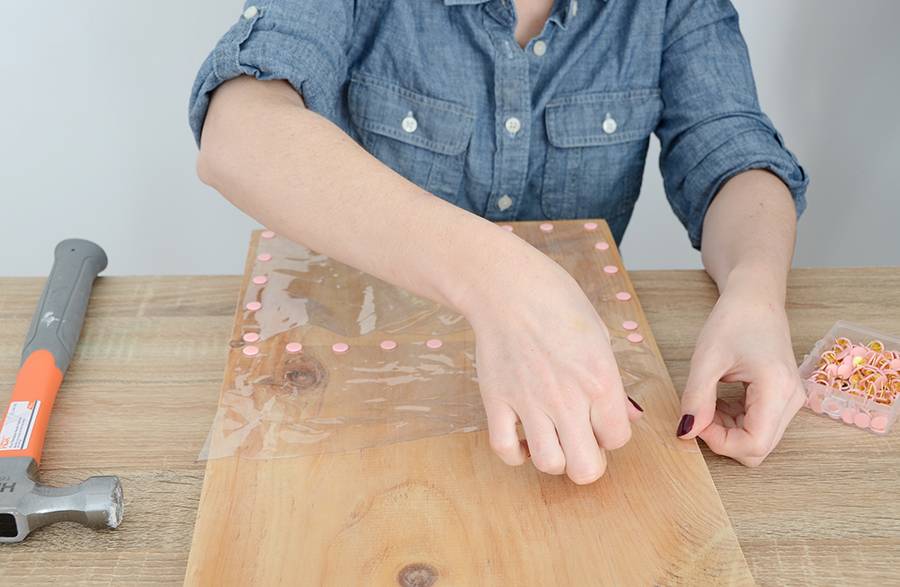
Next, cut a piece of vinyl that is 12 x 5 inches and trim it so that the bottom edge is a bit narrower than the top, just like you did before. Repeat the process of adding pushpins, this time putting a row up the middle to form two pockets.
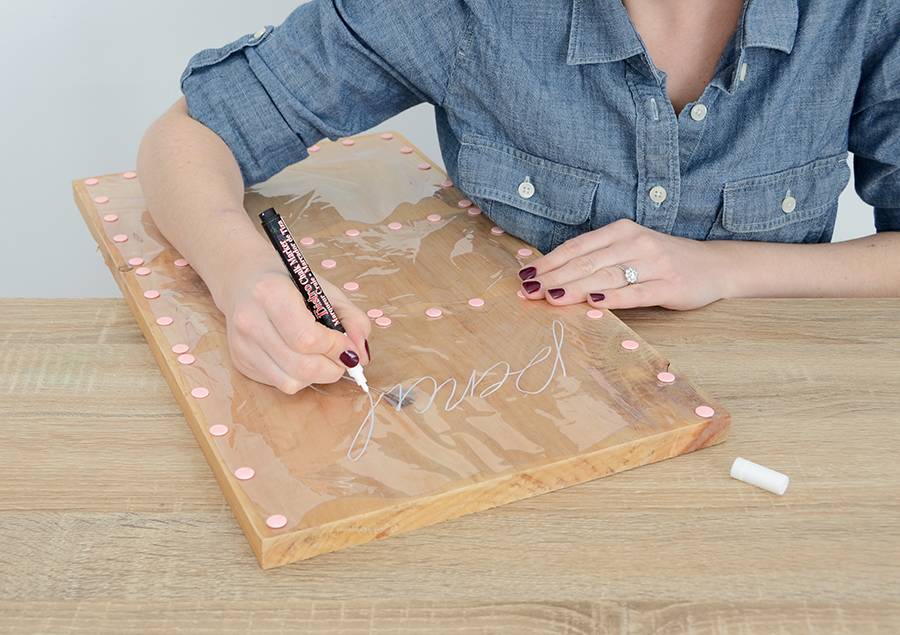
Create a third pocket for the top with the same instructions as the first pocket, size 12 x 9. You can write on the pockets using a chalk marker – just let it dry before you touch it. If you want to remove the text later, just dampen a paper towel and wipe it clean.
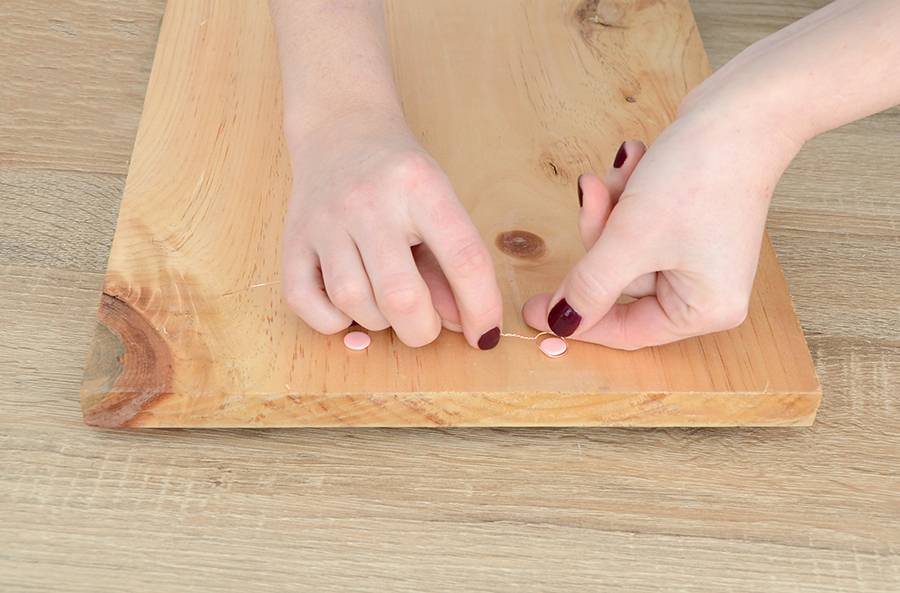
The last step is to create a hanger on the back. Place two pushpins on the back at the top, but don’t push them in fully. Form a loop at one end of the wire and hook it around one pushpin, pulling it tight. Make a loop on the other side, wrap it around the other pushpin and pull it taut. Hammer the pins in fully.
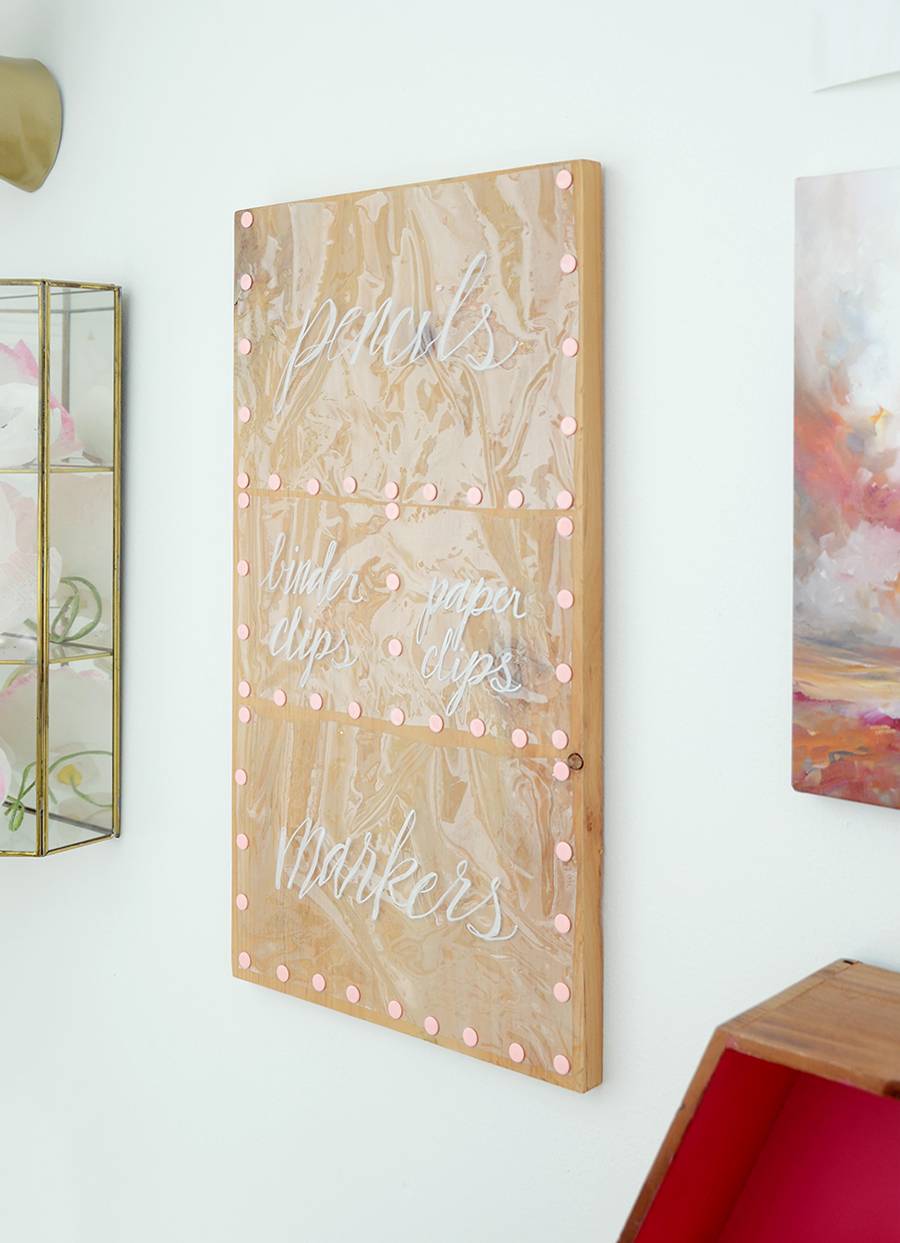
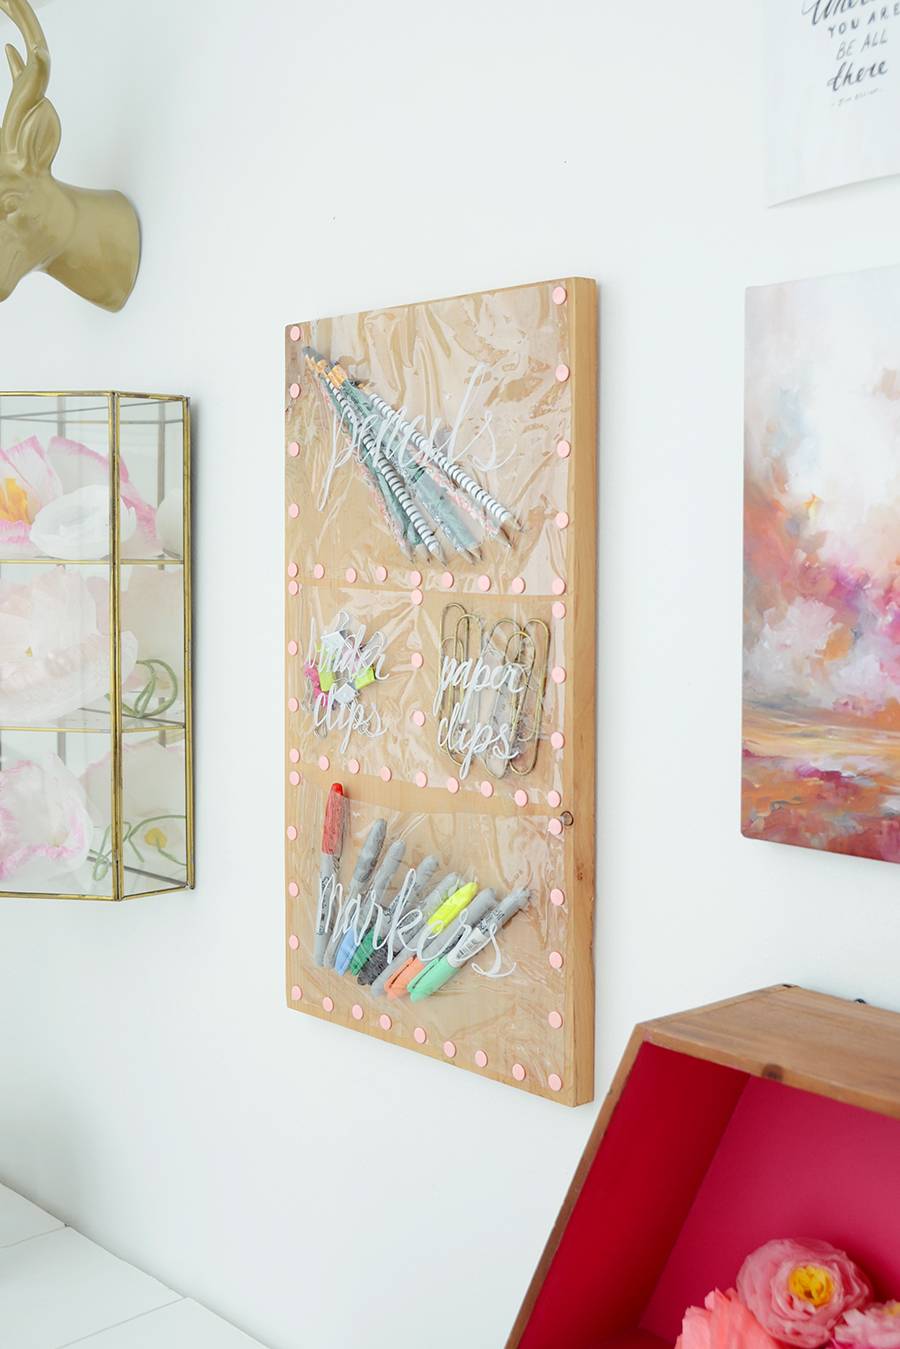
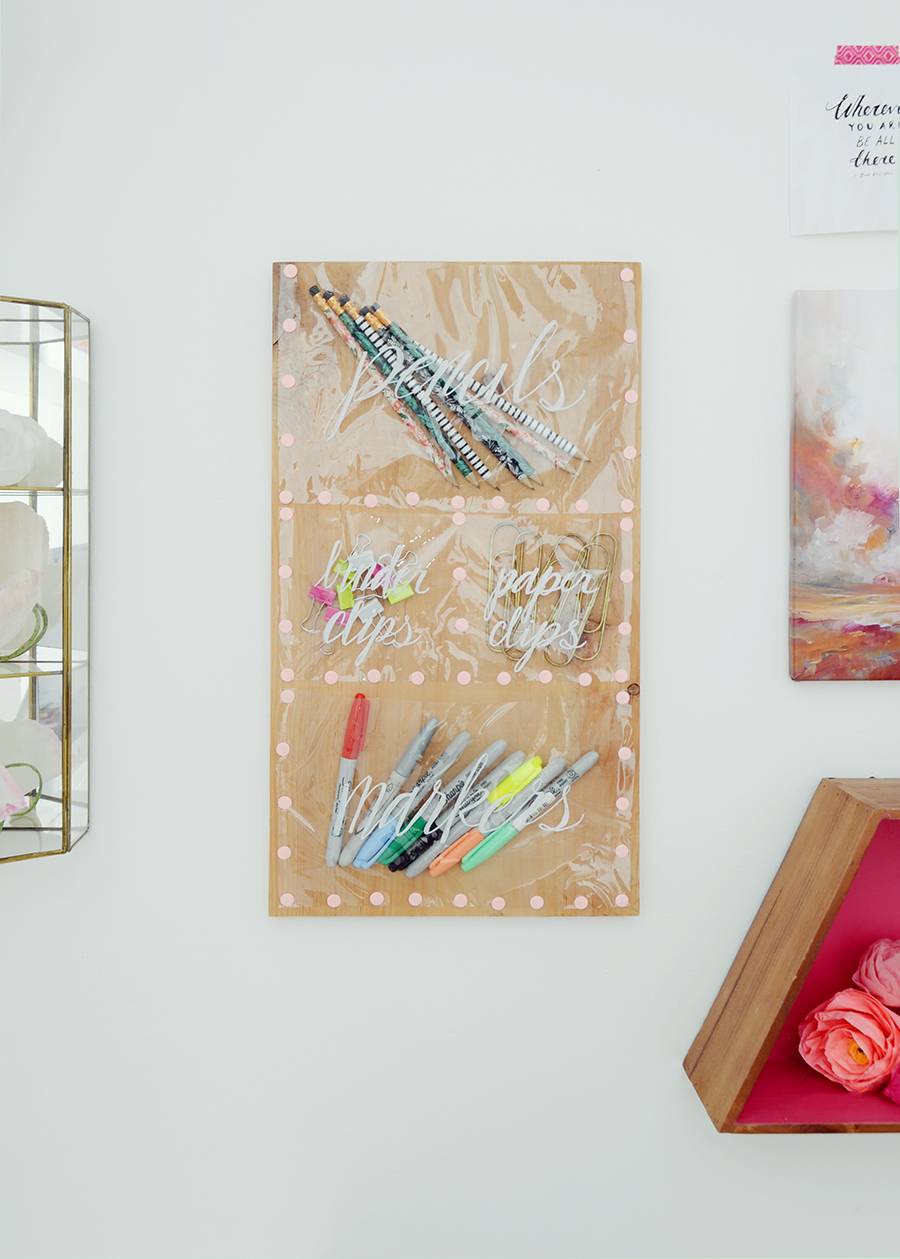
Hang it on a nail on the wall, and you’re ready to get organized! Fill it up with all of the office supplies that normally litter your desk and your workspace will be nice and tidy for the new year.
You can customize this project in lots of different ways – paint the wood, choose different pushpin colors, or you might even choose to write a quote on the vinyl.
You could also make a larger version for even more storage!
Have fun making your new organizer… and don’t forget to share it with us on Instagram using #CurblyLoveWhereYouLive.