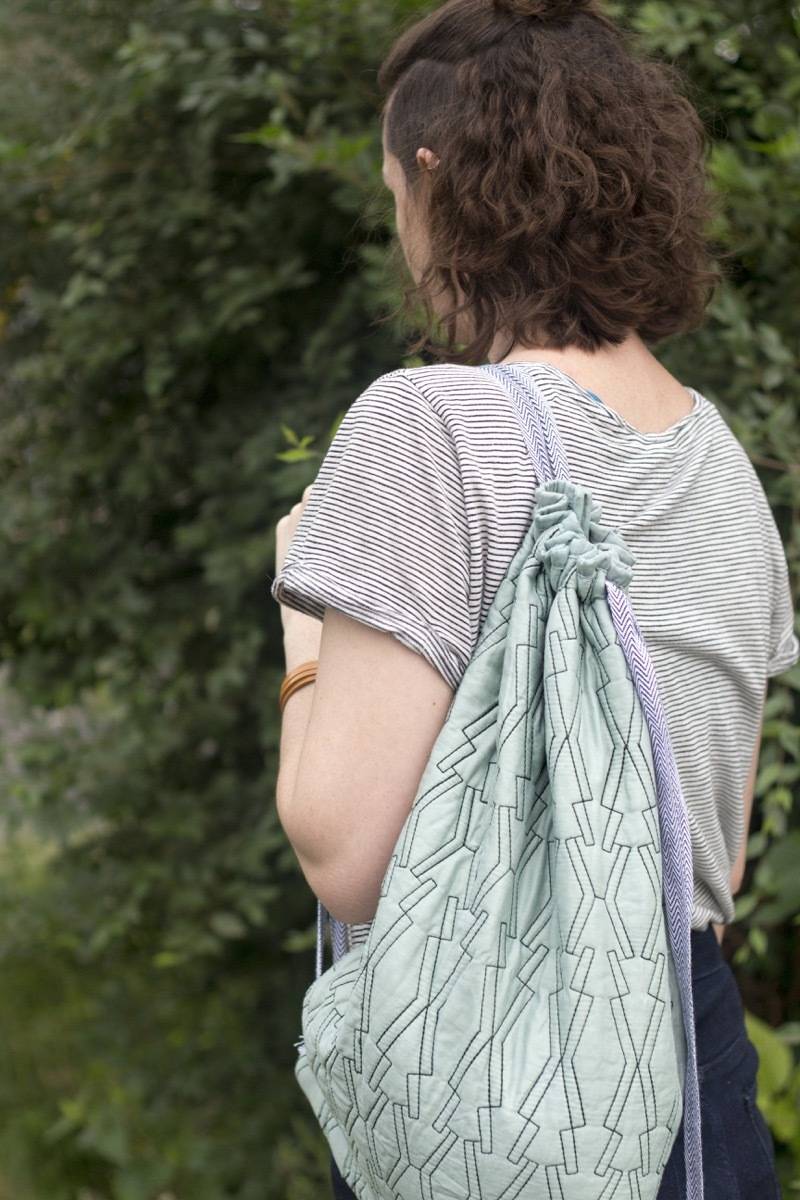
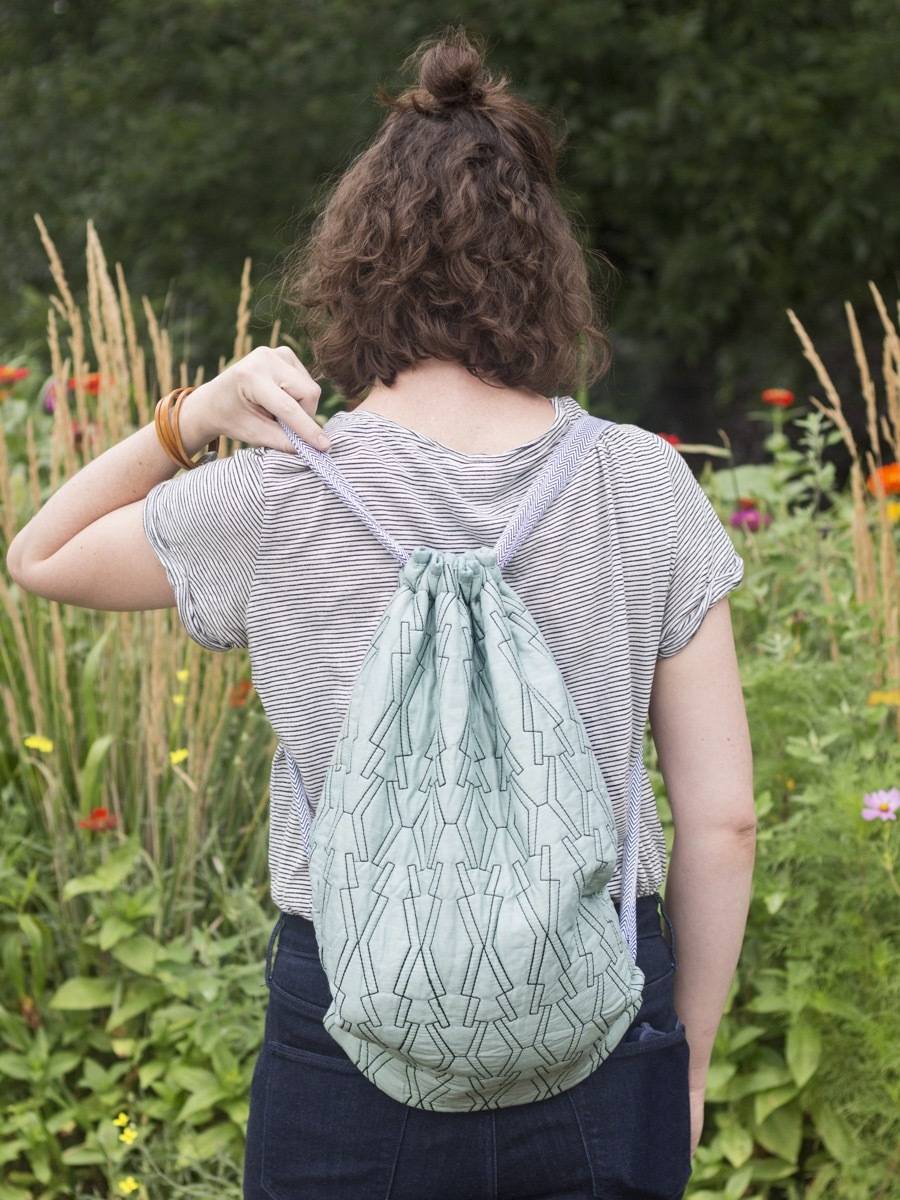
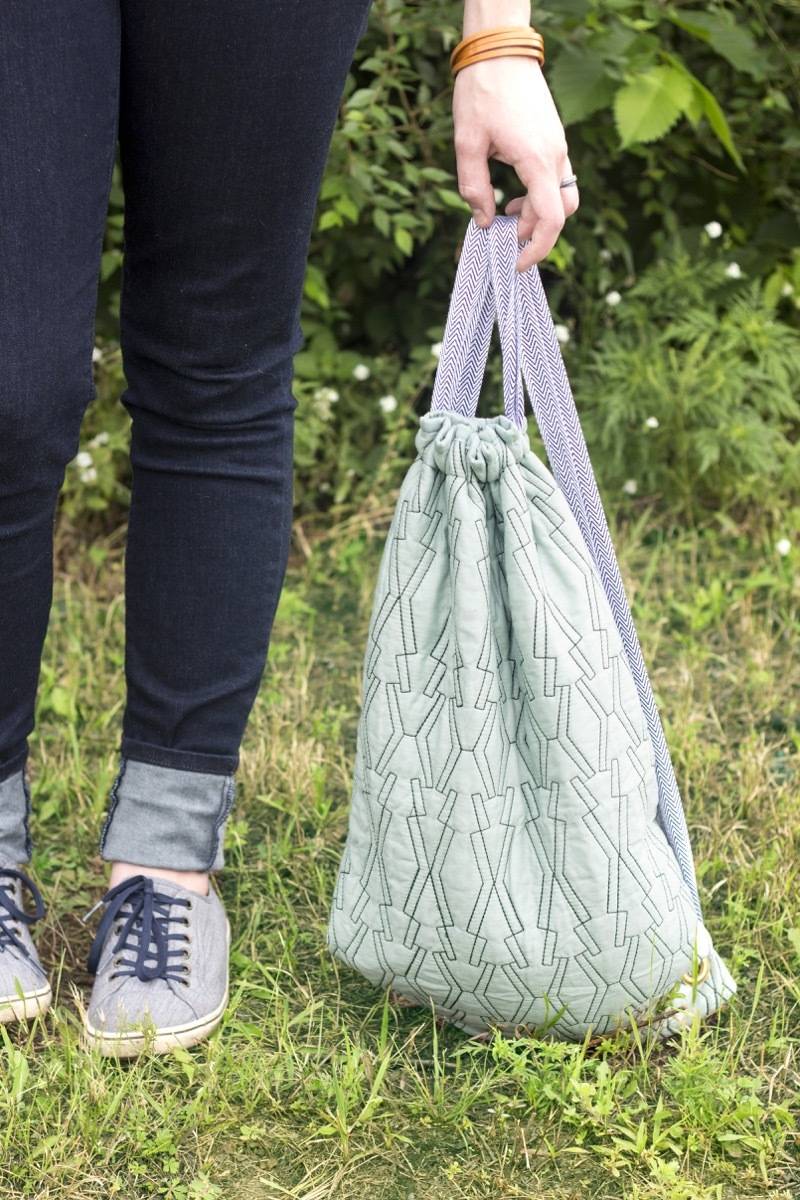
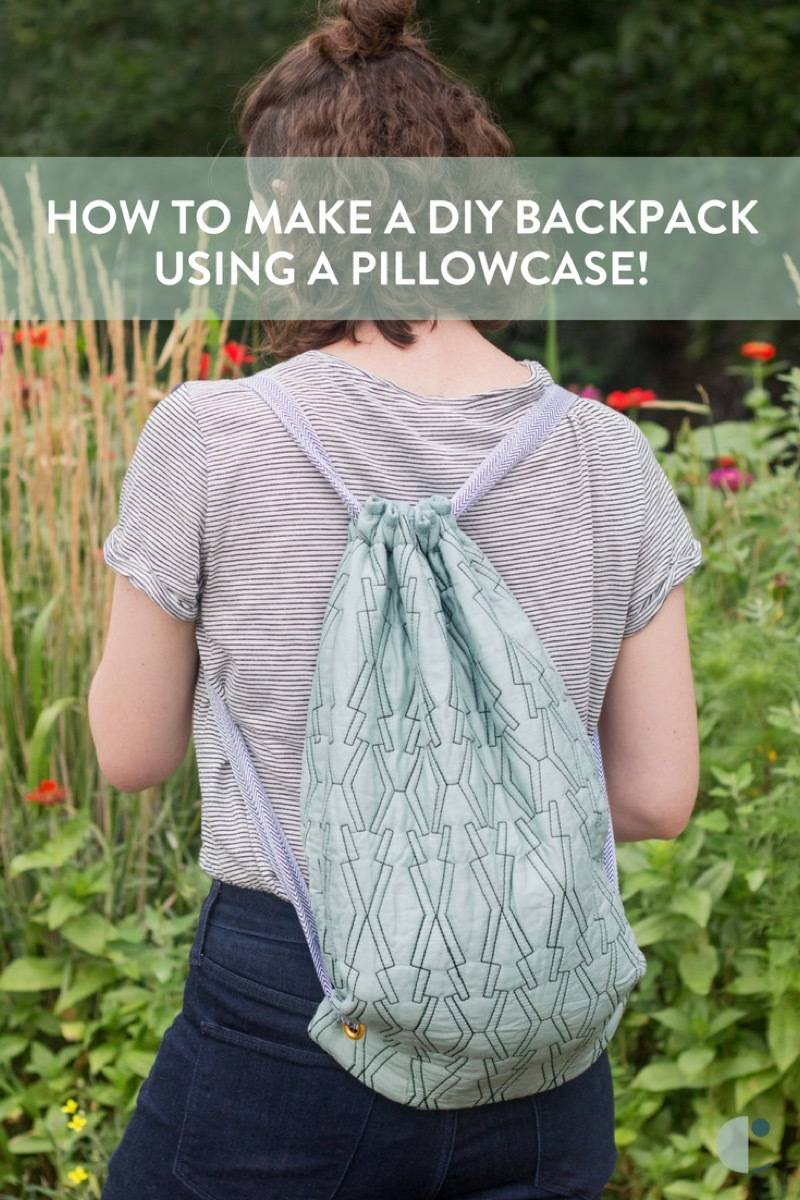
I love that small backpacks are making a comeback. I’m definitely a backpack girl. I like to have my hands free and my stuff secure, so a backpack is the ideal bag. And tiny backpacks are perfect for those quick trips to the store, last-minute drinks, or biking adventures. Drawstring backpacks are particularly easy to make, and today I’m going to show you how to turn a pillowcase into a DIY backpack (with hidden pocket!).
Technically I’m using a pillow sham to make this DIY backpack, but this method would work with a regular pillowcase, too. You’d just lose the zipper pocket on the inside, and could substitute a regular pocket instead.
Materials
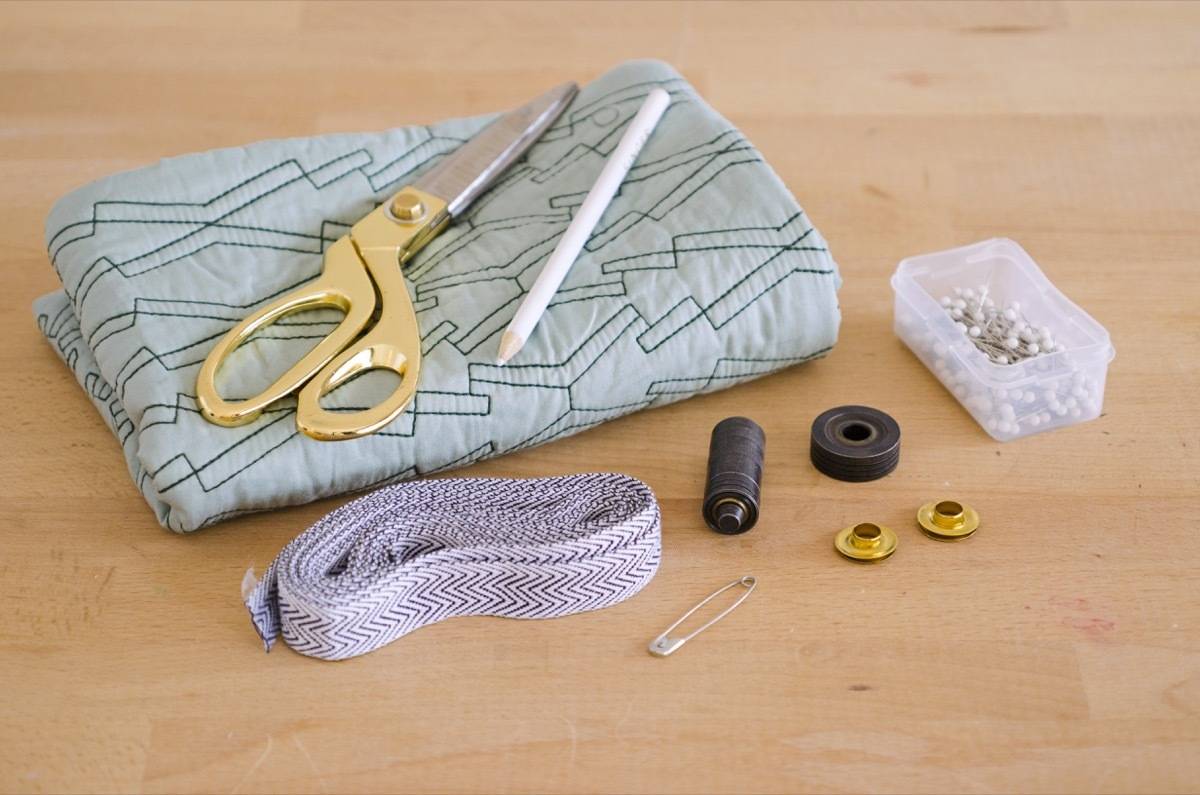
- Standard-sized pillow sham with zipper closure (here’s the one I’m using)
- 4 yards of cording or strap material
- Sewing machine, matching thread, and notions
- A large safety pin or bodkin
- Two grommets and grommet kit
- A pen or pencil
- Fray Check
Step
The first thing to do is to transform the zipper closure into a pocket for your DIY drawstring backpack. This step is totally optional, and you can decide for yourself whether or not you’d like for your DIY backpack to have a zipper. It’s really simple, though – as easy as sewing three lines. So why not?
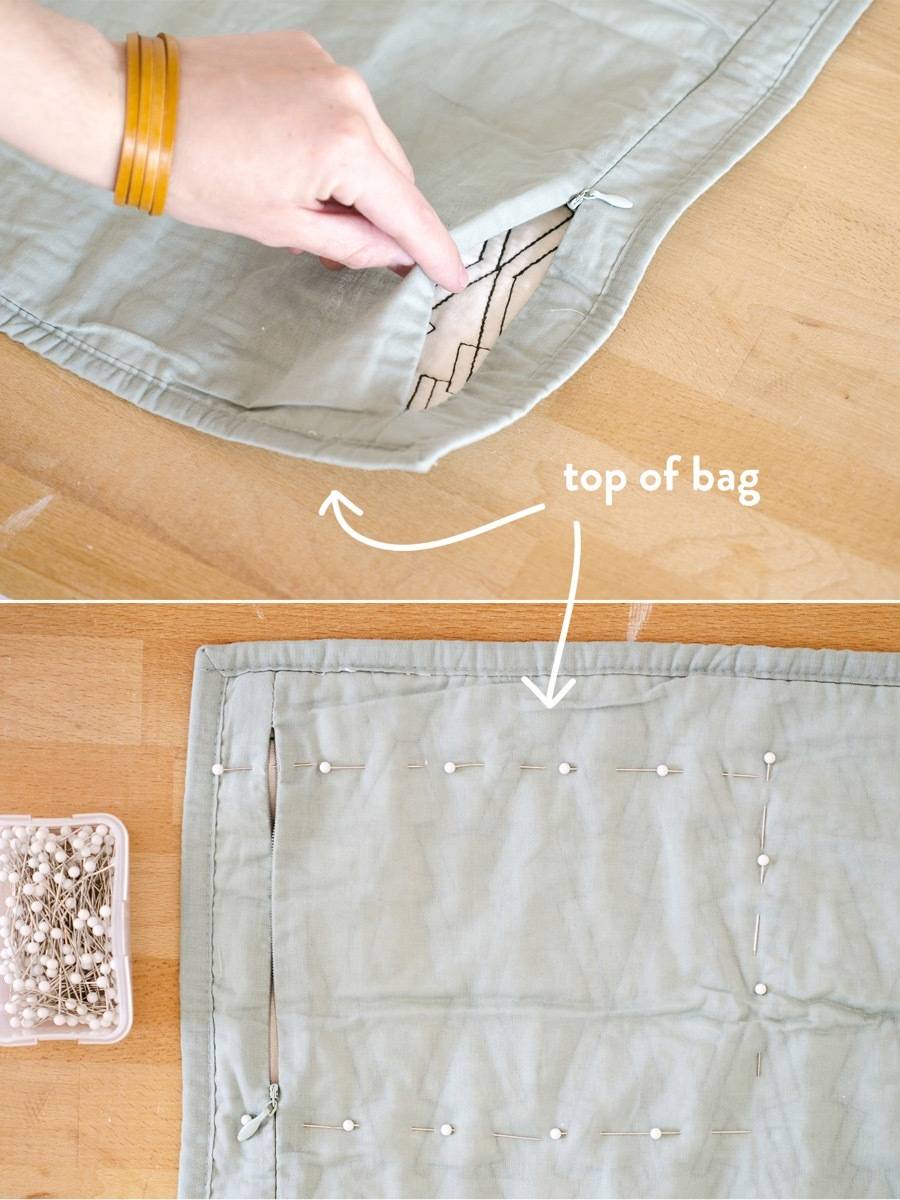
Locate the zipper on the back of the pillowcase. When the zipper is closed, the side closest to the zipper will be the top.
Next, use pins to map out a pocket-sized rectangle. This rectangle should cross the zipper, thus preventing it from opening all the way. Leave at least an inch of material at the top for the drawstring – this might require going over the zipper at the top and bottom of your pocket, too. No worries! Just make sure the zipper pull tab is within the boundaries of your pinned rectangle before you start sewing.
Hop over to your machine, and stitch along the pinned lines (three sides total). This pocket will be on the backside of the backpack, so any stitching you do will be hidden. When sewing across the zipper, make sure to go over it back and forth a few times, and go slowly so you don’t break your needle.
Now you have a pocket! The zipper should only go as far as the sewn lines on the top and bottom. Plus, when you use the pocket, your items will stay contained in the sewn rectangle, rather than roaming around the entire pillowcase.
Step
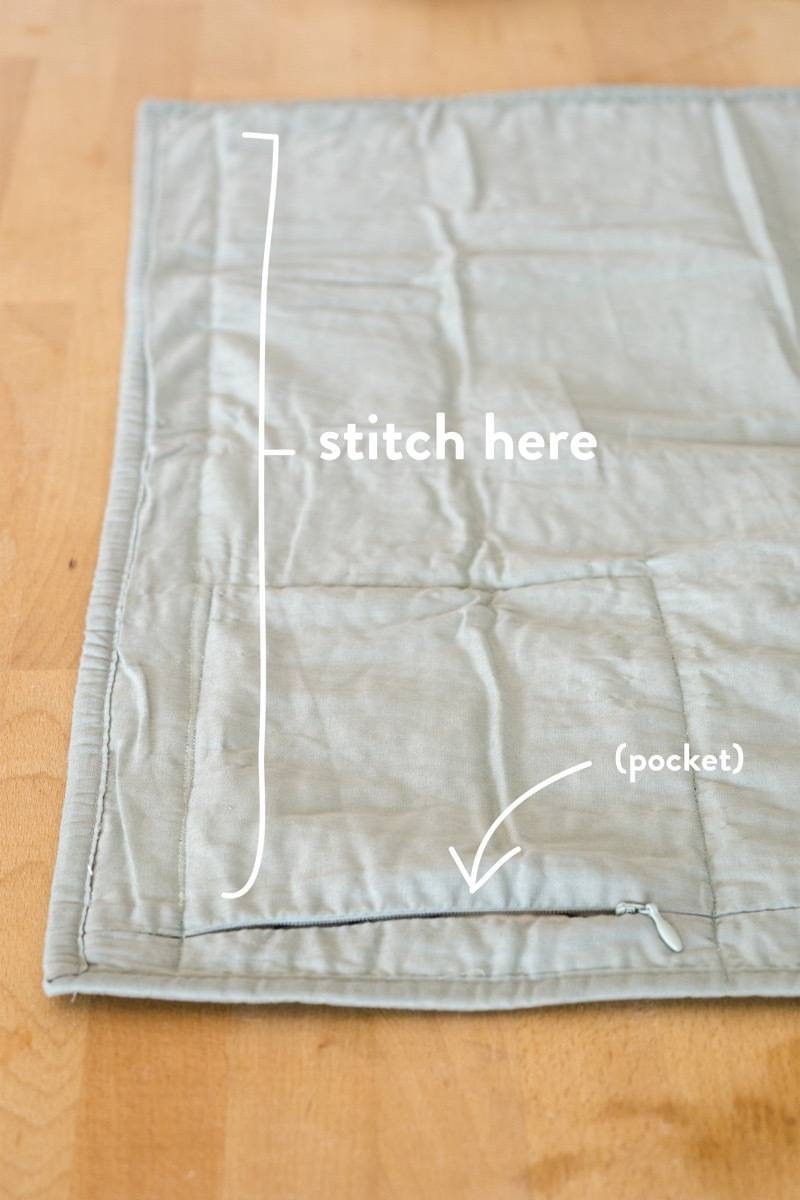
To create the casing for the drawstring to pass through at the top of the bag, sew a straight line across the pillowcase from one end to the other. This seam will line up with the top of your pocket.
Step
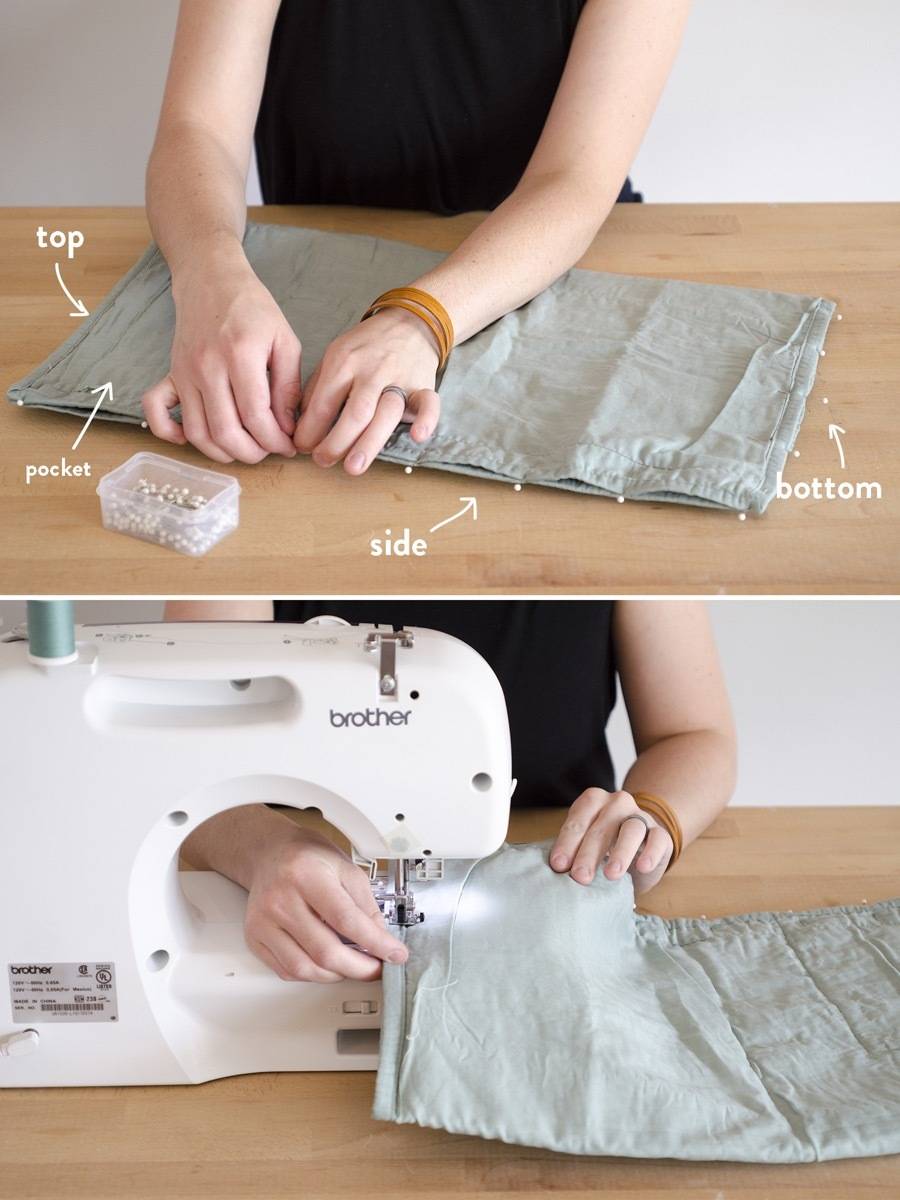
Fold the pillowcase in half, wrong side out. Next, pin the bottom and sides together, leaving the top open. Bring the pillowcase over to your sewing machine, and stitch along the bottom and side with a straight stitch. Turn your case right side out.
Step
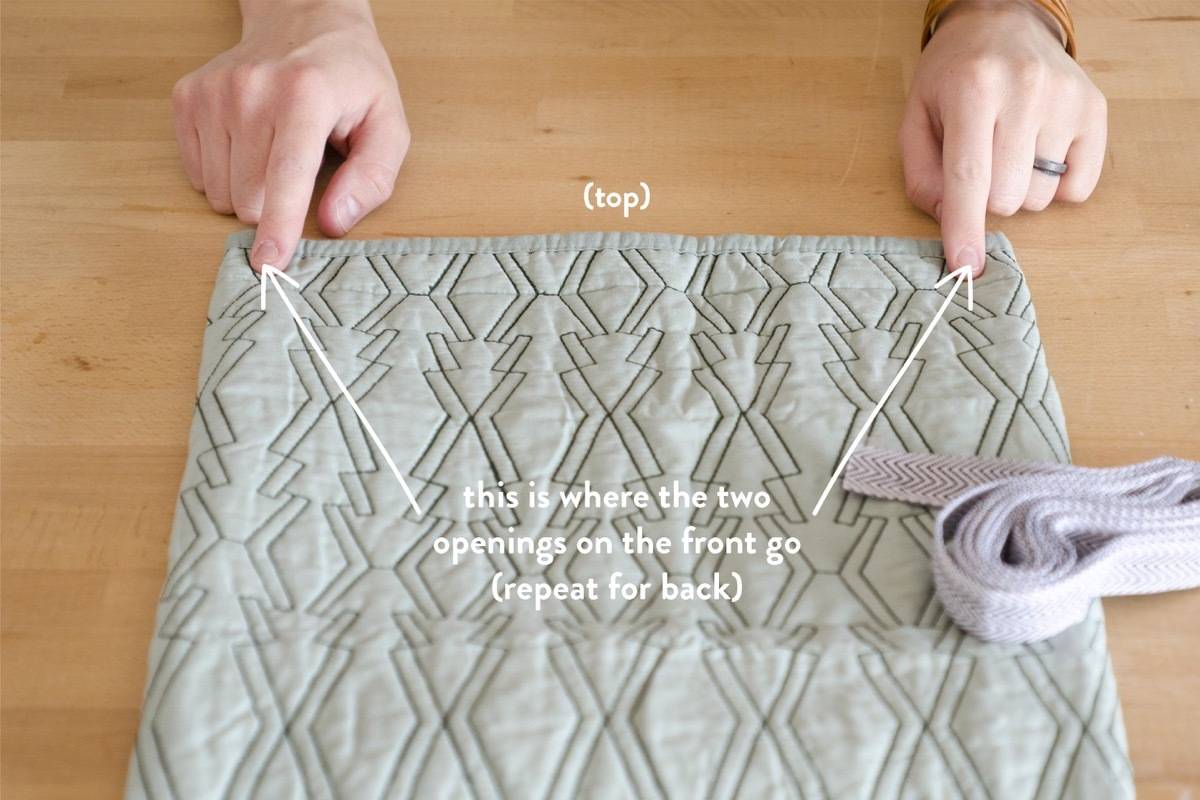
Now to cut openings for the drawstring. There are four openings in total – two on the front, and two on the back. These cuts should be made inside the casing, and should not extend past or hit your stitched line from step 2. The opening should also only be cut through the top layer of fabric – not through the back.
The drawstring openings on the front of the DIY backpack should be about 1/2 an inch from each edge. The same goes for the back of the bag. This means the back and front openings will be an inch a part from each other. Here’s how to make the cuts:
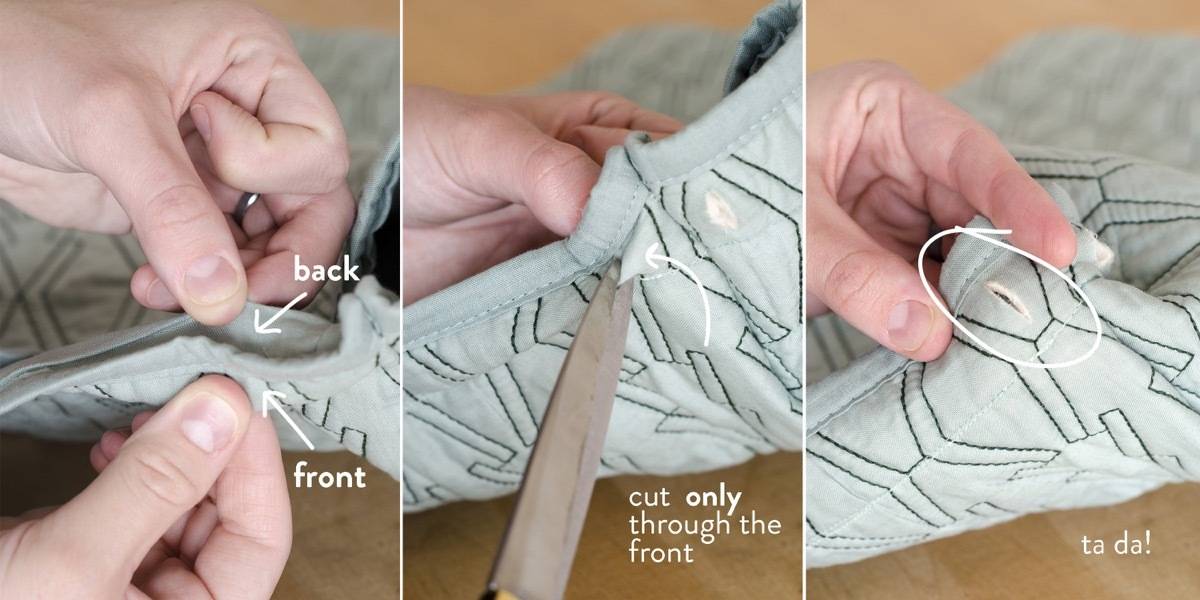
Pull the back fabric from the front along the casing. Use sharp scissors to snip an opening, being careful not to knick the seam. Now you have an opening to feed your drawstring through!
To prevent fraying, add a touch of Fray Check to the cut holes.
Step
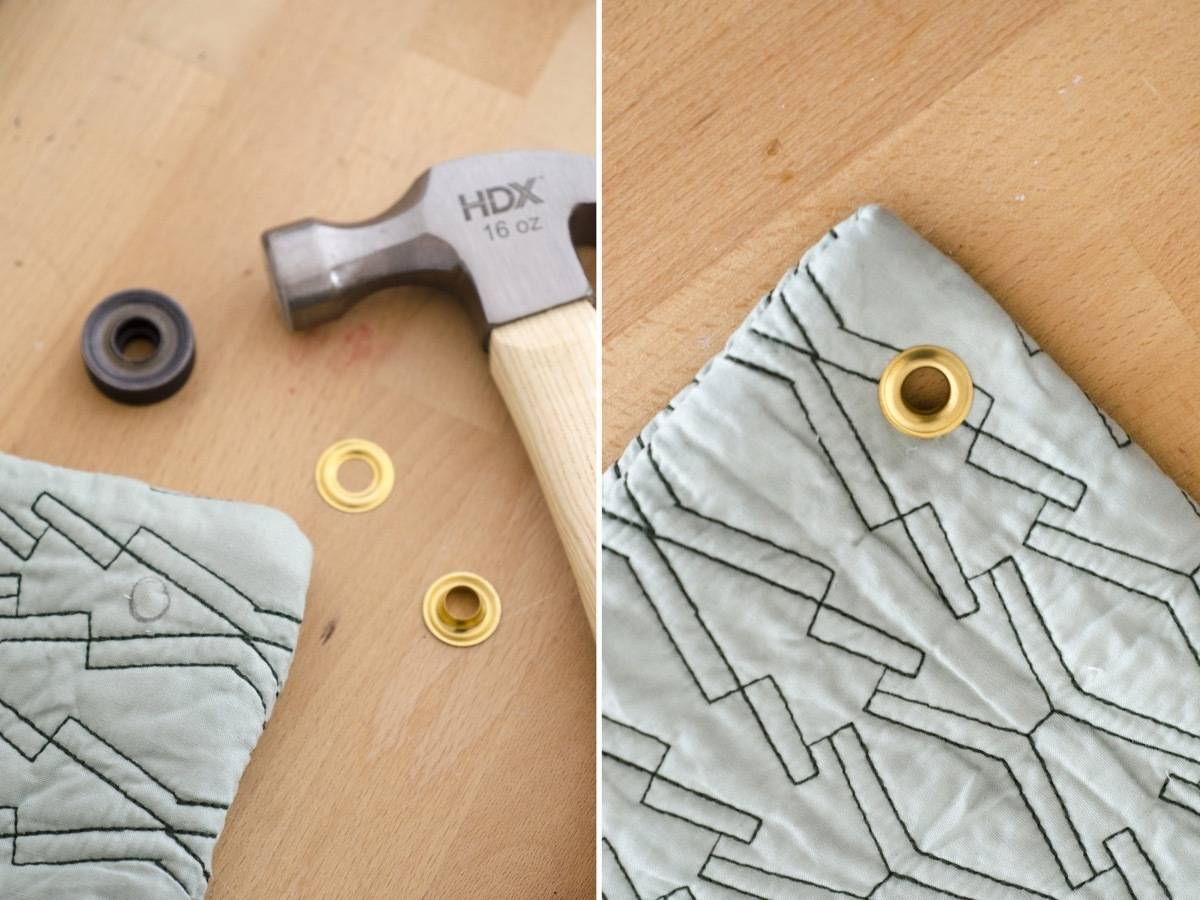
At the bottom of the bag, make two marks using a pen or pencil for the grommets. They should be close to the edge, but not on it. Use scissors to cut an opening for the grommet, then using a hammer and grommet kit, secure the two grommets in place at each of the bottom corners.
Step
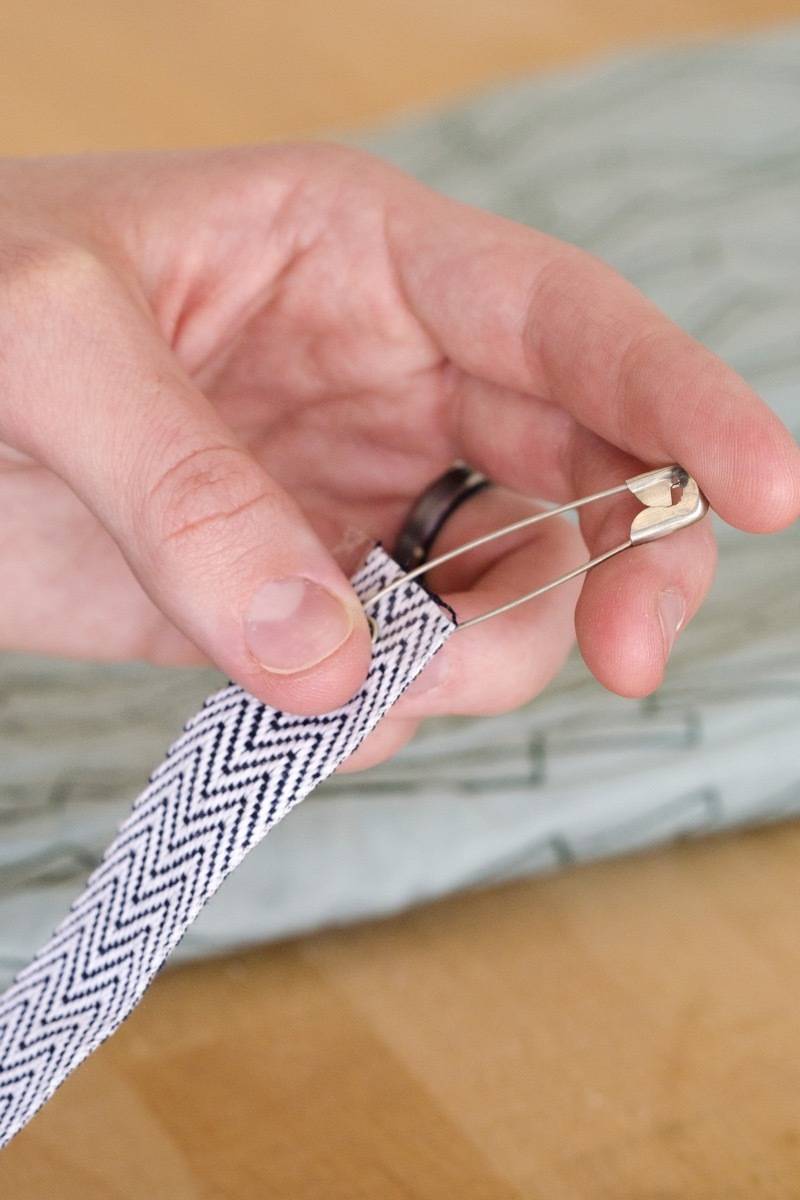
Cut the 4 yards of cording or strap material in half, so you have two 2 yard pieces. Attach a safety pin or bodkin (also known as a “threader”) to the end of one strap. This will allow you to easily feed the cord through the casing.
Step
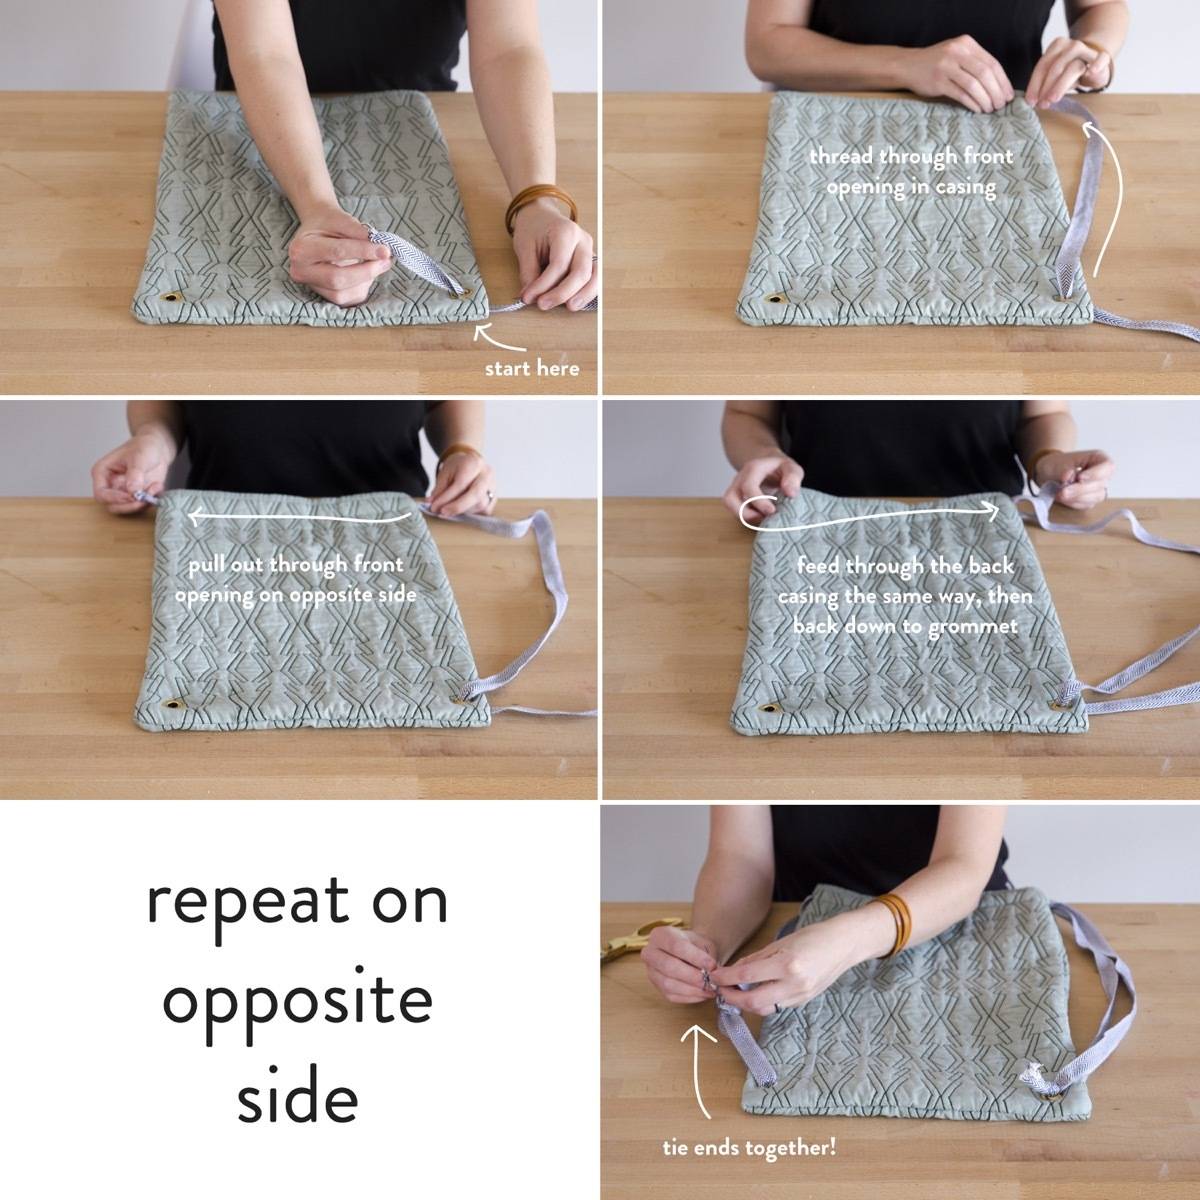
Now for the final step – threading the bag straps.
Start at one of the bottom grommets, then thread through the closest hole in the casing on the front of the bag. Feed the cord through the front casing and out the other opening in the front. Then, feed it into the back casing, and out the back opening on the opposite side. Finally, bring it back down to the grommet.
Repeat with the second piece of cording on the opposite side of the bag, going in the casing on the opposite site from the first cord.
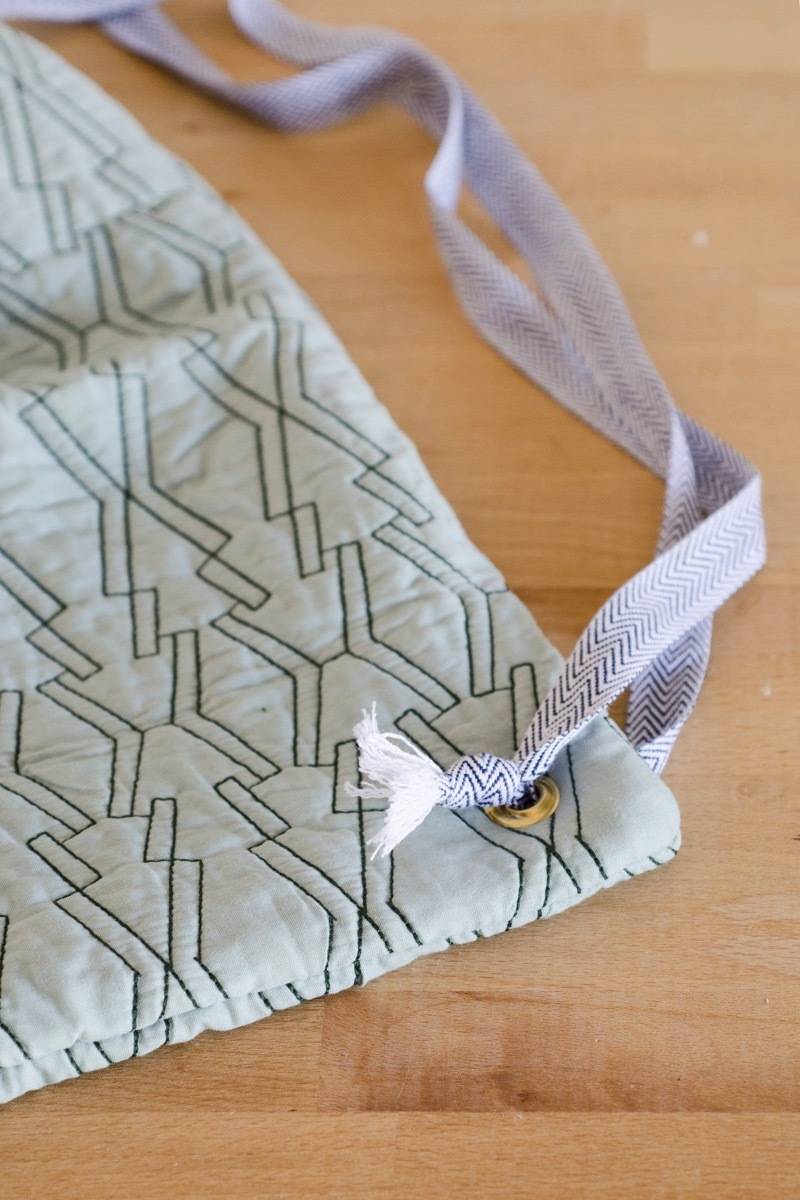
You can leave the tied ends alone, or fray them out. If you want a neater look, use some more Fray Check to keep the weave of the strap from coming loose.
Done!
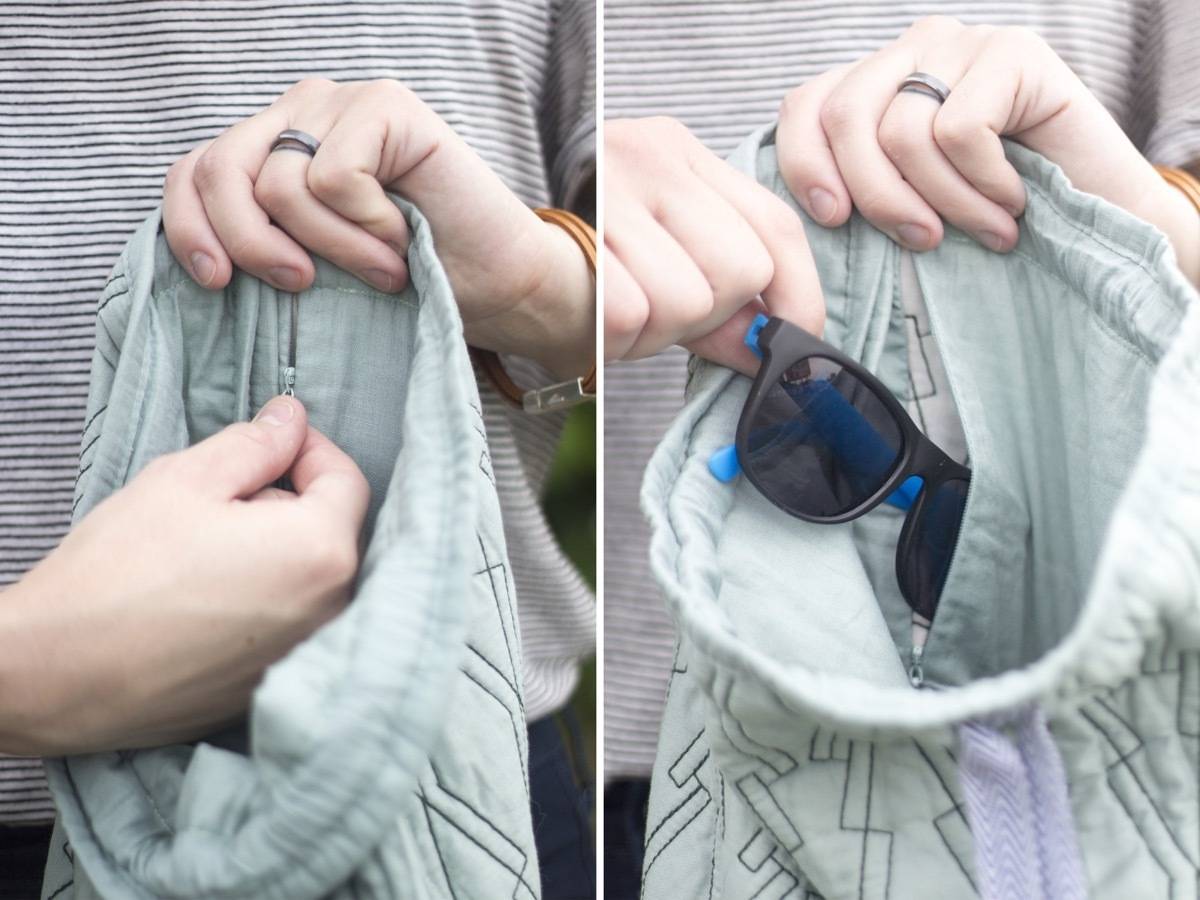
This secret pocket is seriously my favorite thing about this DIY backpack. It’s perfect for helping me keep track of my sunglasses and wallet!
If you liked this DIY backpack tutorial, you’ll love this market bag turned backpack!