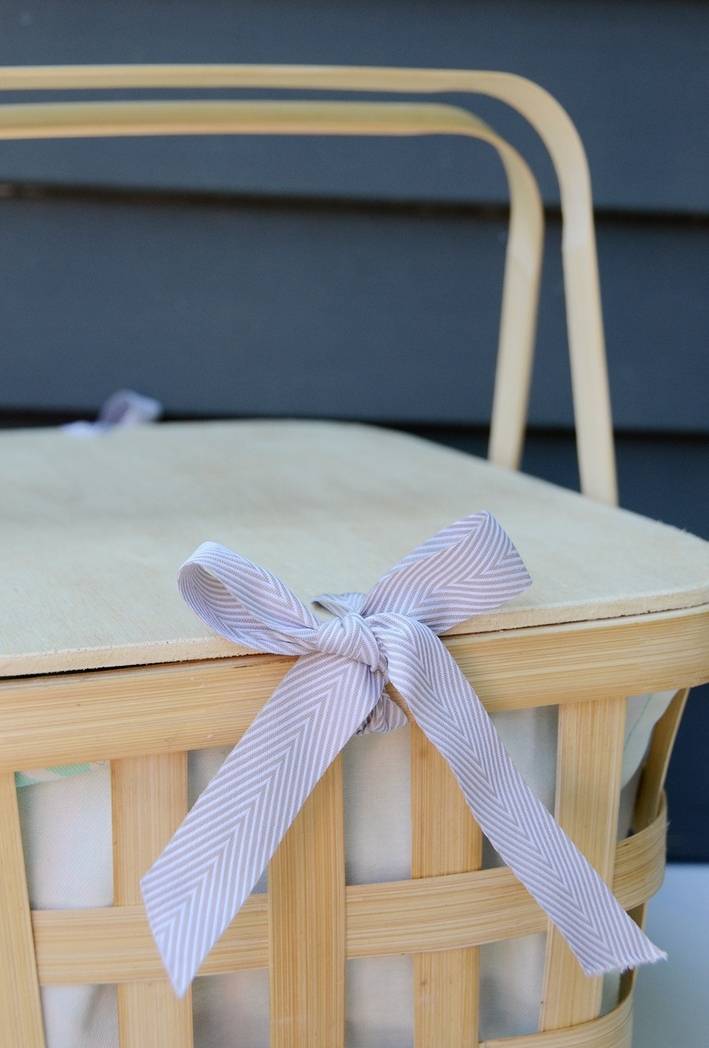
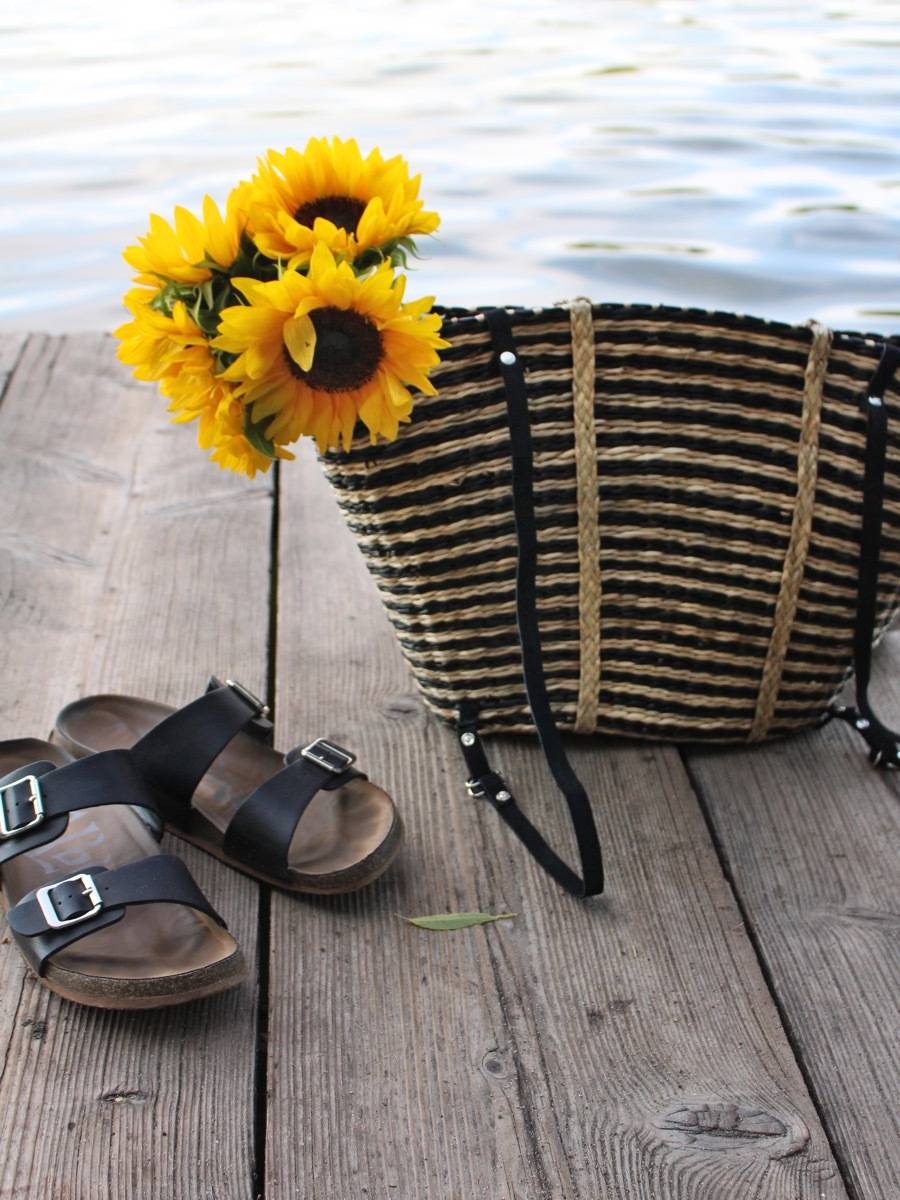
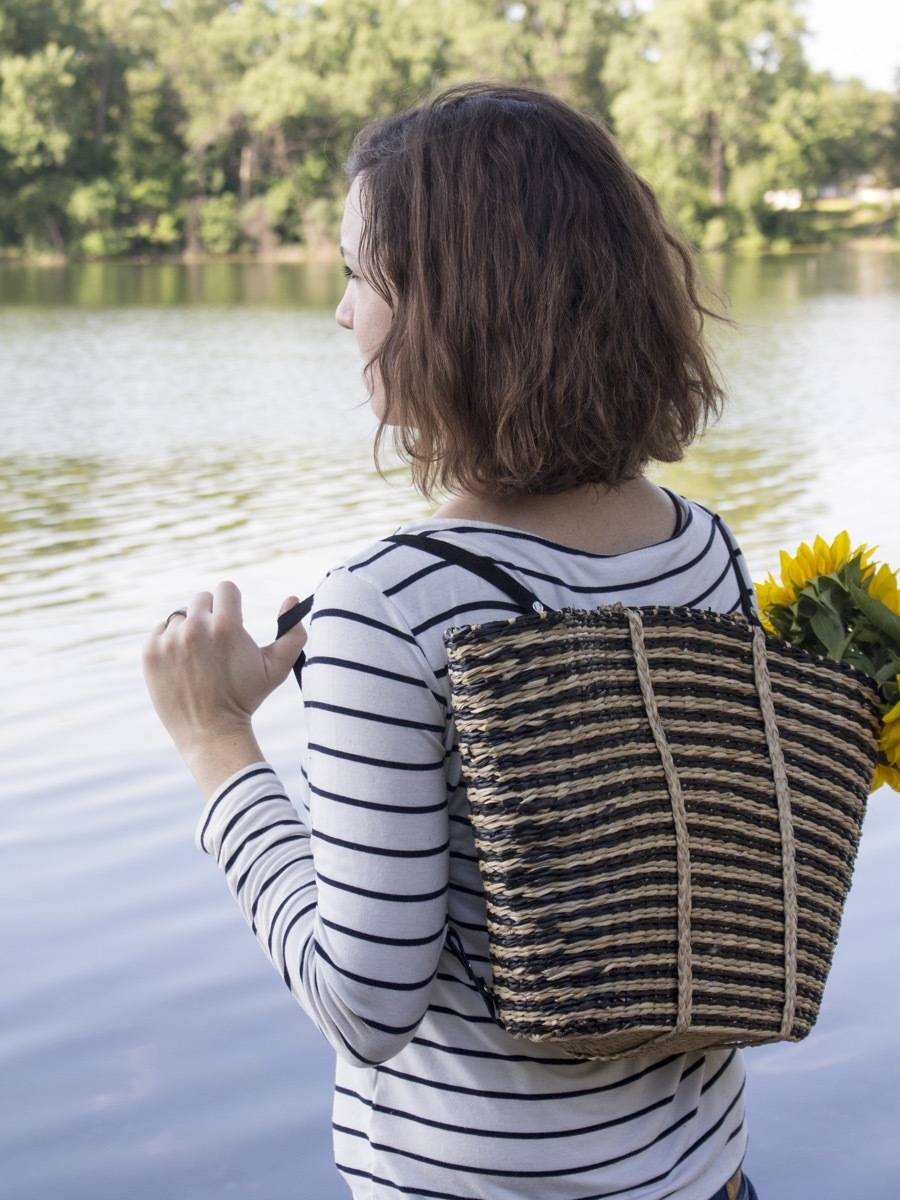
Picnic season is upon us. As a matter of fact, July is National Picnic Month! To celebrate, we’re working on projects all month that are best enjoyed outdoors. Today I’m here to show you how to transform a regular straw tote bag into a handy backpack, perfect for bringing an outdoor lunch to the park. Keep reading to see how this picnic basket backpack was made.
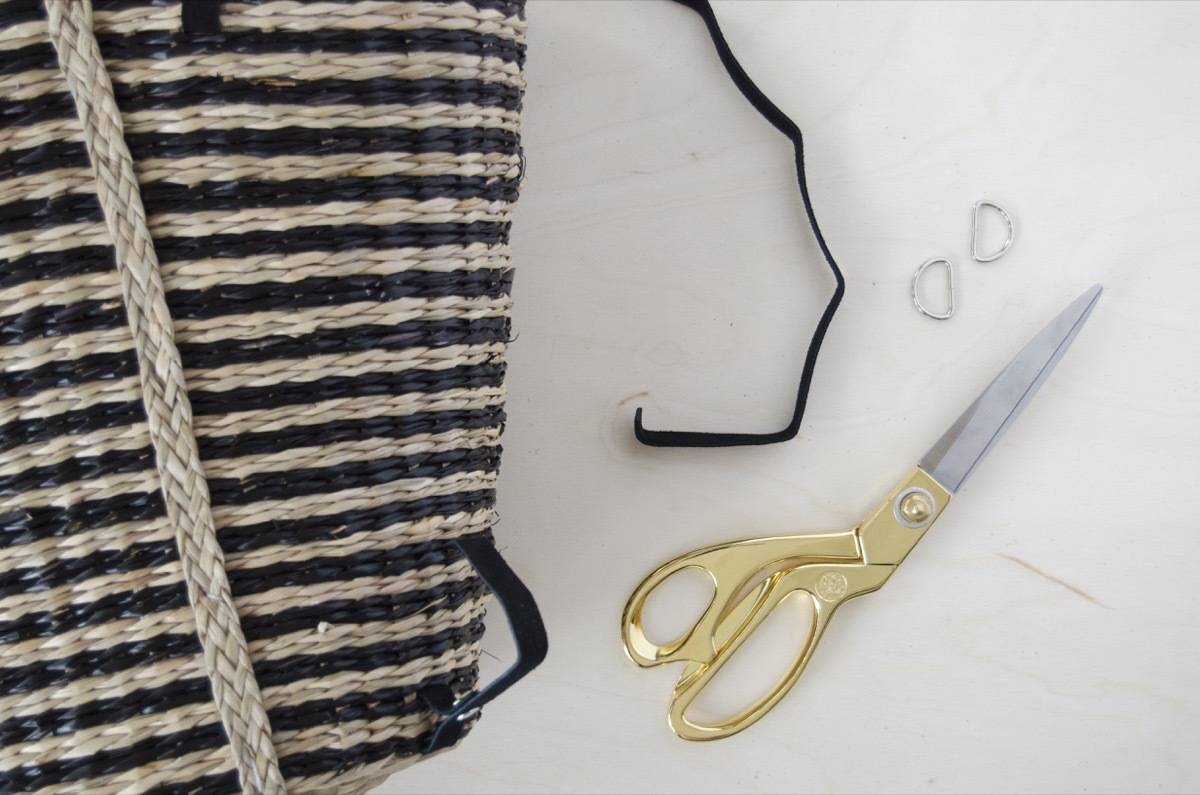
Materials
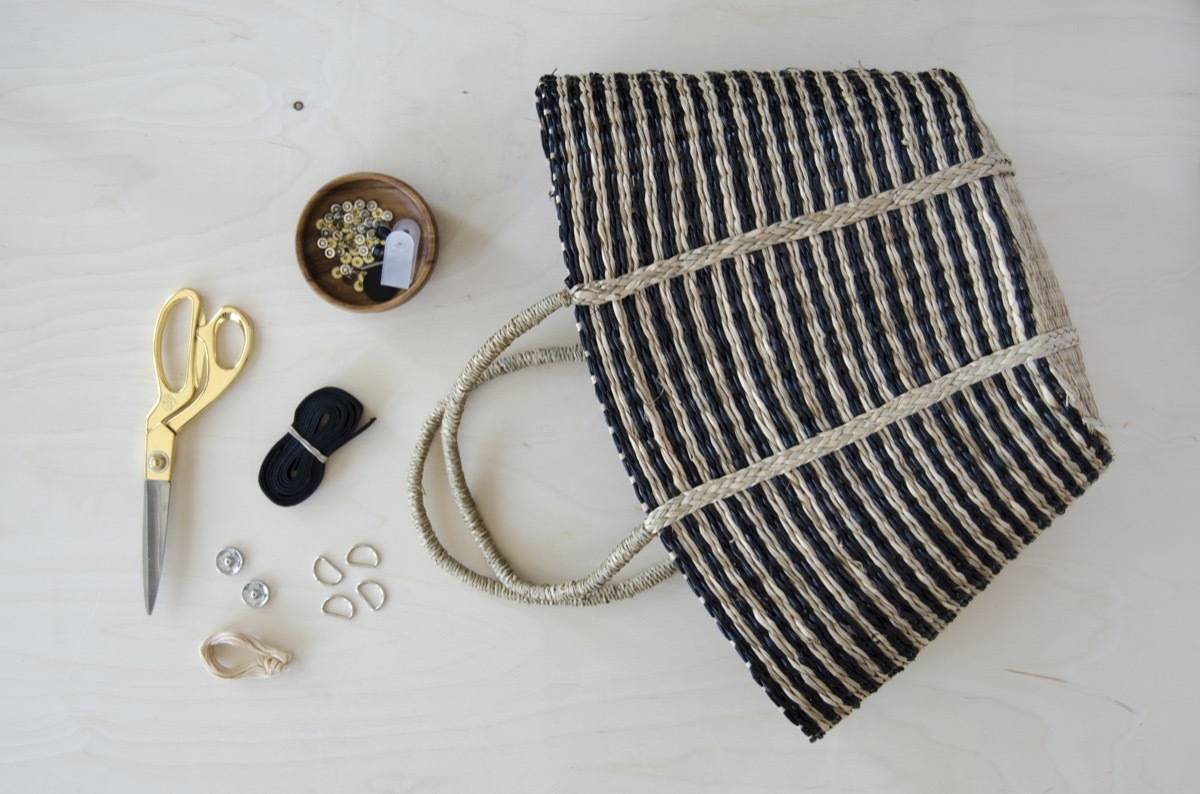
- A tote bag made from straw or some type of woven material (I snagged mine off a clearance rack at the craft store!)
- Jean rivets and a riveting tool
- A hammer
- Two 1-yards strips of suede material (1/2″ width)
- Four metal D-rings
- Two large sew-on snaps
- Embroidery thread and needle
- Scissors
- Marking pencil
Step

Begin by determining where the straps of the picnic basket backpack should lie. The top straps should sit roughly 11″ apart from each other, and the bottom straps should be wider, at about 13″. Weave a strip of suede into the top of the tote bag. You can do this by opening up a section of the woven material, and feeding one end of the strip through.
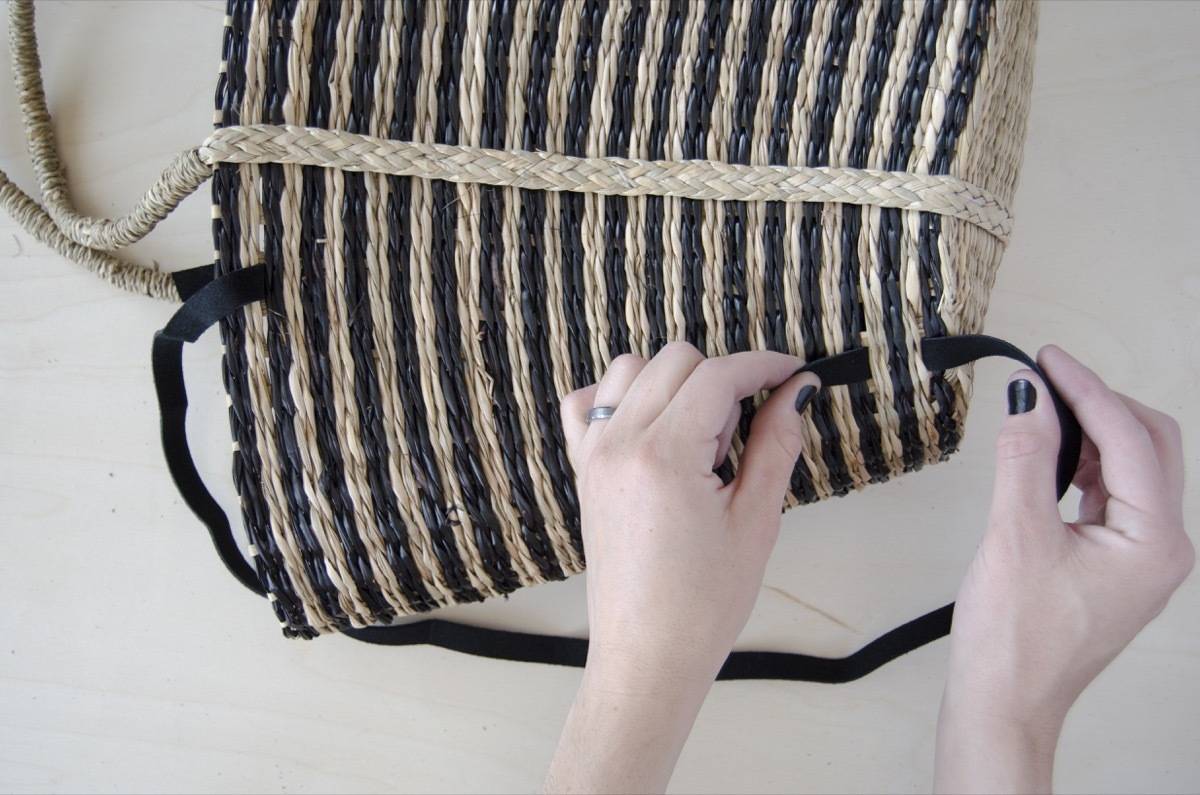
Weave the other end of the suede through the bottom of the bag. This will be trickier, as you’ll need to pass through the front and then again through the back. Do the same on the opposite side of the tote bag.
Step
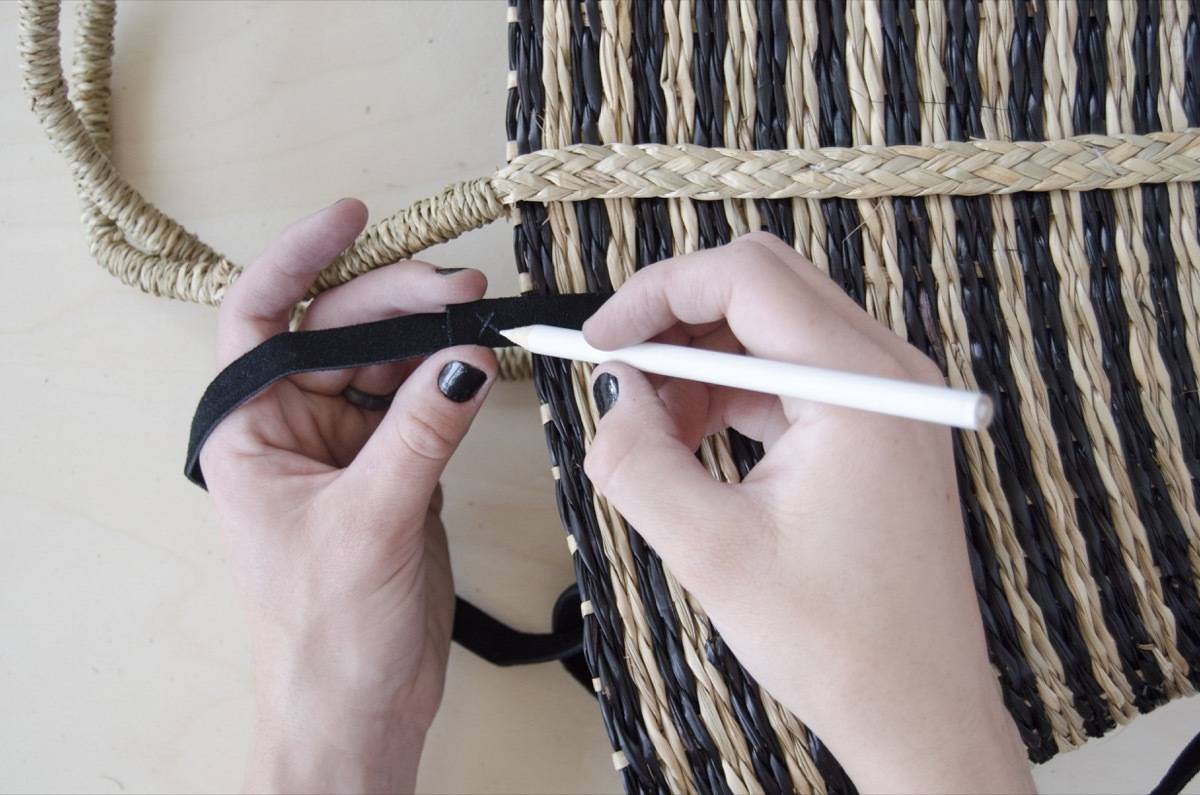
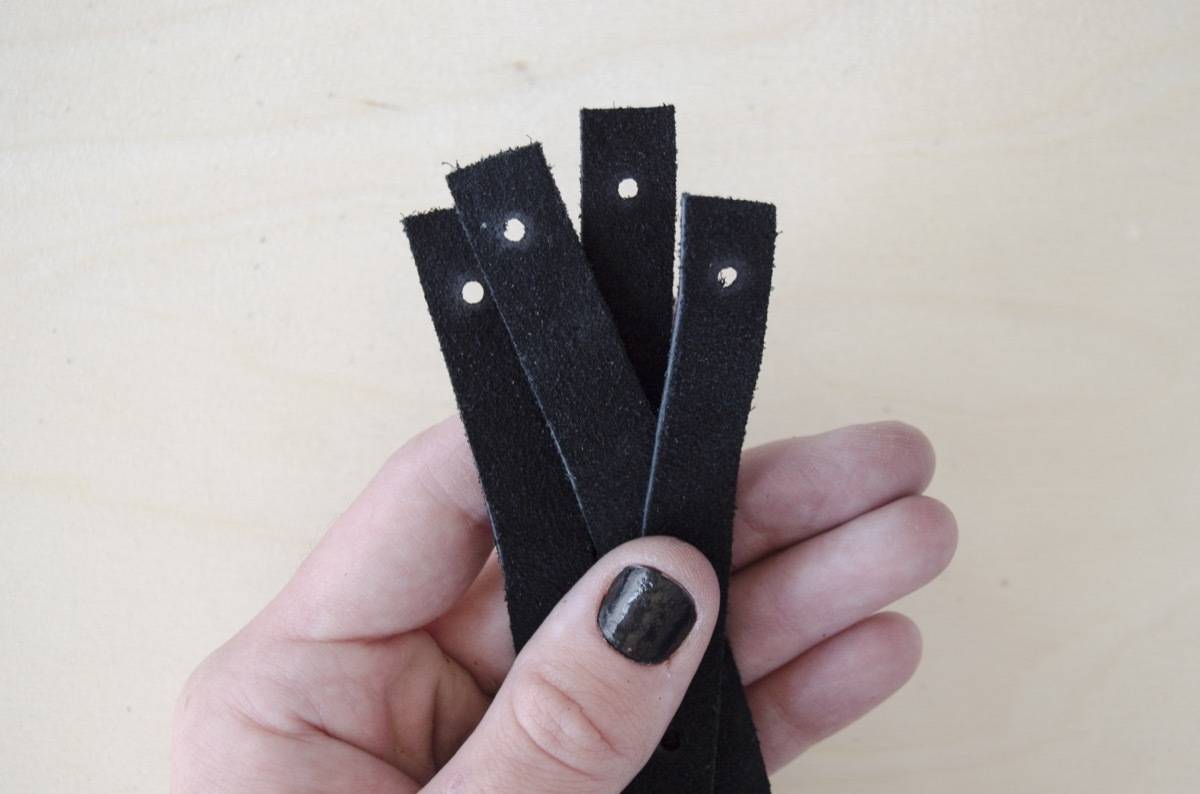
At the top of the bag, fold the strap over so it meets with itself. Using a marking pencil, draw an “x” where the rivet will sit in order to create a loop from the strap. Make sure to mark both the end of the strap and the point where it meets itself, as the rivet has to pass through both materials.
Do the same for the bottom of the bag.

Pull both straps off the bag, and transfer your markings from one strap to the other. Now both your straps should be marked at the top and bottom.
Step
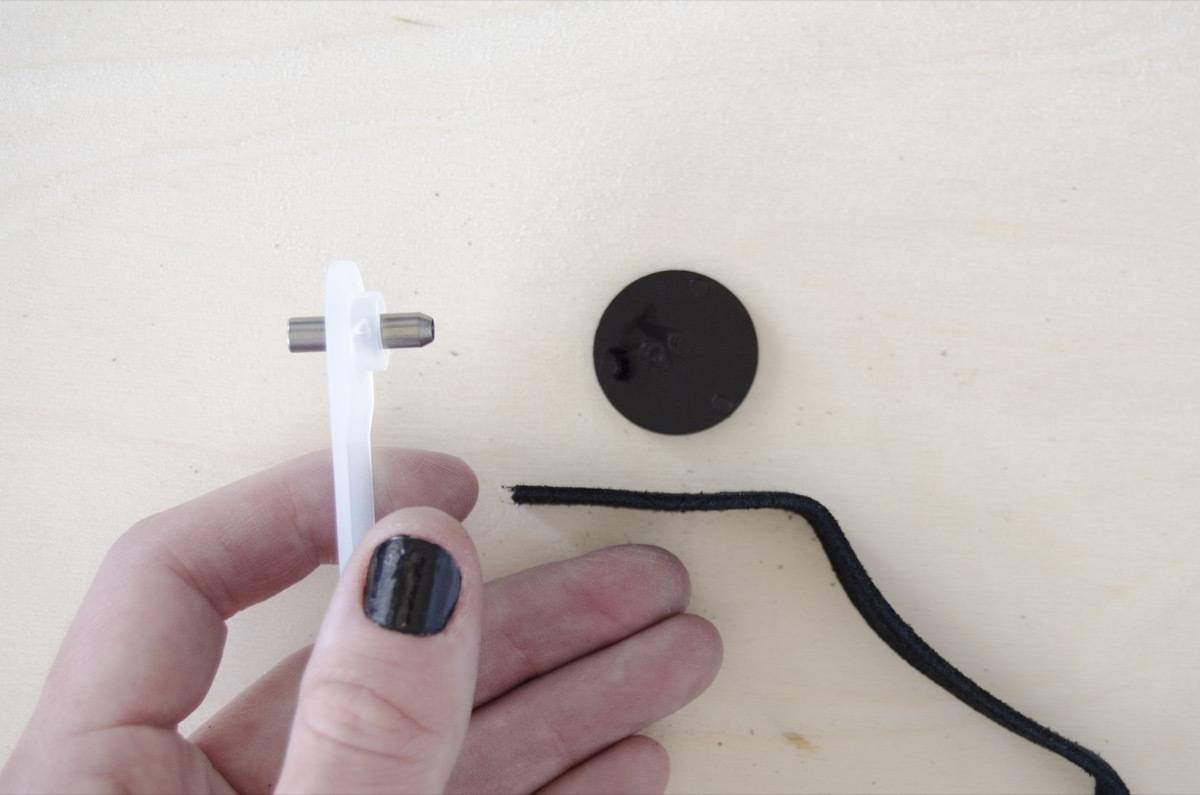
Now it’s time to get to riveting! Per the instructions that come with the riveting tool, grab the awl, the appropriate accessories, and a hammer. Lay the strap on the backer, then position the awl above one of the marks you made on the suede strap. Hammer until you’ve created a hole.

Repeat for all the marks made on the suede straps. You will end up with two holes on each end.
Step
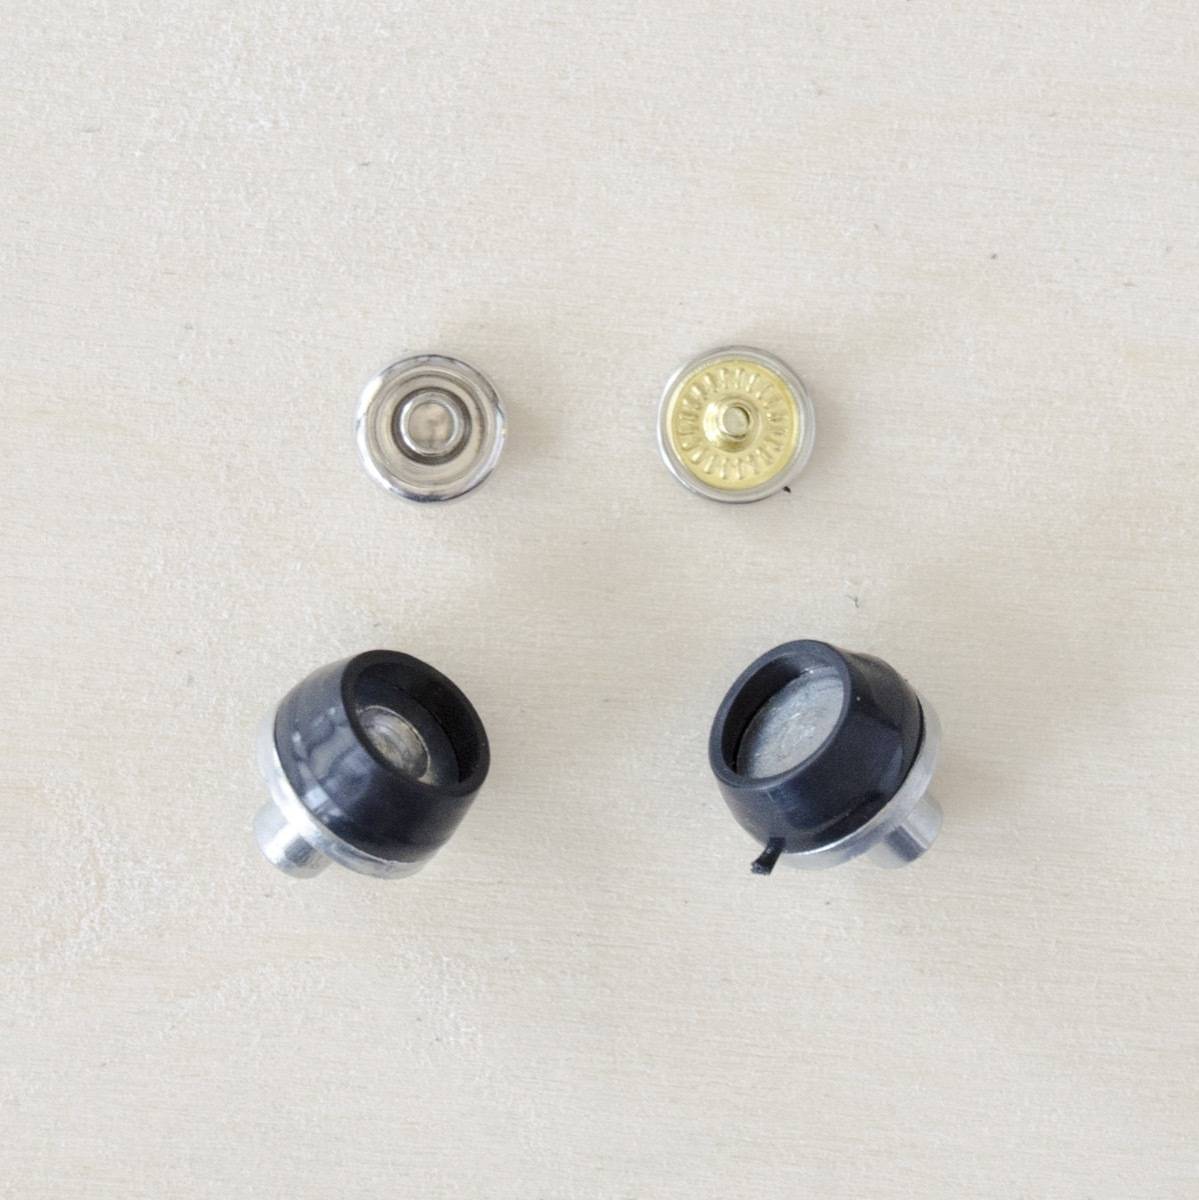

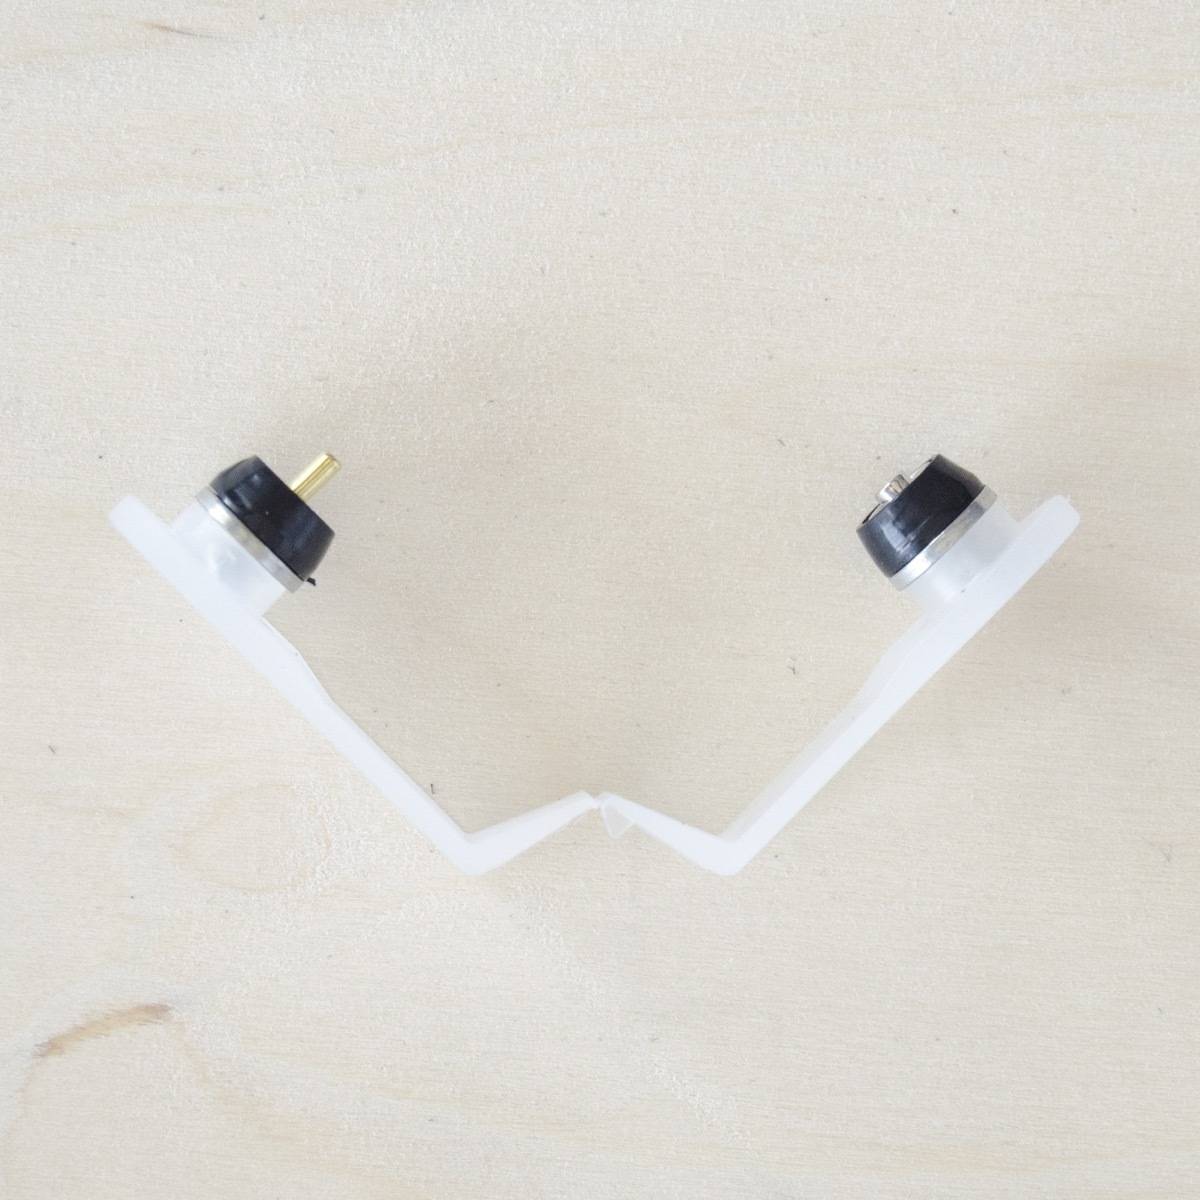
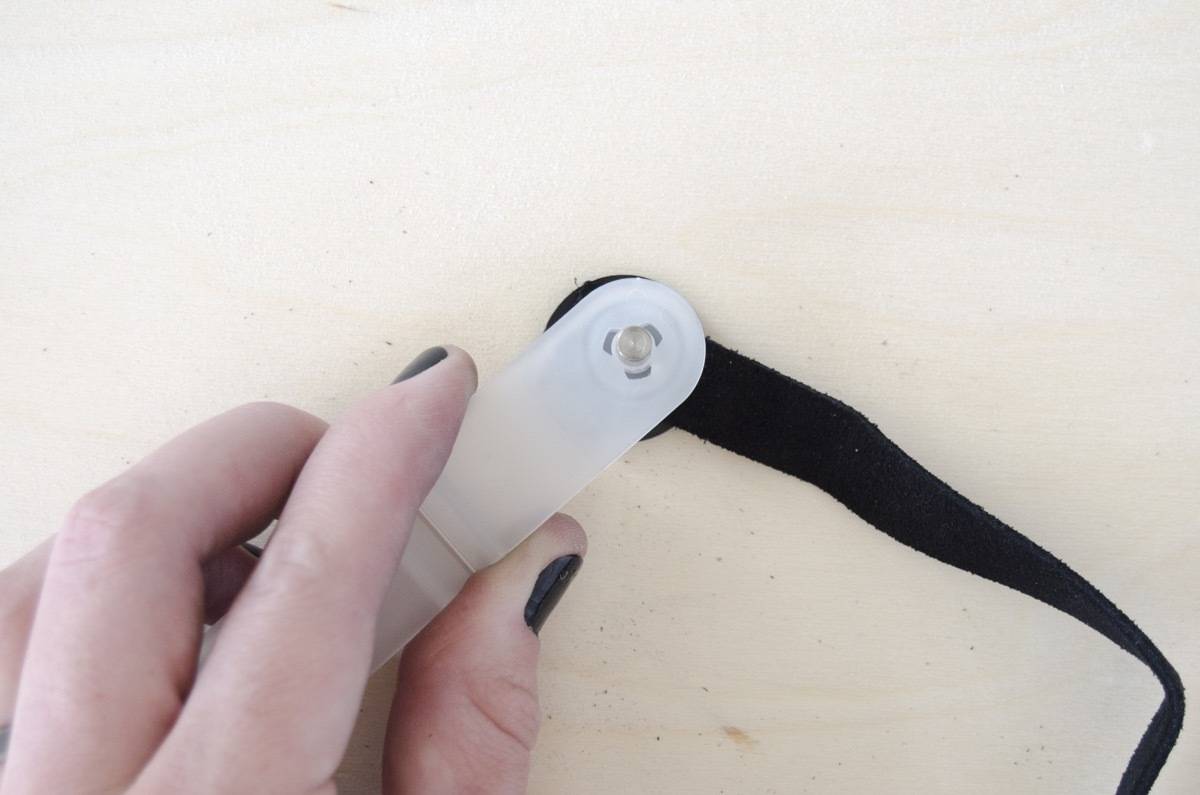
Next, prepare to install the rivets. Grab a jean rivet, and per the instructions accompanying your riveting tool, assemble the tool (as seen above).
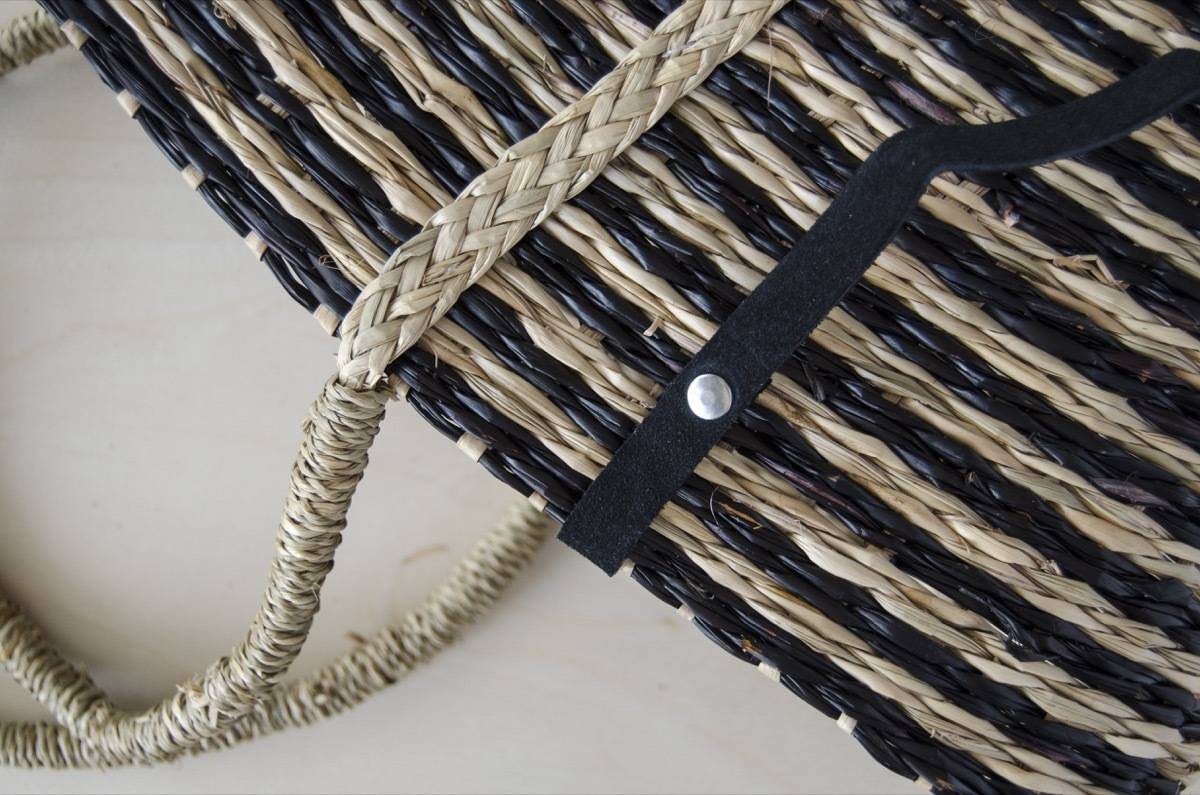
Weave the straps back through the bag, and align the holes. Align the riveting tool over the hole, and hammer until the rivet is flat. Repeat for each end of the straps. 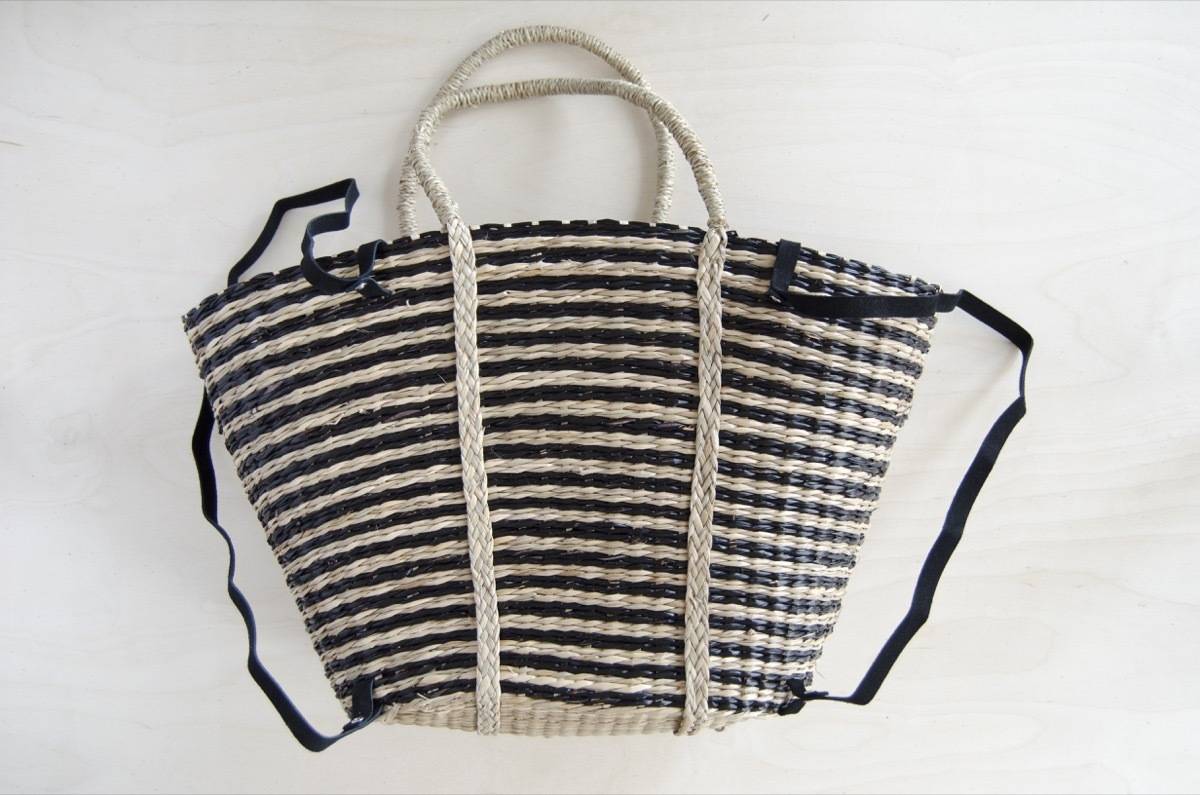
Step
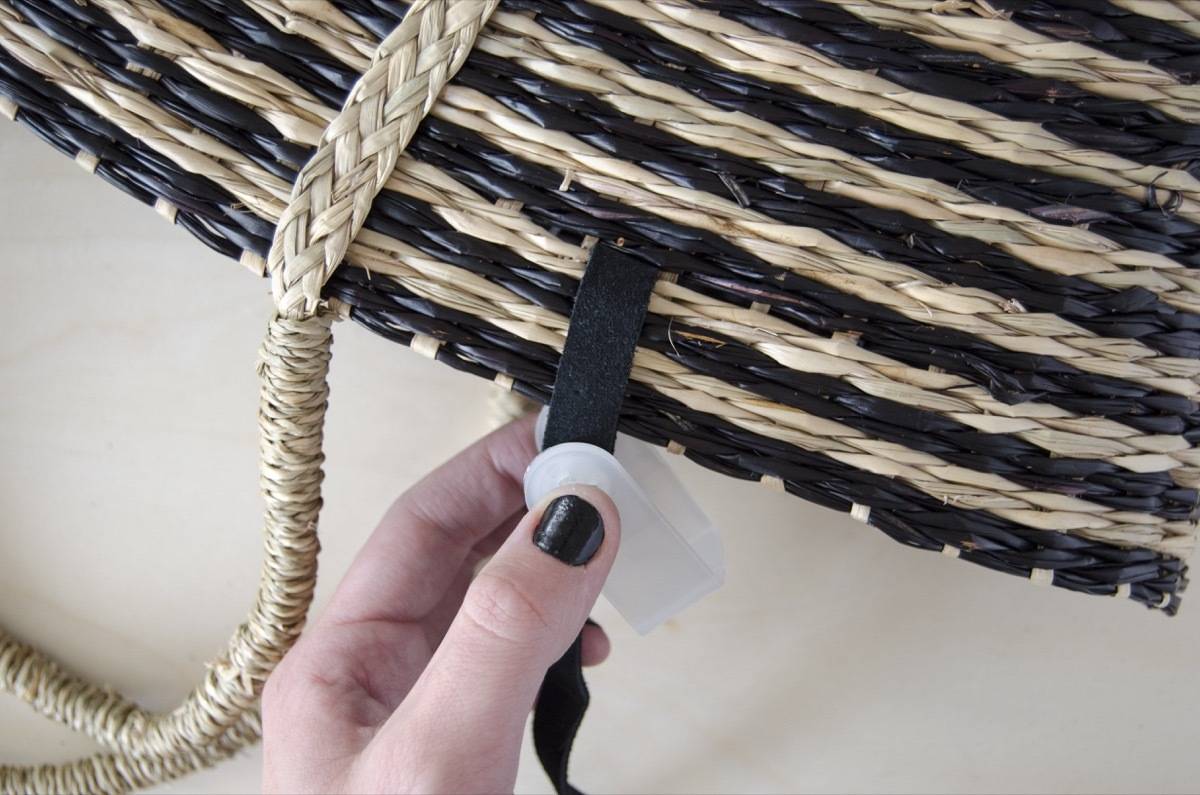
To make the straps adjustable on this picnic basket backpack, you will need to install D-rings. Cut each strap roughly 18 inches from the top. You will install the D-rings to the top strap, not the bottom.
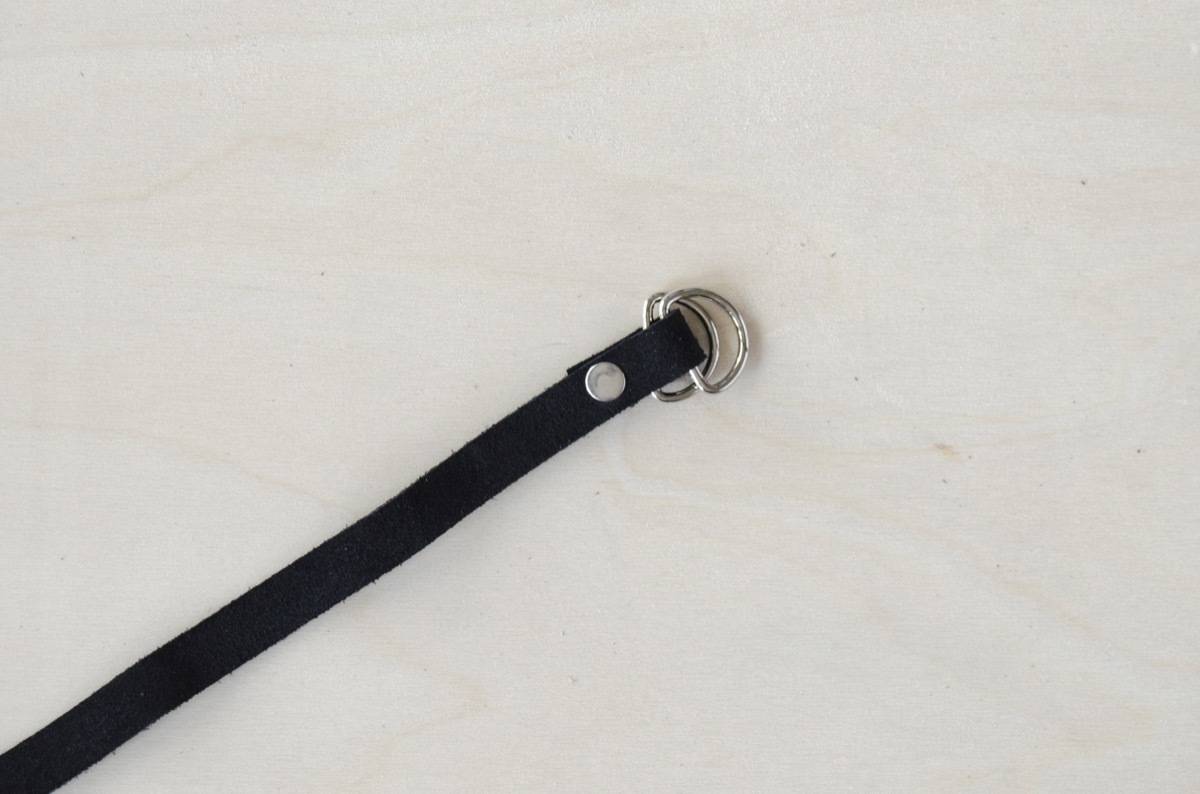
Grab two D-rings and fold the end of the strap over the straight side. Just as you did in the beginning, mark where the rivet should go, create the holes with the awl, and hammer the rivet in place. Do this for the strap on the other side of the bag. To use the D-rings, feed the bottom strap through both of the rings on the curved side, then back down through the front ring to tighten.
Step
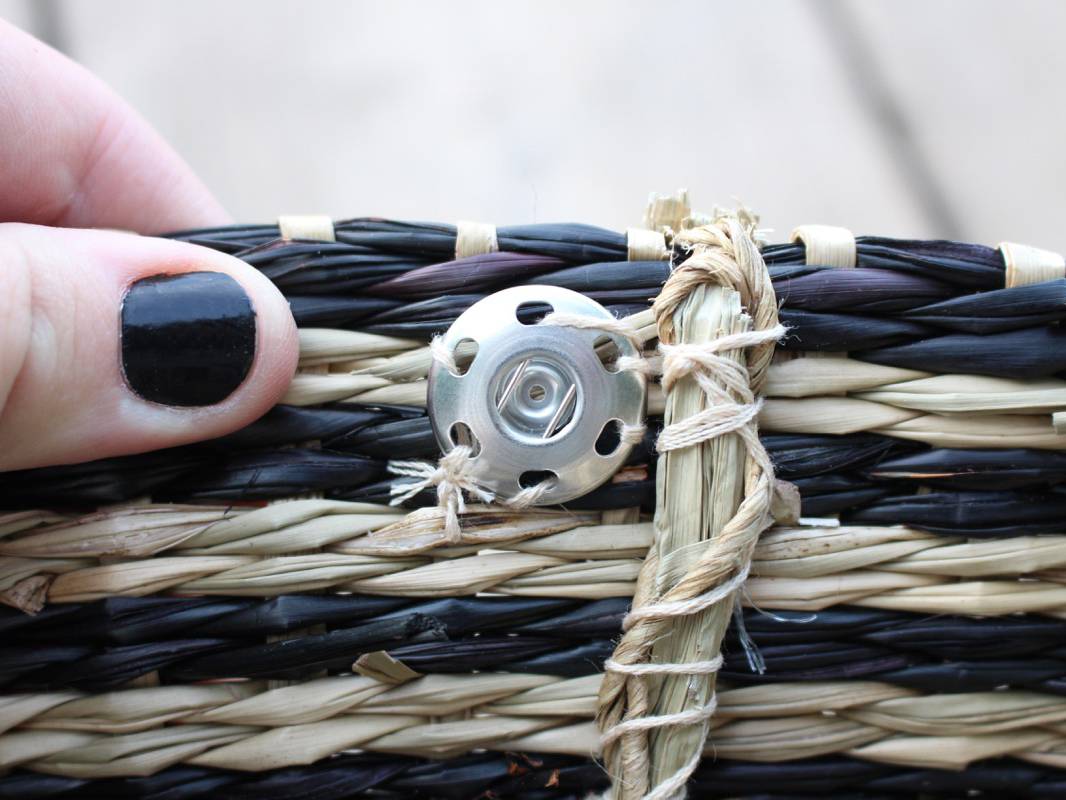
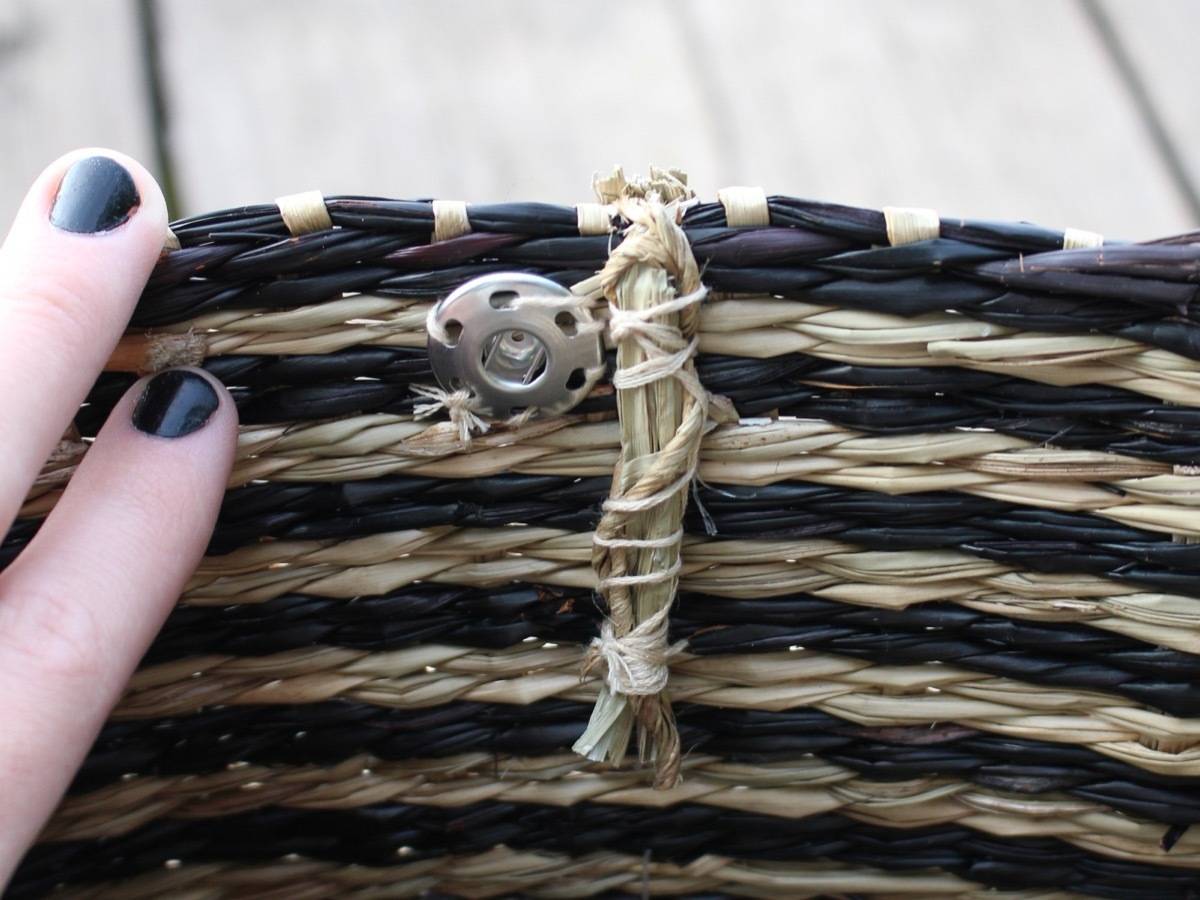
Finally, use a needle and thread to add two snaps to the inside of the basket to keep it closed.
What you do with the handles of the tote bag are up to you. If the handles are short enough, you could leave them. I opted for cutting part of mine off, then tying them to the inside so they wouldn’t unravel.
Now you’re ready for a summer full of picnic adventures!


I kept my picnic basket backpack pretty simplistic, but if you want to jazz yours up a bit, you could add an interior lining, some pockets, or even dividers.
Looking for a more traditional basket to bring along on your picnic? We have a simple IKEA hack for that!