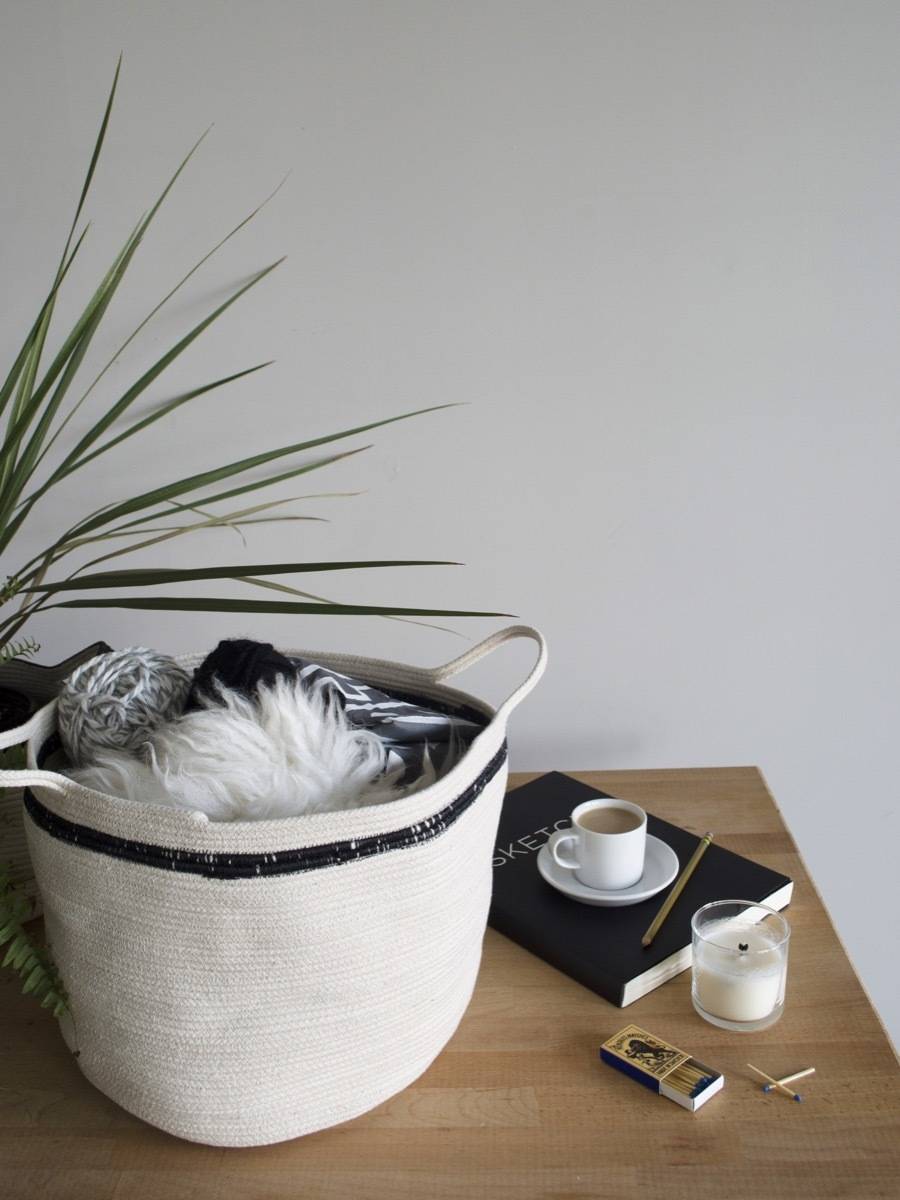
If you’re anything like me, you have a running list of projects you want to try. Things you save repeatedly on Pinterest, ideas you scribble down in the back of your planner, or maybe you just keep a mental list in your brain. Clothesline baskets have been on my want-to-try list for forever, and this week I took the plunge. After conquering the first one, I want to make a million of these clothesline baskets. A million! Additionally, I’m loving the simple stripe in this basket. We’re exploring all things Scandinavian this month, and this basket fills the bill with equal parts monochrome and texture.
If you follow us on Instagram, you may have seen my story about adventures in DIY basket land. No lie, it was a little rocky at first. I did have to start over twice, but hopefully my floundering can help you succeed. Here’s what I learned: The key to a successful clothesline basket it to not rush. Take your time, and whatever you do, don’t be forceful! Just sit back and let the machine do the majority of the work. Okay, let’s get started! Watch to see how this basket came together, and follow the full tutorial below.
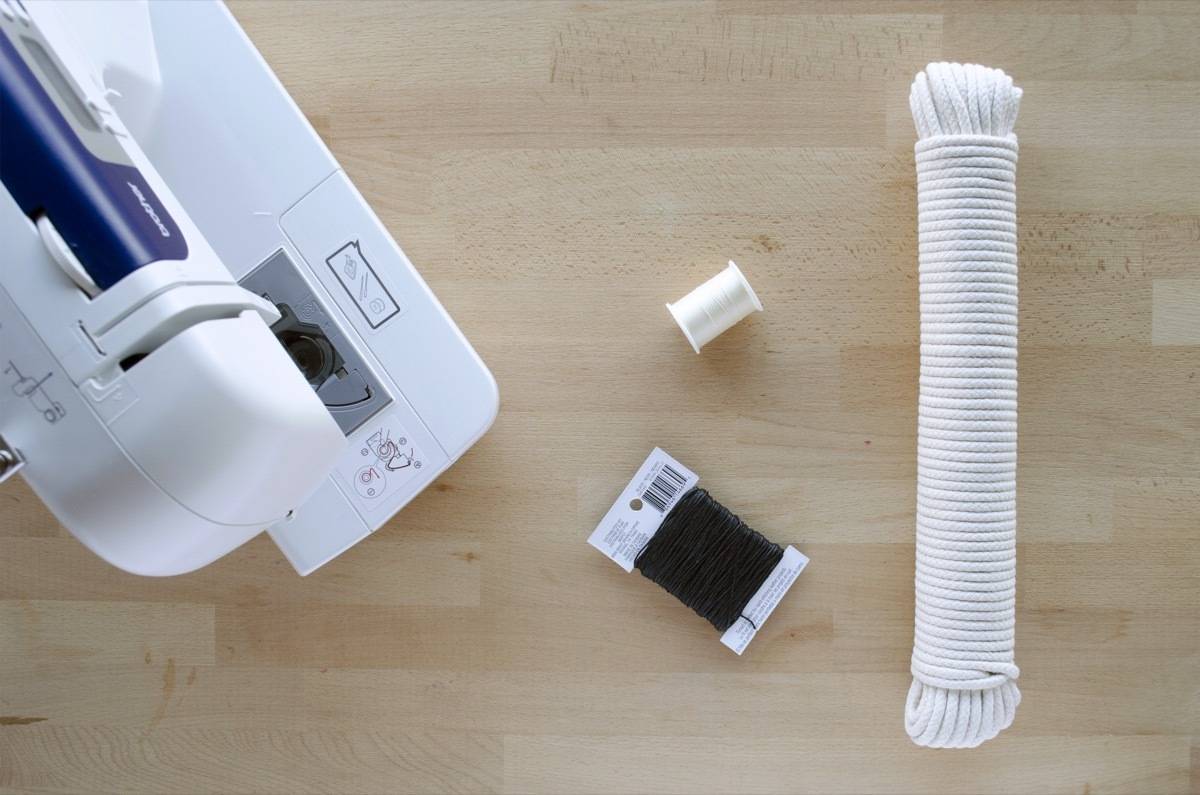
Materials
- Cotton clothesline, which can be found at your local hardware store
- Thread to match the clothesline (I chose a colored called “natural”)
- Sewing machine and notions
- Floss or yarn (optional)
- Thread to match the floss or yarn (optional)
Step
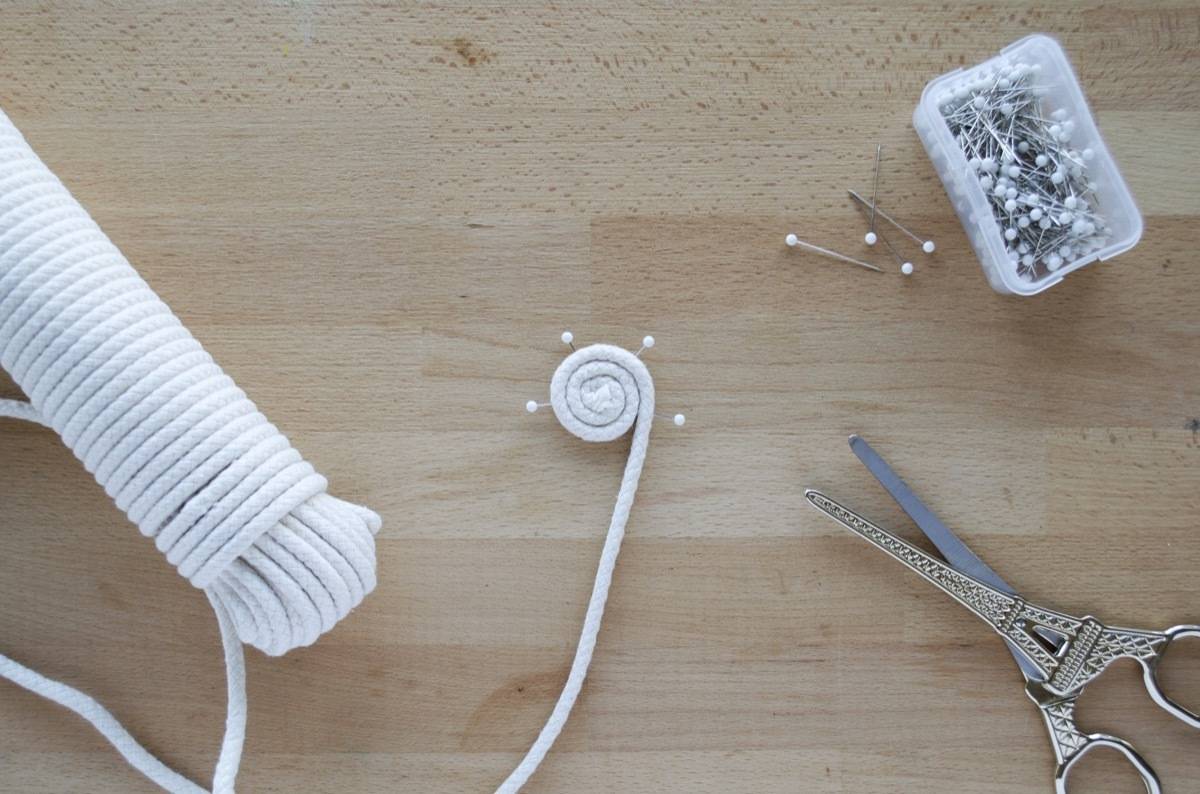
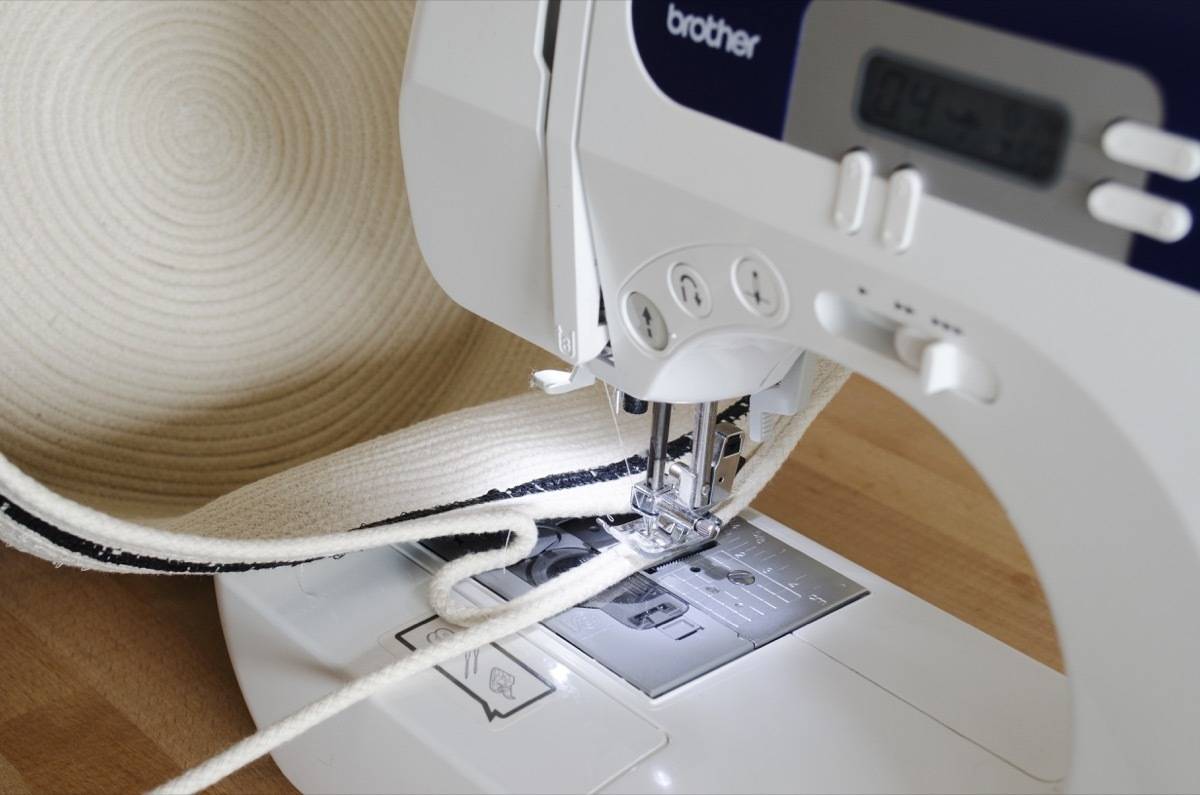
To begin, set your sewing machine to a zigzag stitch, and load it with the neutral thread color. You will want a wide enough stitch to join the edges of clothesline together. Next, coil one end of the clothesline in a snail-shape. Keep the coil in place using straight pins.
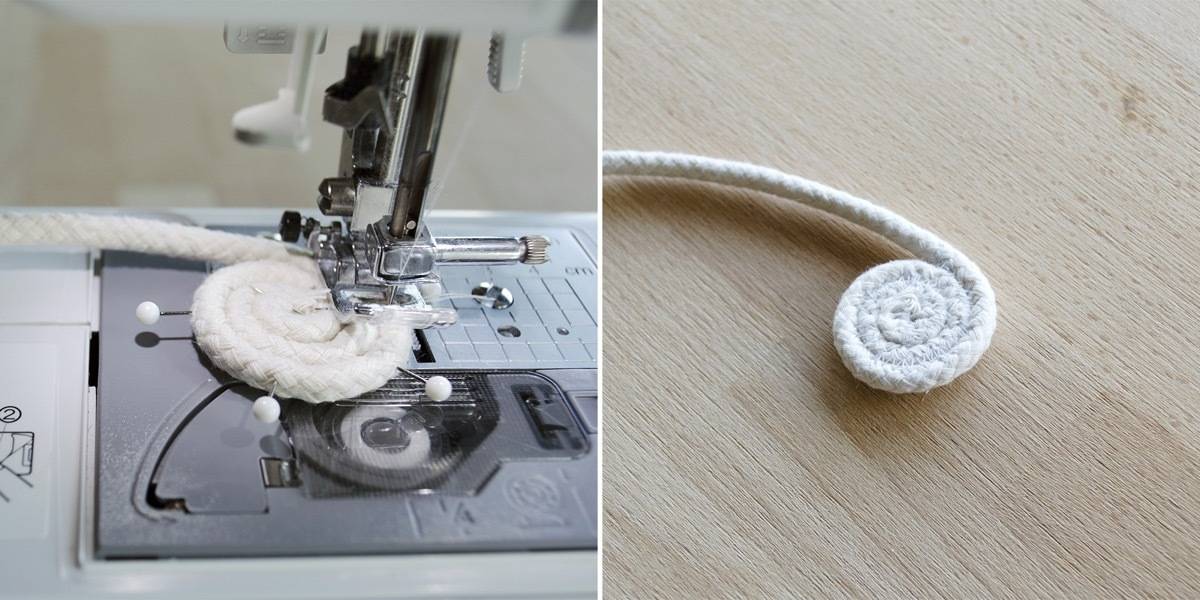
Using a zigzag stitch, sew around the coil starting from the center, following the snail-shaped path. Your zigzag stitches should reach across the divot between the edges of clothesline. Go slowly as you begin. As needed, leave the needle down and rotate after releasing the pressure foot to make tighter turns.
Step
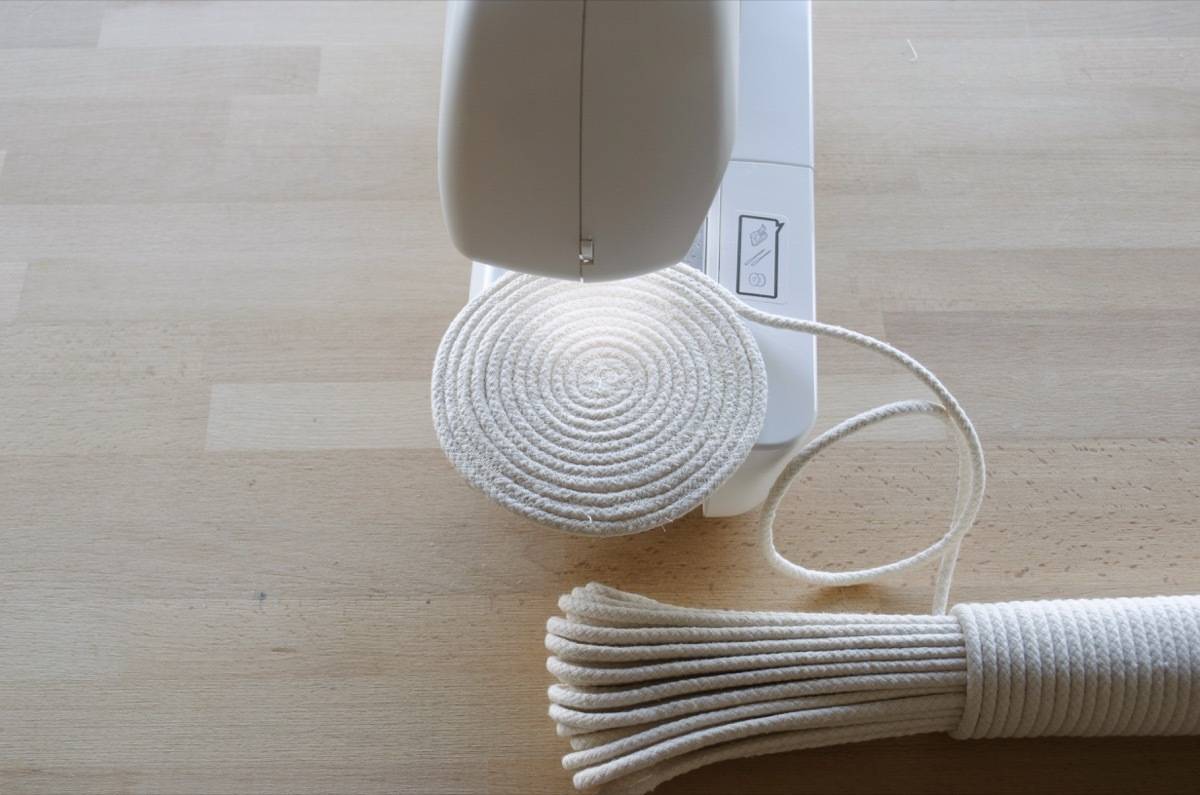
Continue following the coil shape, stitching the clothesline to the perimeter of your initial coil. Make sure that the zigzag stitch is catching both sides of the clothesline, otherwise you’ll end up with holes in your basket. Do not pull or push on the clothesline as you stitch it in place – this will make the shape warp! The dogs of your sewing machine will feed the clothesline through as you go, keeping you at a good pace and tension. All you have to do is feed the clothesline through and keep it on track. Continue sewing until you’ve reached the desired size for the bottom of your basket.
Step
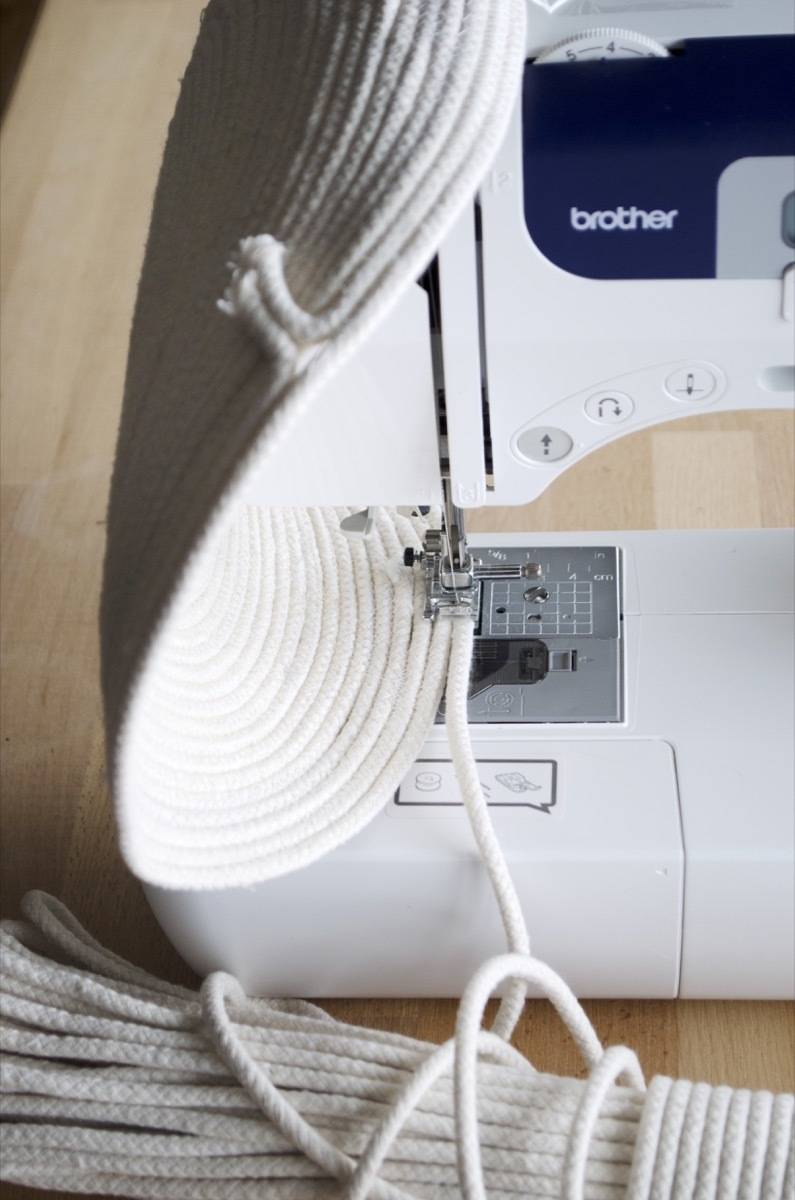
When you’re ready to start working on the sides, rotate the bottom of the basket up, and continue stitching as before. Try to force the bottom of the basket at an angle as you stitch, but again, don’t pull or push. Stitch at an angle as you continue, and the basket will begin to curl up and take shape. Once your basket has successfully turned, stitch as before. Keep sewing around and around until your basket is as tall as you want it to be.
Step
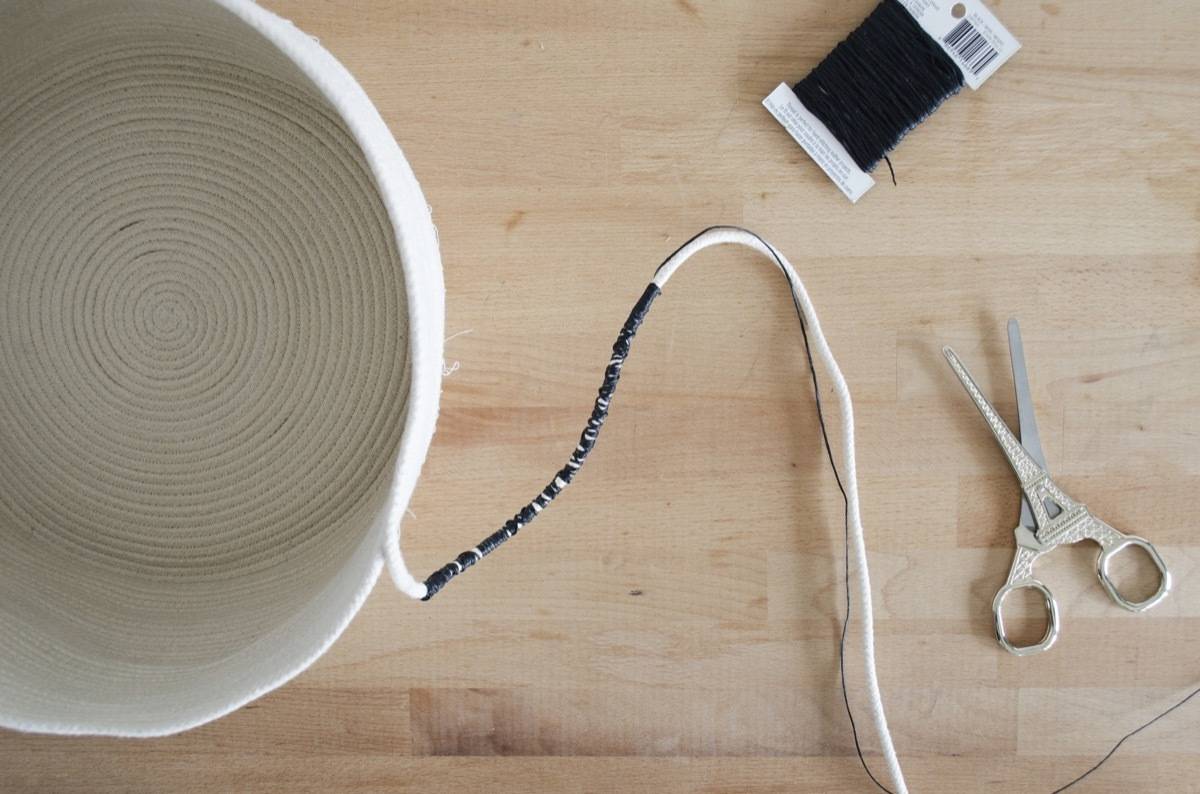
If you want to add a little extra detail to your basket, you can wrap the clothesline in floss, thread, or yarn intermittently before stitching it in place. I paused 4-5 rotations from the top to wrap the clothesline in floss, creating a stripe.
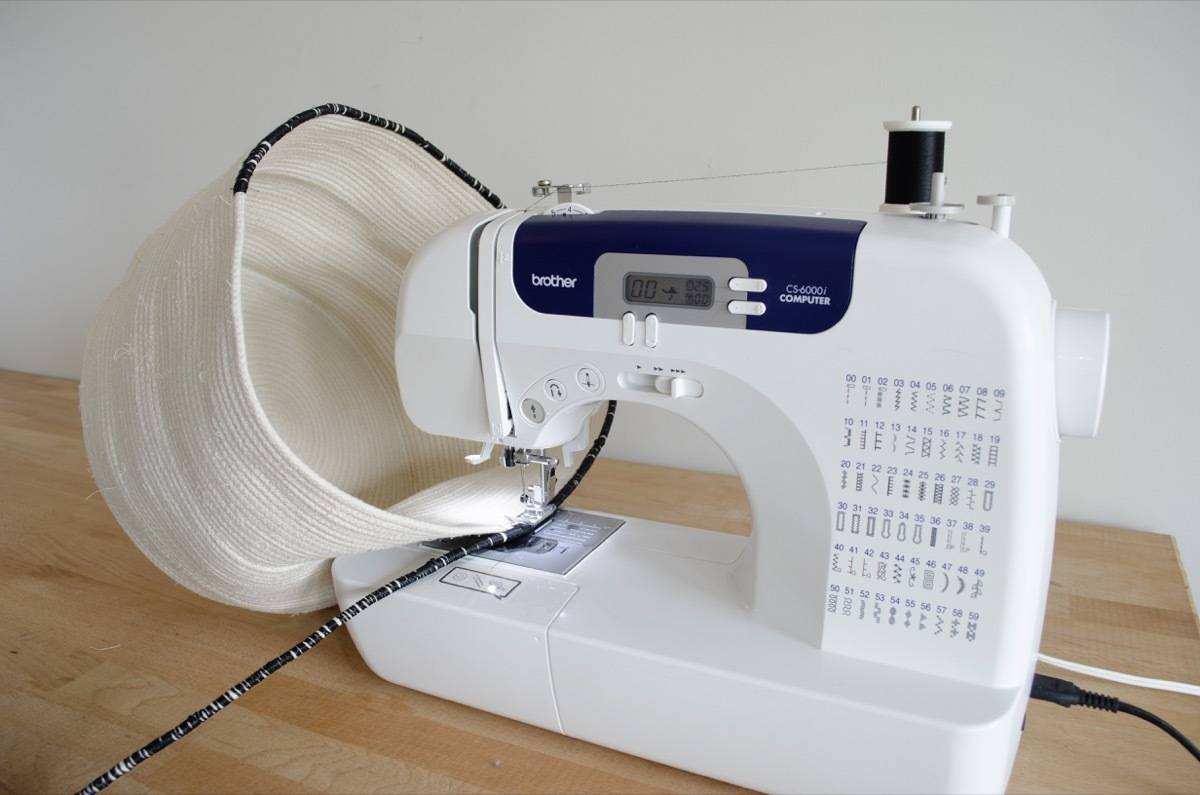
After wrapping the clothesline in floss, use matching thread to carry on the zigzag stitch.
Step
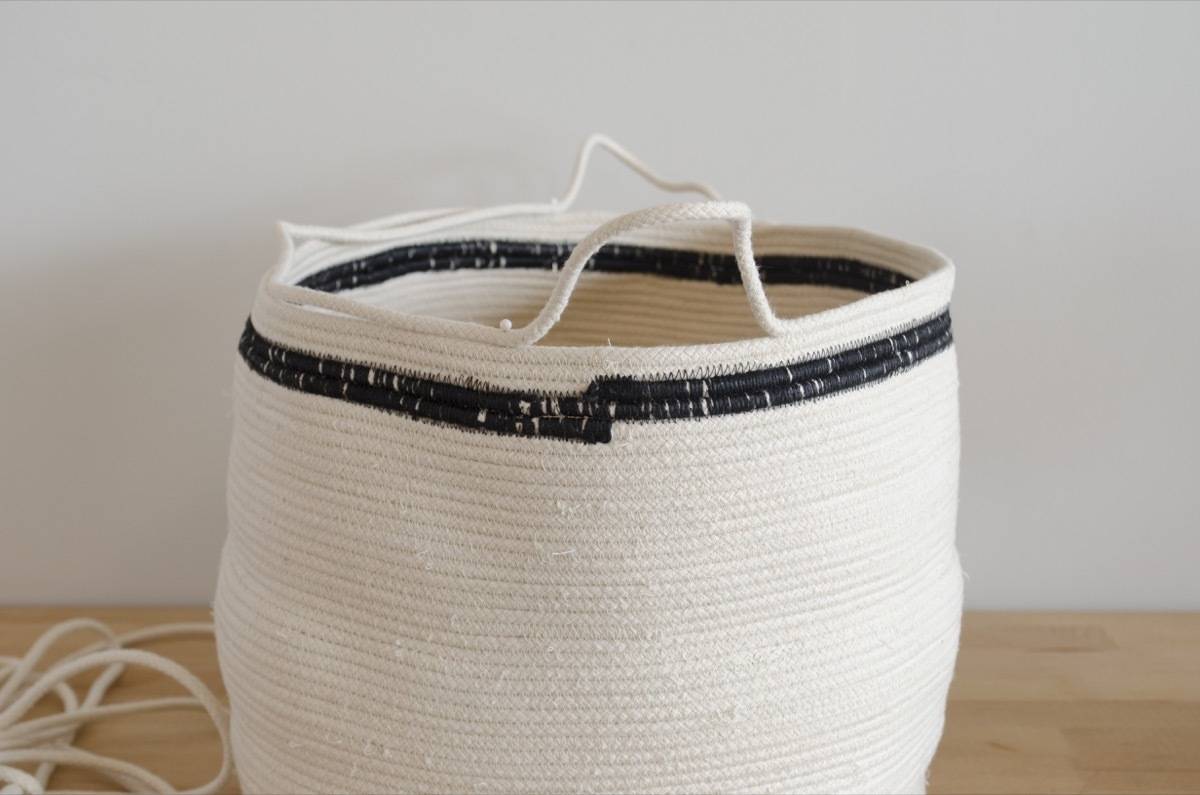
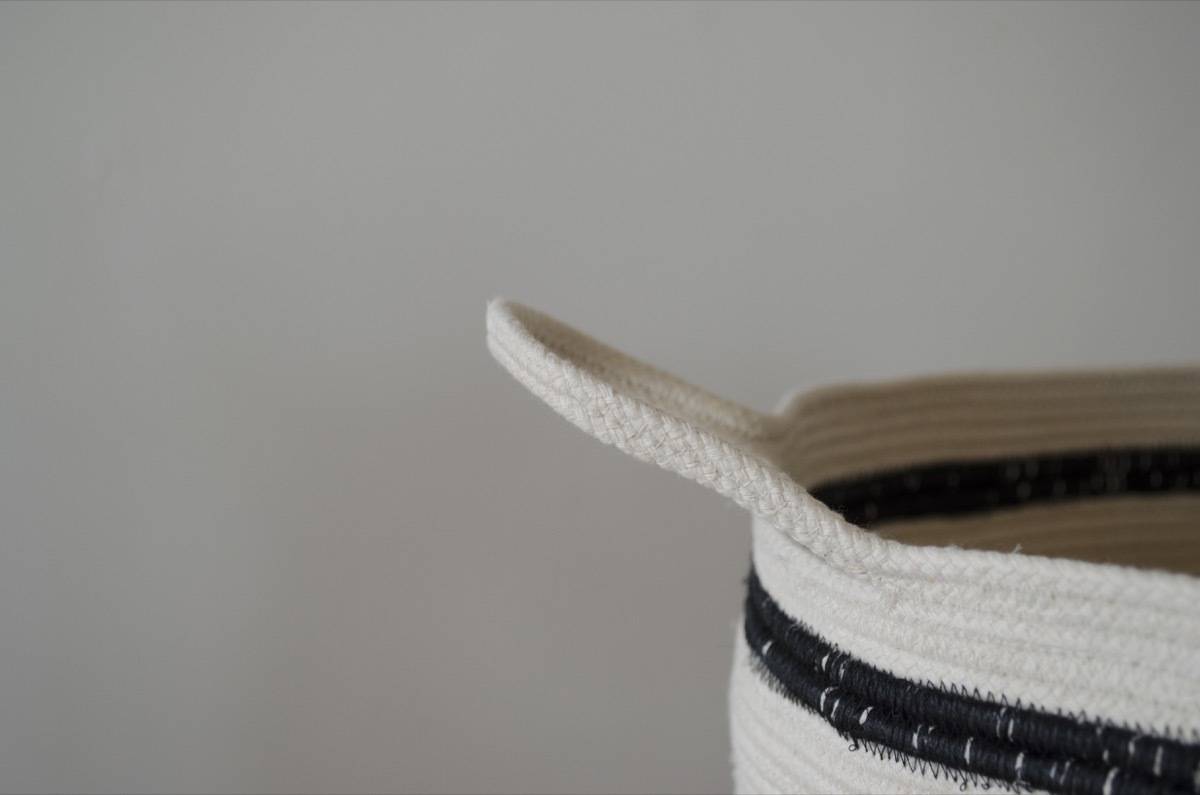
When the basket has reached the desired height, it’s time to add handles. Carry the clothesline away from the basket in a handle shape and pin in place, as seen above. Continue the zigzag stitch up to the point where the handle starts. Backstitch to tie off, and pick the zigzag stitch back up where the handle ends. Repeat for the other handle.
Stitch around again, and when you meet with the first handle, sew along the top of the handle, carrying your clothesline along the handle. Continue around, and repeat for the second handle. Repeat this type of rotation as many times as desired, depending on how thick you want your handles to be.
Step
When you are finished, cut the end of the clothesline 1-2 inches away from the stitch. Sew the end in place on the inside of the basket.
And voilá! A clothesline basket!
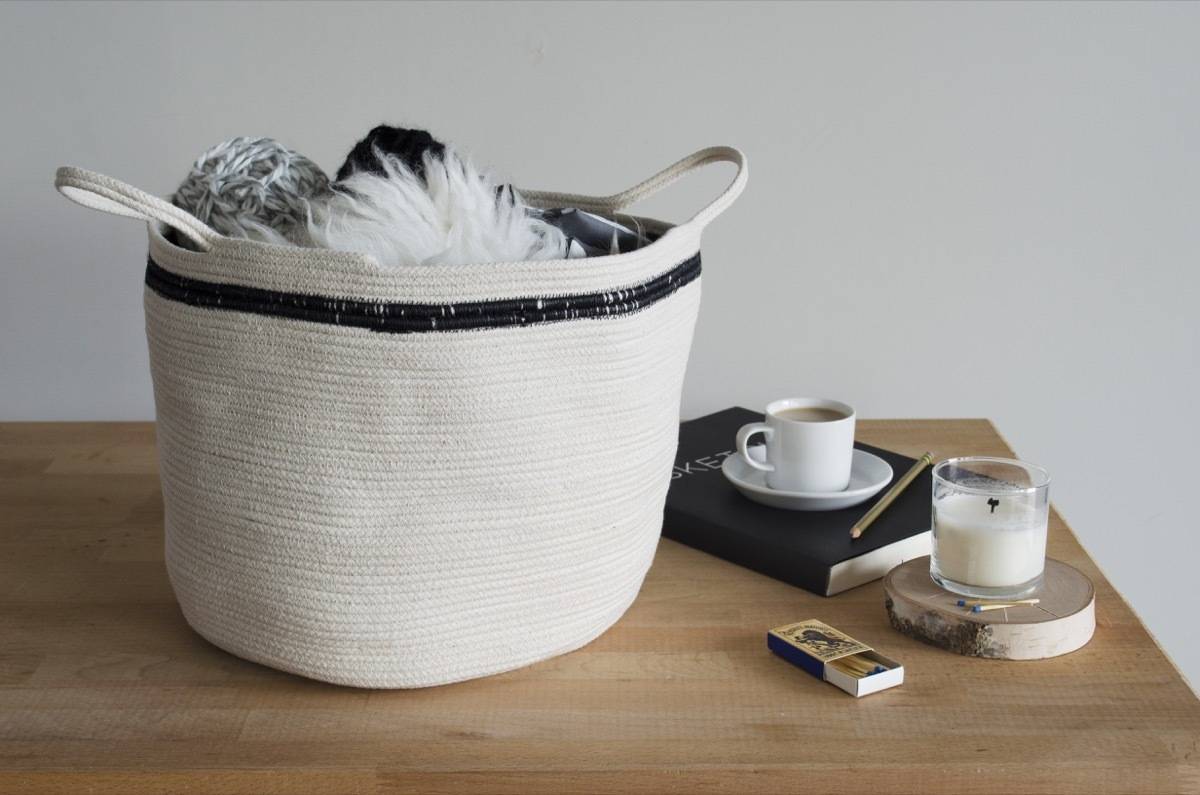
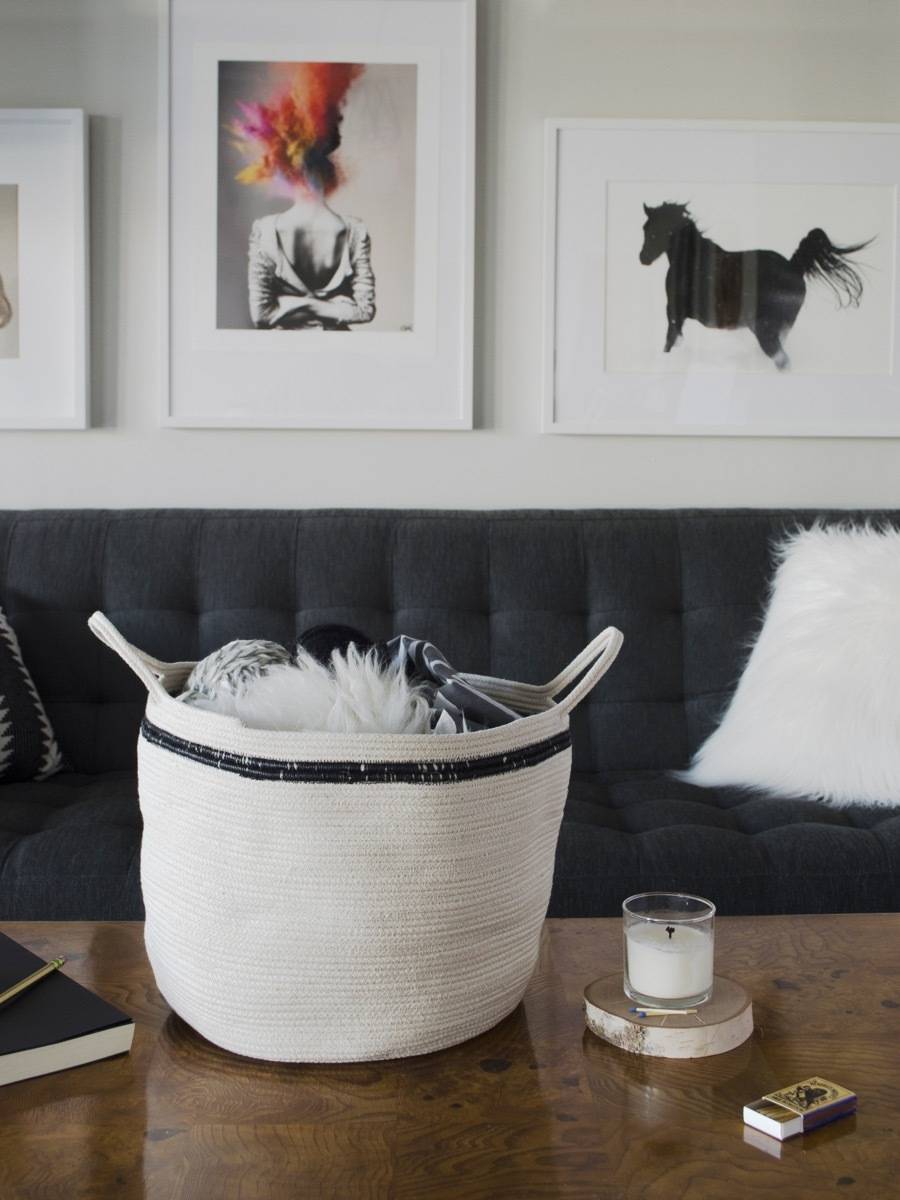
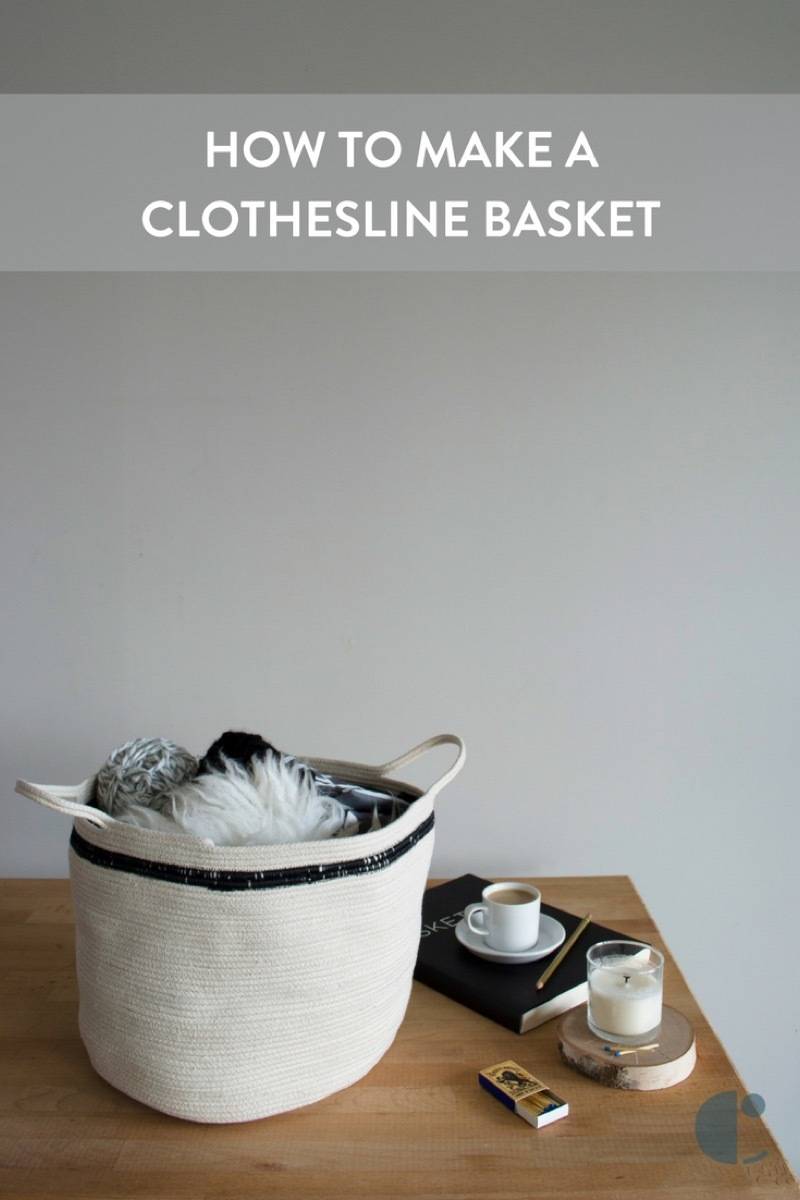
After getting the hang of the process, I could see marathoning a Netflix show and making a whole slew of these. Once the basket starts to take shape, it’s kind of relaxing and cathartic. Basically the perfect rainy day activity. Happy sewing!
If you’re looking for more great sewing projects, check out this collection of Simple Sewing Projects for All Skill Levels.
This was the best tutorial for making a clothesline basket I think i can do this!! Thanks
Good to hear! Let us know how it goes. 🙂