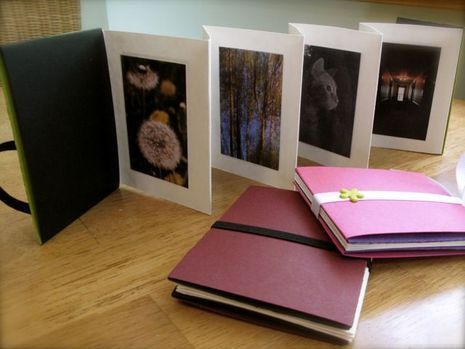
This is a really fun and effective way to make a little photo album–all without using glue or adhesive in its construction. It’s a great way to showcase your photography. It also makes a great ‘brag book’ for images of your favorite children–furry or otherwise.
Here’s some of the things you’ll need to make one:
- Medium weight poster board
- Card stock, two different colors
- 1/4” wide elastic or ribbon
- Small hole punch
- Decorative brad
- Scissors
- Craft knife
- Cutting mat
- Ruler
- Flat-bed cutter, optional but very handy
Additional hints just for Curbly readers:
Of course you can make your album any size, but I find smaller ones, like this one, are more sturdy. The bigger they get the more ‘wobbly’ they become. Also, the length of your poster board might determine how big you want to make the album. I made a 5” x 7” album first by gluing two strips of poster board together to get the length I needed, but it didn’t look very good, IMO, so that’s why I opted for smaller.
For the pictures, I had regular 4” x 6” prints made and then went to my local Kinkos and made photo copies of them, reducing them by 50%. The 2” x 3” result was perfect for the album in this tutorial.
I considered a bunch of different ways to add the pictures to my album including simple glue stick to dry mount. In the end, I opted to use my Xyron. If you don’t know what a Xyron is, it’s pretty cool. Basically, you feed paper or fabric through the machine and out pops a sticker. So, all those pictures you see in the album are actually stickers. Worked out really well!
As far as landscape and portrait orientation goes, I designated one side of the album for landscape and the other side for portrait. This keeps viewers from going batty figuring out which way is up.
Finally….follow this link for a tutorial on how to make an envelope for your new photo album. It’s a great way to present one as a gift or to just keep your album in pristine condition.
