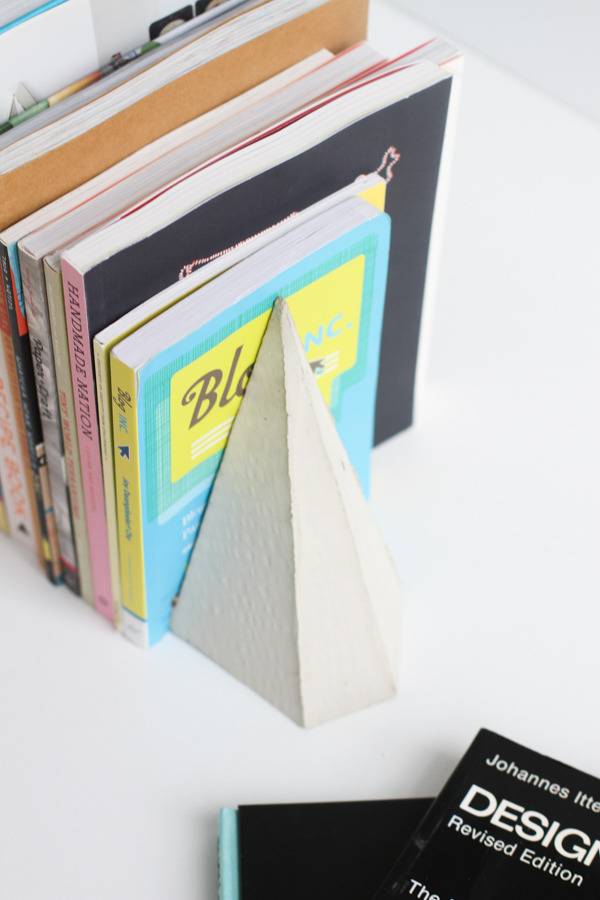
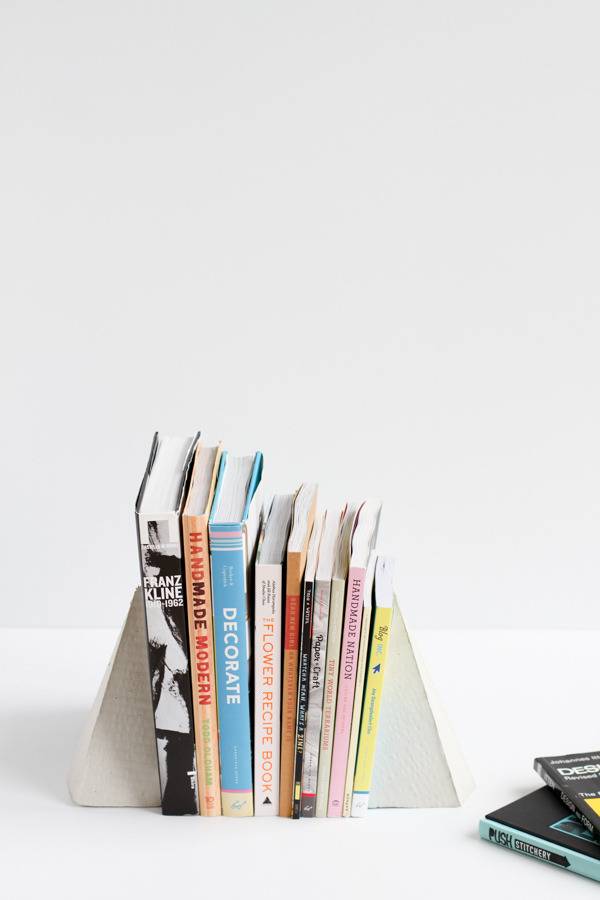
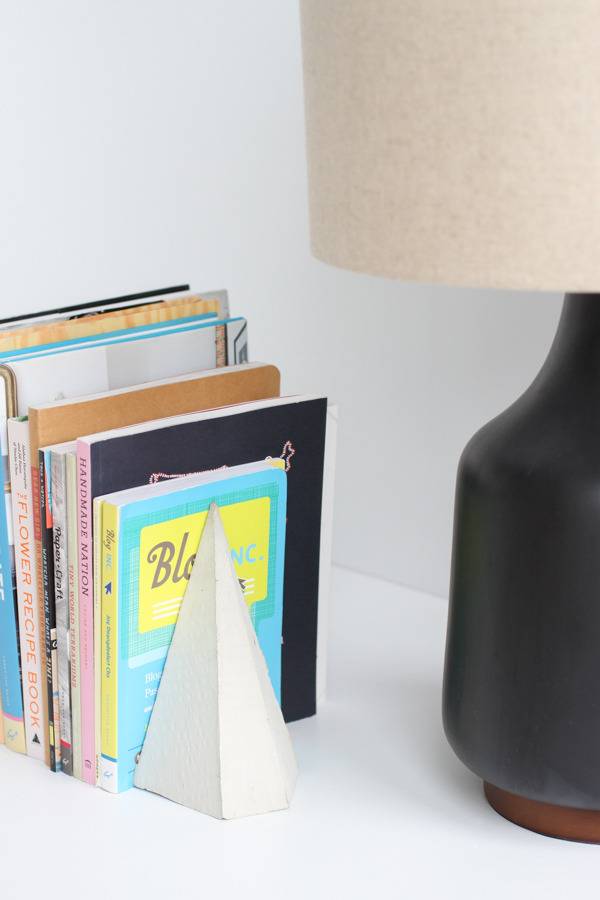
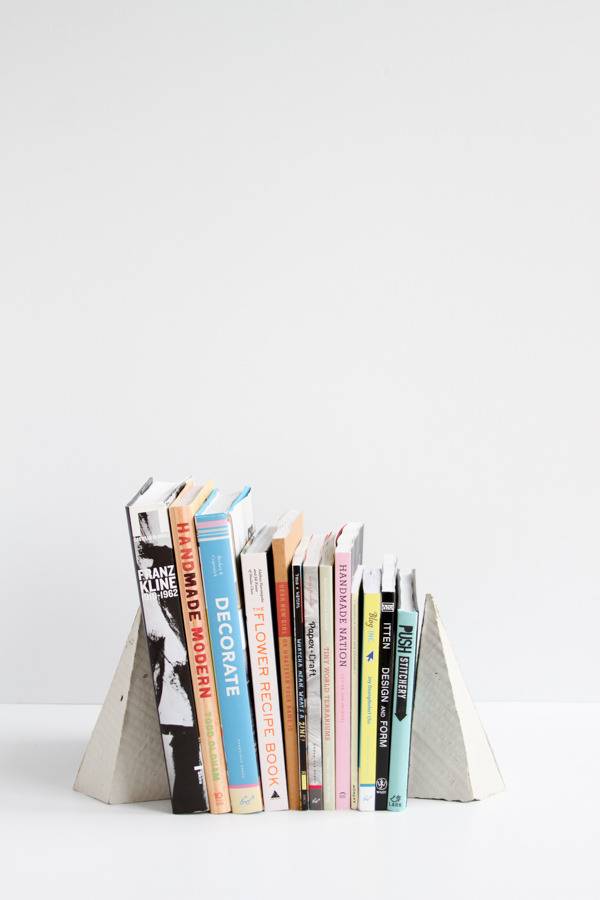
Concrete projects are always amongst the coolest DIYs I see, but the material can seem a little bit intimidating to work with, at first glance. Luckily though, its not nearly as difficult as you may think. In fact, its actually quite simple. Want to see how you can create your own concrete DIY projects, including geometric bookends and more, the easy way? Click through for the full tutorial.
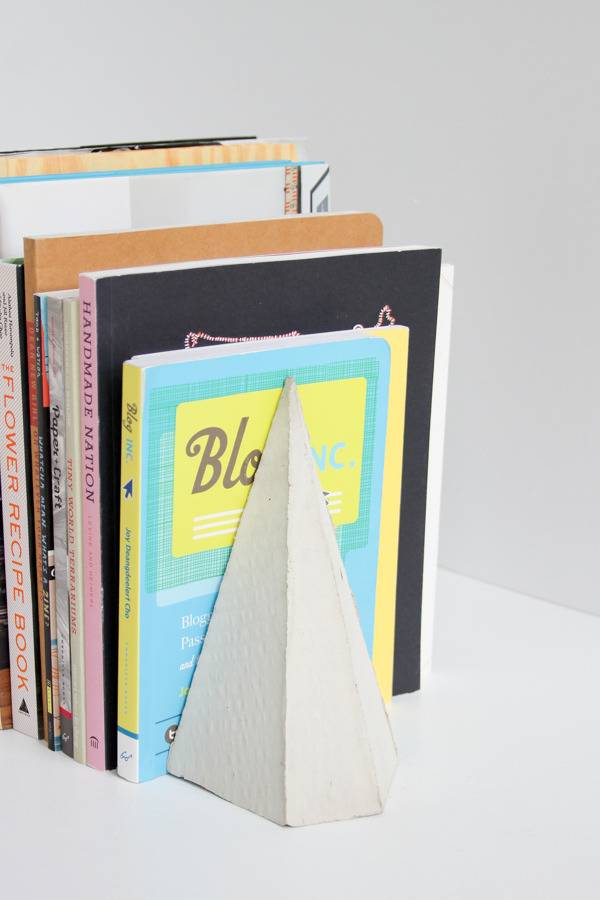
Here’s how you’ll need to make your own geo concrete bookends…
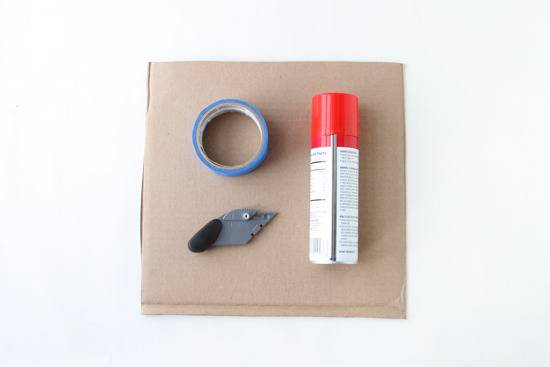
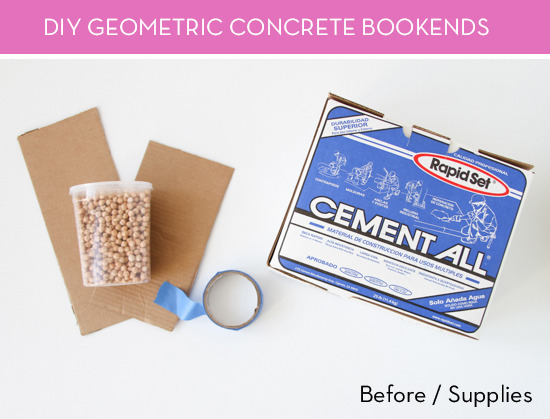
Materials:
- Heavyweight cardboard
- Strong tape (like masking tape or Duck Tape)
- Rapid Set concrete mix
- Bucket (for mixing concrete)
- Stir stick or Wooden Spoon
- Water
- 2 containers (for holding bookends while they set)
- Beans (or something similar to weight the containers)
- Cooking spray
- Boxcutter or Sharp Blade
- Level (I just used the level in the iPhone Compass app)
How To:
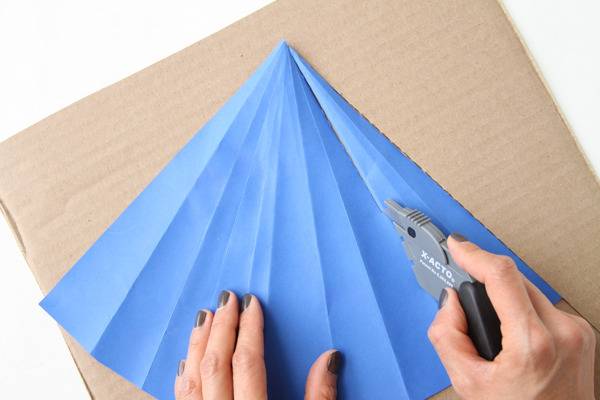
1. Select a shape that you’d like for your bookends. For mine, I chose a multi-sided pyramid. I found it helpful to create the shape first out of paper and use that as a template for cutting my cardboard mold. Note that you will want one side of your shape to be plumb. Let’s call this the book side.
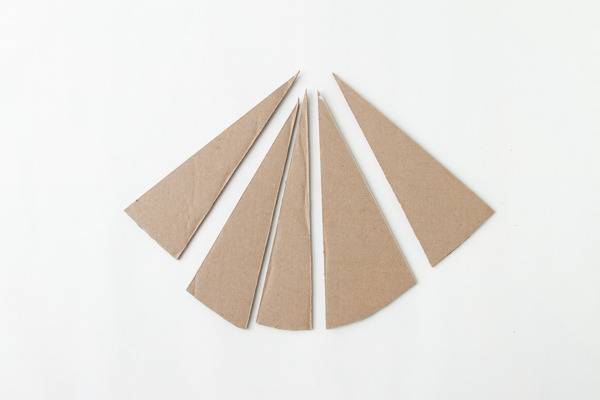
2. Now, let’s get started with creating the molds. Using the cardboard and blade, cut the planes of your molds. For the multi-sided pyramid, this ended up being 5 triangles in multiple sizes for each bookend.
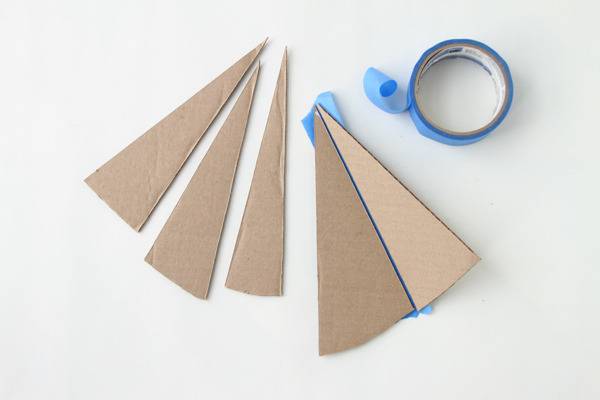
3. Once the sides are cut, liberally tape the cardboard pieces together. Don’t be afraid to use lots of tape, since the concrete will be heavy.
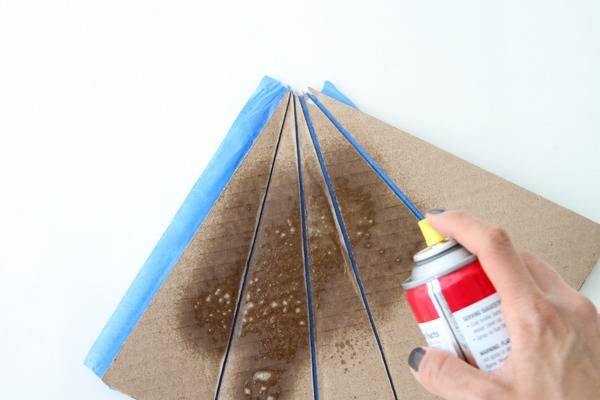
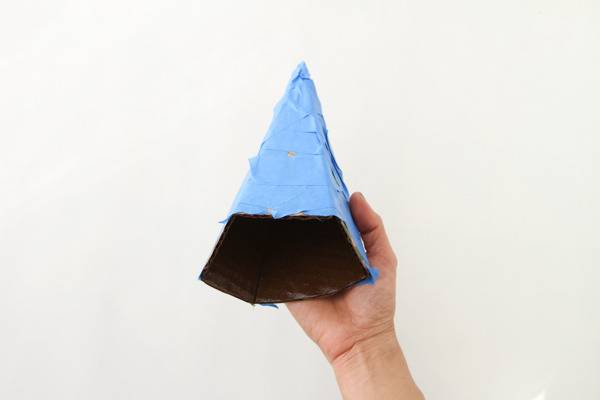
4. After they have been put together, spray the insides of the molds with cooking spray. This will prevent the cardboard from setting in the concrete.
*I tried to spray the cardboard before assembling the shape the first time, and it made everything really slippery. So, definitely assemble the cardboard shape before spraying.
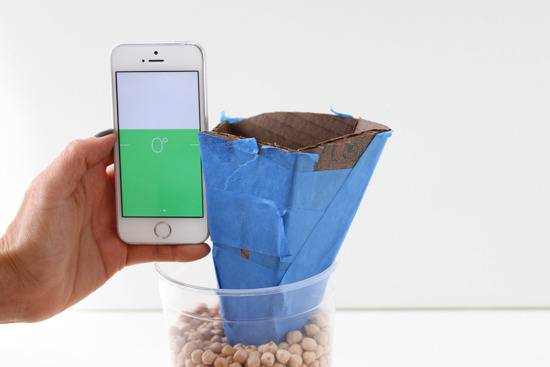
5. Put the beans in the containers. Then put the molds upside-down in the containers with the beans. The beans will help the molds stay in place. Use a level to make sure that the book sides are plumb.
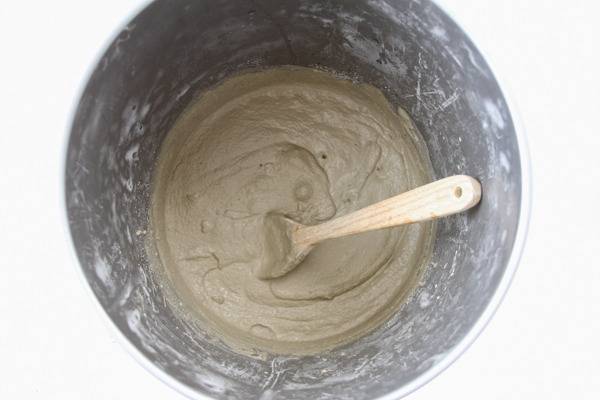
6. Mix the concrete according to the manufacturer’s instructions. You want a consistency somewhere in between thick and runny.
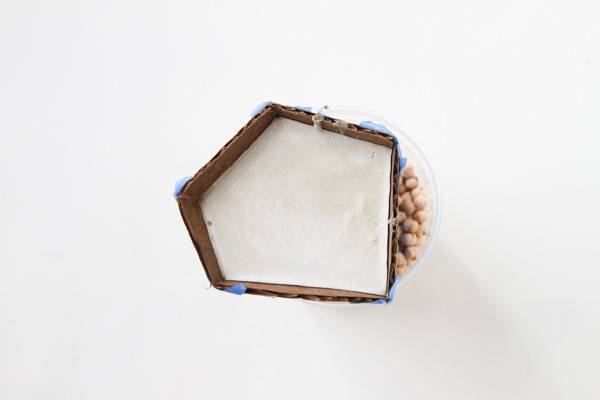
7. Pour the concrete into the molds and let them set / dry overnight.
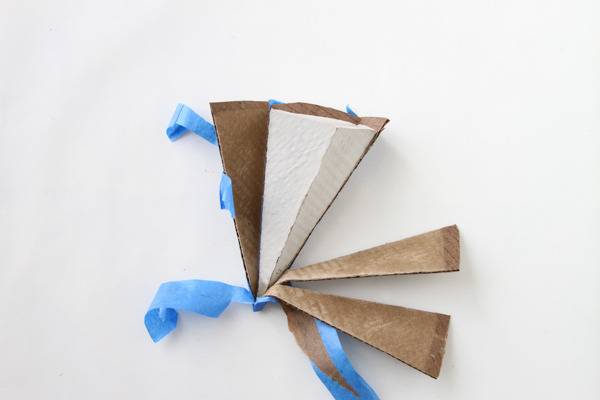
8. When they’re completely dry, remove the cardboard molds from your bookends.
Side note: Before using the bookends, you may want to give them a quick wash with soap and water to remove any oil.
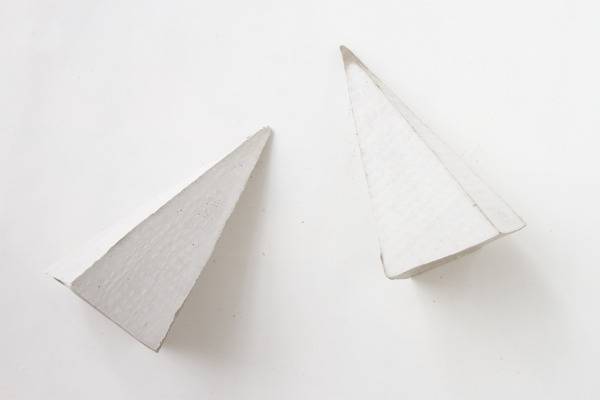
Once you have this technique down, you can create virtually any concrete project you can dream up.
Think you’ll give this DIY a try?
Yes! I love how these turned out. I actually really like the cardboard texture that remains on the facades – gives it a legit handmade look. And using the beans is a brilliant trick. I’m totally stealing that.
Great work, Brittni!
So cool. I love how simple this is and that shape is excellent.
Thanks Chris and Amy.
Great project! I really need to replace my bookends!
xo xo