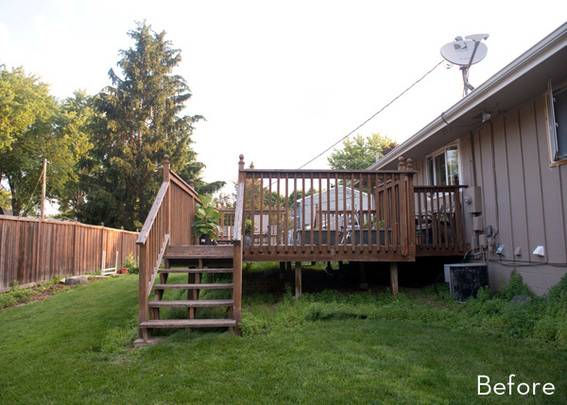
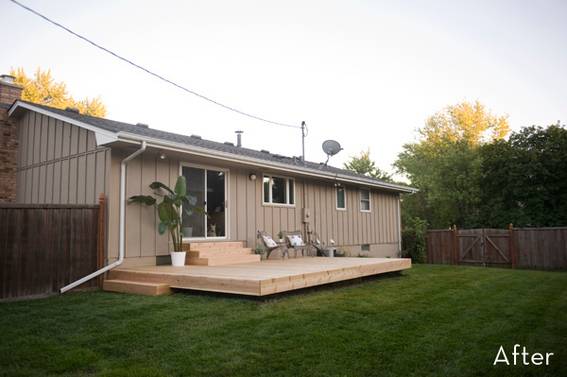
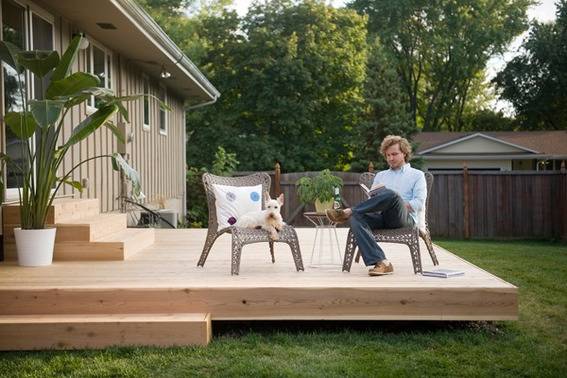
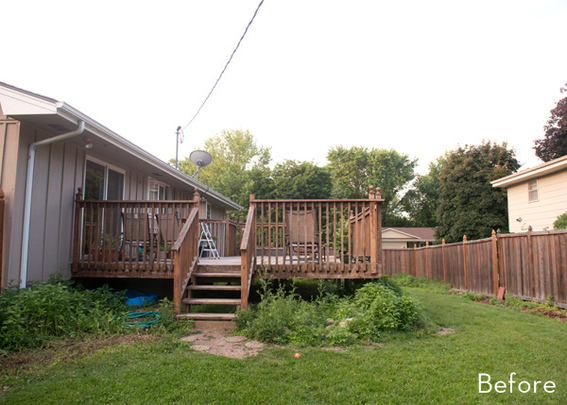
This gigantic deck took up most of the space in this narrow Minneapolis backyard and, rising above the fence line, provided little privacy for the homeowners. But with some hard work (and a jackhammer or two), they built the deck of their minimalist dreams! Read on to see the new space and get the scoop on this DIY backyard makeover in this month’s Makeover Tour.
 Karin Newstrom
 Name: Karin Newstrom and Jeff Hansen
About: Karin Newstrom is a Minneapolis-based photographer (www.karinnewstrom.com) who lives with her husband Jeff and three adopted, scruffy dogs. Karin and Jeff have fully embraced home ownership and the DIY mentality by completely ripping apart their first home and slowly putting it back together.
Project: Backyard makeover (phase I)
Budget: Around $3500 for excavation, disposal, lumber and other materials, and sod.
 Karin Newstrom
  Karin Newstrom
 Tell us a bit about this space and what inspired you to tackle a makeover!
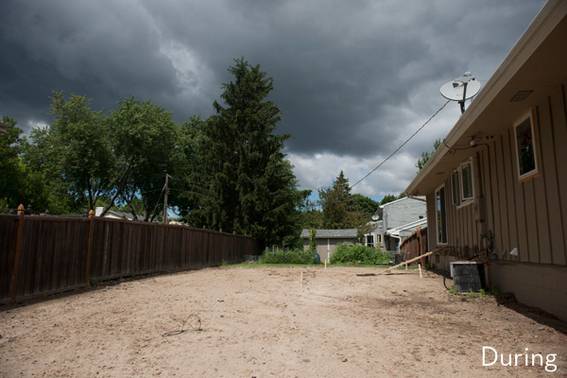
Our house was in foreclosure when we purchased it two years ago and the yard was neglected. We tried to plant a few things in the mulch beds the first summer, but quickly discovered there was a thick layer of landscape rocks buried in the dirt underneath. The existing deck took up most of the long, narrow yard and needed to be replaced. We decided we wanted to start over with a clean slate to make more use of the space. We have three dogs who love to fetch, chase, and practice agility, so having more usable space was the main goal.
 Karin Newstrom
  Karin Newstrom
 Did you start with a clear vision or did the design evolve over time? What elements did you simply have to have?
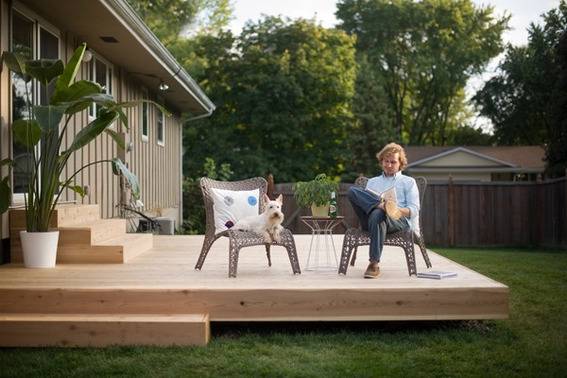
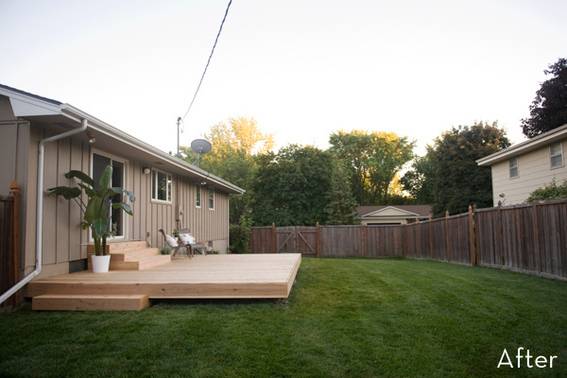
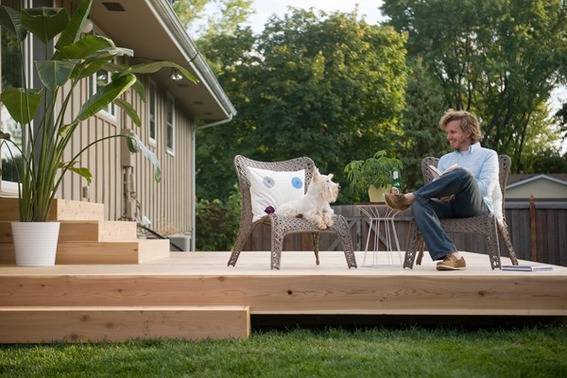
We liked having a deck, but the size was far too large for the yard. Our backyard is also a high spot in the neighborhood, so we decided a smaller, lower deck would give us more privacy and keep the yard open for the pups to run around. We wanted to keep the rest of the yard grass for now and add some trees and perennial beds next summer.
 Karin Newstrom
 Karin Newstrom
 What were your main sources for design inspiration?
When looking around at deck tutorials, I found one for a low, floating deck that seemed like a perfect solution. We modified the plans slightly and made the deck larger. Being so close to the ground would give us more privacy and also not require railings, keeping the yard visually more open. Plus, since the plans don’t require the deck to be attached to the house, we were able to save the cost of a permit and the time digging footings and having multiple inspections. The clean, simple lines of the deck fit our style.
 Karin Newstrom
  Karin Newstrom
 Any setbacks, hiccups, or unexpected design dilemmas? How did you solve them? Tell us the dirty secrets!
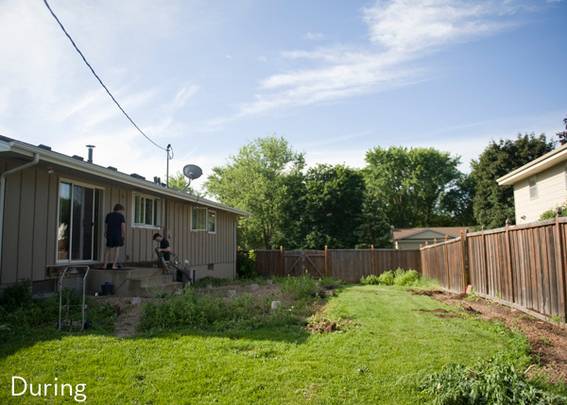
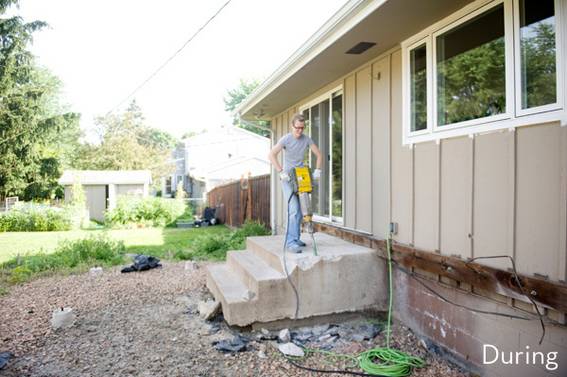
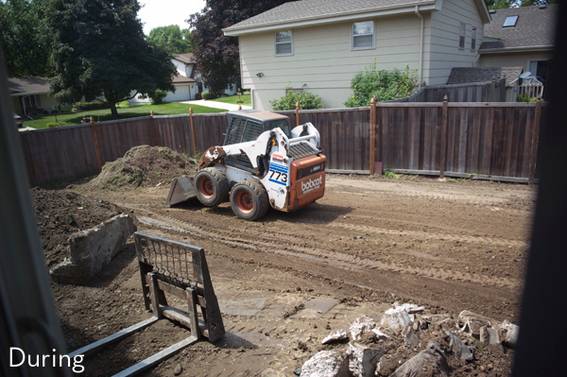
There was a set of concrete steps underneath the original deck that ended up being really difficult to remove, even with a jackhammer. My brother (and the bobcat operator) worked together to get them out of there so we could move forward. We hauled the first load of concrete to the local transfer station and were shocked at how much it cost to dispose of it (and by then it was too late to do anything about it). When we came back for the rest of it, the bobcat operator suggested we try an aggregate company that was just down the road… thankfully that was 1/10th the cost of the first trip!
We also used 20 foot joists for the deck framing, which required renting a very long trailer and taking corners very carefully (thanks, dad!).
 Karin Newstrom
  Karin Newstrom
What is your favorite new feature of this space?
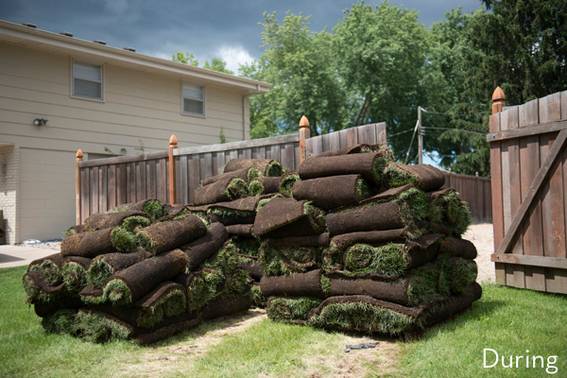
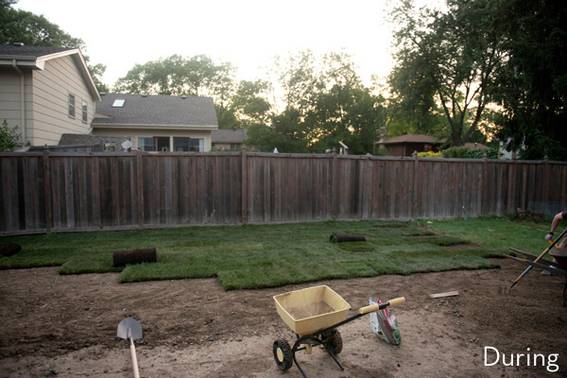
What used to be rocks, sand, and painful monster thistles and burdock is now a lovely lawn. Laying the sod was so much easier than I anticipated – the rolls were relatively light and it went very quickly with the help from some kind neighbors.
 Karin Newstrom
  Karin Newstrom
 Your proudest DIY moment?
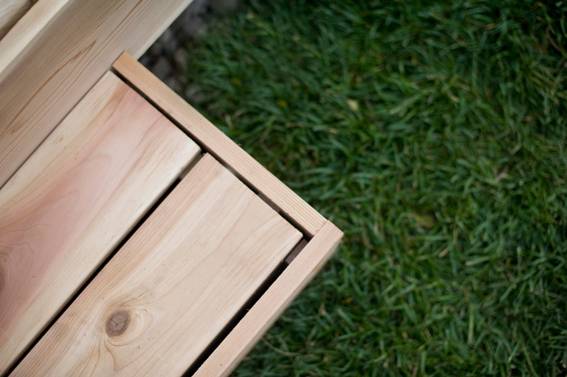
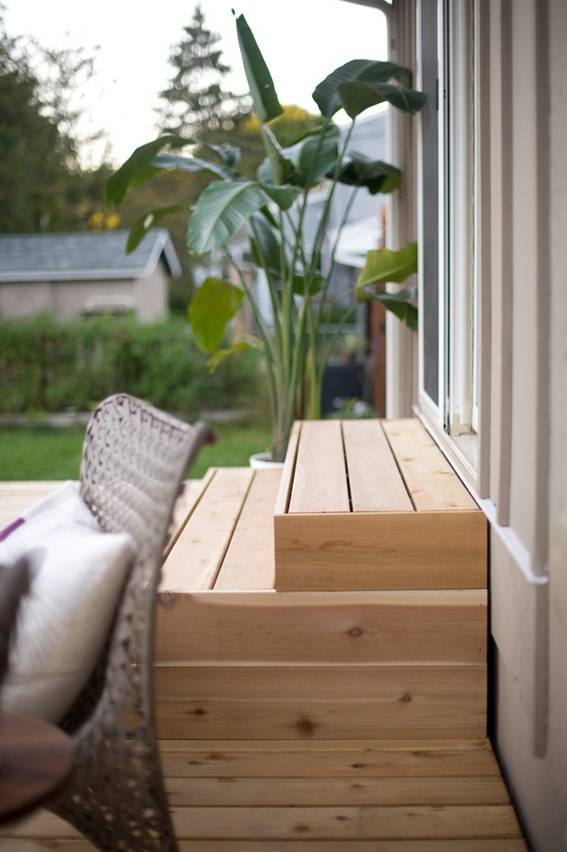
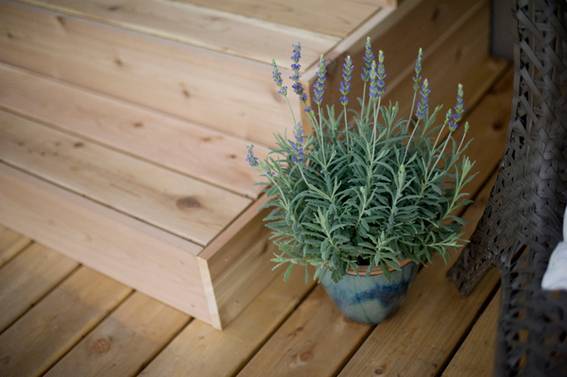
I built the steps all by myself! My dad, brother, and husband assembled the deck frame, but I was able to build the frame and finish the steps in one weekend. Lowe’s was very kind to assist in this makeover and we got many supplies, including lumber, fasteners, landscape plastic, and more from our local store.
 Karin Newstrom
  Karin Newstrom
Any advice for others about to start on their own backyard makeover?
We hired a local landscaping company (Landscape Love) for a consultation – we knew we were going to DIY what we could, but wanted input on our ideas to make sure we were headed the right direction. They also gave us recommendations for the sod company and bobcat operator – it was nice to know those companies came so highly recommended! It was definitely money well spent.
 Karin Newstrom
 We also were able to find a second life for some of the old deck components by listing them for free on Craigslist. I wasn’t sure if anybody would want them, but it turns out weathered deck railings and stairs are in high demand! I’m glad they were kept out of a landfill and found a new purpose for somebody else. We were also able to recycle some of the framing lumber and have plans to add more raised garden beds with the old cedar decking.
 Karin Newstrom
 What’s next for you? Any other makeovers or exciting DIY projects on your list?
Next up outdoors, we have plans to install a patio/fire pit, utility screen, and lots and lots of plants and move the fence line out to expand the yard size. Hopefully we will find some excellent end-of-season sales on plants so we can get some in the ground yet this season. Indoors, we have a bathroom on our agenda next!
 Karin Newstrom
 Thanks Karin!
See more of Karin’s photography, home projects, and animal adventures on her site karinnewstrom.com. Also, be sure to check out the Makeover Tour of her amazing Scandinavian-inspired kitchen renovation as well as her master bedroom/bath makeover!
Do you have a Makeover Tour you’d love to share on Curbly? Let us know by sending an email to tips@curbly.com!
Disclosure: Lowe’s provided materials for use in this makeover. All views and opinions are solely those of Karin Newstrom.
Really lovely deck. It has clean lines and nice open air look. Very nicely done.