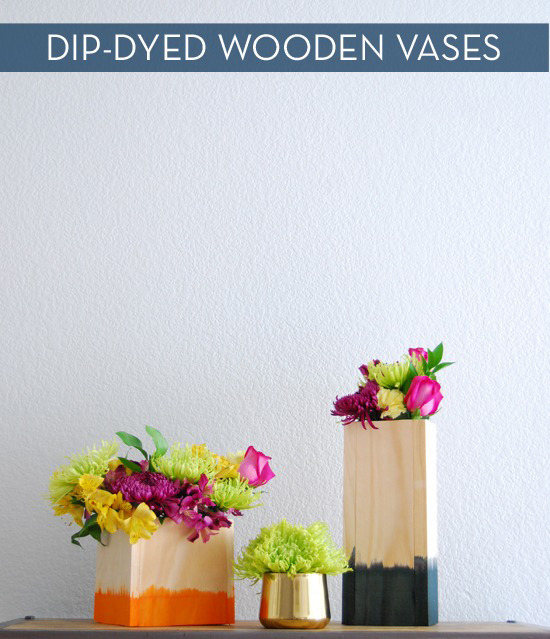
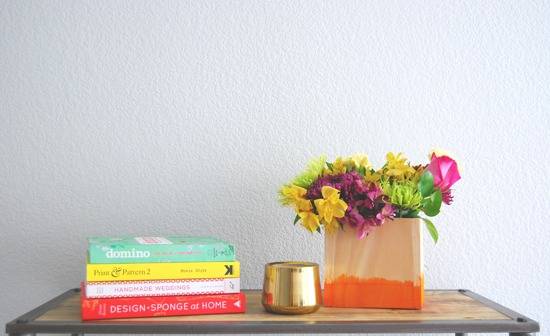
Inspired by the dip-dye trend, I’ve been dipping all sorts of items around our house. From curtains to tea towels, we’ve been dipping up a storm around here, and I started to look at what else could use a burst of color. I had an excess supply of pine from building our dining room table, so I decided to dip the boards in the dye and build some custom vase covers. To see how to make your own, view more photos after the jump!
 Lexy Ward
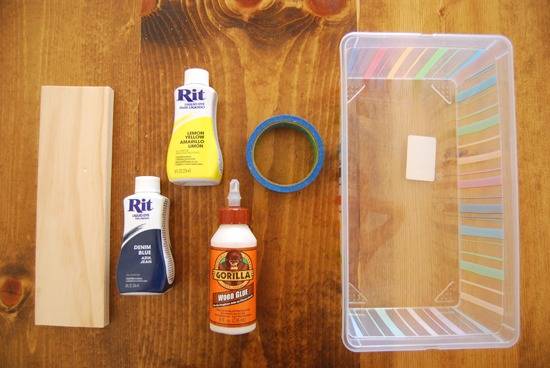
Supplies needed:
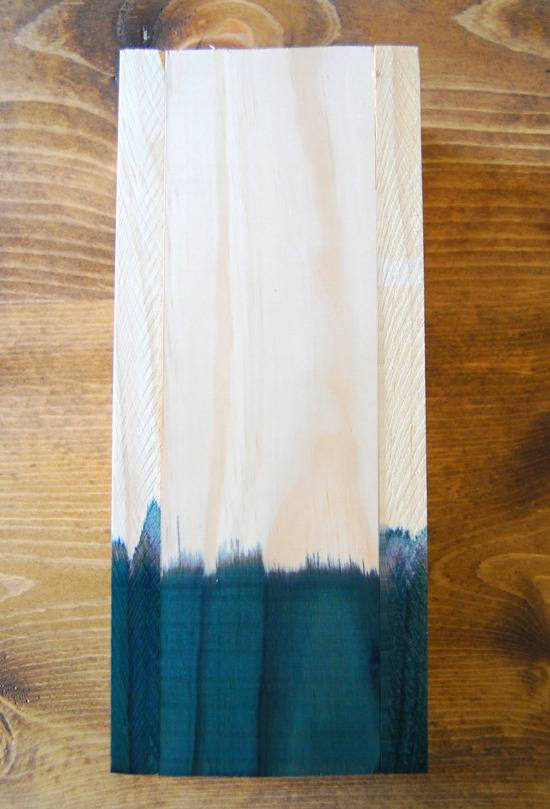
- 4 pine boards measuring 12″ x 4″ x 1″
- Rit dye
- Tape (masking or painter’s is fine)
- Wood glue
- Small plastic bin
- Vase or container to fit inside the wooden box
 Lexy Ward
 Lexy Ward
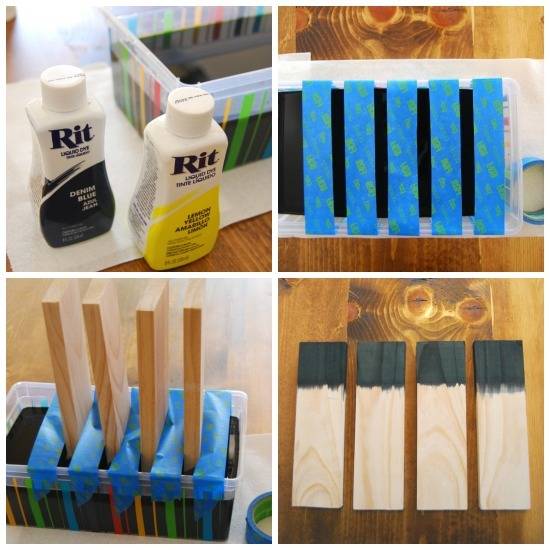
1. Choose the colors you’ll be dyeing the wood with. I mixed blue and yellow to get a dark blue-green. Fill your plastic bin almost to the top with water and add 1 & 1/4 cup of dye. Stir well until it has dissolved into the water.
2. Using your tape, cover the top of the bin while creating slots for the wood to slide through. The slots should be almost as wide as your boards.
3. Place your boards in each slot moving slowly so that they are standing upright. Let the boards soak in the dye for several hours until the dye has bled up the boards to your desired height.
4. Remove the boards from the dye and place on a towel to dry.
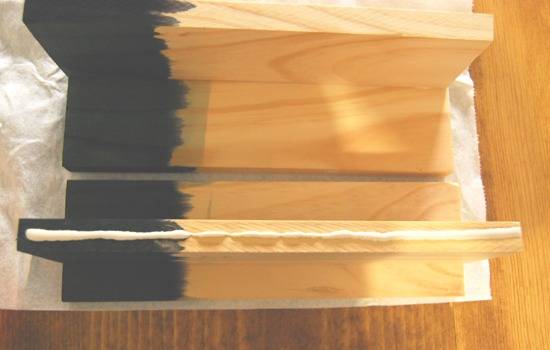
5. Once the boards are dry, build a small box by placing wood glue on the sides of two boards and sandwiching them between the other two boards in a perpendicular fashion. Make sure all of the edges are flush and match as best as possible. Feel free to use a clamp to really tighten the wood while the glue dries.
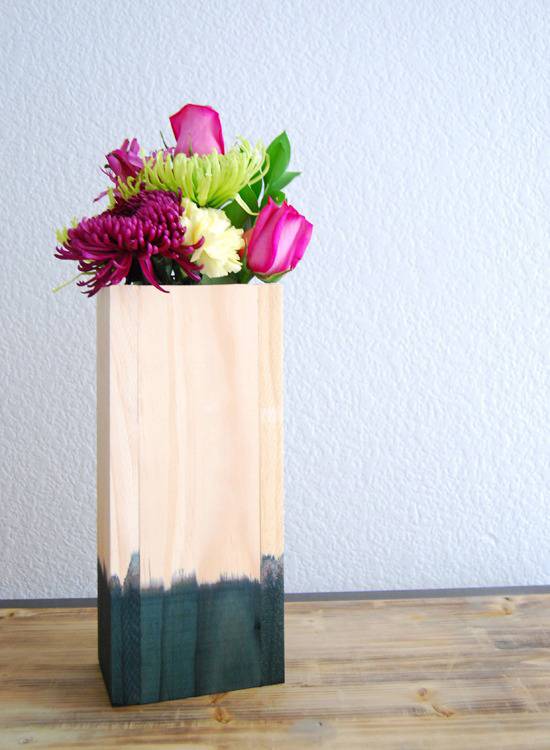
Beautiful! Once the glue is dry, arrange some flowers in a tall skinny vase and place inside the vase cover.
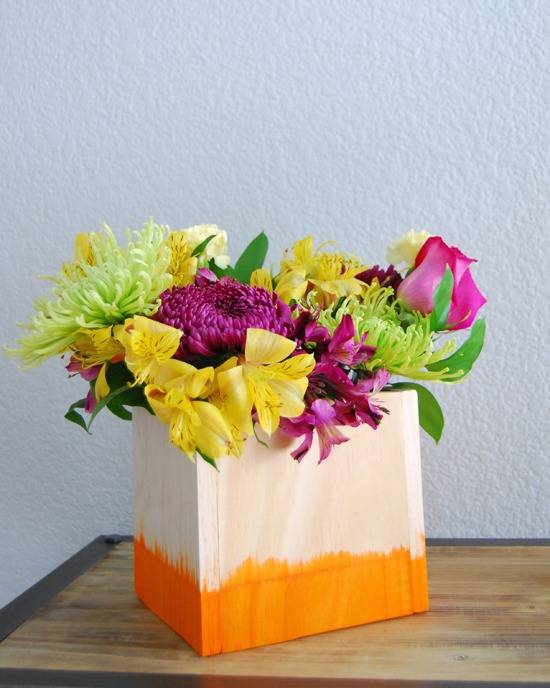
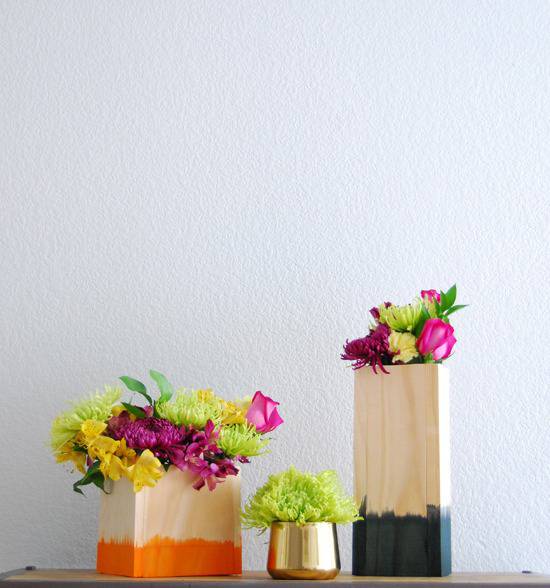
These can double as unique centerpieces for your outdoor dinner party and the color possibilities are endless! For an even more beautiful version, check out this tie-dyed shadow box from Whimseybox!
 Lexy Ward
 Lexy Ward