‘Twas a few weeks before Christmas 2011, when I discovered the might glory of the craft store glitter reindeer. I had so much fun hacking these glam-covered beasts into something a little less insane, that I wanted to rescue this elegant species from their harsh coats of coarse, uneven glitz again this year. Last year, I came up with a trick for removing the factory glitter and replacing it with something more refined. This year, I wanted to improve on the technique and give him a full-on handmade look by changing the “realistic” fur texture and face structure, etc.
Tools and Materials
- Plastic reindeer [I got mine at Hobby Lobby, but I’ve seen similar pieces at other craft and discount stores. If you shop wisely, you can buy one when all the holiday stuff is 50% off]
- Soap and water, and a sink or large bucket
- Spray paint or primer
- Old book pages cut into 1″ strips
- Mod Podge or white glue (Matte finish recommended)
- Acrylic paint (optional)
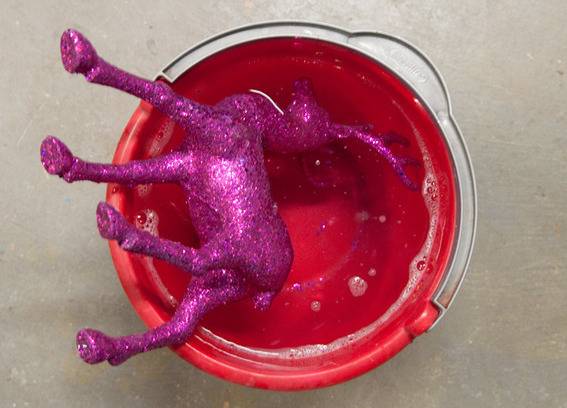
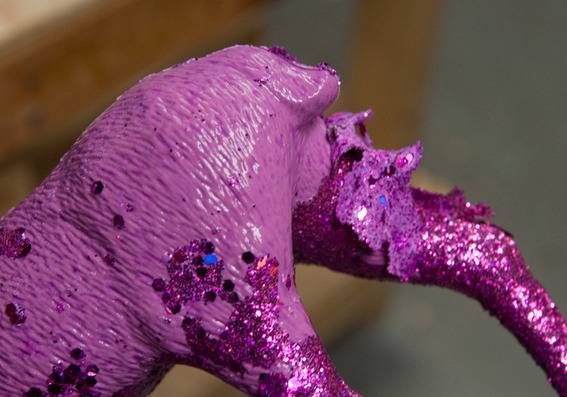
Step One: This year’s project begins the same as last, with a few hours soak in a bucket filled with soapy water. Then, by using your thumbs and fingers, you can just push the water-based glue off in sheets:
Here he is, all bare and ready for his makeover:
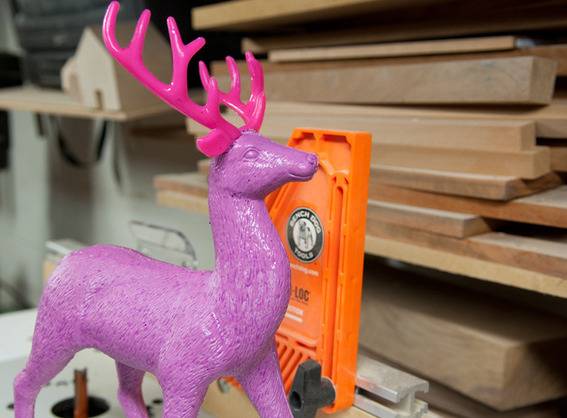
All proud and pink-antlered. What a sight….

Step Two: Give your reindeer a base coat of white paint, just so you don’t have to worry about the color peeking through later. Grab an old book at the thrift store or secondhand shop. I live pretty close to a certain chain of half-priced books, and I just look in their recycling dumpsters out back, and I find useable stuff 95% of the time. Cut out the pages with a utility knife, then slice the text blocks (not the margins) into 1″ tall strips.

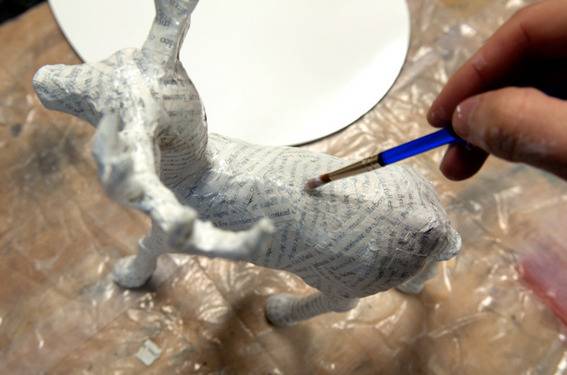
Step Three: Dip the strips in Mod Podge or a mixture of 1:1 white glue to water. Begin by wrapping the legs and random parts of the torso. Don’t line everything up too carefully, or it’ll look a little too…stripey. I guess since I’m attaching paper to an existing form, this is really découpage rather than Papier-mâché, but you get the idea.
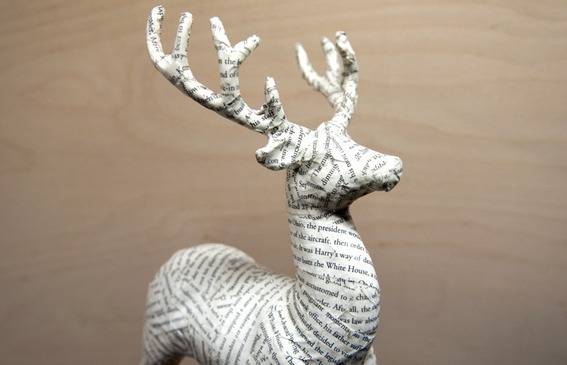
Step Four: Continue until the entire guy is covered. Rip the strips into pieces to cover small sections like the antlers, ears, and face.
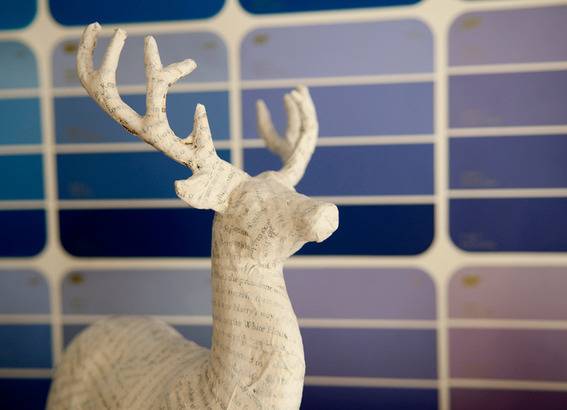
Step Five: At this point, you could be finished, but I felt like the straight-up pages were a little too…”country general store,” especially with the glossy Mod Podge. (They make it in matte, which I recommend and wish I’d used.) So, I mixed some white paint with the Mod Podge (or you could use an acrylic medium) and gave the whole thing a single, semi-transparent coat that still allows the text to show through and highlights the paper mache texture. And…

Here he is in his home for the season. The finished project has a cool hand crafted, recycled look that could actually work in most homes all year long. I may even leave him out myself, or at least store him somewhere accessible where I could bust him out for photo shoots and vignettes.
If you wanted, you could use newspaper and just paint the whole thing a flat white for a super bright and clean look. Or leave the paper fully exposed. This kind of project translates well to any sort of finish and aesthetic, so get creative.
Season’s Greetings!