
I’ll be honest. I’m not really into glitter. Maybe it’s because I’m a guy, or perhaps because my taste lean towards the clean and contemporary. Mostly, it’s cause, as my memories of summer camp and Sunday school taught me, it’s messy to deal with. Open that bottle, and it’s on you for life. It is, as Demetri Martin remarks, “the herpes of craft supplies.”
But this holiday season…I don’t know…I’m kinda feeling it. Perhaps it’s sparkles will match my beloved aluminum Christmas tree, or maybe cause the holidays always allow for going a little over the top, but they’re feeling festive this year. So, once Halloween went away, and the holiday stuff came out, I went a-lookin’ for some sparkly goodies. And I found this reindeer, which, while interesting, wasn’t really the classy, glittery accent piece I was looking for. The blue is pretty intense, and the coarse glitter made it seem…well, tacky. But, it was $4.00, and the shape was cool, and I knew I could do something fun with it. Plus, as plastic animals are all the rage this year, I figured it was worth a shot.
Materials and Tools:
- Sparkly reindeer (I got mine at Hobby Lobby, 50% off in the holiday section; I’ve seen similar objects at Michael’s and at discount stores this year)
- Large bucket or sink and soapy water
- White spray primer (I used Krylon dual)
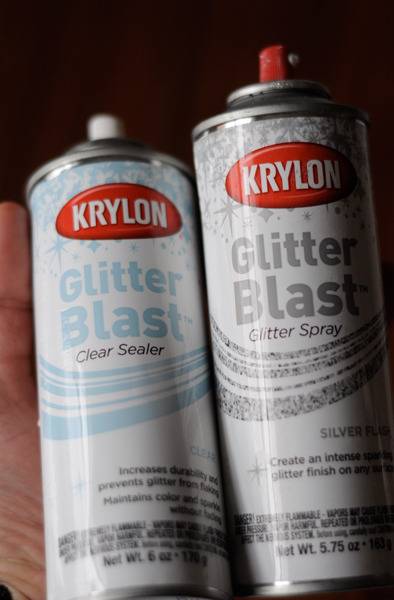
- Krylon Glitterblast spray paint
- Krylon Glitterblast clear sealer
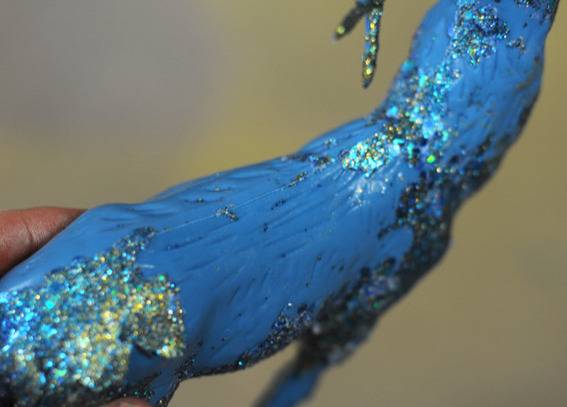
2. Then, fill a bucket with warm soapy water, and drop the little guy in. I poked a little hole in his foot to allow him to be filled with water and sink, and added a salad plate on top to keep him submerged.

After a few hours, the glue will be softened, and you can easily remove the glitter by rubbing it with your fingers.
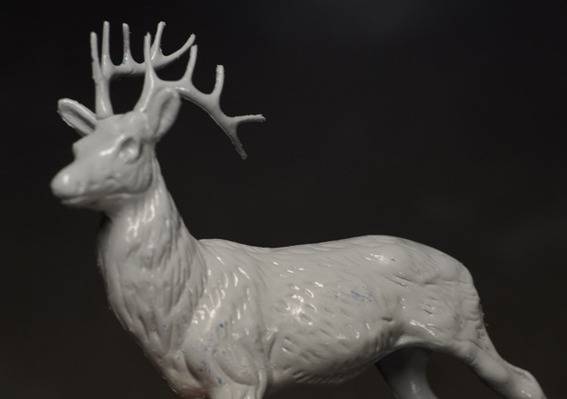
3. Then, give the whole thing a base coat of white (or whatever) color of primer. I used Krylon Dual, which is a primer and paint in one, and works super well on plastic.
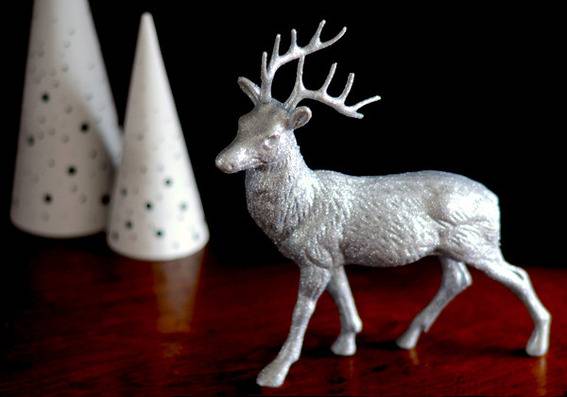
4. Lastly, just give it a coat of Glitterblast, and finish with a coat of the clear sealant. Sorry – no photos of this step; it’s a bit tough to spray an object you’re holding in your hand and snap a photo. But you know the drill – light, even strokes, about 8-10″ away. Allow to dry completely before handing.
That’s a lot of Christmas cheer for $4.00. Certainly as much as the similar $40.00 – $100 (and, I might add, glitter-free) offerings at West Elm this year.
Happy Glitterdays!
Got your own awesome DIY project using spray paint? Show us!