
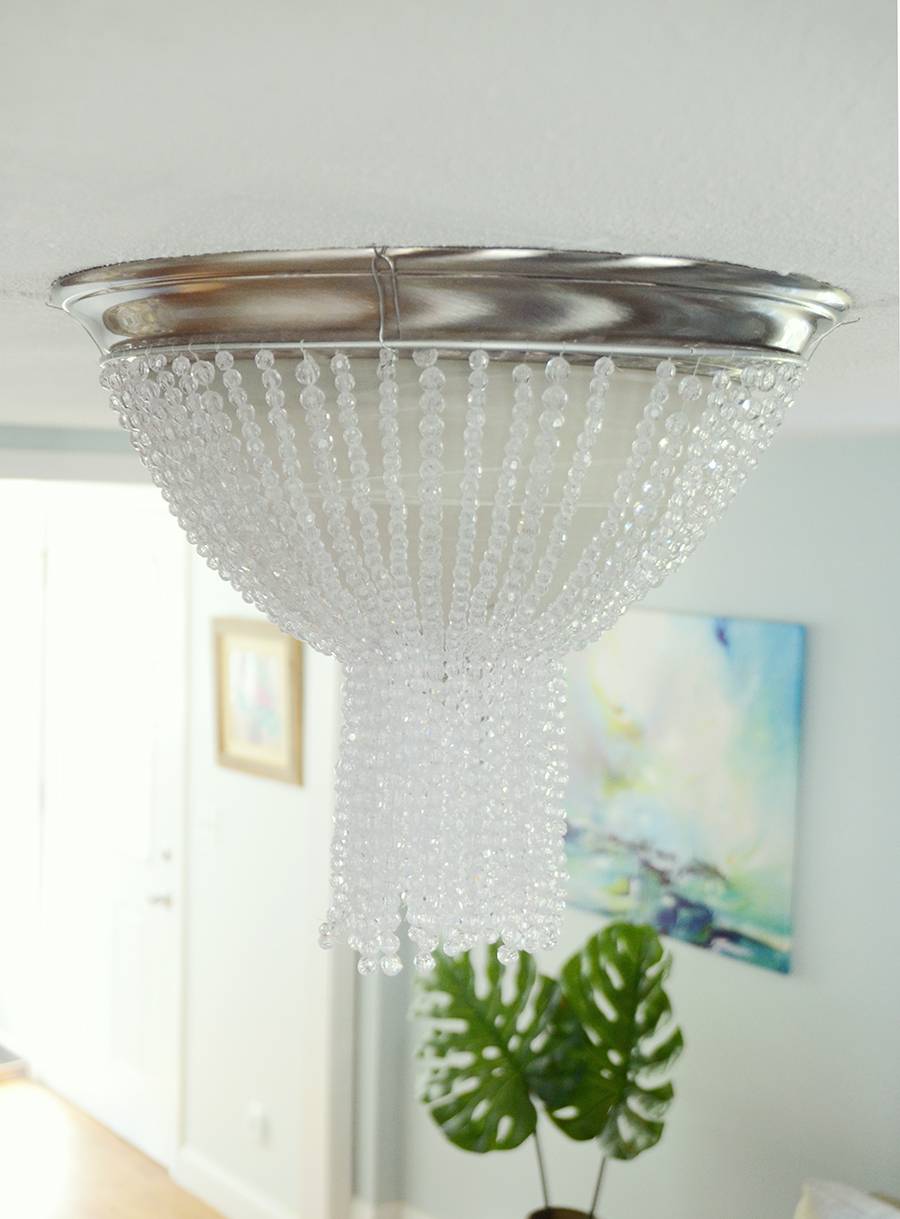
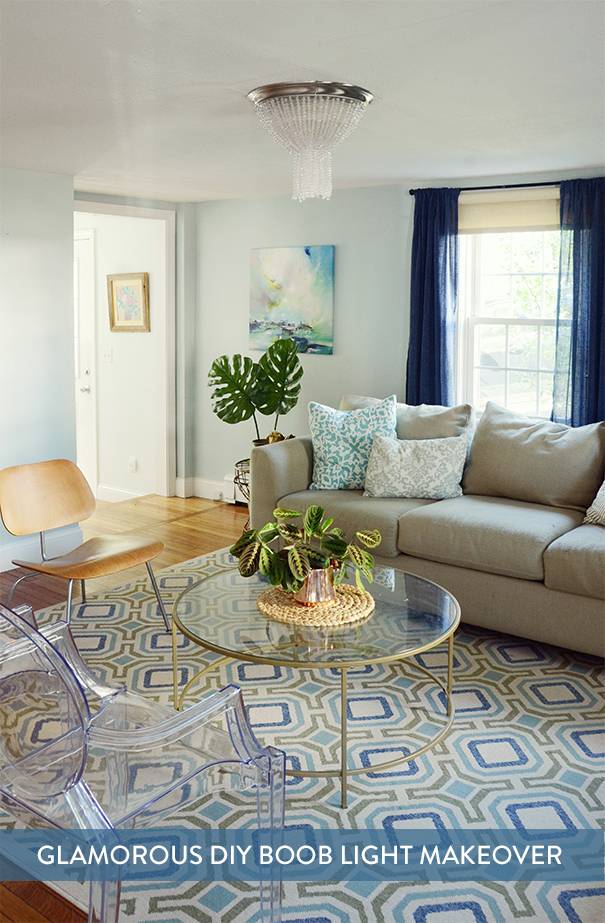
Boob lights. Once you know what they are, you’ll notice them everywhere. We’ve had one in our living room since we bought our house two years ago, and I’ve been meaning to do something about it for months now. And I finally did. Click through to check out the glamorous solution.
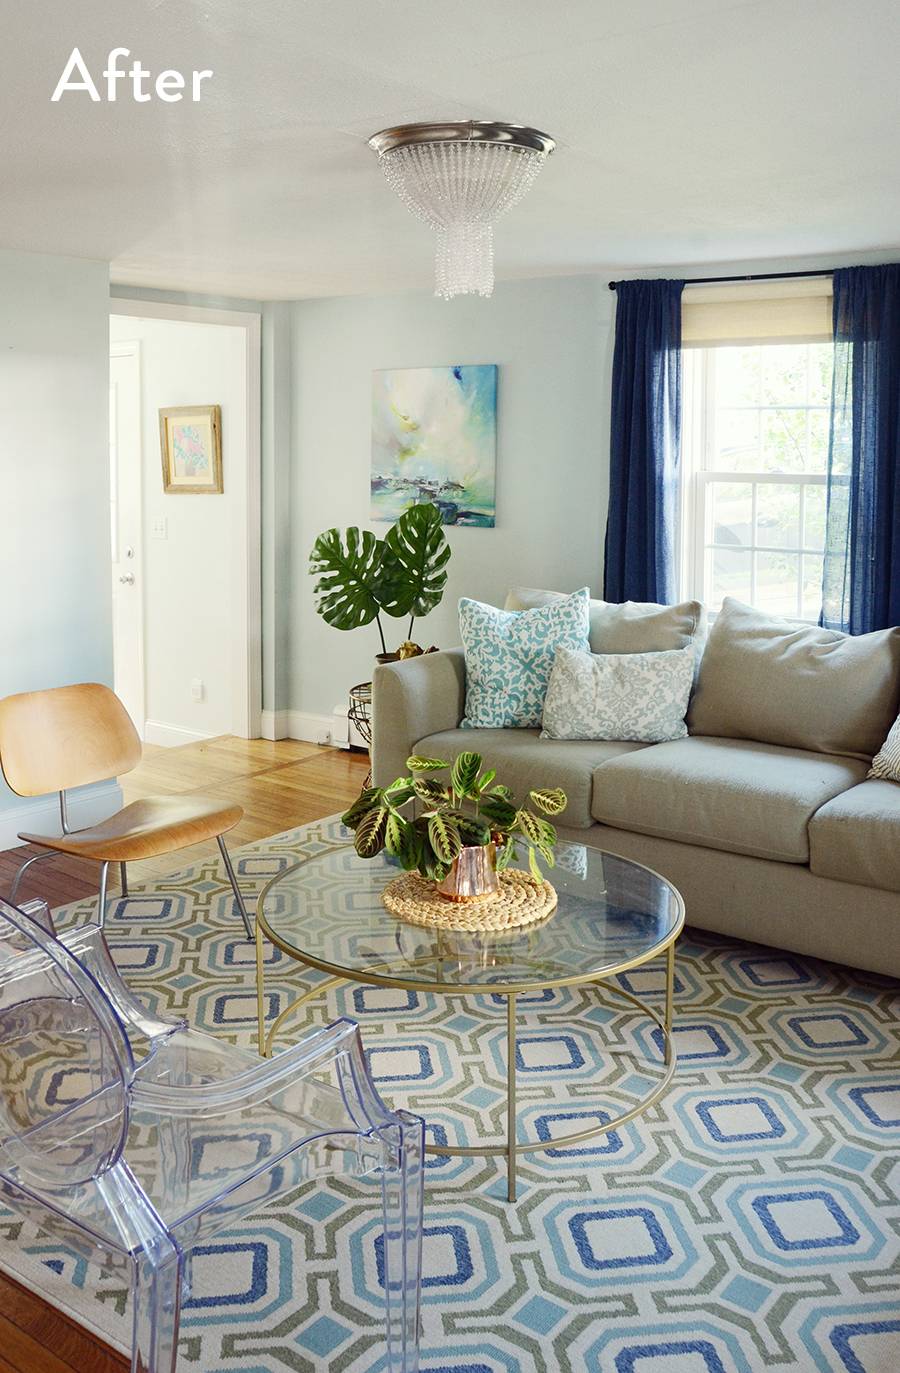
The “new” light has a chic, trendy look… but costs a fraction of the price of a similar store-bought version. And you can recreate this look yourself! So let’s get started…
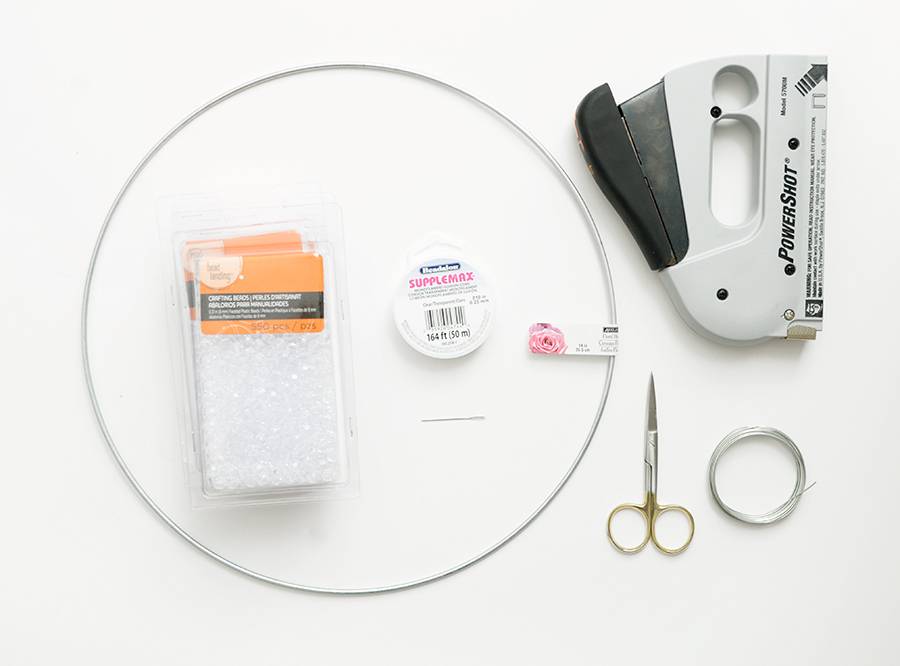
Here’s what you’ll need for your boob light makeover:
- 14 inch floral hoop
- Clear faceted beads (the bigger they are, the faster the project will go)
- Monofiliment illusion cord (basically fishing twine)
- Embroidery needle
- Scissors
- Wire
- Wire cutters (not pictured)
- Staple gun

To make each string of beads, begin by cutting a piece of twine that’s about 20 inches long. Then tie a double knot around one bead at the end as shown in the photo above.
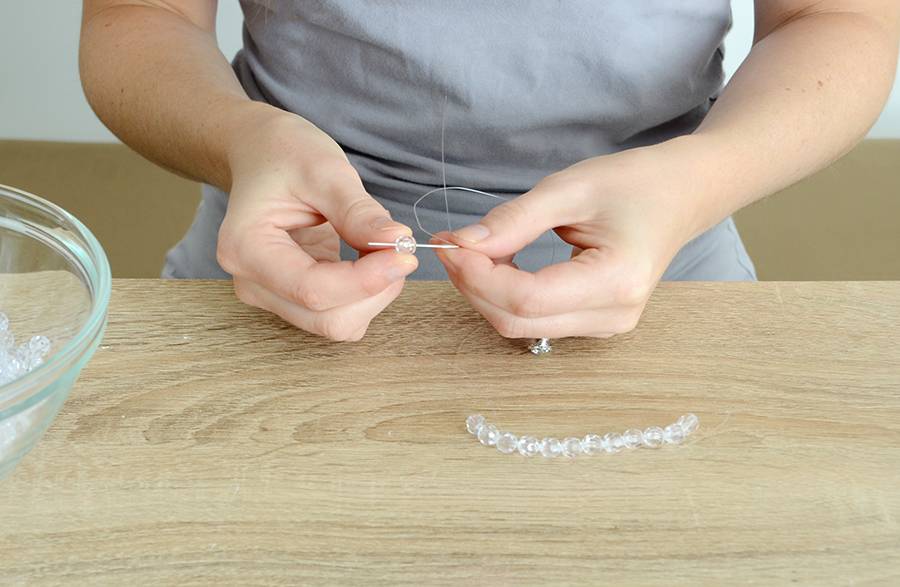
Using your embroidery needle, string beads on the twine until you have a string of beads that is long enough to cover the side of the boob light with a couple of inches of excess (my strings were 12 inches long each).
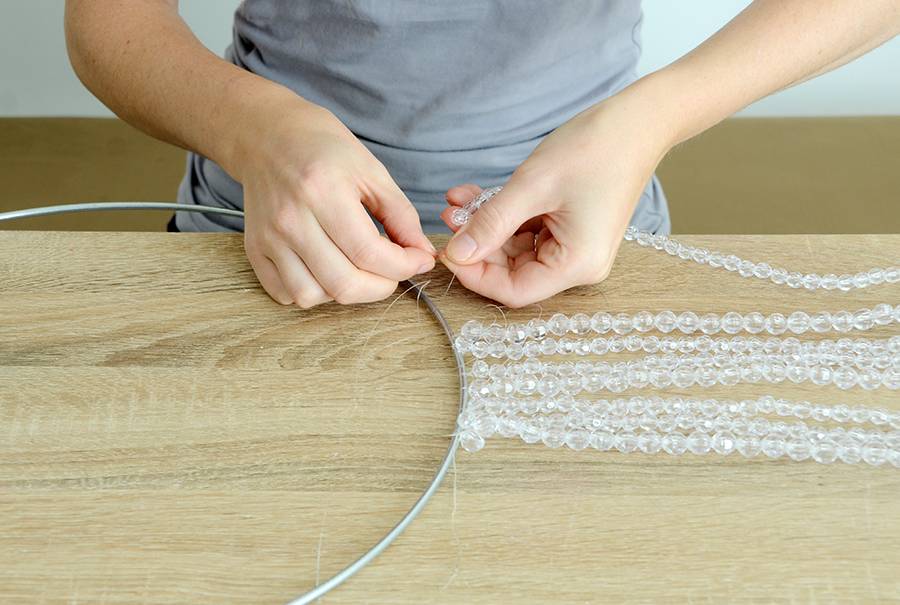
As you complete your strings of beads, tie them to the floral hoop. Make sure you double knot them and make sure that they feel secure. I used different bead sizes for some added visual interest – if you do the same, just make sure that each string of beads is one size or the other (not a mix of both).
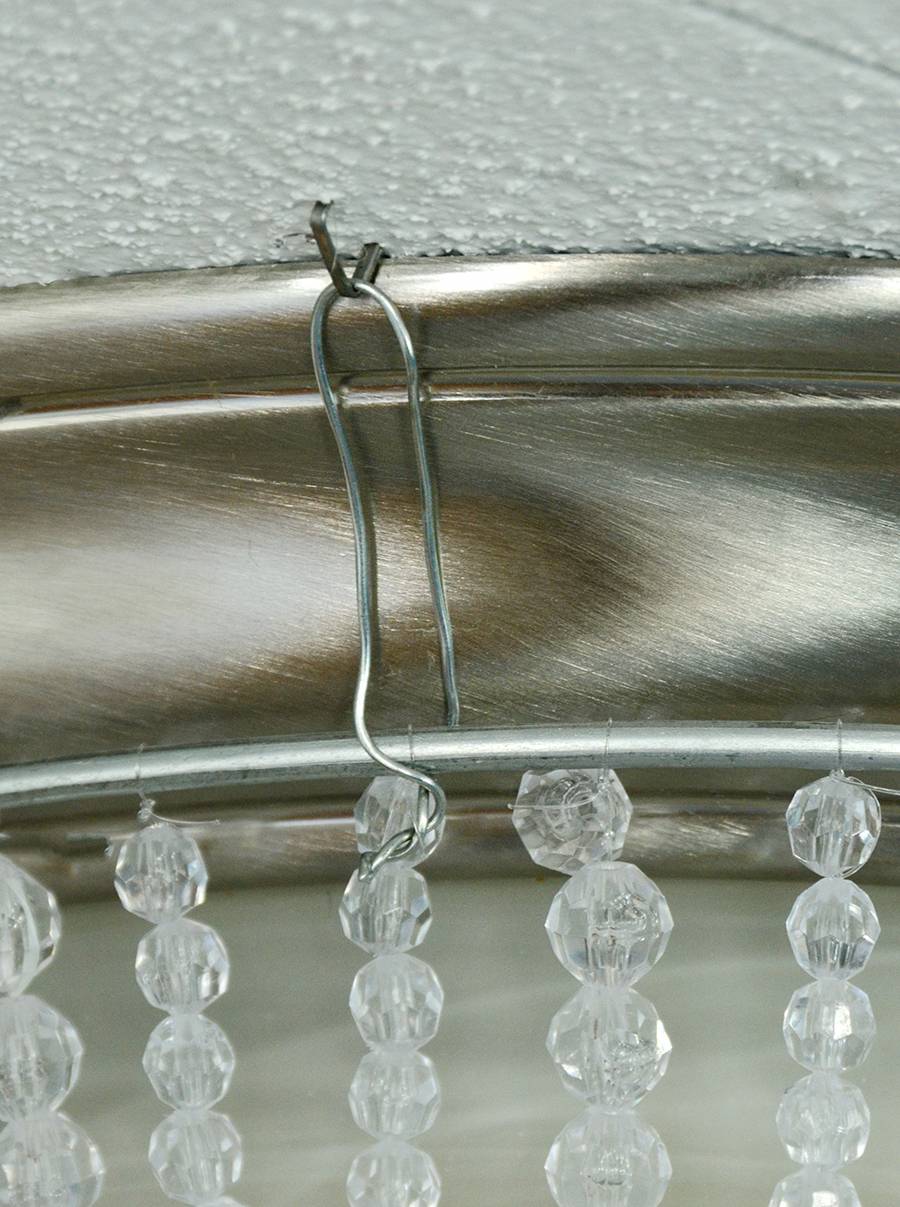
Once you’ve finished stringing and attaching your beads to the floral hoop, trim all excess twine ends and grab your wire. My 14 inch floral hoop didn’t cover the full circumference of the boob light, so I cut four pieces of four inch long wire and created loops of wire as shown above to attach the beaded piece to the boob light itself.
Space out the four loops around the hoop and then use a staple gun to attach the loops to the ceiling just outside of the rim of the boob light. You’ll need someone to help you hold it up at this point, just while you staple it to the ceiling.
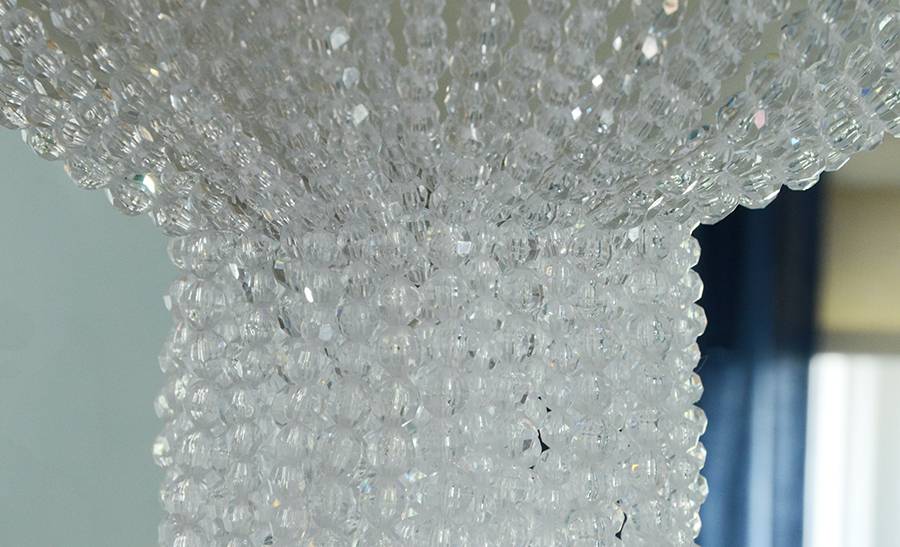
The last step is to create the pretty shape. Grab a piece of two foot long twine and simply wrap it horizontally around the beads and pull tighter and tighter until you have created your desired shape. Tie a double knot and trim the ends. And you’re finished!
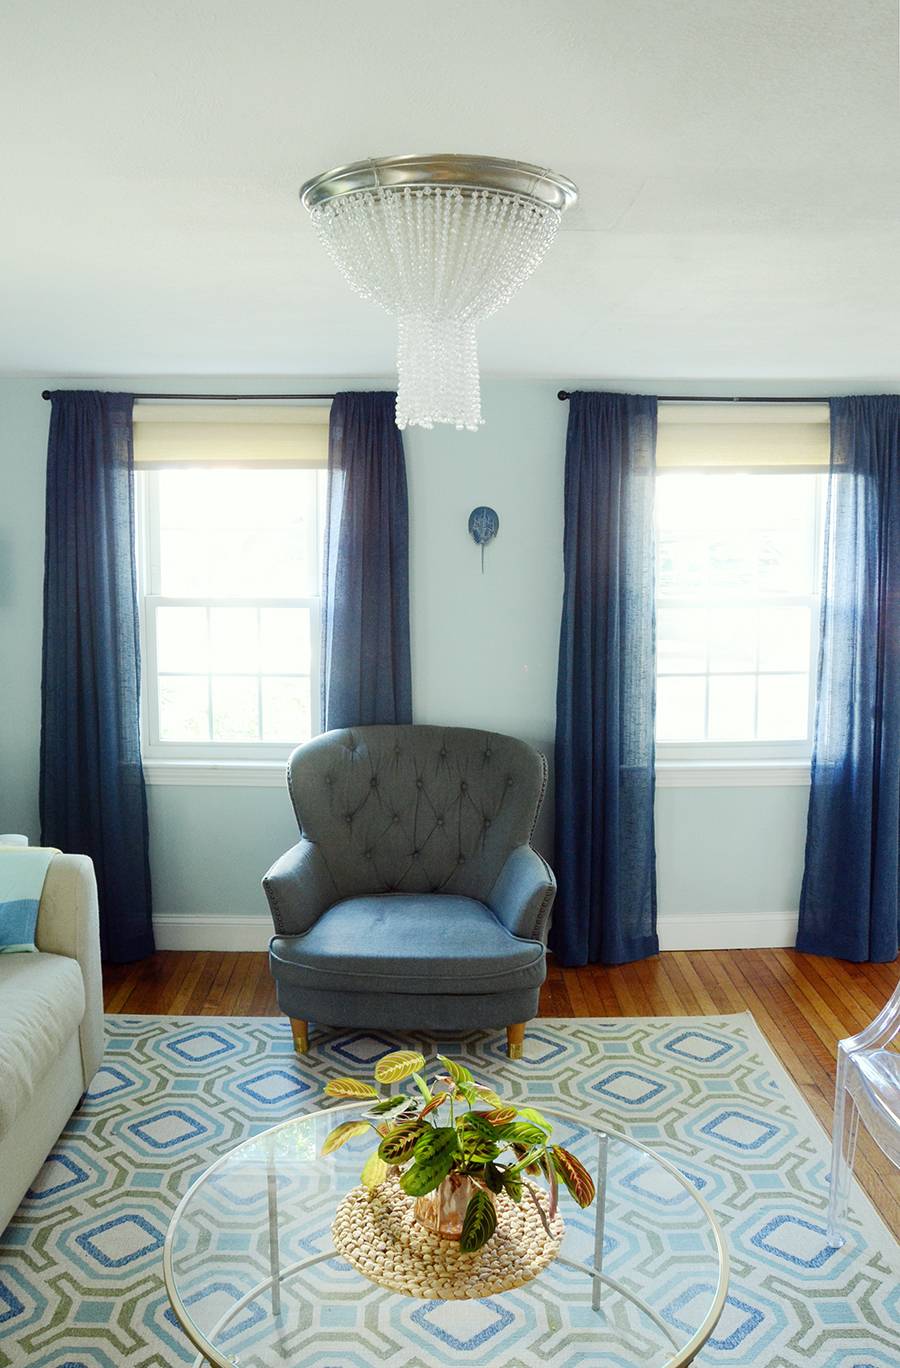
The resulting piece is so much more attractive than a plain old boob light, and way less expensive than a crystal chandelier.
And it’s totally easy to make – it just takes some time to complete. You could even customize it by using different colored beads on the bottom portion, or playing with the shape a bit. Have fun!
I love this! we have the exact same boob lights and have been really wondering to do about them, this is the answer! about how many beads did you use? I’m wondering if I can jigger an ombre one…
What a difference you just made in that “old” looking light fixture that i think might be way older then we all think it is, lol. You really brought it into the 20th century ! At the very least, until you either want to change it out until you can afford to change it but I’ll just bet it stays up there a whole lot longer then before.
@Karen I want to say it was somewhere in the 2,500 – 3,000 range… it’s hard to say exactly because I already had some of the beads (and they were no longer packaged).
Thanks so much @Diena, glad you like it!
I’m NOT a lover of the boob light, we replaced several of them in our home. While ingenious and certainly cost-saving, the makeover looks like a boob light with a tassel!
What is the manufacturer and name of the paint on the wall? It’s so pretty?