
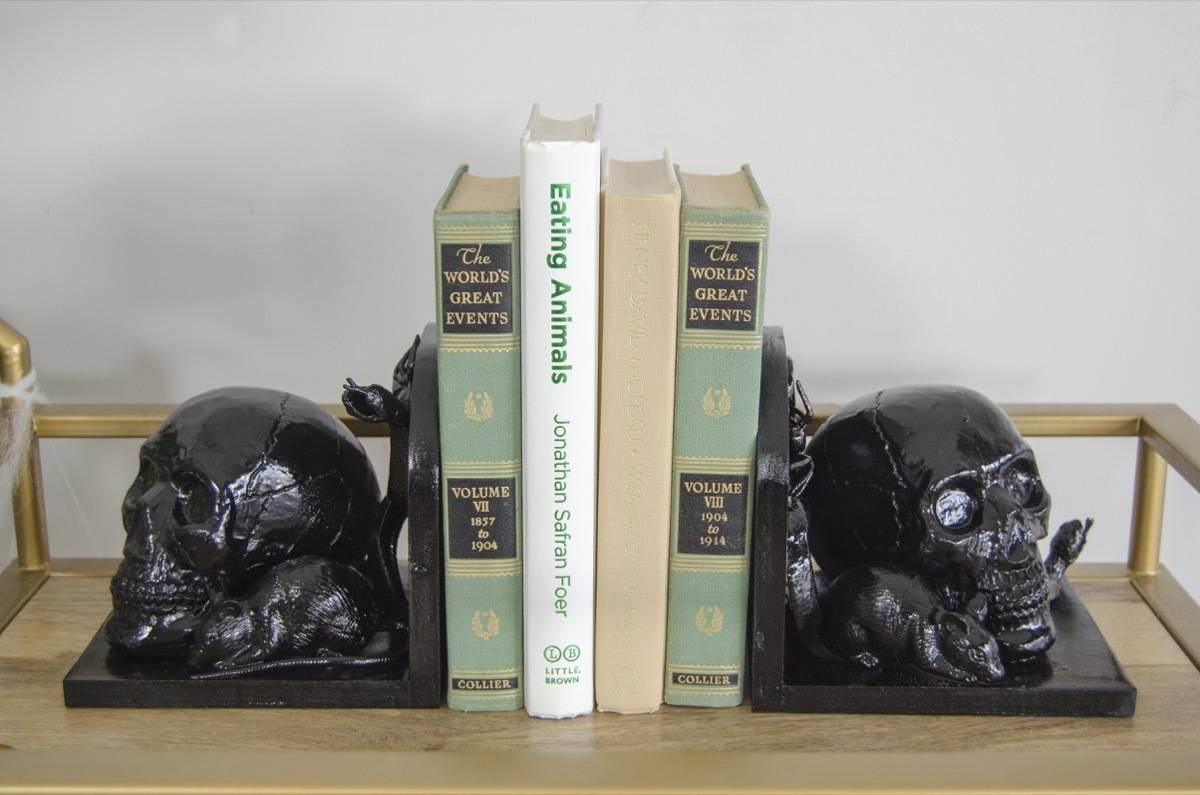
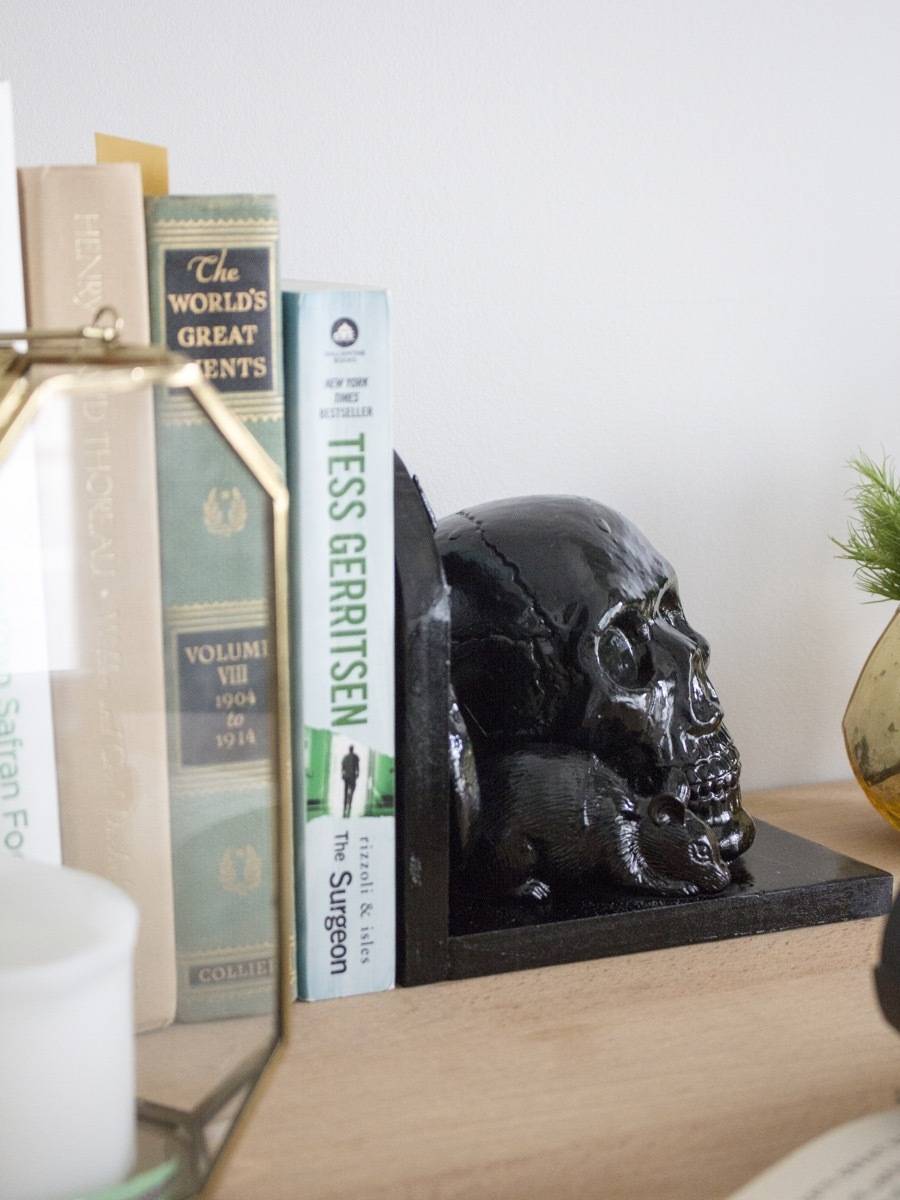
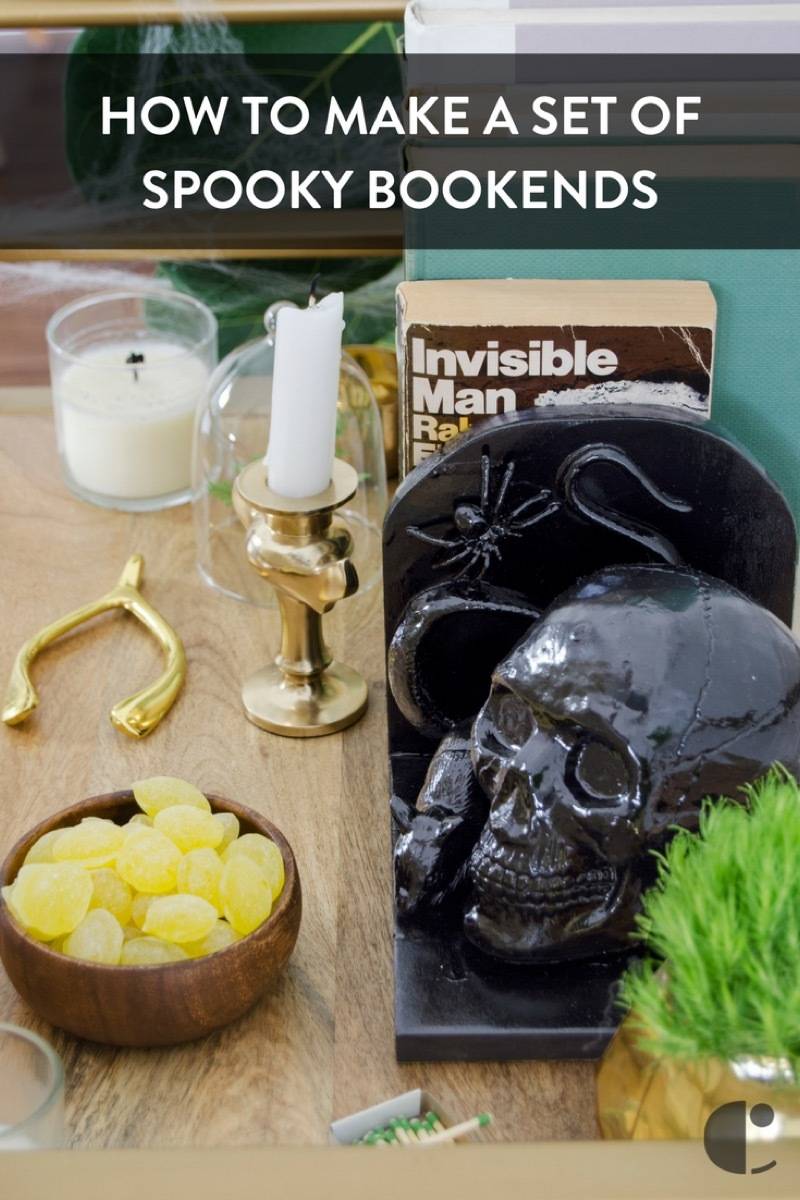
I have boxes upon boxes of Christmas decor, but do you know what I always wish I had more of? Halloween decorations! Most of the spooky decor associated with this ghoulish of holidays doesn’t last for more than one season (I’m talking to you, weird bag of spider webs!). Rather than buying stuff to throw it away on November 1st, I wanted to make something I can decorate with this year and the years after. Boosting your own stash of spooky decor is easy enough – keep reading to see how I made these glossy bookends from wood, spray paint, and spooky bobbles.
You’ll need to stack some ghostly reading between your finished bookends. Here are some of the Curbly Team’s top creepy picks:
- Rebecca | Daphne Du Maurier
- Voices in the Night | Steven Millhauser
- Broken Monsters | Lauren Beukes
- Silence of the Lambs | Thomas Harris
- Invisible Man | Ralph Ellison
- The Haunting of Hill House | Shirley Jackson
- The Exorcist | William Peter Blatty
- Frankenstein | Mary Shelley
Watch this video to see how these spooky bookends came to life (or death?), and keep reading for the step-by-step.
Materials
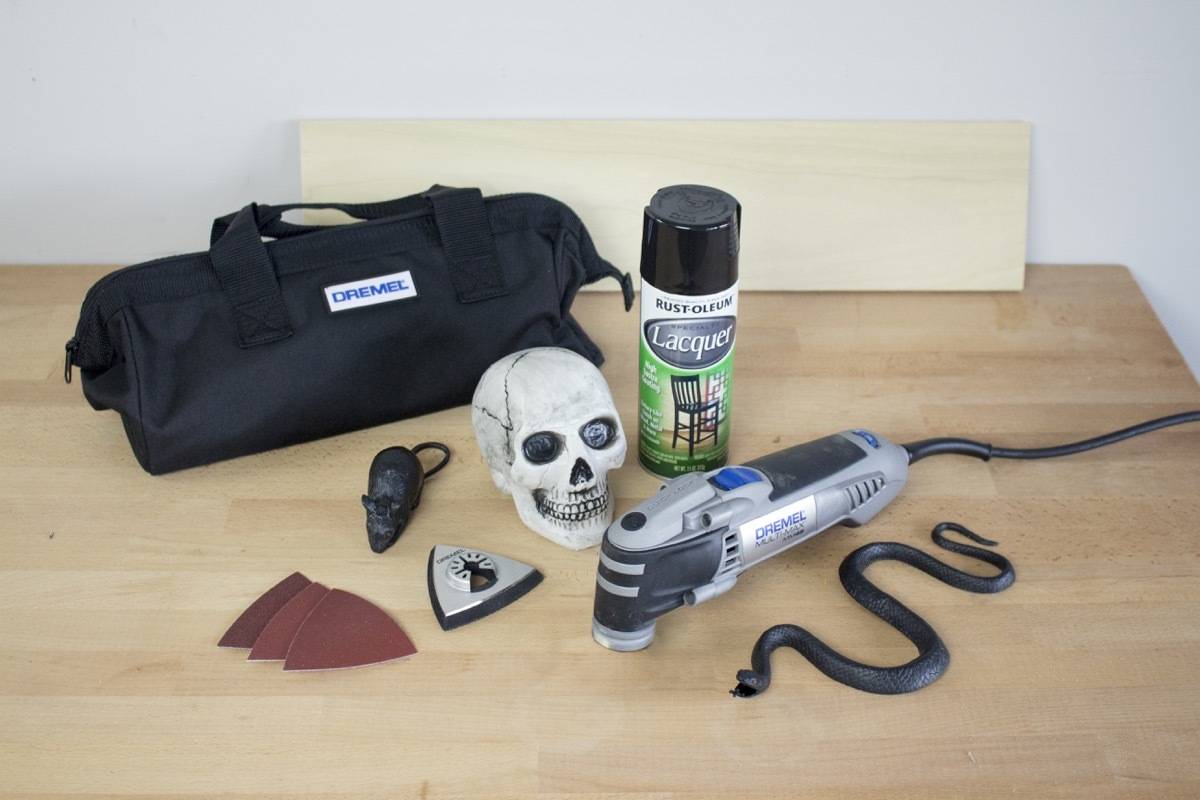
- Dremel multi-max tool with sanding attachment
- Dremel flush cut blade 3-pack
- Wood board, 3/4 inch thick
- Wood glue
- Hollow plastic skulls
- Various spooky rubber figurines (I found these at party supply and craft stores)
- High-gloss spray paint
- Clamps
- Small brad nails
- Electric tea light candles
Step
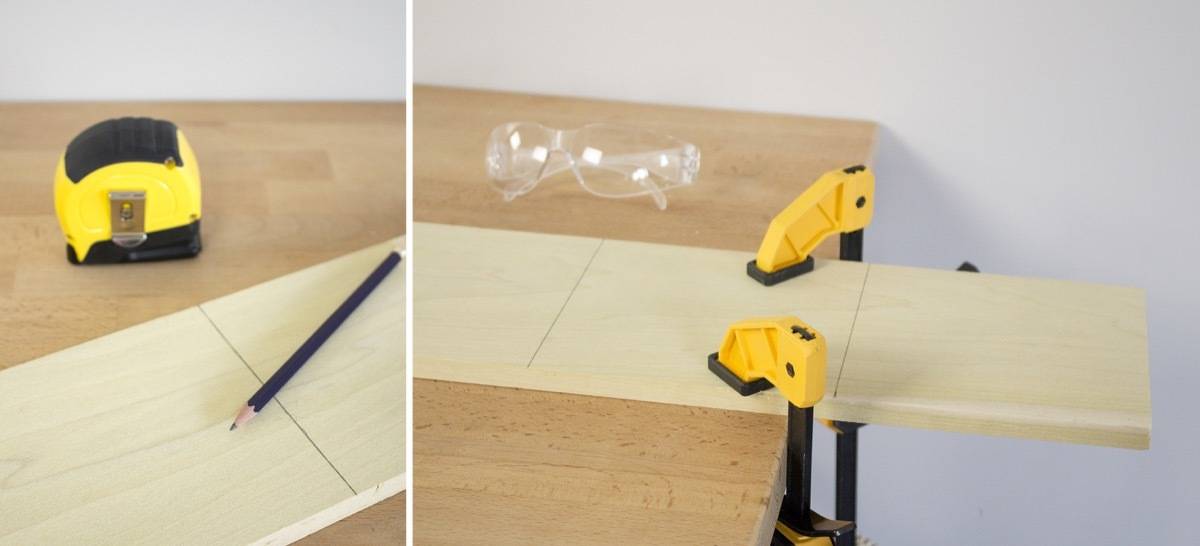
Begin by measuring and cutting the board into four equally-sized pieces (between 5-6 inches in both width and length). While the Dremel may feel small, she be mighty – so take all the necessary safety steps as you would when cutting with a larger power tool. Clamp the wood to a sturdy surface, don’t wear loose fitting clothing or jewelry, and throw on a pair of safety glasses.
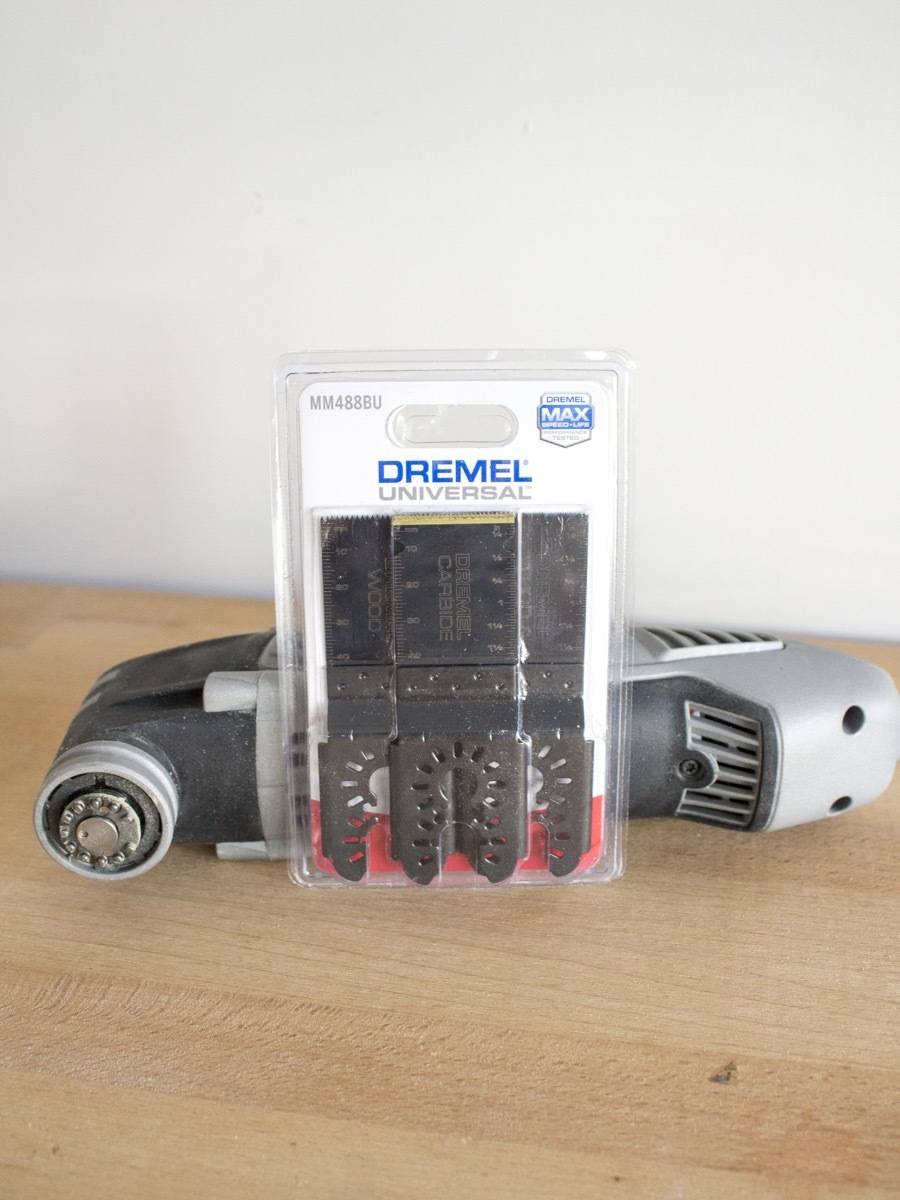
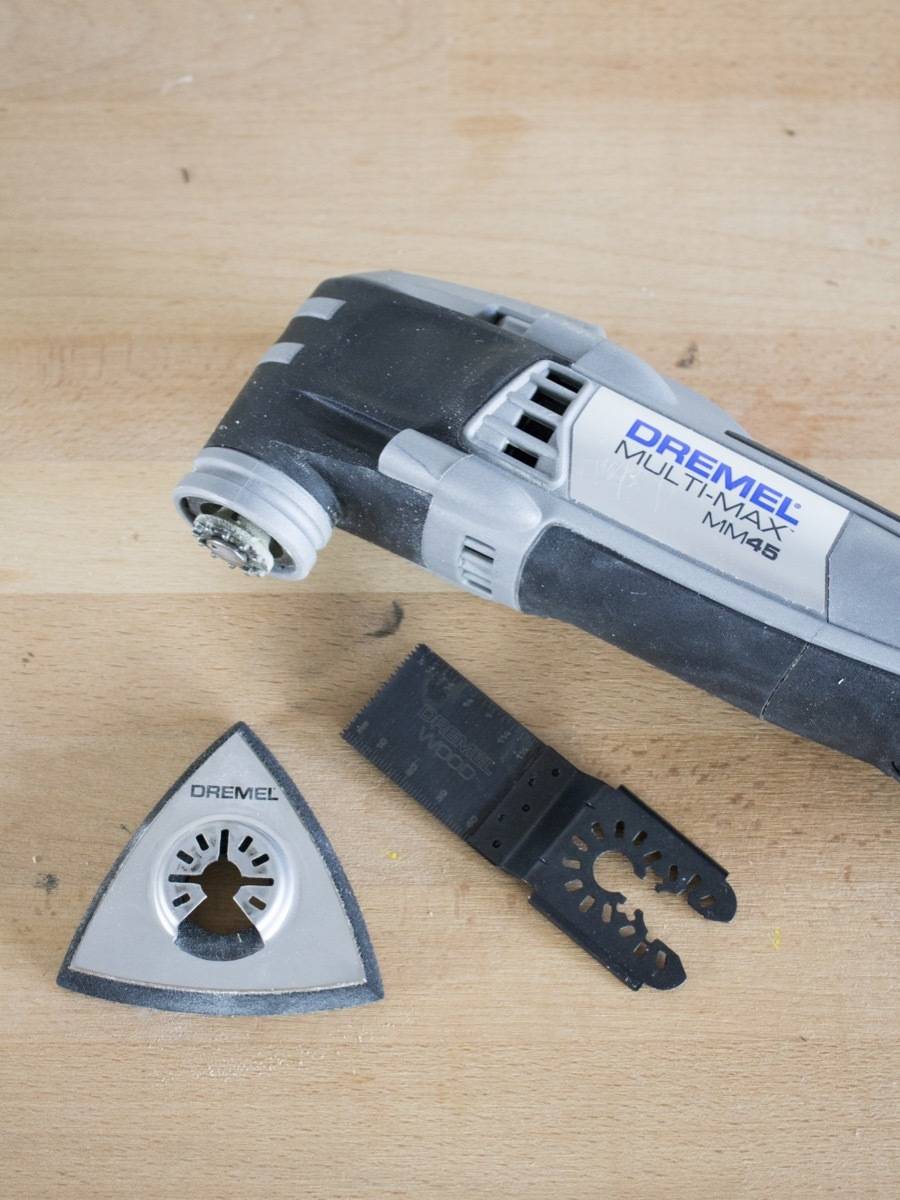
To cut this 3/4 inch wood, I’m using the wood blade from the Multi-Max Universal Oscillating Tool Flush Cut Blade 3-Pack. This was my first time using an oscillating tool to cut wood, and based on how easy and fast the cut happened, I’m excited to try the other two blades from this pack in another project. Aside from wood, the other blades can cut materials like metal and cement!
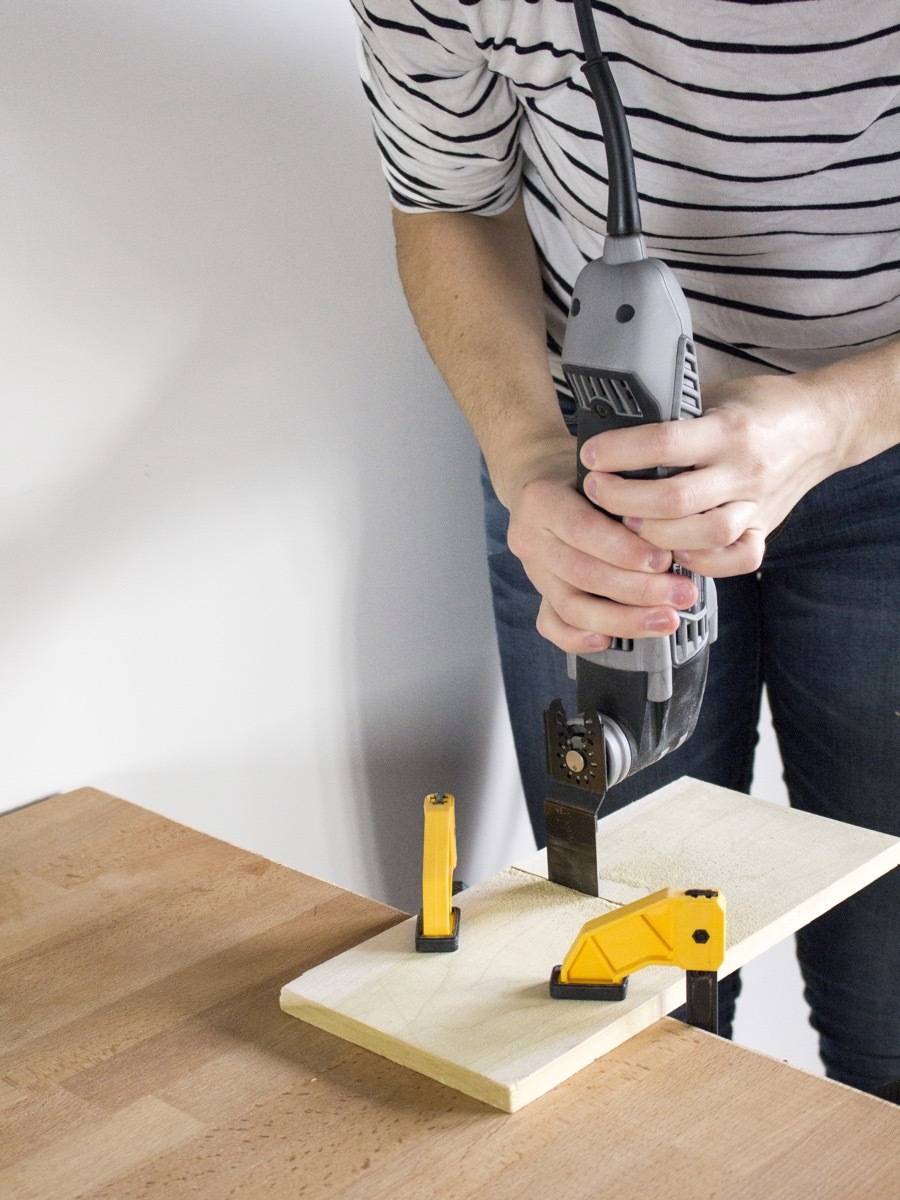
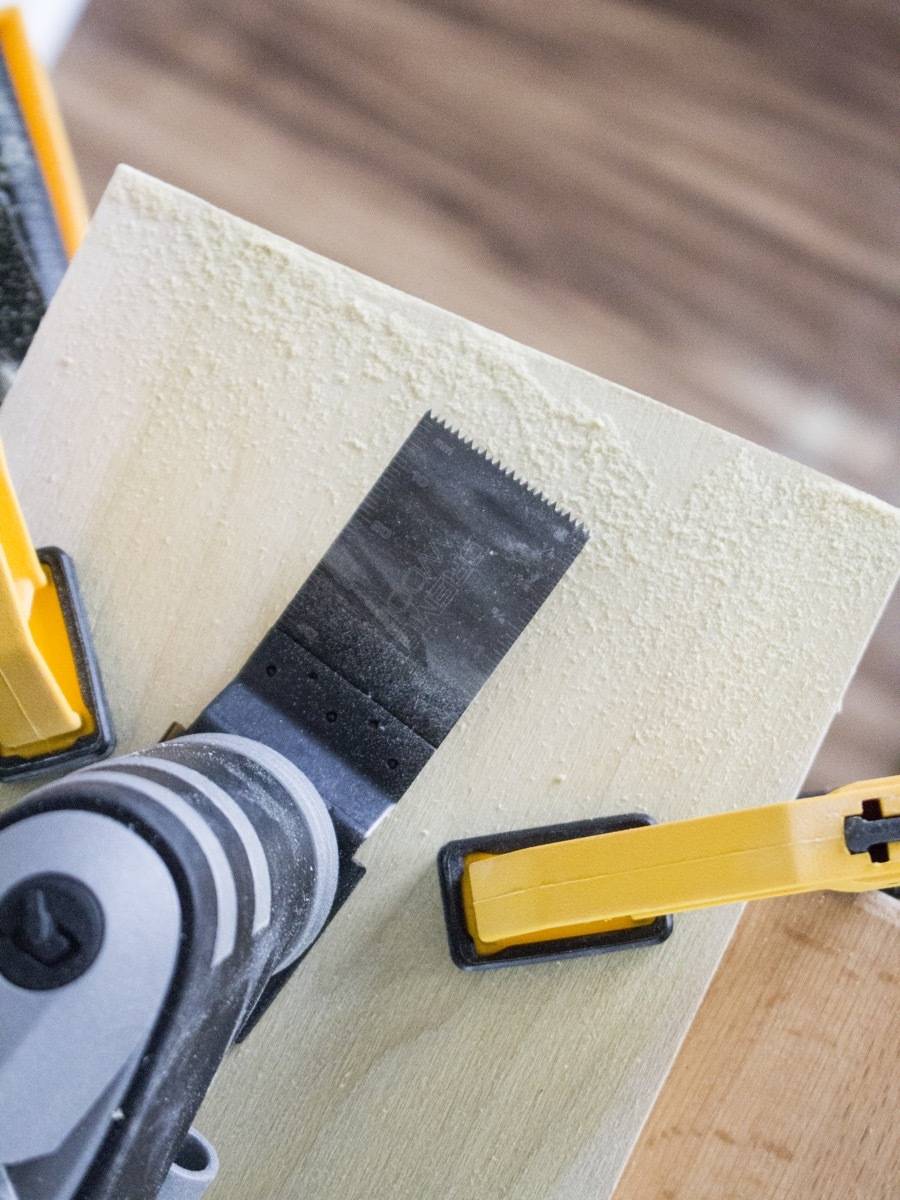
Using the blade, cut the wood into pieces. Hold the blade up and down, and let the weight of the tool do its work, rather than using force to push the blade down.
Step
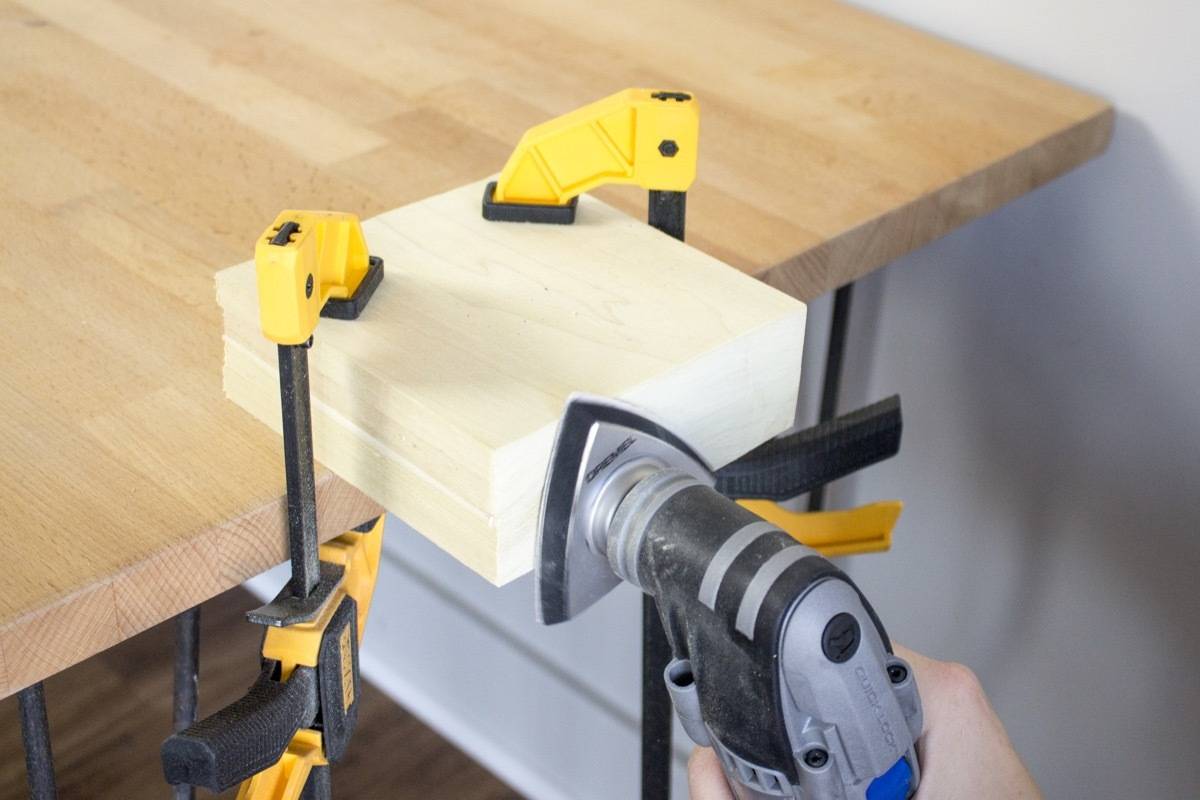
Once you’ve cut all four pieces, switch from the blade to the sanding attachment, and grab a piece of low-grit sandpaper. Lay your four pieces together, clamp them to a sturdy surface, and sand the cut edges smooth.
Step
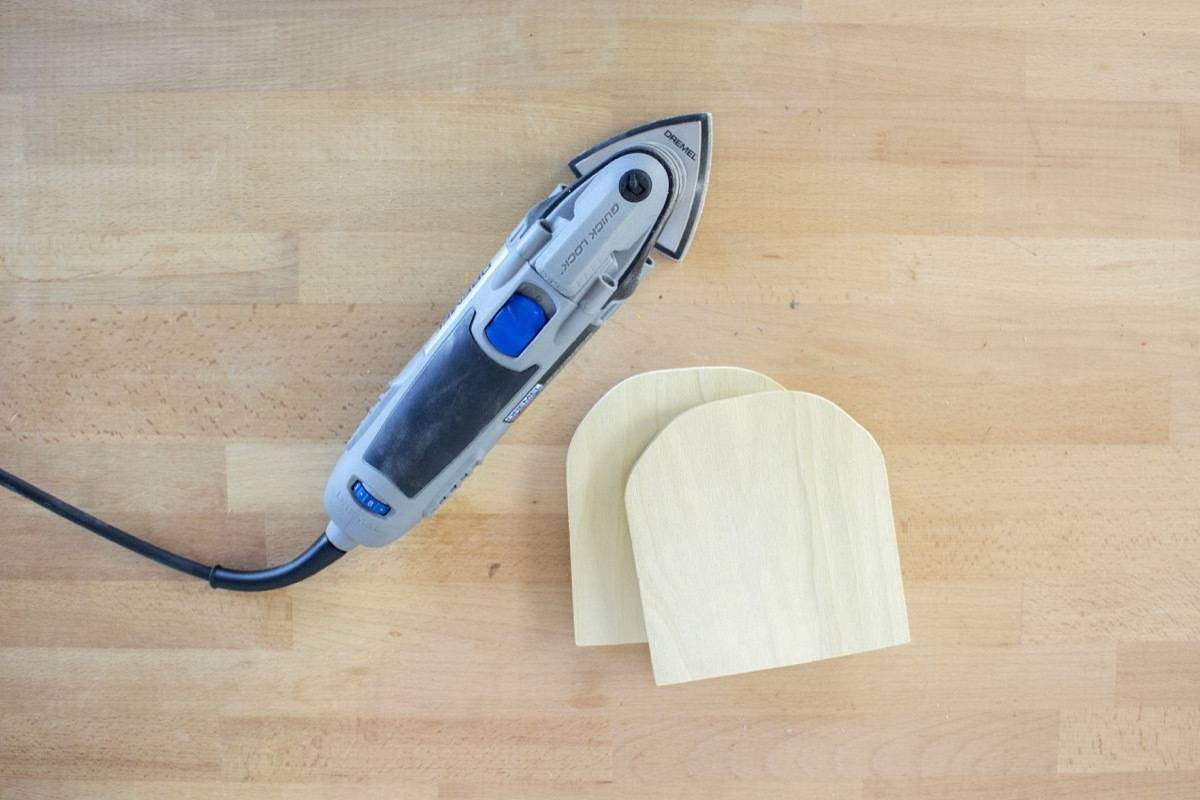
Switch back to the blade, and cut the corners from two of the boards. Use the sanding tool to round out these corners (kind of like a creepy tombstone!). Sand down all the pieces on both the edges and the face, moving from a large frit to a finer grit.
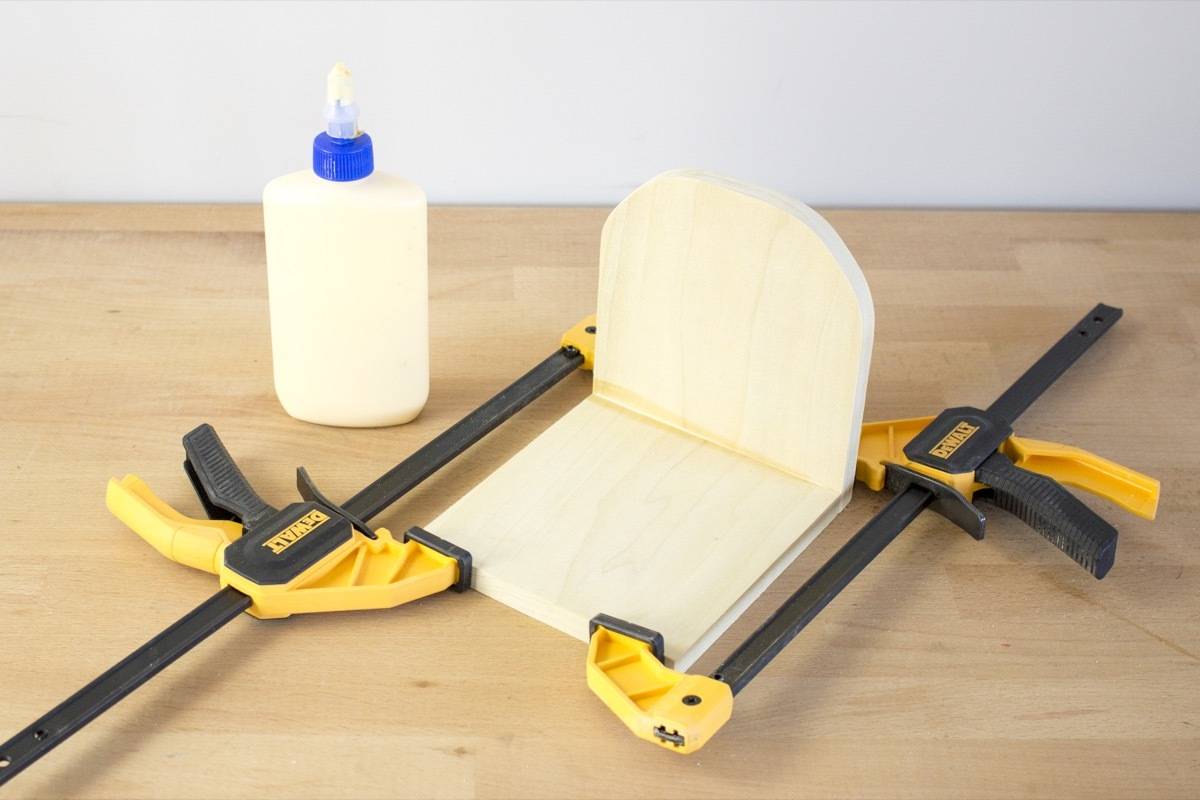
Using wood glue, adhere one curved board to the edge of another wooden board. Use clamps to hold the boards together while they dry. To support the bookend further, you can hammer two small nails into the back once the joint has dried.
Step
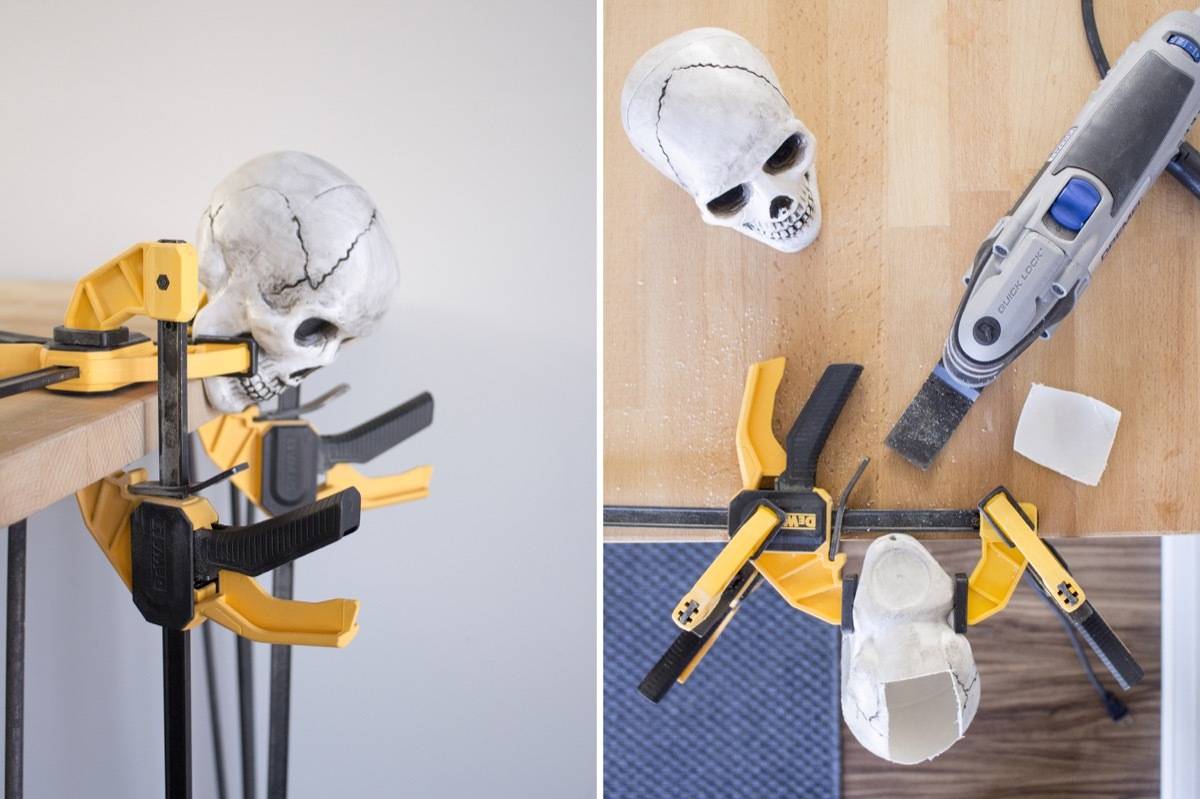
To add tea lights to the bookends, you’ll need to cut openings in the back of the plastic skulls. Clamp a skull in place so it will not budge while you cut, and attach the wood blade from the three-pack of flush cut blades to your oscillating tool. Set the tool to a lower speed (I was between 2 and 4), and cut a square opening in the back of the skull. I’m not going to lie, this cut feels like what I’d imagine performing a lobotomy is like.
Step
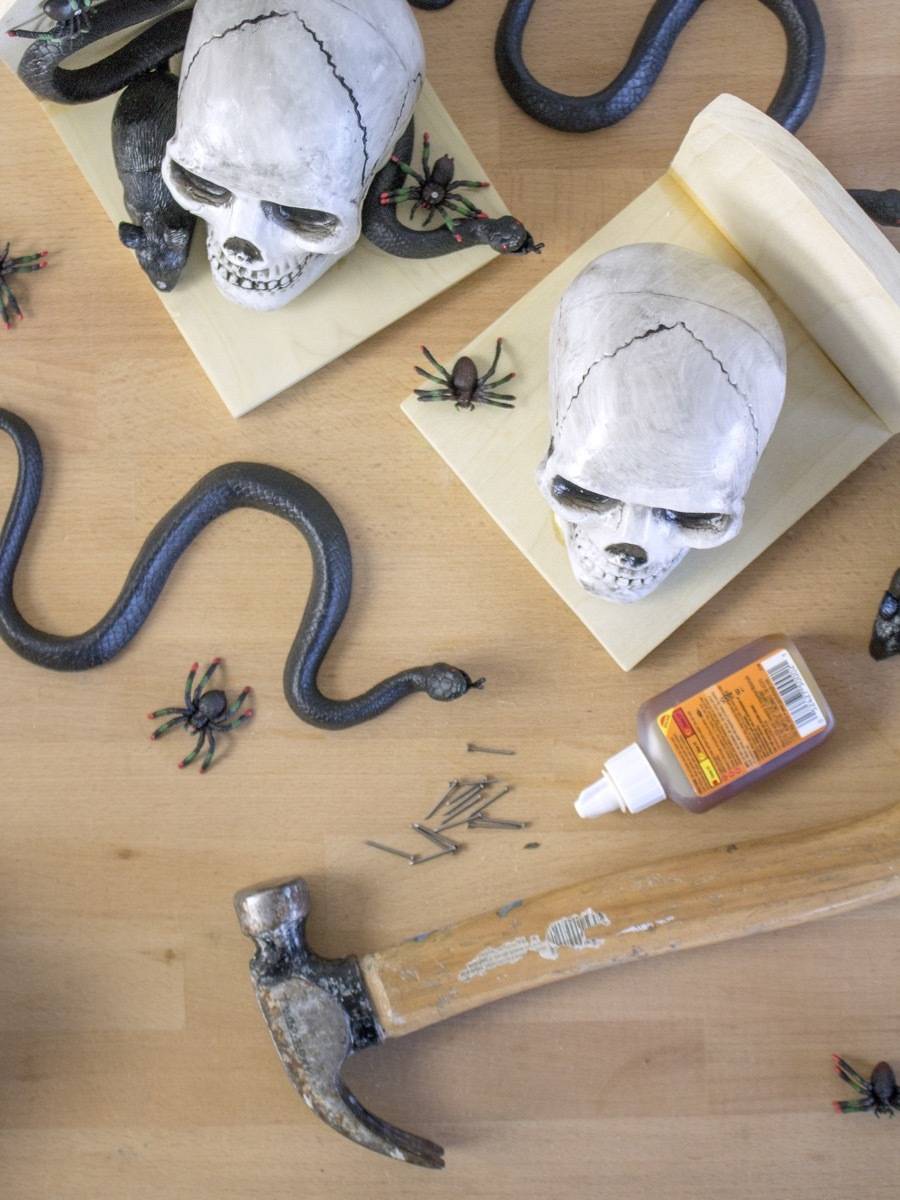
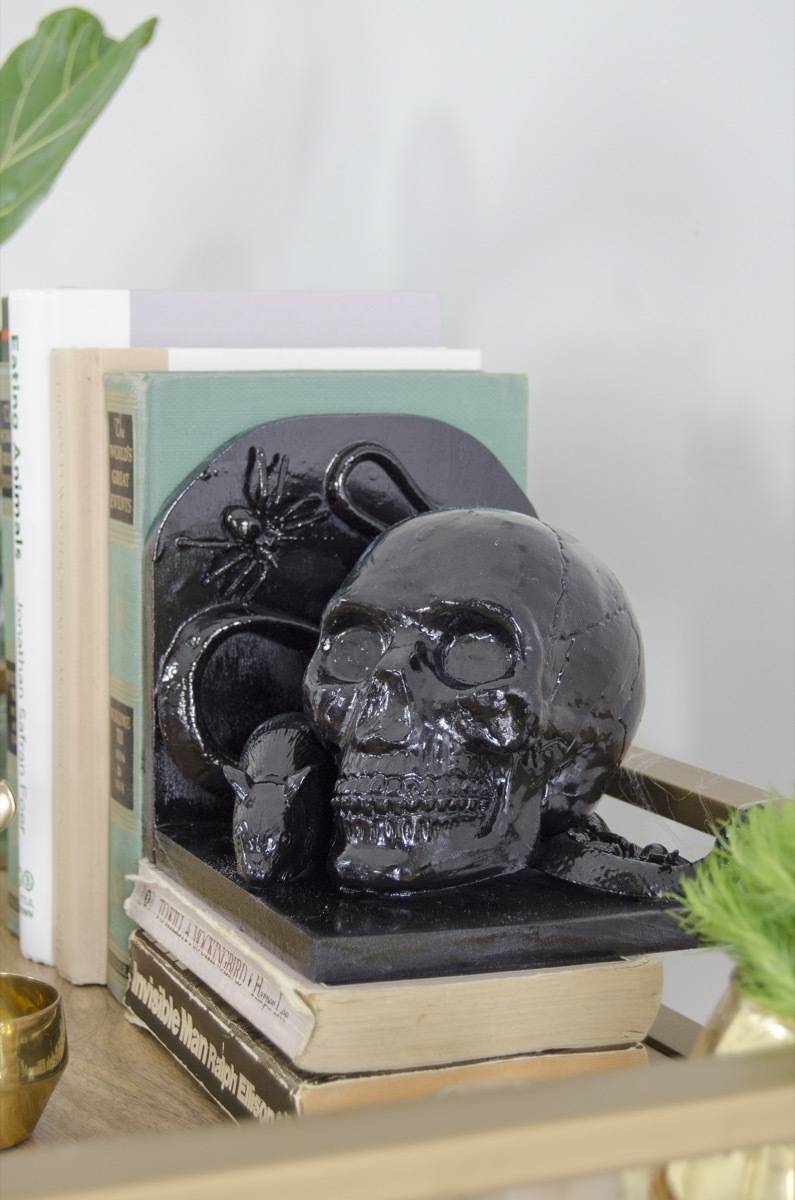
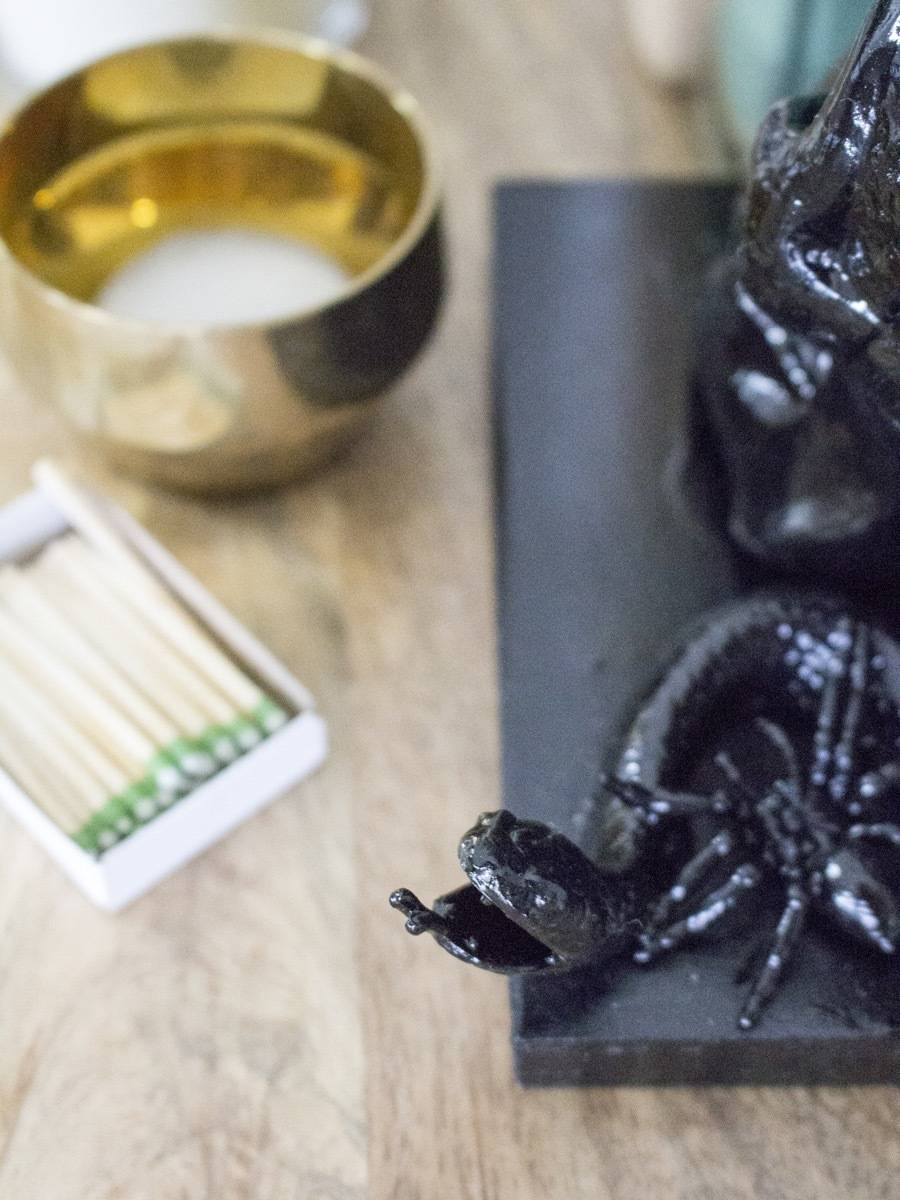
Now for the fun part – it’s time to decorate! Grab all your spooky decor (plastic rats, rubber snakes, skulls, etc.,) and attach them to the bookends. I used Gorilla Glue to attach the skulls, then small brad nails for the rest of the objects. Don’t worry about the head of the nails showing – everything will be painted over.
Step
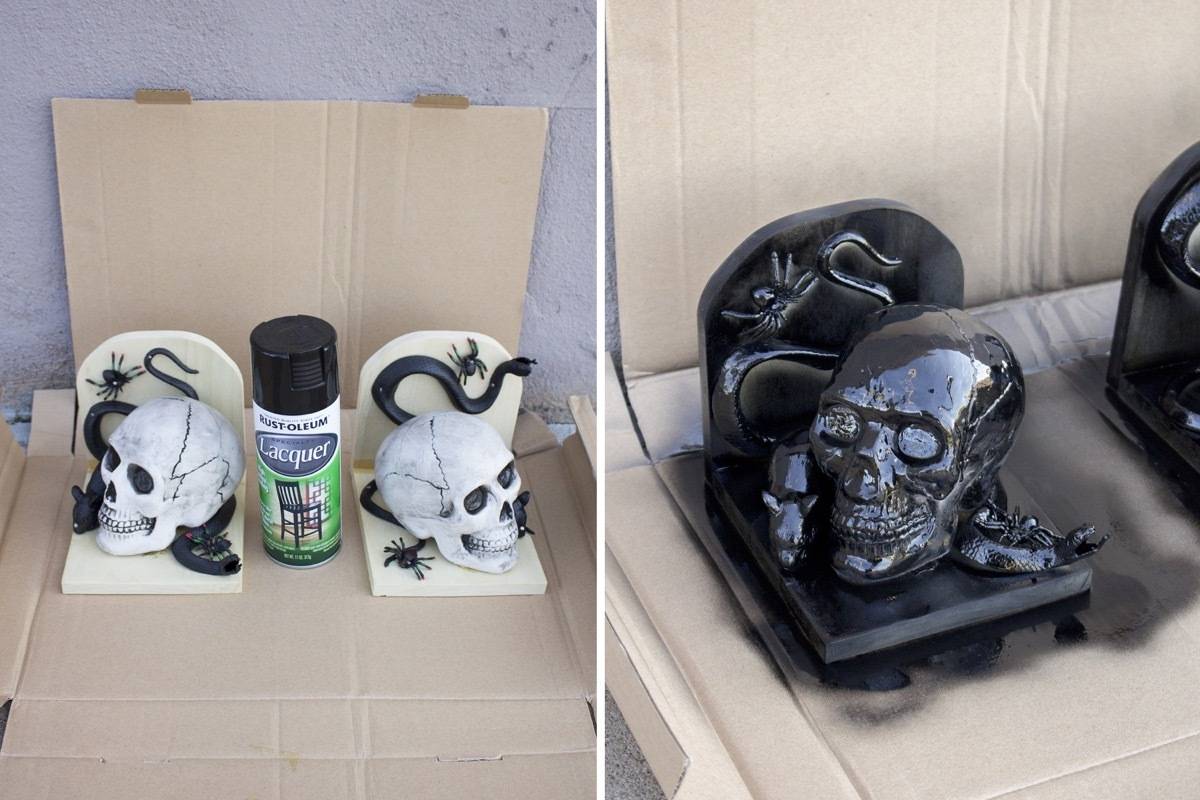
Take the bookends into a well-ventilated area, and apply 2-3 coats of high gloss spray paint. Let dry completely, preferably over night. And you’re done!


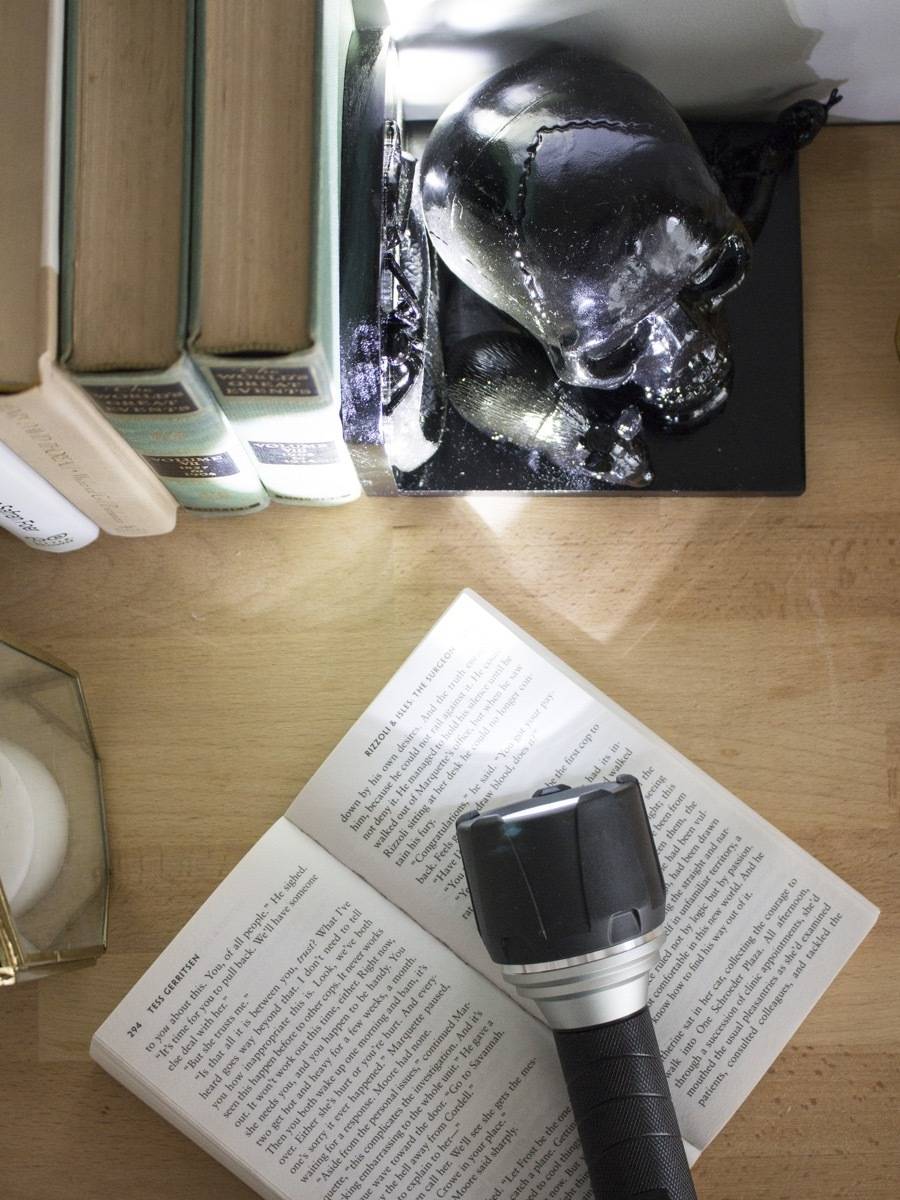
Remember how we cut a hole for a flameless tea light?
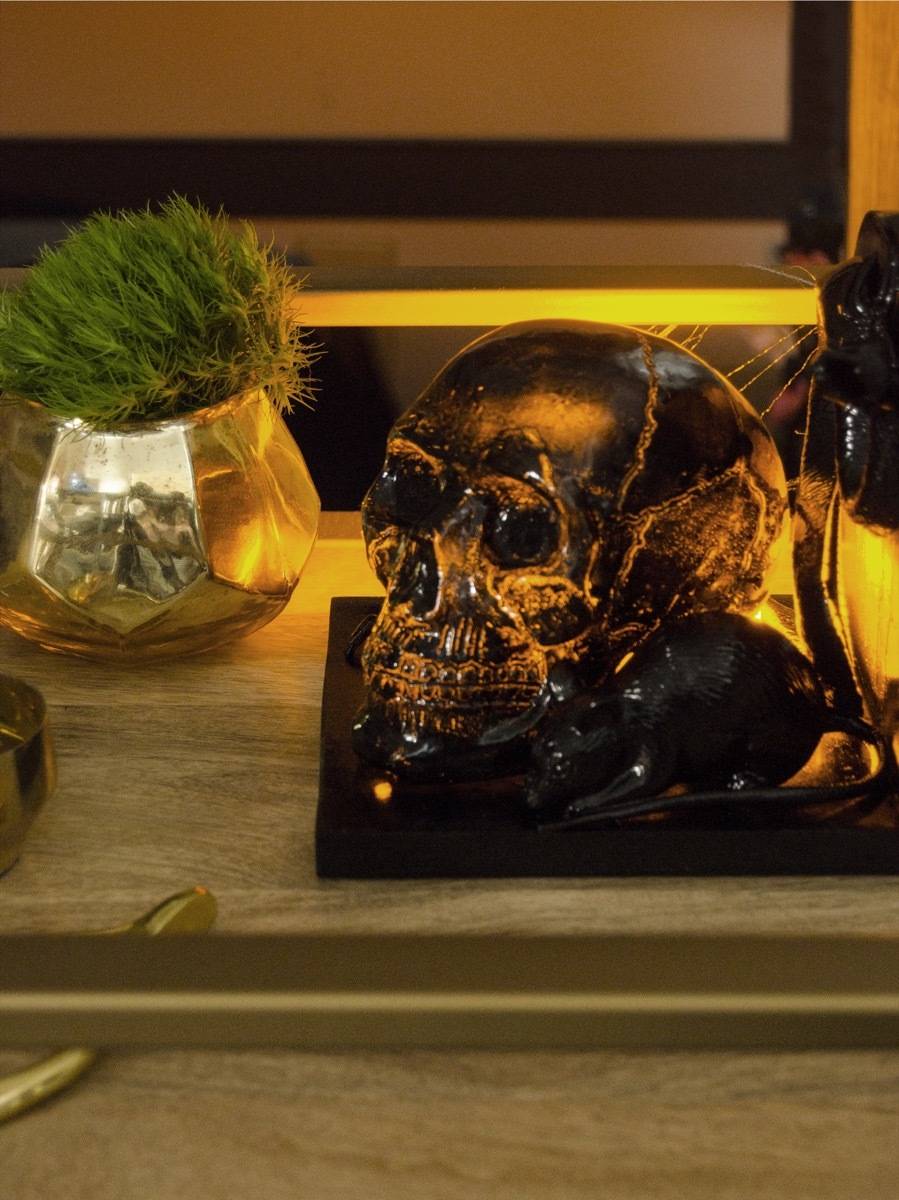
I love it – just a little added spookiness. I might even prick a few holes in the eye sockets of the skull so the light shines through more.
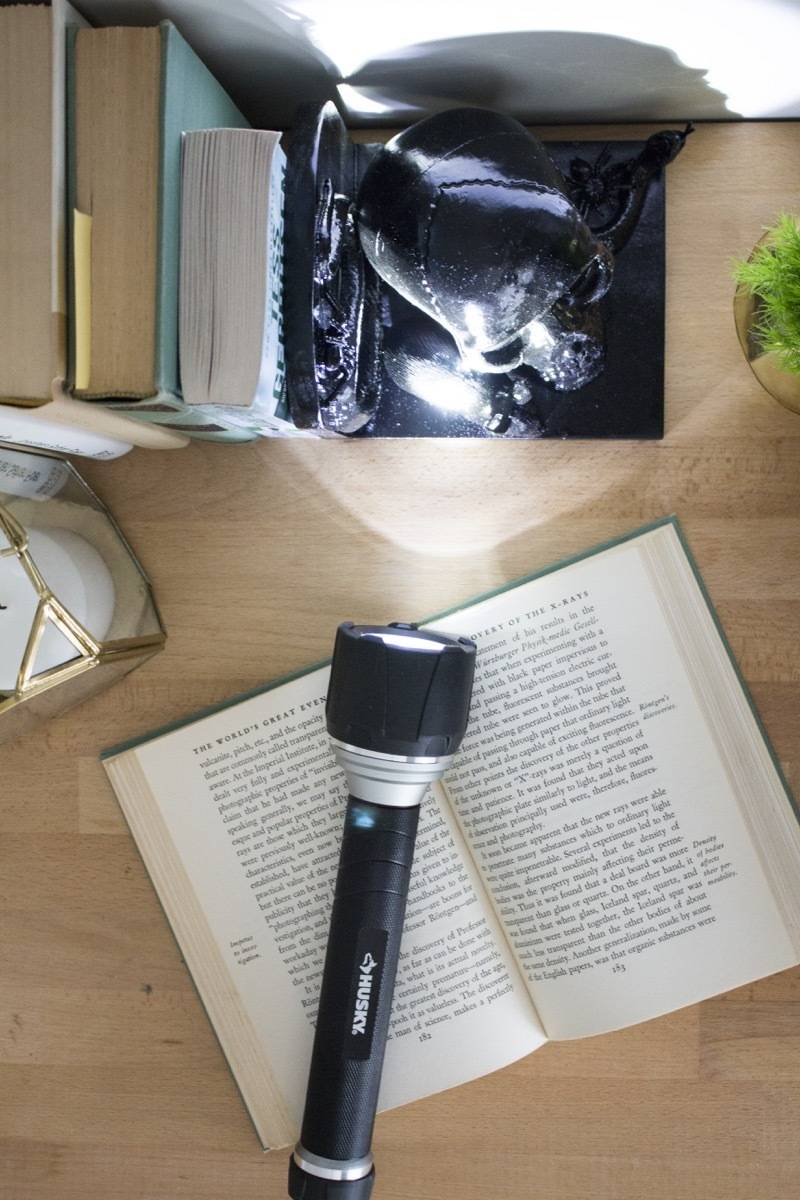
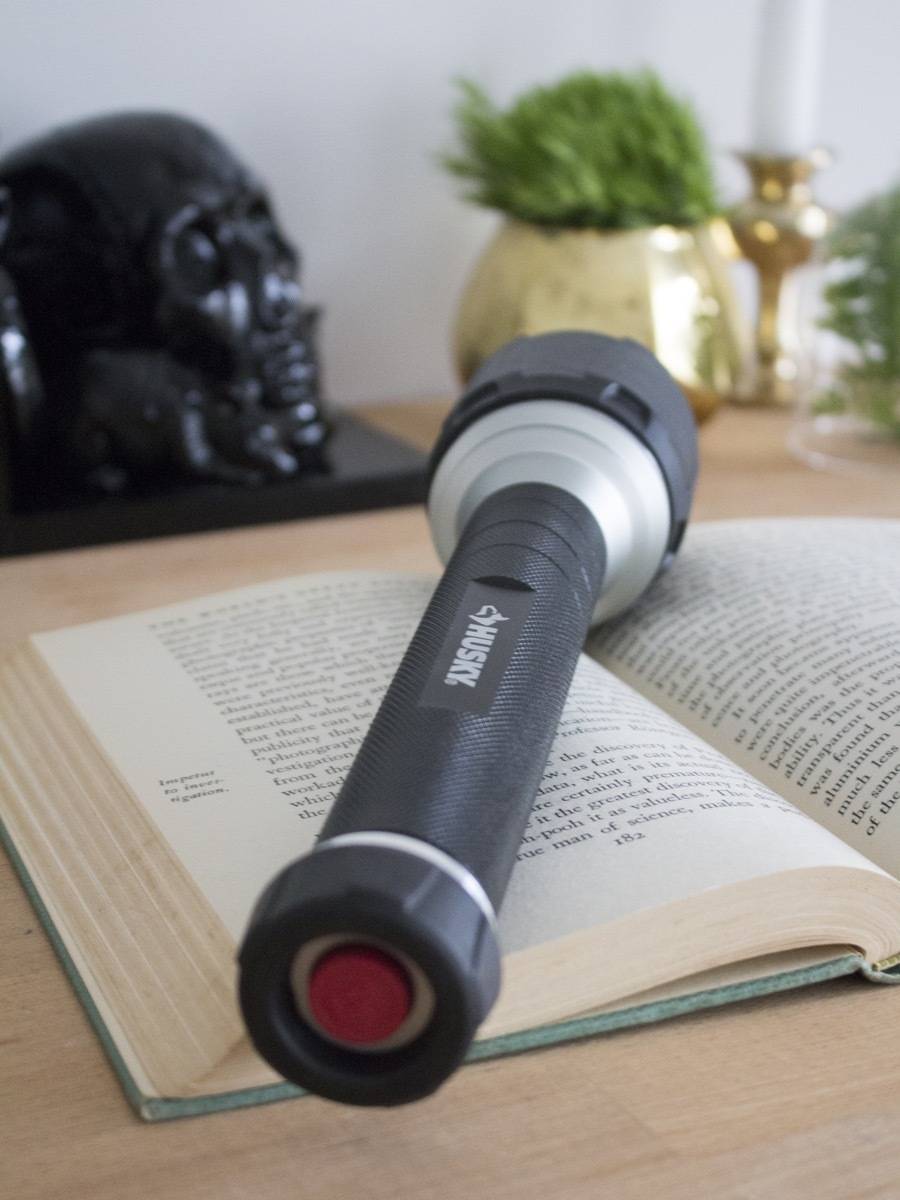
Now that I have my spooky decor in the form of bookends, I’m going to need to beef up my collection of thrillers. I love all kinds of horror – ghost stories, crime thrillers, zombie flicks – nothing is too creepy or strange for me. Call me a masochist, but I love getting immersed a suspenseful tale in absolute darkness just to test how far I can creep myself out. I have to read by flashlight, of course. Fortunately this Husky aluminum flashlight is virtually unbreakable – just in case my deepest fears come to life and I have to bash in the heads off any monsters under my bed. Plus it has a bright strobe setting so I can blind my unworldly enemies, too! I’m only halfway kidding…
Even though it felt like September was yesterday, I know Halloween will be here before I know it. I’m trying to get in my yearly dose of ghosts and ghouls while the getting’s good! Happy haunting!
This post was sponsored by The Home Depot, but all opinions are mine alone. We love working with companies that support DIYers, and thank you for supporting the brands that help make Curbly possible! This post contains affiliate links; if you click on them and buy a product, we may get a commission from the sale.