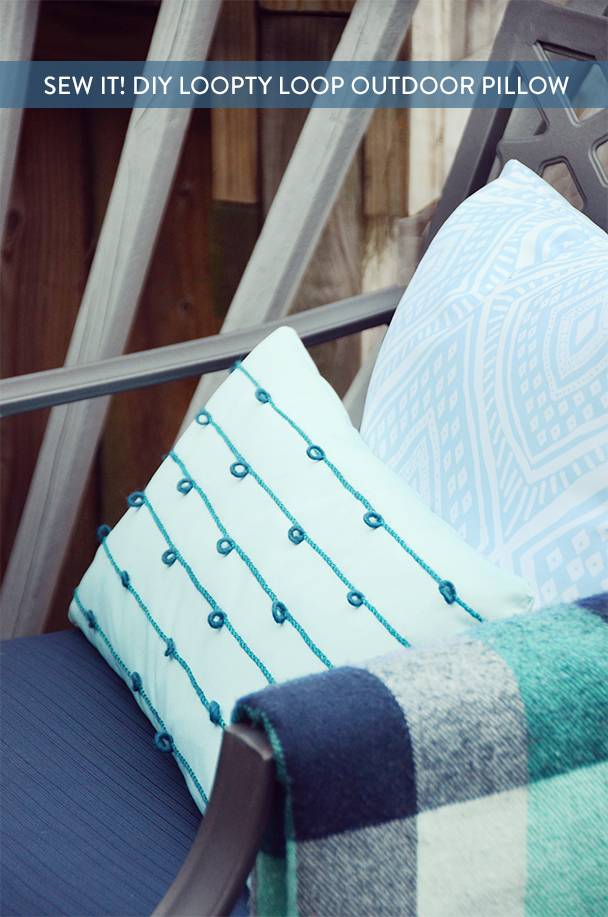
It’s finally starting to look a bit more like spring here in the northeast, which is giving me major motivation to spruce up the deck. One place we were lacking, though, was in the pillow department… it can be difficult to find outdoor pillows with personality. So I made some, of course! Click through to check out the full tutorial for these fun loopty loop outdoor throw pillows.
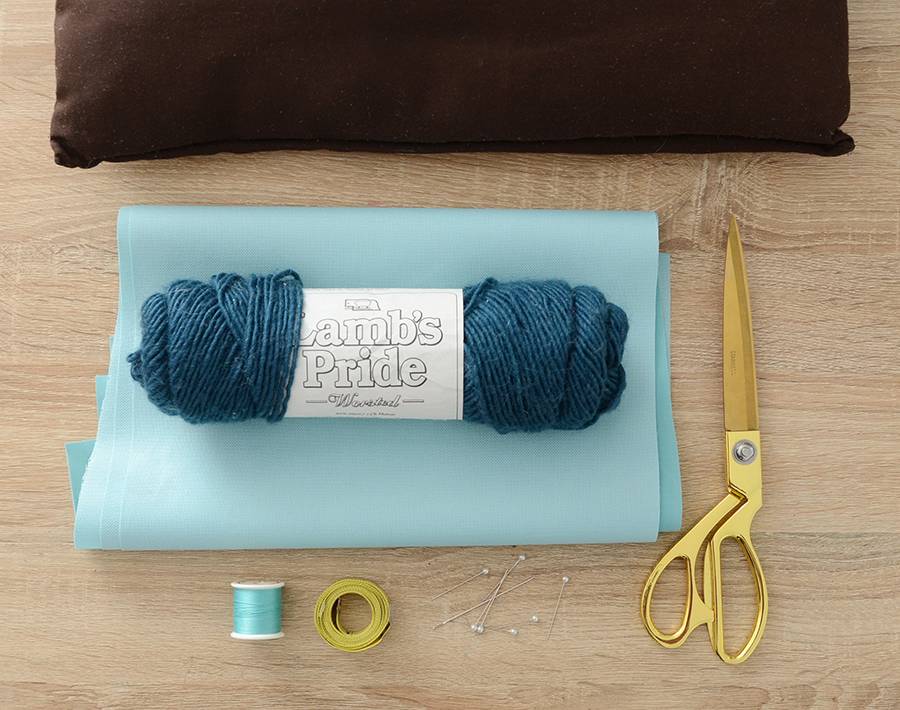
Materials
- 1/2 yard of Sunbrella or other outdoor fabric
- Pillow insert
- Yarn
- Scissors
- Thread
- Pins
- Measuring tape
- Sewing machine (not pictured)
Step
Begin by cutting your fabric to the correct size. The front piece should be half an inch wider on all sides… my pillow insert was 10 x 24 inches, so I cut my fabric to 11 x 25 inches. And to make the back piece, cut it to the same height but 7 inches longer than the front piece. So mine was 11 x 32 inches. Cut it in half, so now you’re left with two pieces that are 11 x 16 inches.
Step
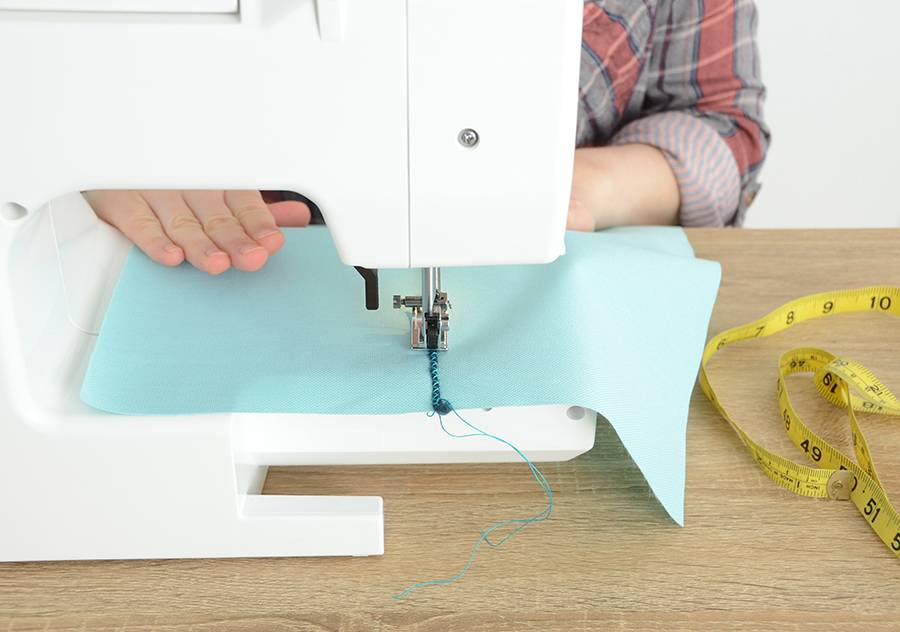
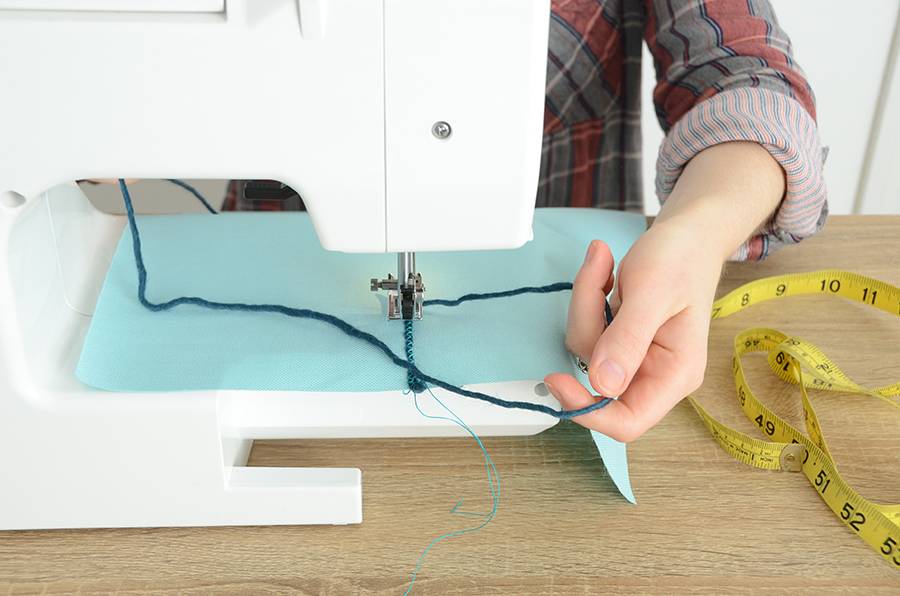
Next, cut a piece of yarn that is about 6 inches longer than the length of the front piece of fabric, in my case 30 inches. Starting in the middle, attach the yarn to the fabric using a zig zag stitch as shown above.
Step
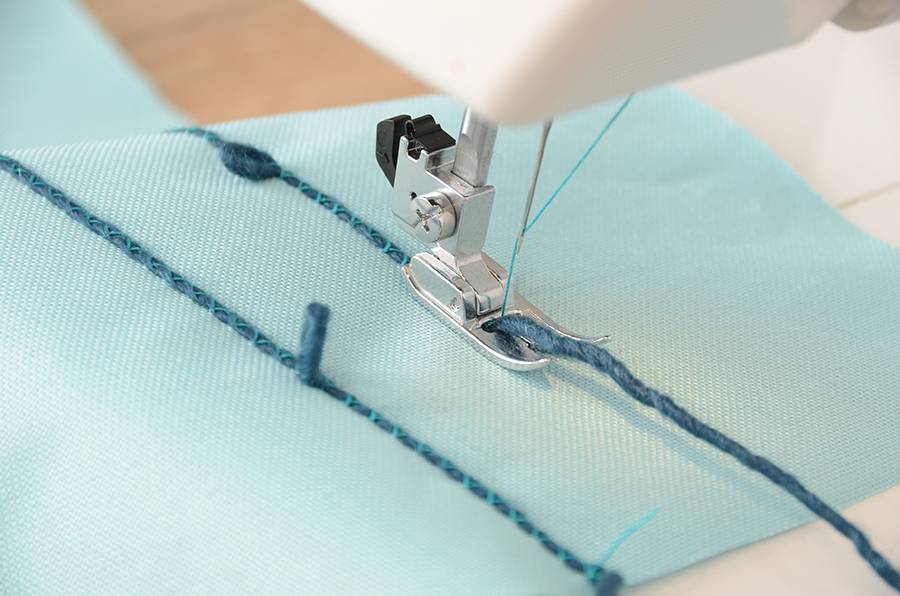
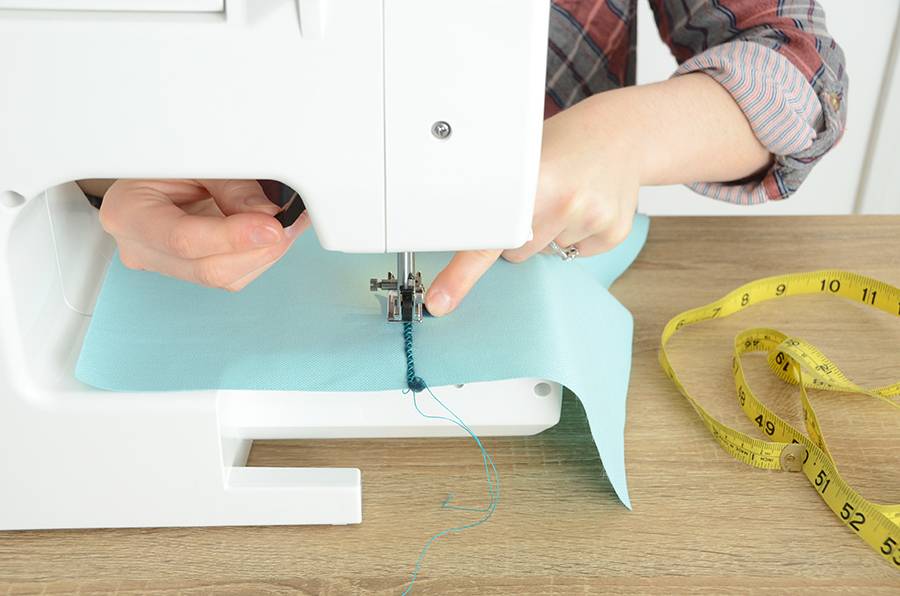
I found that allowing the yarn to pop up through the foot hole as shown above is best… the zig zag stitches cover the yarn more thoroughly that way.
Step
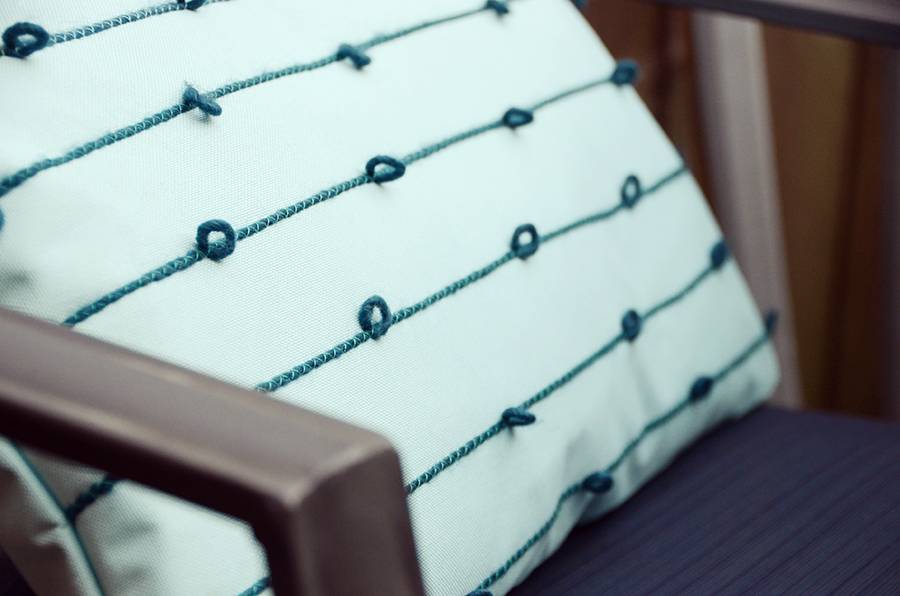
After a couple of inches, it’s time to make your first loop. With the machine needle positioned on the left side of the yarn and down through the fabric, lift the foot and wrap the yarn around the back and down the front towards you, keeping a finger on the looped part on the left.
Step
Hold the loop with your left pointer finger and put the foot back down. Hold the tail of the yarn taut and continue sewing along the yarn as you did before.
Step
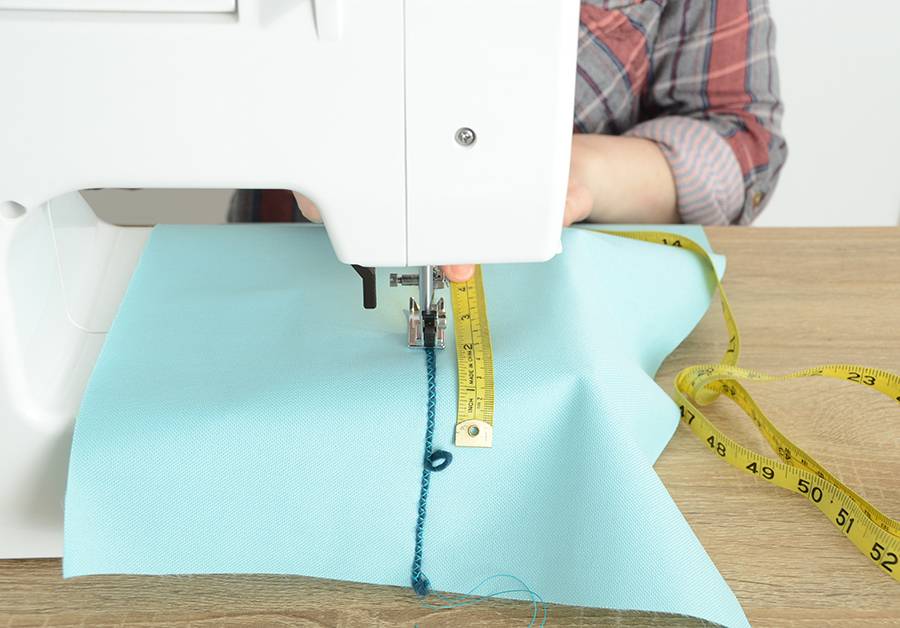
I spaced out my loops by about four inches, but this is completely up to you. It does look best if you alternate the location of the loops on each piece of yarn… I spaced out each piece of yarn by about an inch and a half. Continue sewing yarn on until you’ve covered the whole front piece of fabric. Odds are your yarn pieces got a little wonky, so feel free to trim the edges of the fabric to make everything look square again (but just don’t trim off more than about a half an inch from any side).

Step
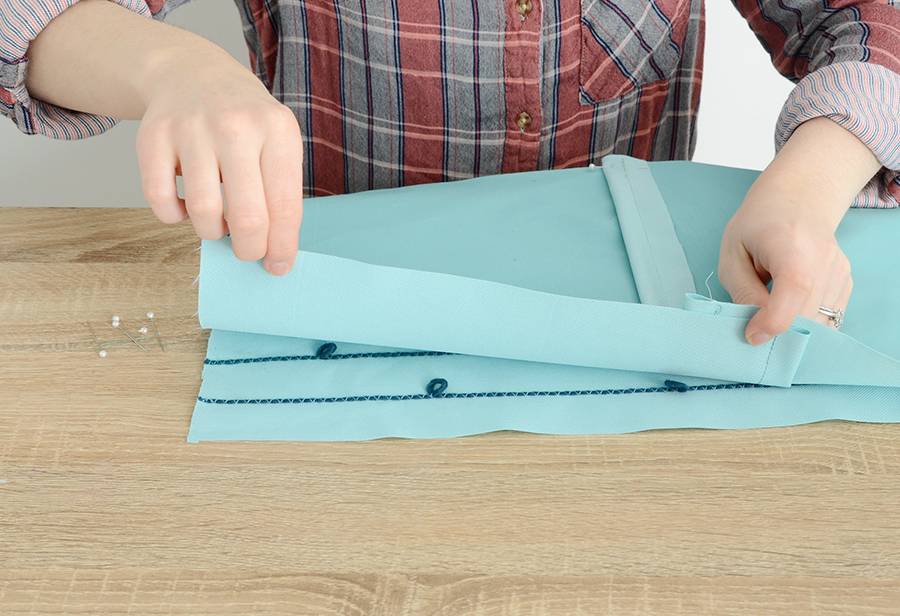
Next, hem the back pieces of fabric using a 3/4 inch seam allowance. These hemmed edge will be form the opening where you insert your pillow form.
Step
Last, arrange your pieces on your work surface as shown above with right sides in. Pin around the perimeter, making sure to pin right at the edges otherwise the pin holes will be noticeable on the finished piece. Sew around the edges with a half inch seam allowance. Turn it right side out, stuff the pillow in and you’re finished!
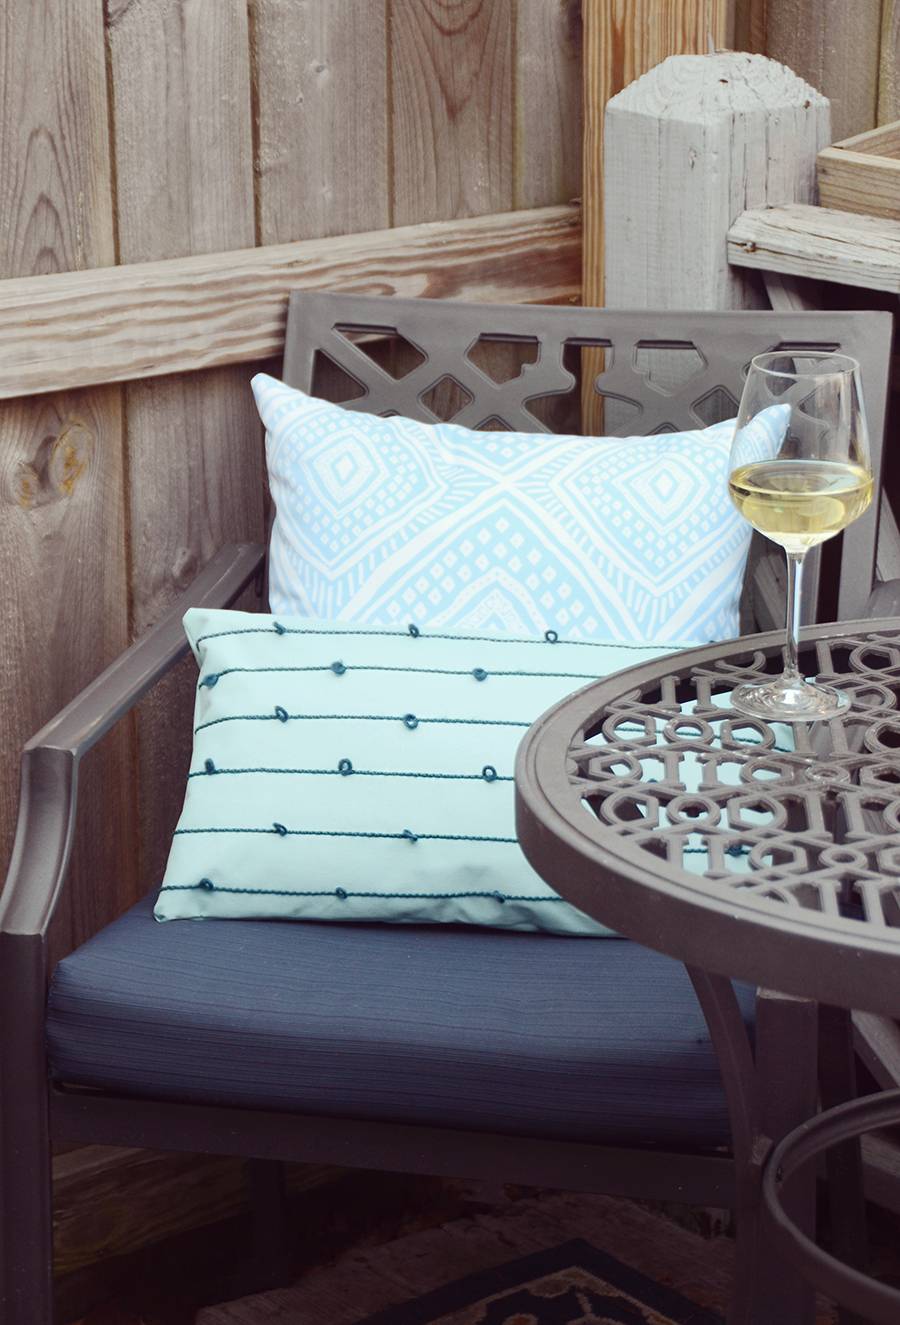
I made a set of two for the chairs on our back porch, and they look great paired with our other larger pillows.
You might also consider using all different yarn colors for a multicolored look, or even a variety of thread colors too. There are so many different ways to customize this fun loopty loop pillow!