Product Reviews Articles
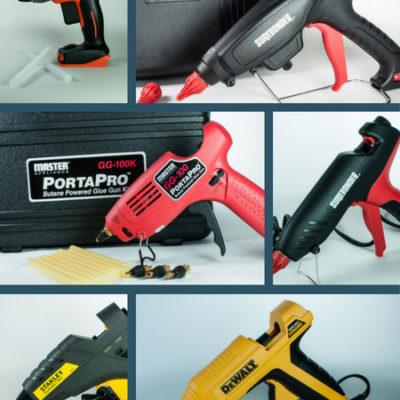
Let our expert DIYers help with your next product purchase. We’ve tested everything from power tools to glue guns to make your next purchase a breeze.
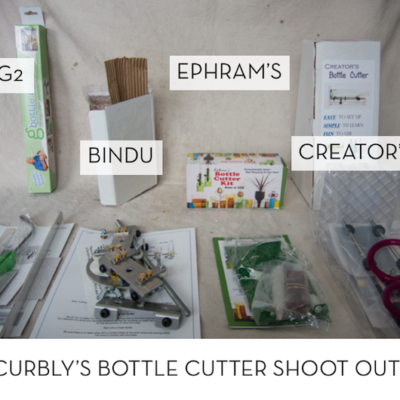


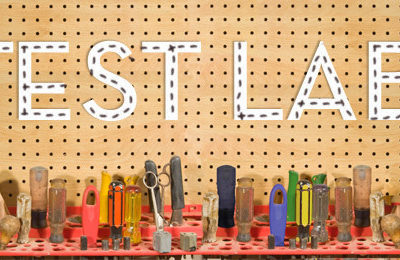

Let our expert DIYers help with your next product purchase. We’ve tested everything from power tools to glue guns to make your next purchase a breeze.