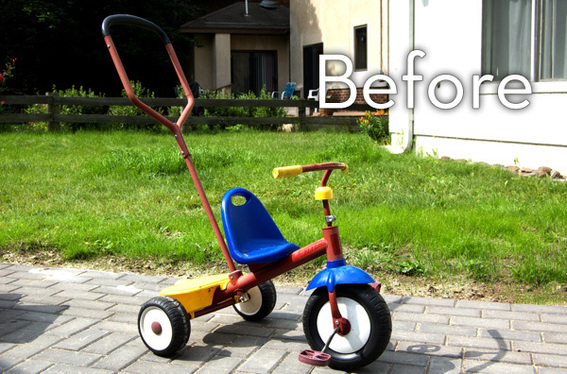
Last summer, my mother-in-law came across a Radio Flyer tricycle at a garage sale. It was in the “Free” section and she nabbed it, thinking that if it were cleaned up a bit, our daughter Ayla might like to give it a pedal. It sat in her garage for a year until we came upon it a few weeks ago.
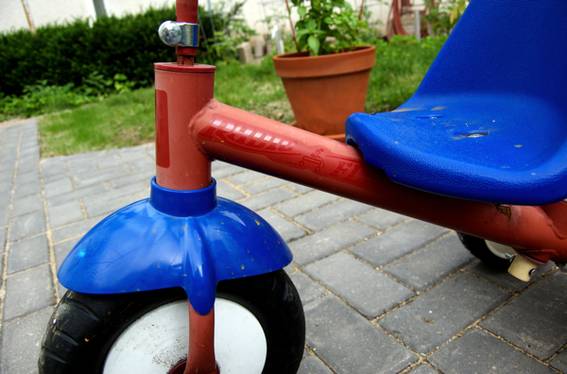
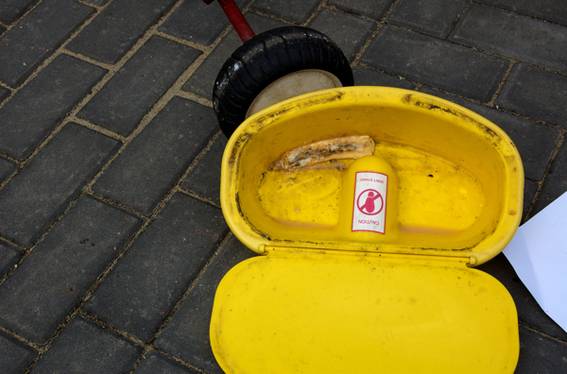
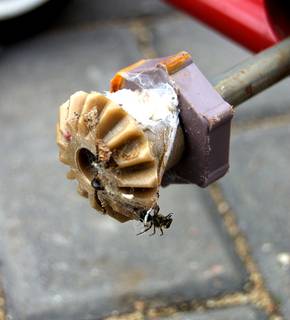
It was in a sorry state; discolored, wonky steering, rusty spots, old tires and old cheese (thanks, Ayla!). However, despite its problems, it did the job, and Ayla loved riding it.
After thinking long and hard about whether we should upgrade to a new one, we decided a few bottles of Kylon spray paint might transform the little trike from frayed to fabulous. And it did!
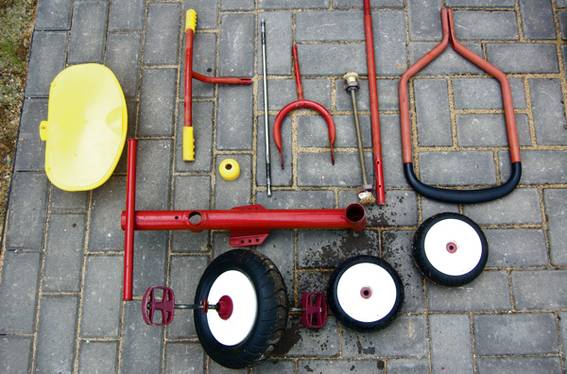
Our first step involved taking apart the Radio Flyer tricycle to get a better idea of what we were dealing with; this process exposed more rusty spots and a few loose screws (hence, the wonky steering). After cleaning up the old parts, and treating a few of them for rust (a vinegar soak + WD-40 did wonders), we set out to choose our paint.
Ayla’s current favorite color-combo is pink and purple, so we settled on ‘Purple’ and ‘Watermelon’. Both are vibrant, saturated colors that really popped. We chose Krylon Dual in a glossy finish for our paints because it’s an all-in-one paint and primer that is designed to work well on metal. It also restores and protects against rust, which was an issue we needed to address as we painted the trike.
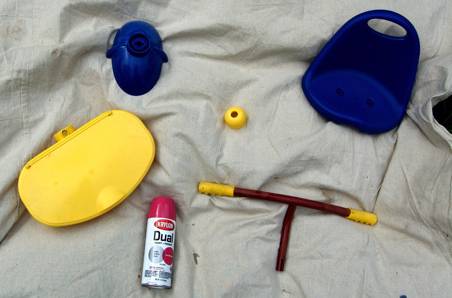
As we started the painting process, we felt a little like we were in an episode of Pimp My Ride (remember? On MTV?). My husband, Bruno, acted as Xzibit and documented most of the process, adding his two cents every so often, and I became the paint and body expert, using a two-color process. We decided if we were going to go to the trouble of painting the trike, we might as well throw in a few extras. So, in true PMR fashion, we customized it.
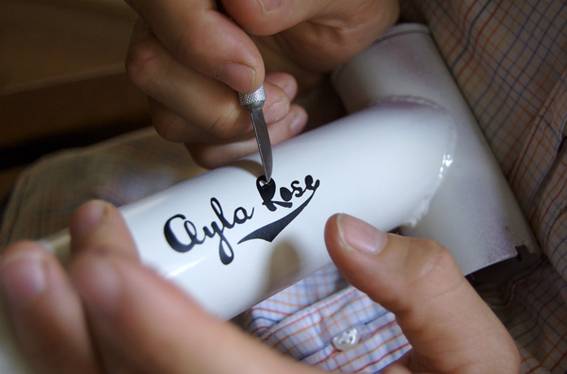
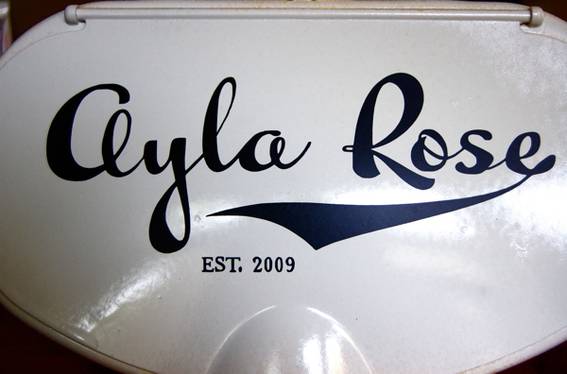
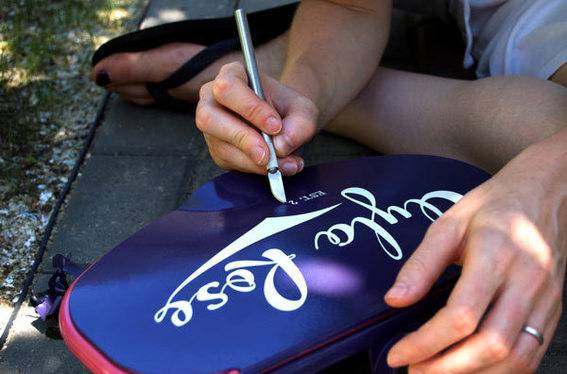
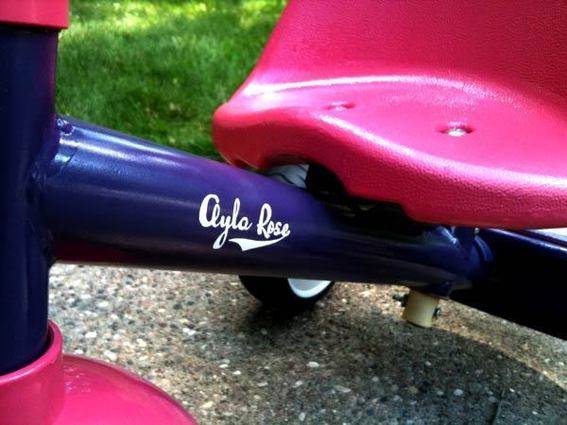
Bruno got busy designing a custom decal that would be just the ticket. He scoured the internet for ‘scripty baseball logo fonts’, and finally came across Kewl Script, by the Sudtipos type foundry. After a little tweaking, he came up with a logo, and sent it off to Chris, who cut it out using his Silhouette digital cutting tool (thanks, Chris). Of course, you could still make a cool decal using lower-tech methods: a sheet of sticky paper and a sharp craft knife would do the trick.
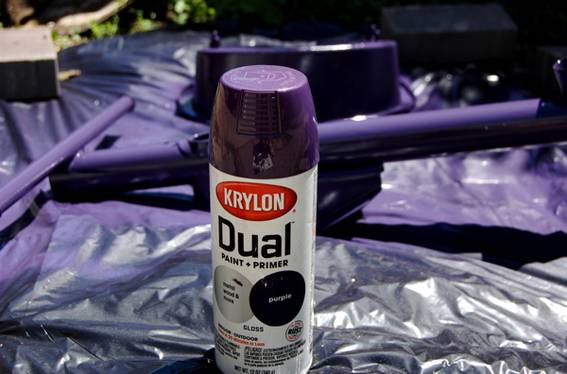
While we waited for the decals to print and ship, I set up my “garage” (two tarps) in the backyard. Bruno attached all of the screws and miscellaneous tiny parts to a sheet of paper (labeling each so we’d know how to put humpty-dumpty back together again).
With my well-ventilated area outdoor area all set, I got busy painting. In order to make the decals pop, I coated the trike’s bucket and main body with a fresh coat of Krylon Dual spray paint in white, with a glossy finish.
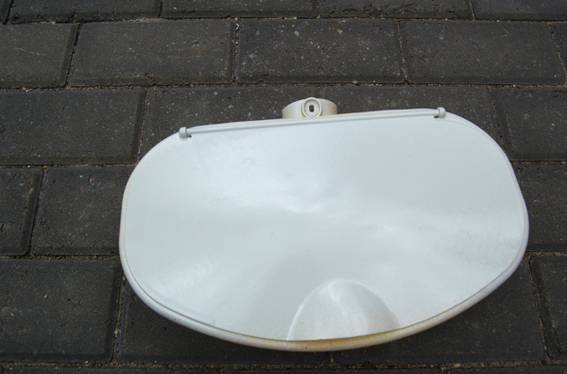
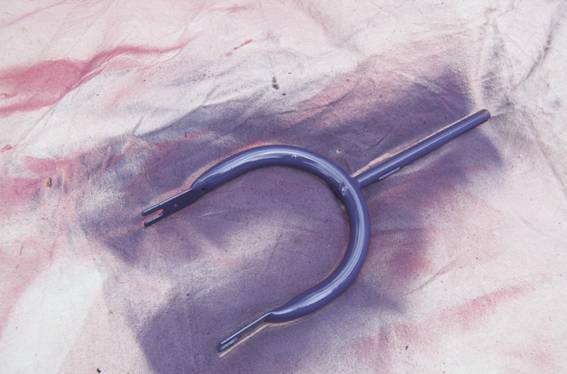
The first few coats of white went on easily, and only took about 30 minutes to dry. While the white dried, I painted the other parts using the other colors. The whole process worked very efficiently, and the weather conditions were perfect, dappled sunshine, a gentle breeze, and no rain in sight. However, I should have checked the forecast, because as the afternoon went on, the winds picked up and with that came the threat of rain. Fortunately, I was able to finish all the painting before the rain came, but the wind worked against me, blowing all manner of cottonwood seeds, small insects, and the like into my drying paint.
Unsure of the best way to address this new problem, I packed everything away into the garage to fully dry overnight. The next morning, I cleaned up the trike’s bucket and body with a damp cloth. A lot of the debris came off cleanly with the process and only a few spots ended up requiring a little sanding and re-spraying.
Day two involved more spraying, and things were looking pretty great. It was at this point that I decided that this newly painted trike would need a new set of wheels to match it’s decked-out exterior. So, between coats I ordered a new set of front and rear tires and hub caps through the Radio Flyer tricycle web site. I loved the fact that simply looking up the trike’s model led me to a page that offered every single piece I might need. The total cost for the wheels was $39.56, and I found a 15% off coupon on-line. With shipping, my total came to $50.07, which beat the $79.99 a new trike would cost. Plus, now we have a spare set of old wheels! Yay.
On day three the decals arrived and we very carefully set them in place and began the purple painting process on the bucket and trike body. At this point, all of the other painting was done and we could barely wait for the paint to dry so we could remove the decals and see how dazzling everything looked.
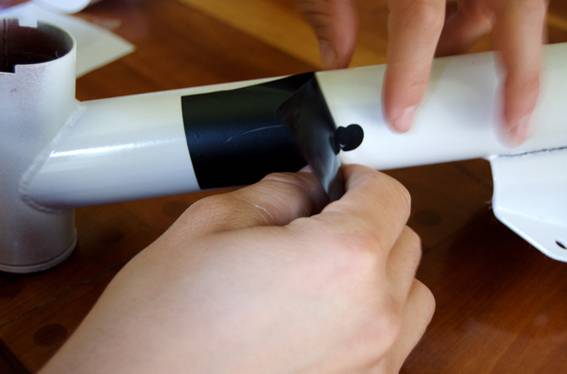
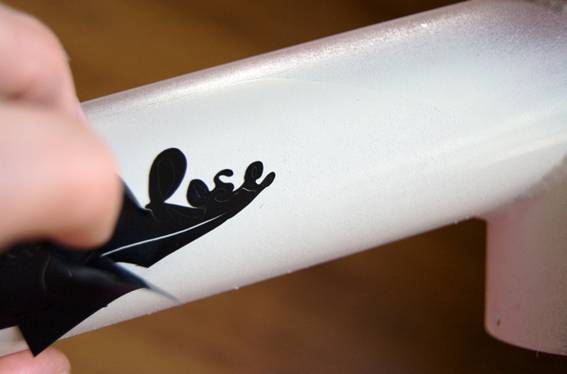
After a few hours of drying time (it was a hot day, so we wanted to give the paint a little extra curing time), we removed the decals and were, frankly, wowed. The “Ayla Rose” emblem and the vibrant colors turned the garage sale freebie into a one-of-a-kind gem. And our extra little tongue-in-cheek addition to the logo was really the cherry on top:
Using three cans of Krylon Dual spray paint (in white, purple, and watermelon), some custom decals we created using a Silhouette cutting machine, and a new set of wheels, we made a one-of-a-kind tricycle that our daughter adores. Check out the transformation (and scroll down for the video reveal!):
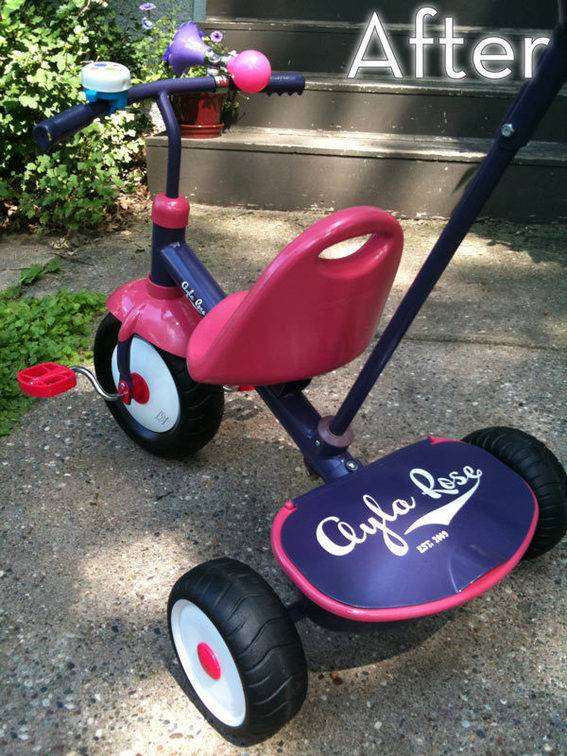
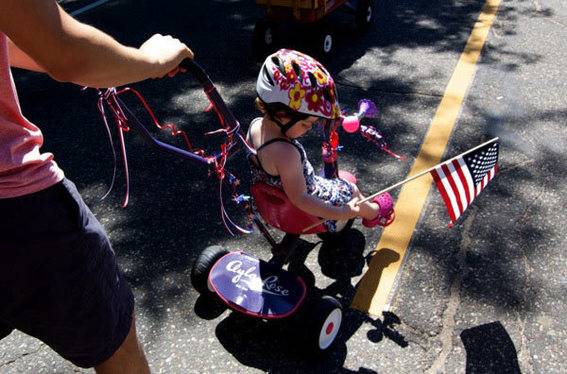
Here’s Ayla riding her new trike in our neighborhood Fourth of July Parade. It was a real hit, and we were stopped by numerous fans who inquired about where to find a trike like it.
