
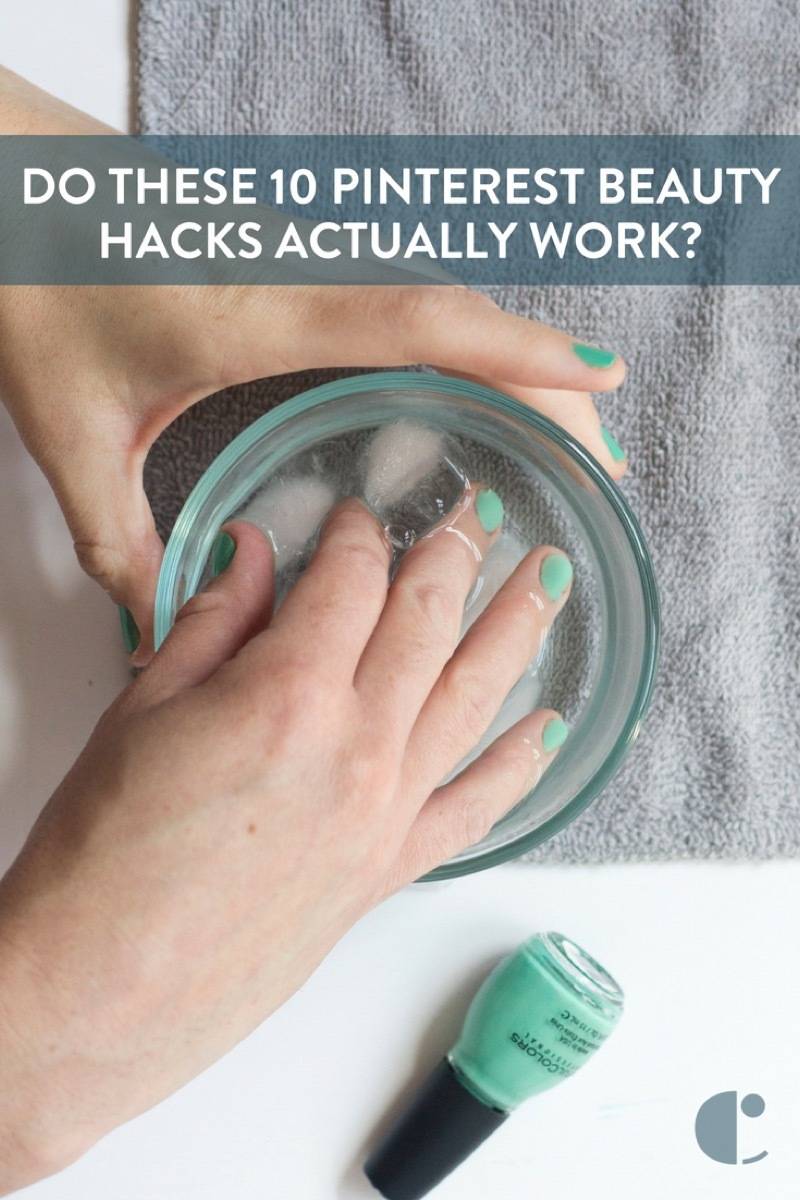
Pinterest is a great source of information and inspiration. It’s also home to slew of life hacks, some more questionable than others. In the past, we’ve tested organization hacks and cleaning hacks we’ve found on Pinterest to see if they actually work as well as they claim they will. Today, I’m here to test out another arena: beauty and health. Will these Pinterest beauty hacks actually work? Or did I just put a bottle of mayonnaise in my hair for nothing? Let’s find out.
Test #1: Hair mask made from eggs, banana, honey, and castor oil
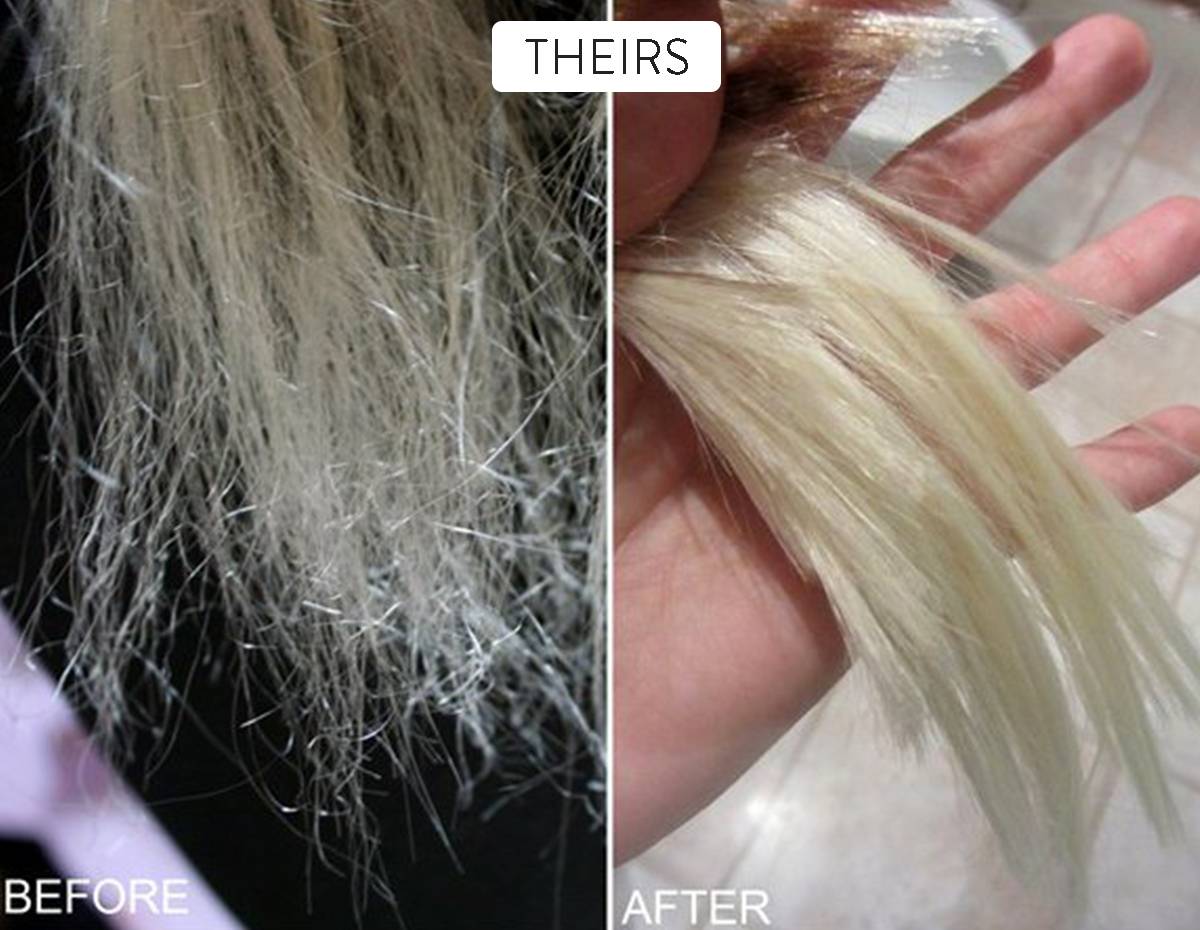
First up on my list of Pinterest beauty hacks to try is this all-natural hair conditioner. Touted as a “DIY deep conditioning treatment,” this hair mask promises to transform frizzy ends and make them smooth again. Great! I have frizzy hair, and my locks could always use some deep conditioning, so I was game to give it a try.
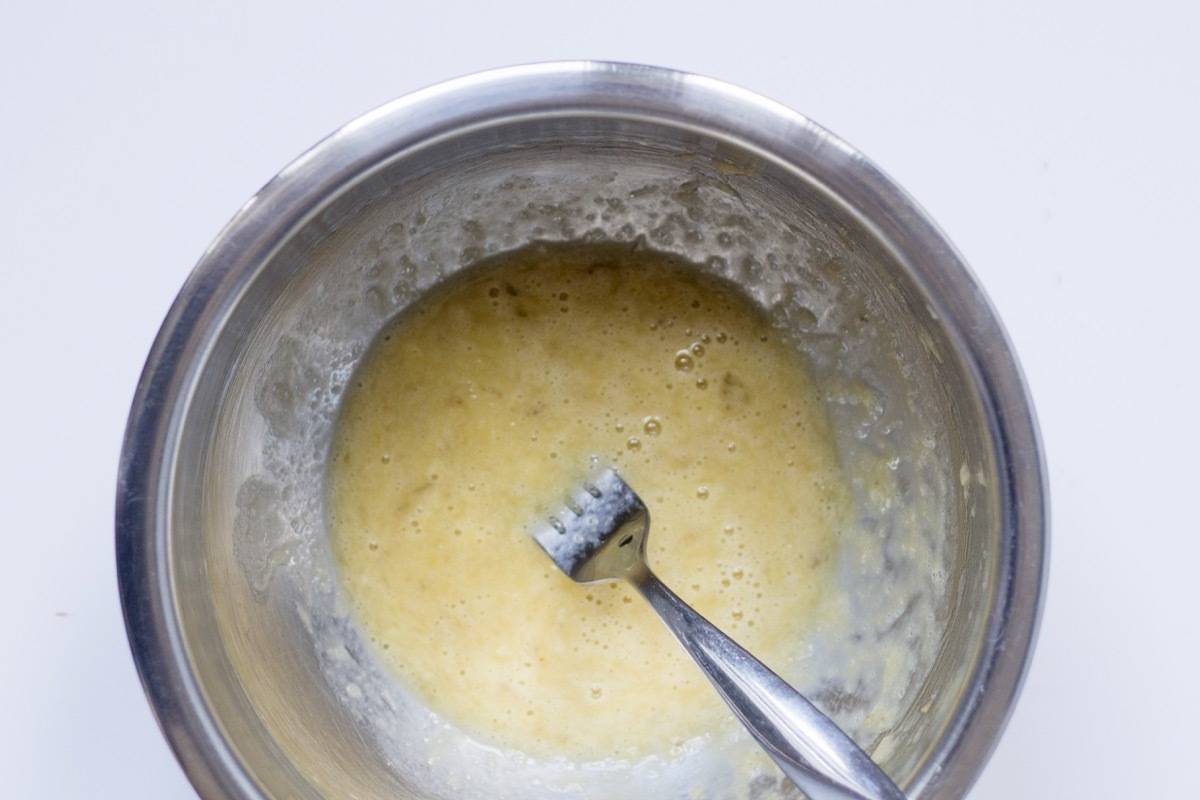
The instructions directed me to mash a banana up in a bowl using a fork. Next, I was to add a tablespoon of castor oil, a tablespoon honey, and two eggs. The consistency was supposed to turn out as a paste-like mixture, but mine reminded me more of muffin batter. Yummy!
I added the hair mask to my wet hair, and let it sit for 5 minutes before rinsing it out. Now, I’ve done some weird Pinterest beauty hacks in the past, including washing my hair with an egg, so I knew to rinse in cold water (if you rinse it in hot, you risk cooking the egg into your hair!). In spite of that, this hair mask still got fussy.
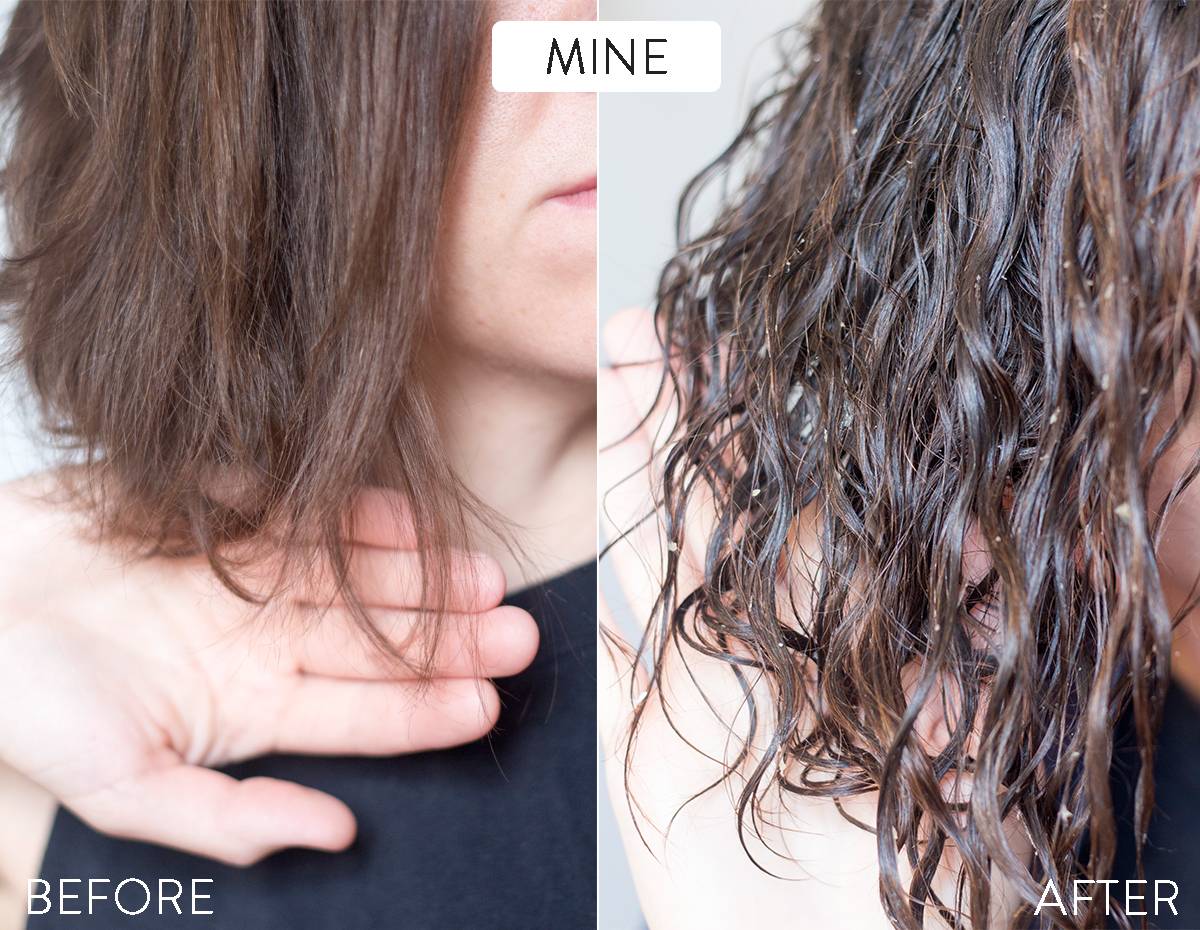
VERDICT: Major fail. I was combing pieces of banana out of my hair for 10 minutes straight, and had to wash my hair twice to get everything out. In the end, my hair felt drier and more straw-like than before. Perhaps pureeing my banana in the blender first would have helped with the leftover banana bits, but the mask itself didn’t do anything for the health of my hair either.
Test #2: Coat eyelashes in baby powder before applying mascara to make them fuller
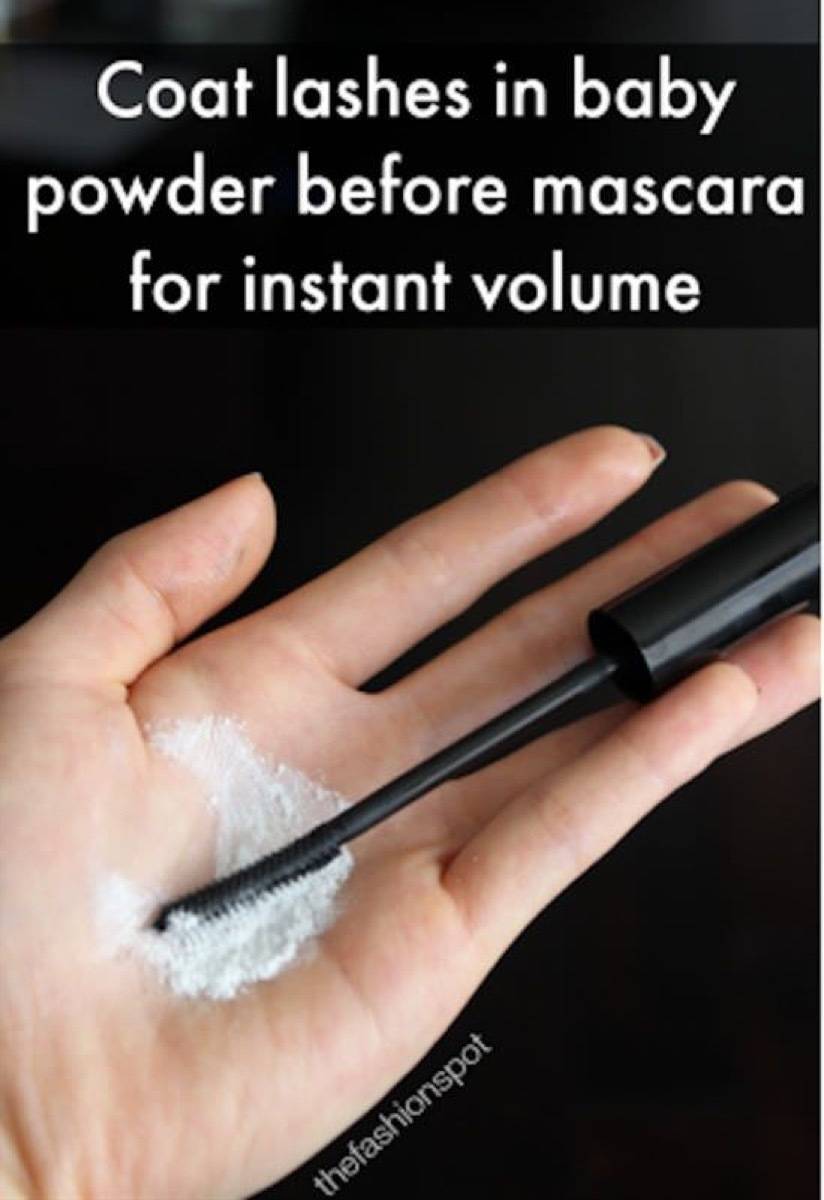
Baby powder is really versatile in the beauty world. I’ve used it to set lipstick before application, and as a stand-in face powder (the only time my pale, pale skin has actually been a bonus). So I wasn’t surprised to see this hack show up a few times. The idea is that by applying baby powder to your eyelashes before you put on your mascara, you can make your lashes look plumper and fuller.
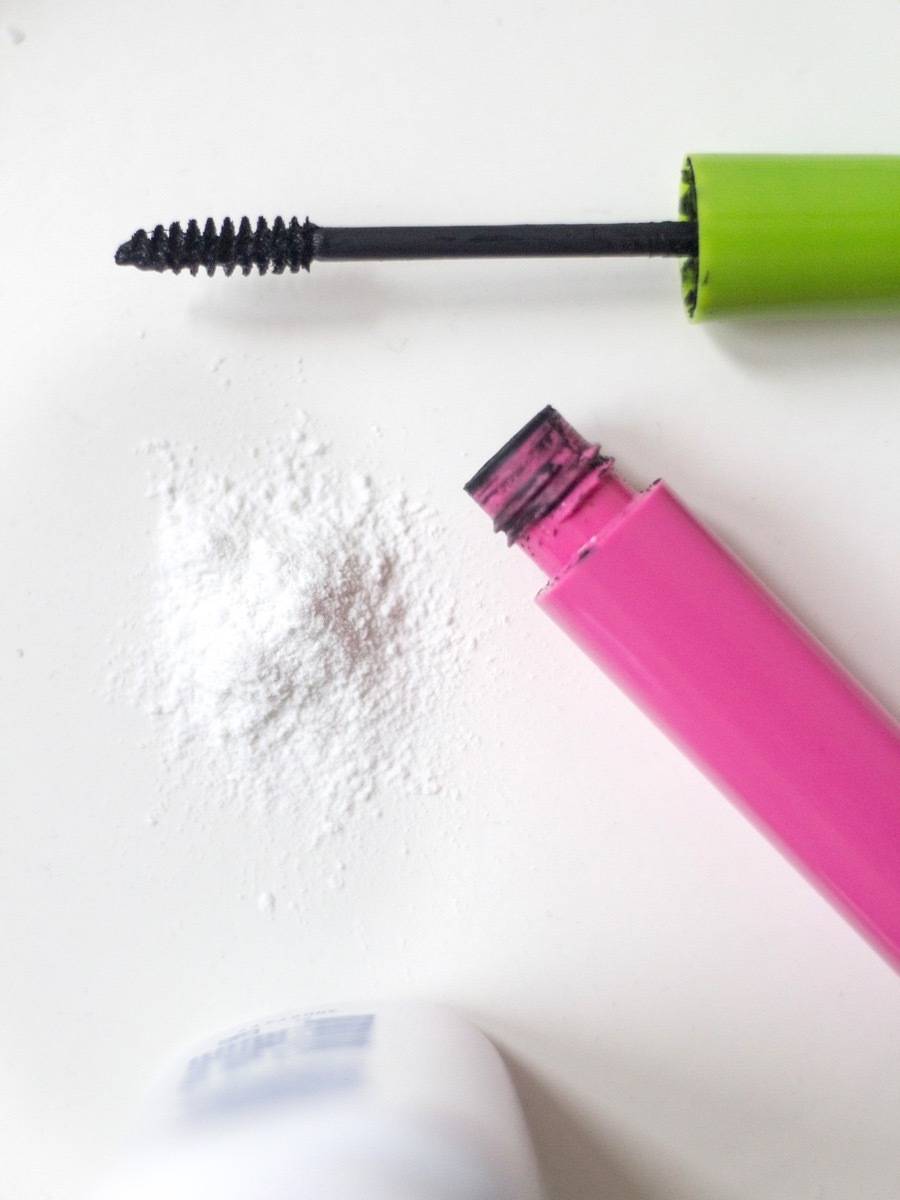
Because I didn’t have a spare eyelash wand, I took the one from my mascara tube and cleaned it with makeup remover. I then dipped it in baby powder, and coated my lashes. This part was a little awkward, but fortunately I didn’t get any baby powder in my eyes. Because my eyelashes weren’t wet or anything, most of the baby powder didn’t stick. Once my lashes were good and ghosty, I cleaned the wand, and applied mascara.
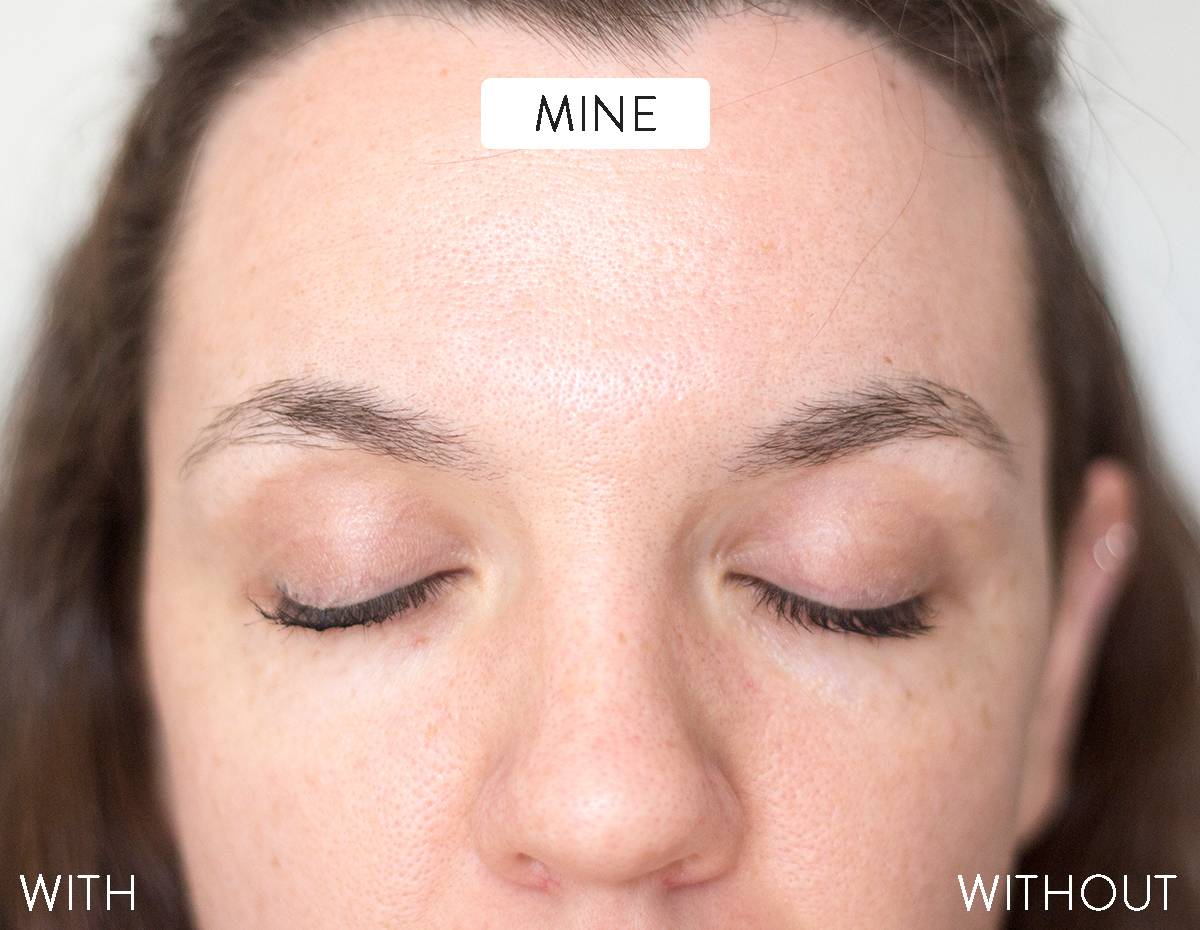
VERDICT: In the end, it worked – but not significantly enough for me to want to do it on the regular. It would be much easier to just use a volumizing mascara, but in a pinch this is a useful hack!
Test #3. Warm up a lash curler with hair dryer for a curl that lasts
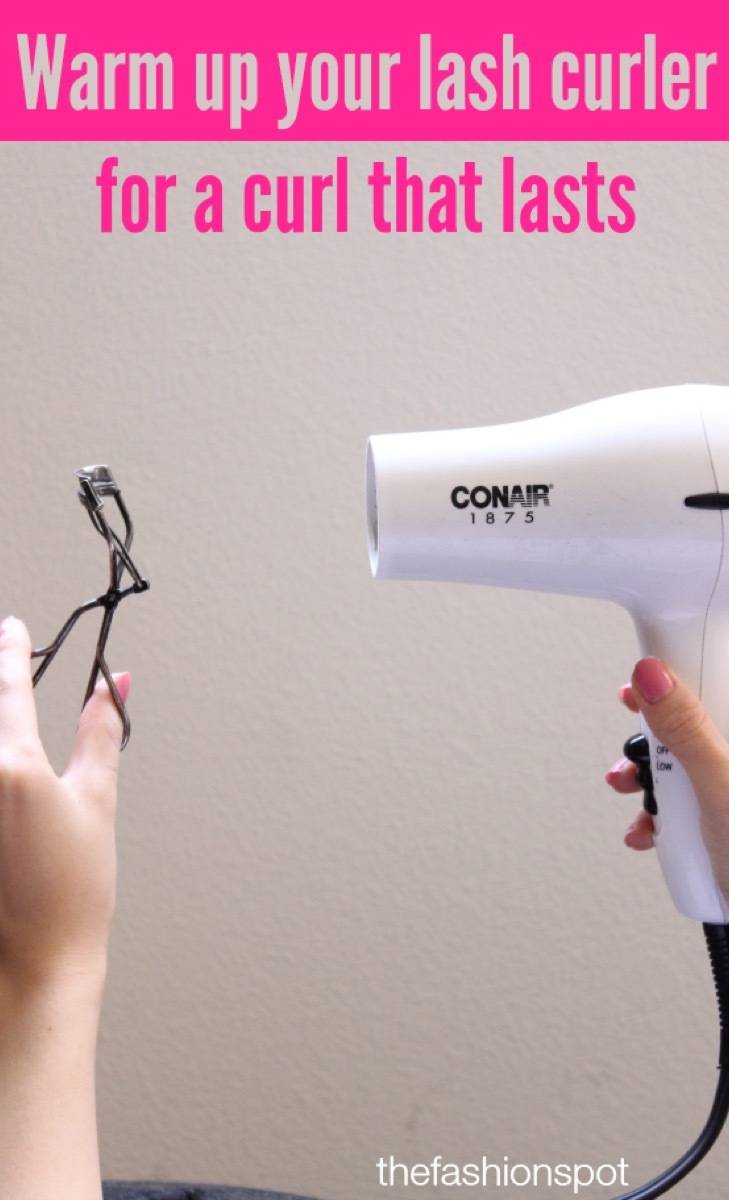
This hack makes sense in theory. Just like a curling iron, a hot eyelash curler would work better than a cold one, right?
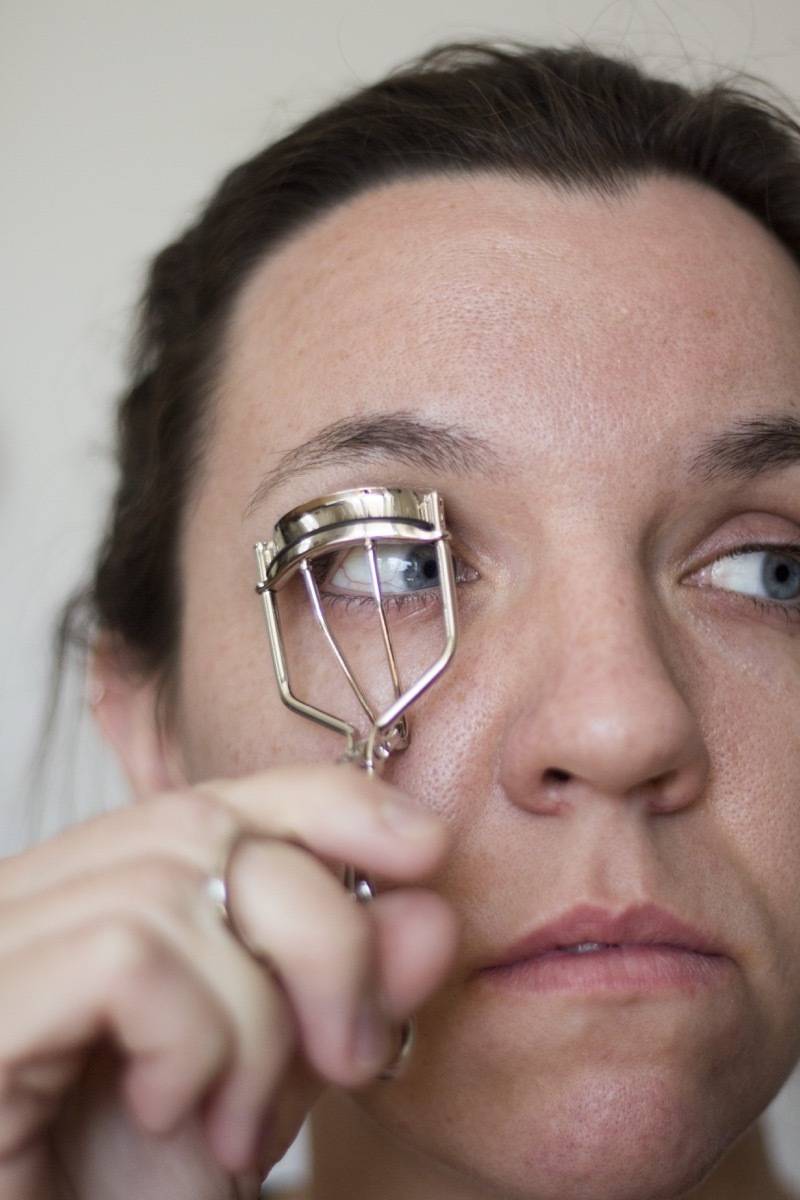
VERDICT: I’m going to cut right to the chase here – don’t do this. Yes, it worked, but it’s a really bad idea. After running my eyelash curler under a hairdryer for a few seconds, it got hot. Really hot. The curl was fine, and it held up okay, but it wasn’t worth the risk of accidentally burning myself and going blind. Don’t put hot things near your eyeballs, people.
Test #4. Make a pore strip from egg whites
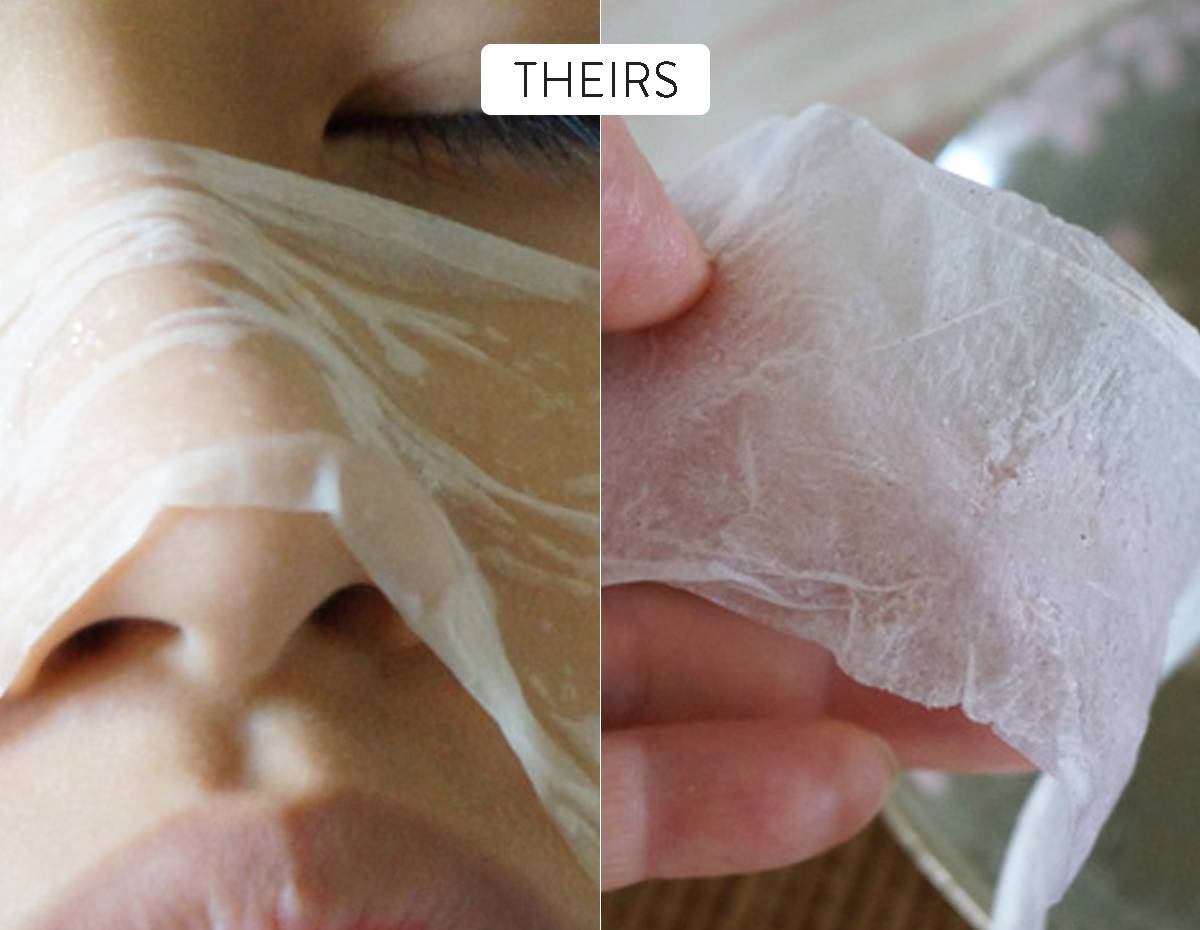
Pore strips are one of my favorite beauty products, and I think it’s because they tow the line between satisfying and gross. The idea that I could make limitless pore strips using nothing but egg whites and a strip of a paper towel was very appealing.
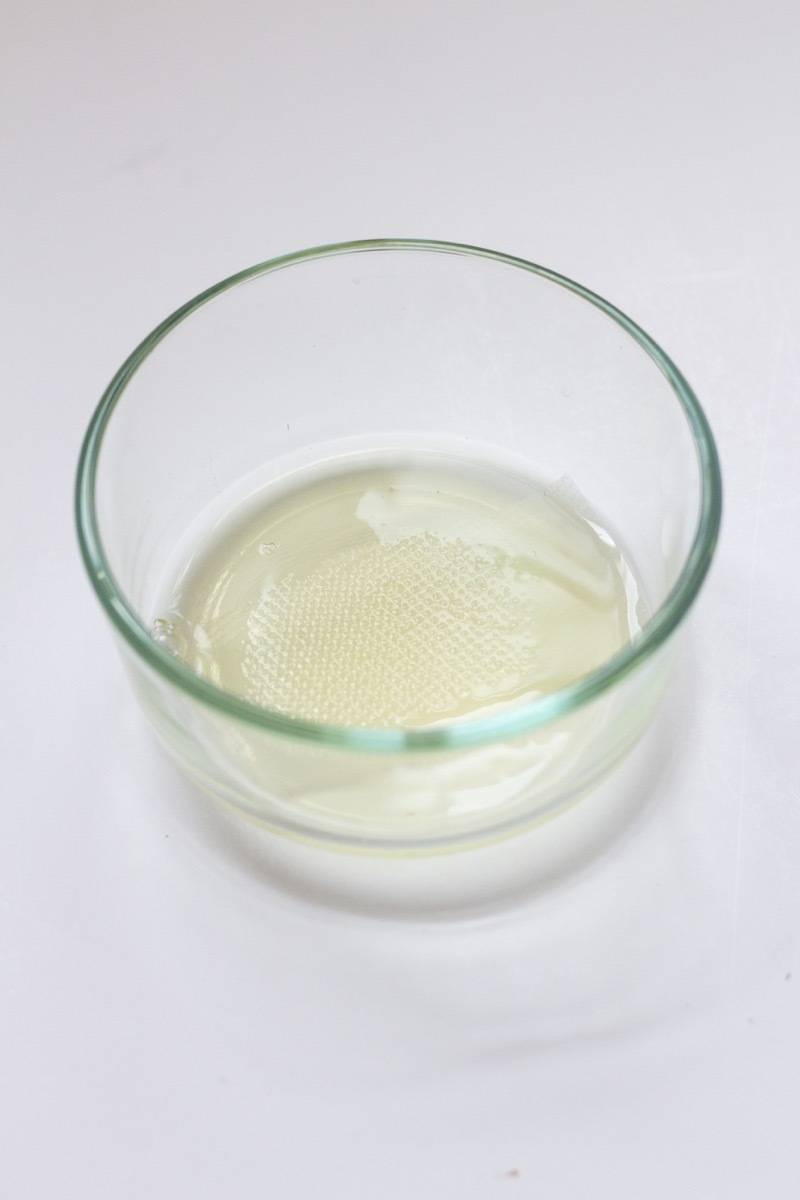
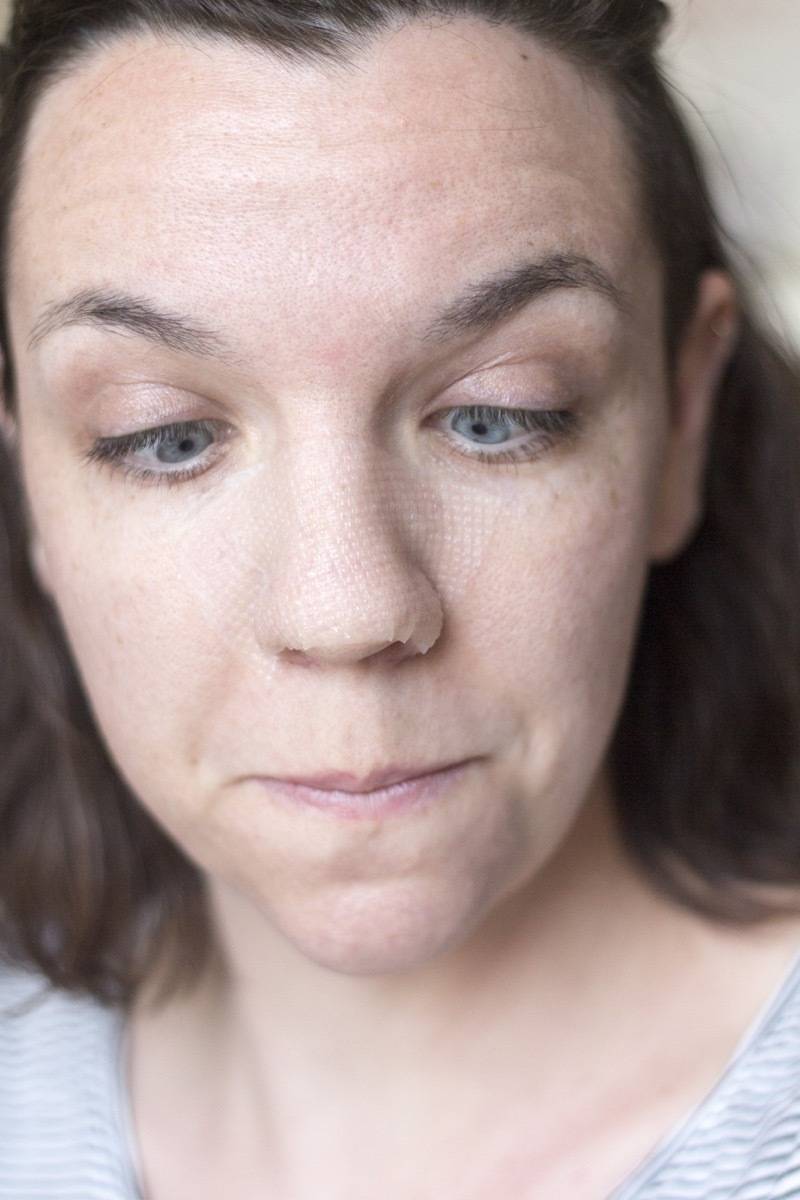
Per the instructions, I separated a paper towel into thinner layers, and used just one of those layers. After soaking the paper towel strip in an egg white, I then laid it across the bridge of my nose.
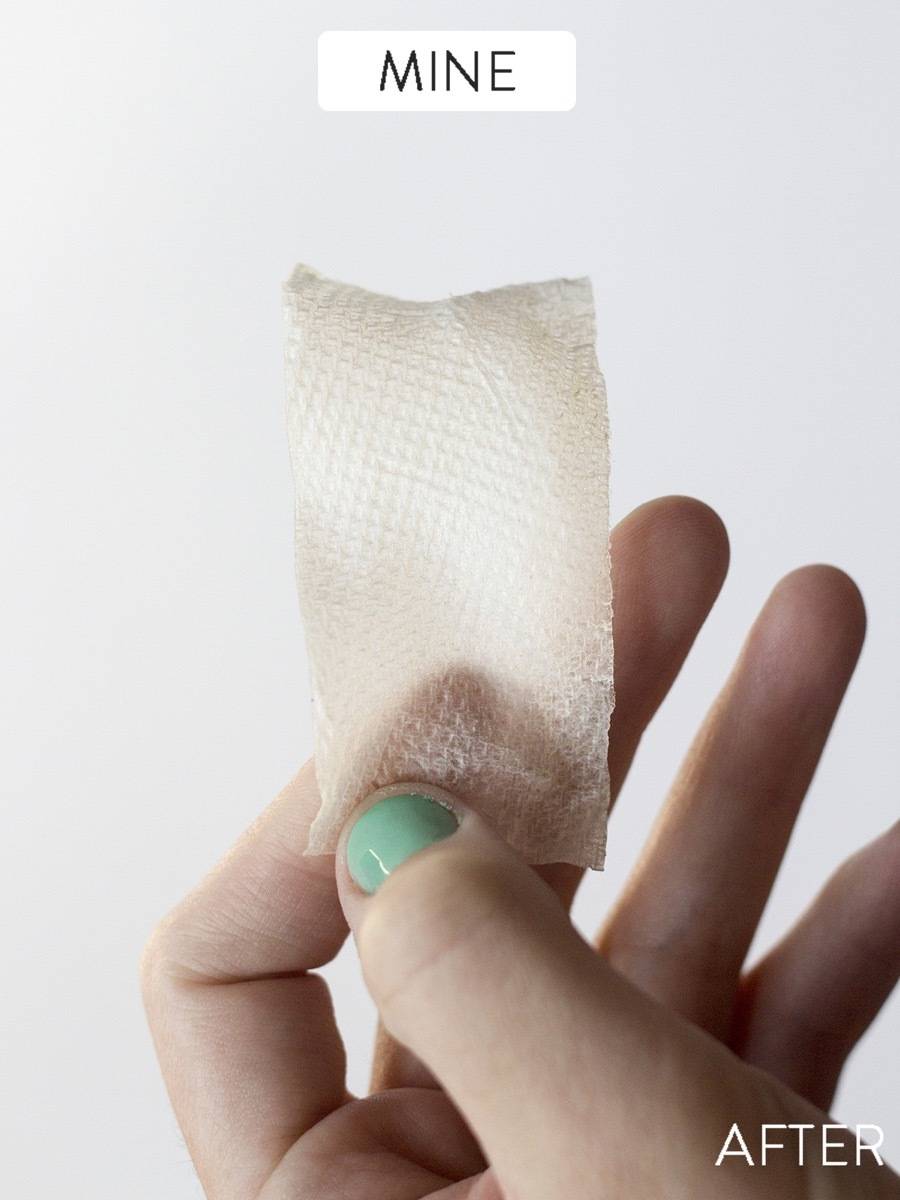
VERDICT: This pore strip took 45 minutes to dry completely. After it had finally hardened, I peeled it off. While it felt just like a pore strip, it didn’t do anything like a pore strip would. Bummer.
Test #5. The mayo hair mask
It’s time for an oldie, folks. If you’ve ever dipped a toe into the pool of Pinterest beauty hacks, you’ve probably seen recommendations for putting this bland condiment in your hair. Using mayo as a conditioning treatment is not a new practice, but it is one that I was eager(ish) to put to the test. Plus, after that first fail of a hair mask, my dry locks needed some loving.
I knew from the moment I put the first dab of mayo in my hair that I needed to stand in the shower to put this mask on. The water in my damp hair mixed with the mayonnaise immediately began to drip – major ew. As I worked the mayo from the ends of my hair to the roots, my whole bathroom began to smell like a concession stand.
I sat with the mayo in my hair for the minimum amount of time – 20 minutes (although some websites recommended waiting an hour). I rinsed my hair, and took a shower. Even after bathing, I still caught whiffs of mayo whenever the wind blew past me.
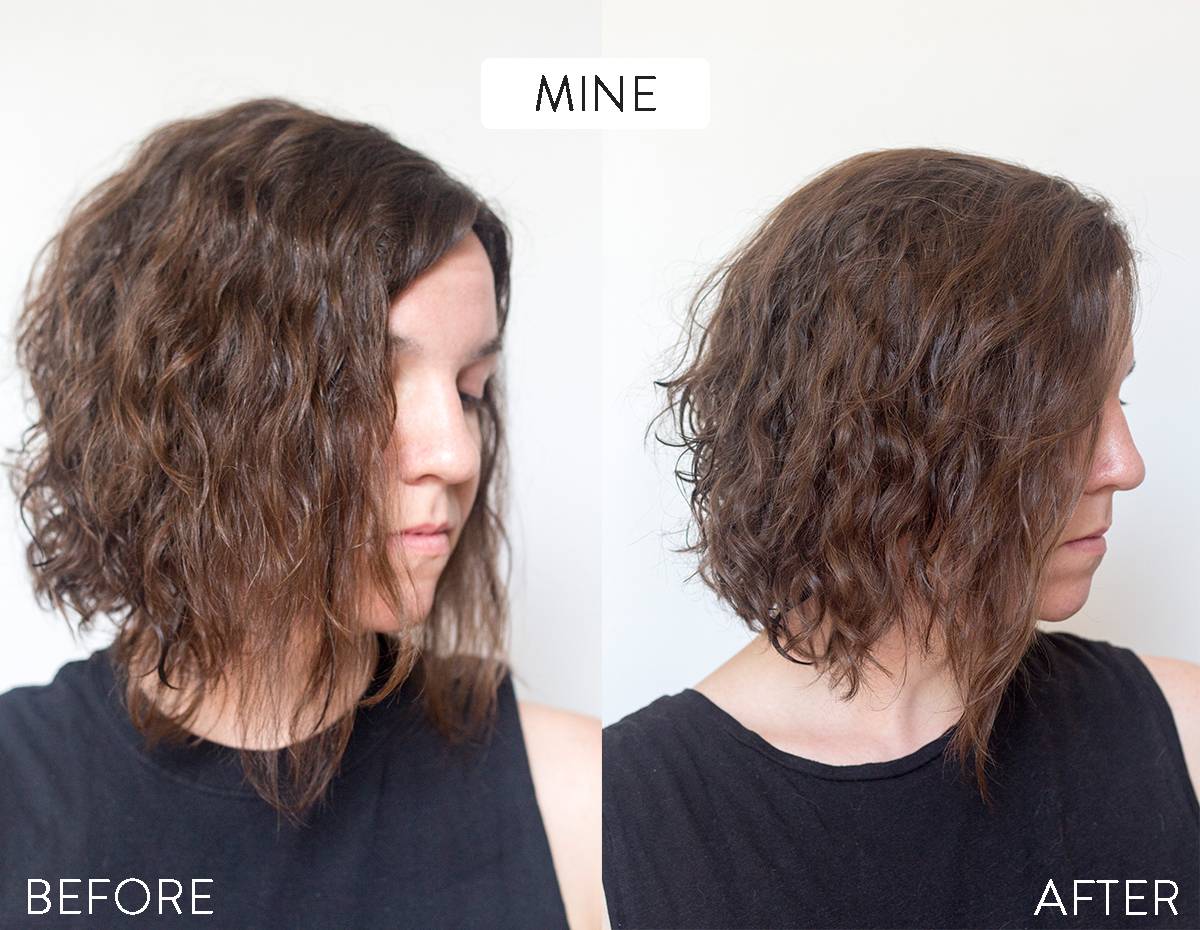
VERDICT: Success! The results weren’t dramatic or anything, but the mayo hair mask definitely fixed the dryness that the first hair mask created. My locks did feel a little weighted down, but were also much softer.
Test #6. Apply white glue around your fingernails before painting to stay inside the lines
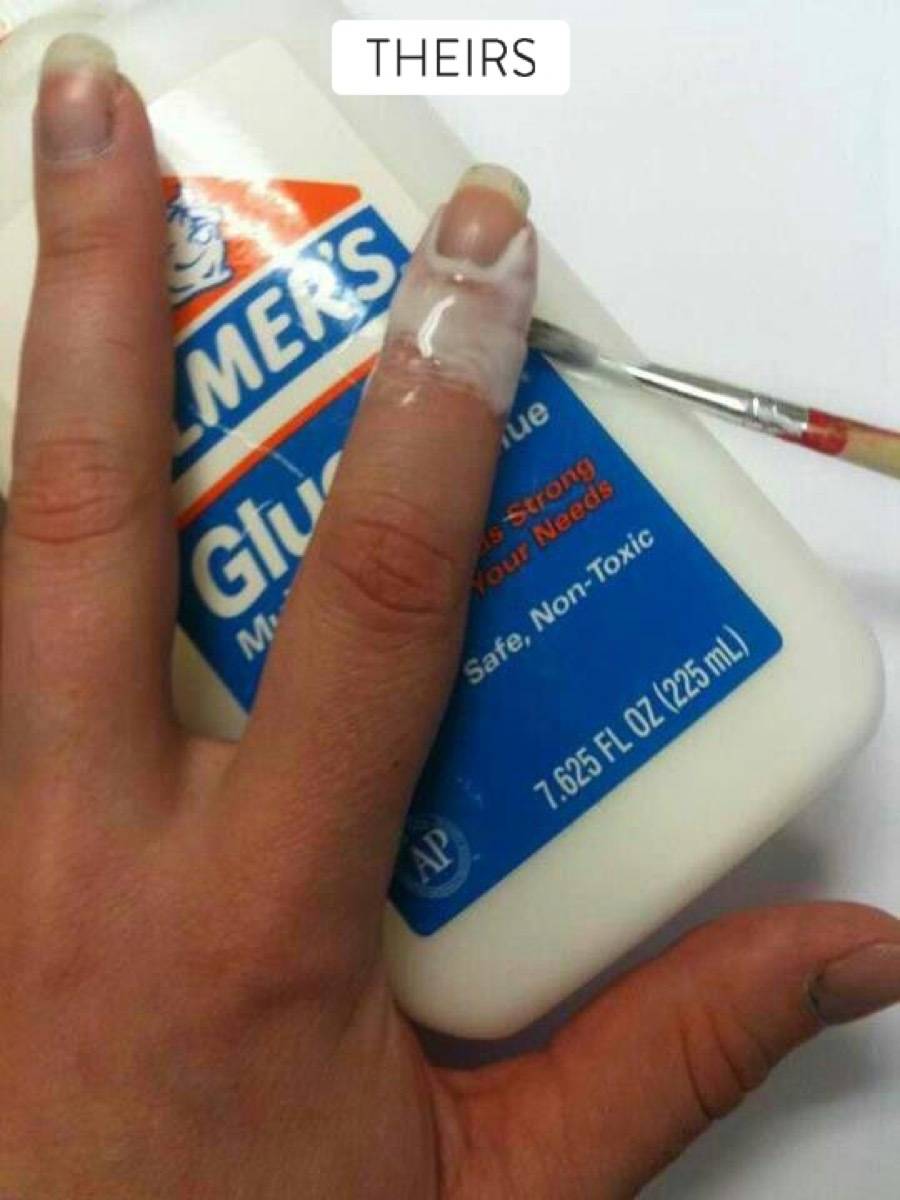
I’ve seen this pop up a few times when browsing Pinterest beauty hacks, but never gave it much attention. It seems too good to be true, especially for someone like me, whose right hand always looks like a 6-year-old painted it. The idea behind this hack is simple – paint white glue around your nail before you paint, and peel off the glue (and mistakes) when you’re finished.
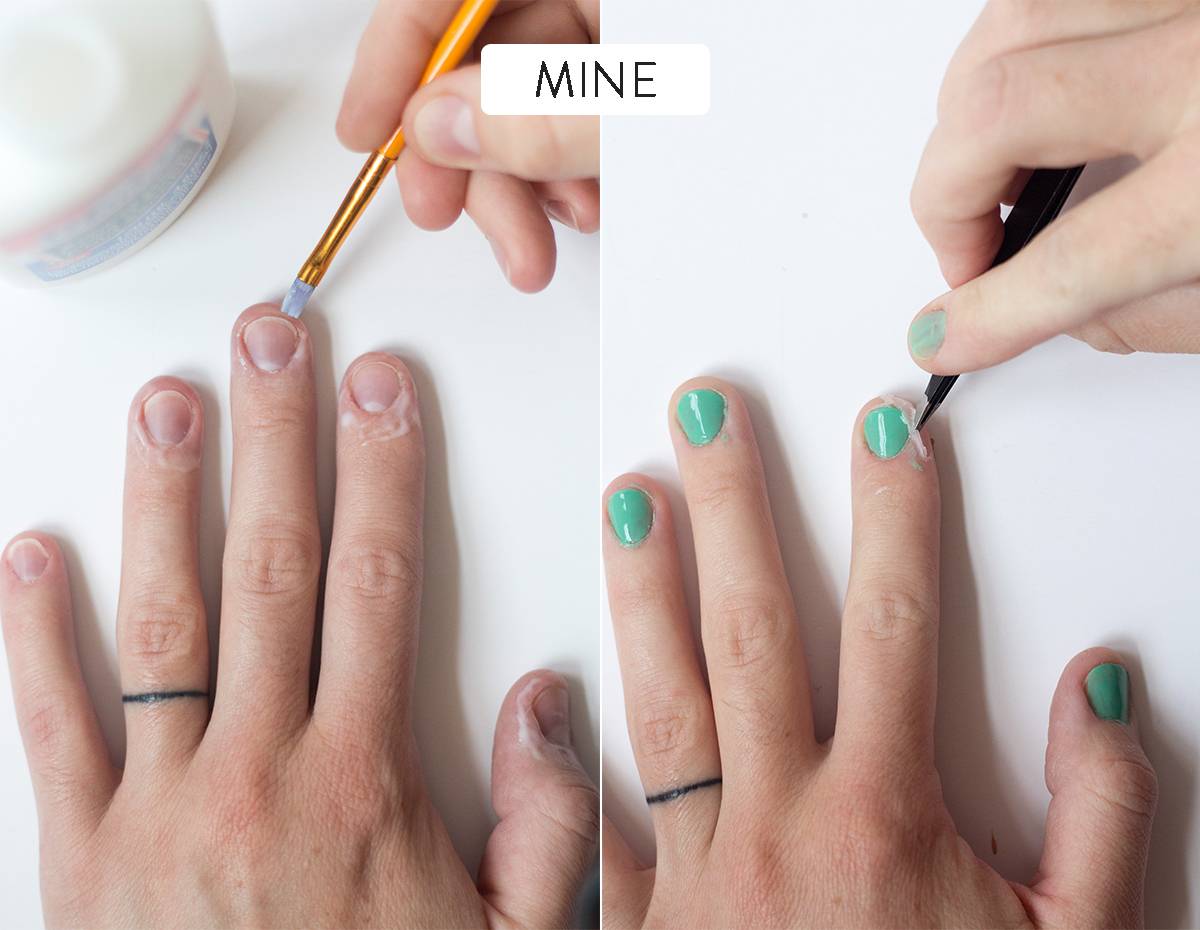
I used a small paintbrush to add white glue around my nails, and after that dried, I got to painting. Since I was painting my left hand (an easier feat for me than the right hand), I made a few extra “mistakes” along the way.
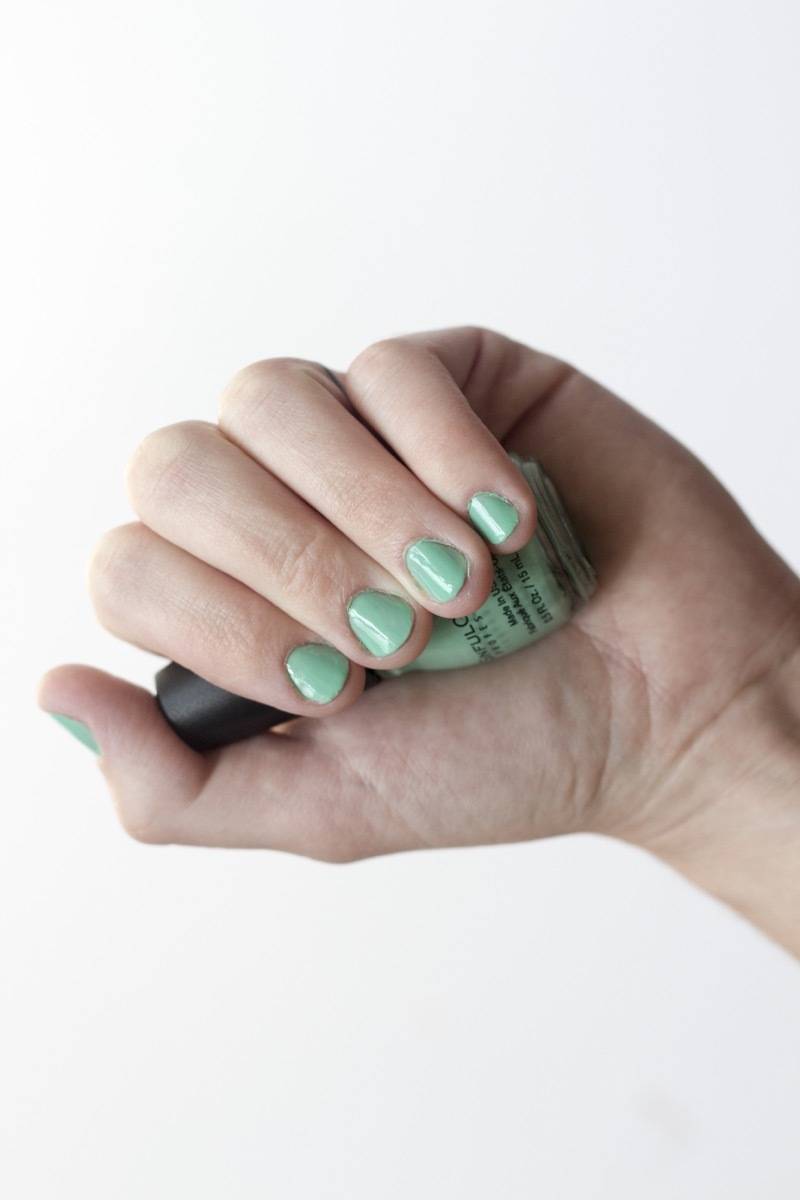
VERDICT: This hack really works! I first tried to remove the white glue by peeling it off with tweezers, but because I hadn’t laid it down thick enough, that didn’t work. However, since white glue is washable, what I ended up doing was simply washing my hands. All the glue (and stray fingernail polish) went down the drain. Success!
Test #7. Soak feet in mouthwash to remove dead skin
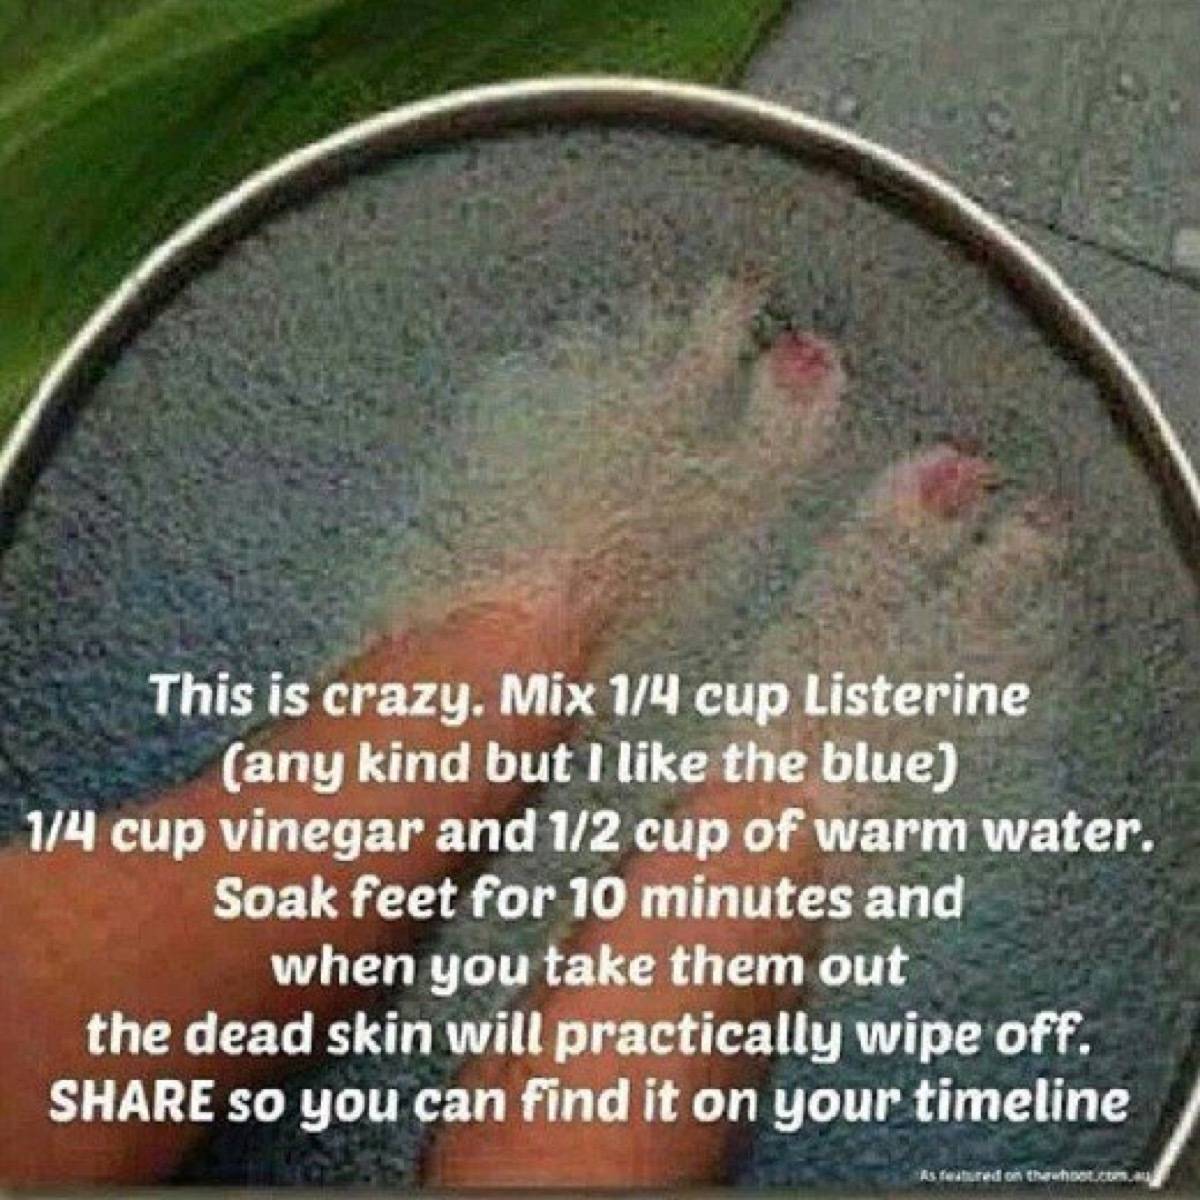
If you can’t tell by how grainy the above image is, this is one of those Pinterest beauty hacks that’s been passed around again and again. I was pretty excited about this one. I love tingly mint, and of course I love a foot soak.
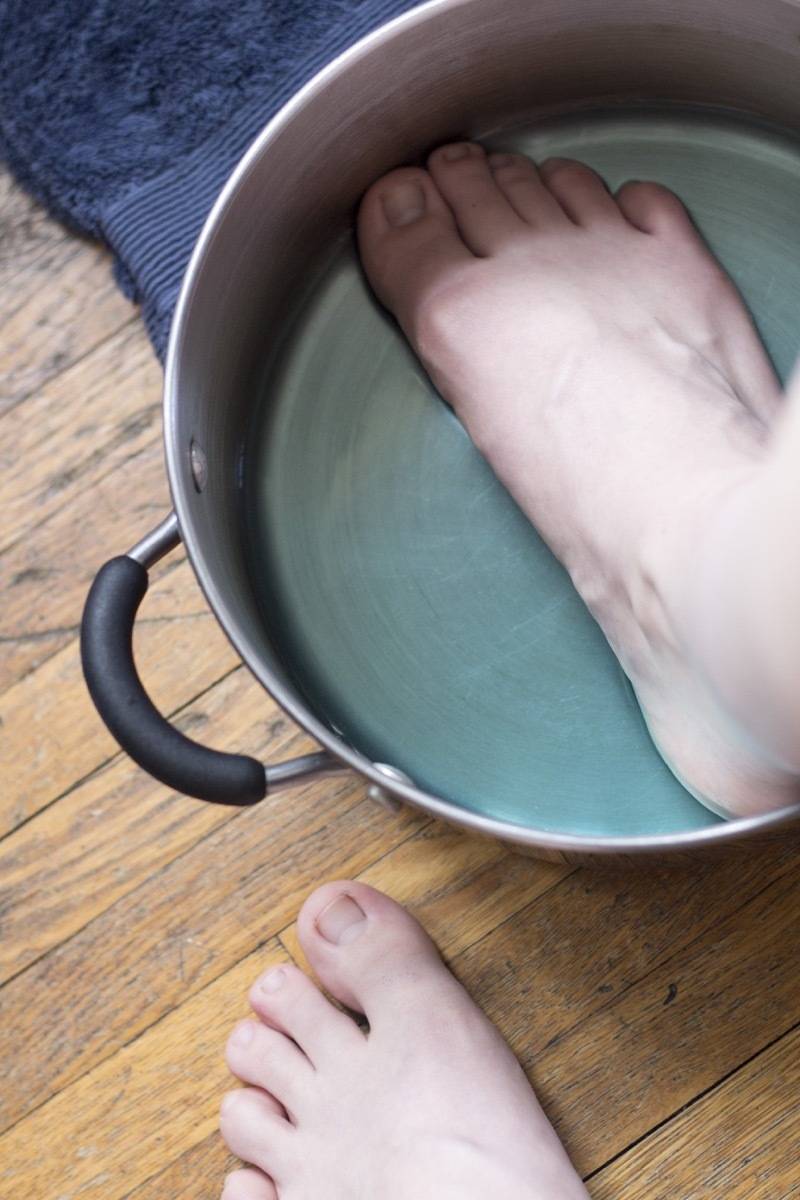
Per the instructions found on multiple websites, I mixed 1/4 cup of Listerine (blue) with 1/4 cup of white vinegar and 1/2 cup of warm water. Then I doubled it, because the recipe didn’t create enough foot soak to cover the bottom of a bowl! Already suspicious, I soaked my foot for the allotted 10 minutes.
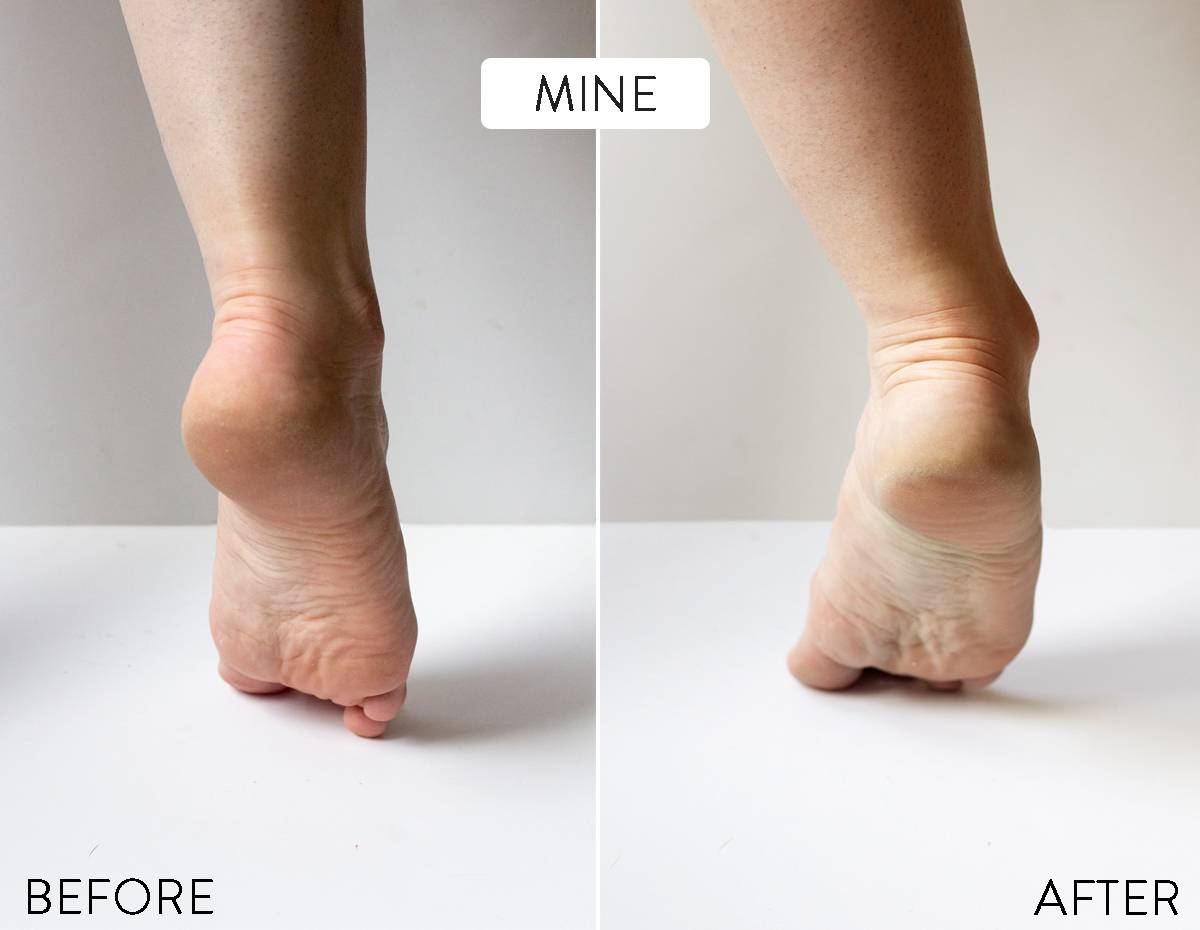
VERDICT: Yeah, it didn’t work. Not even a little bit. It did, however, turn my foot a tiny bit blue.
Test #8. Put freshly painted nails in ice water to dry faster
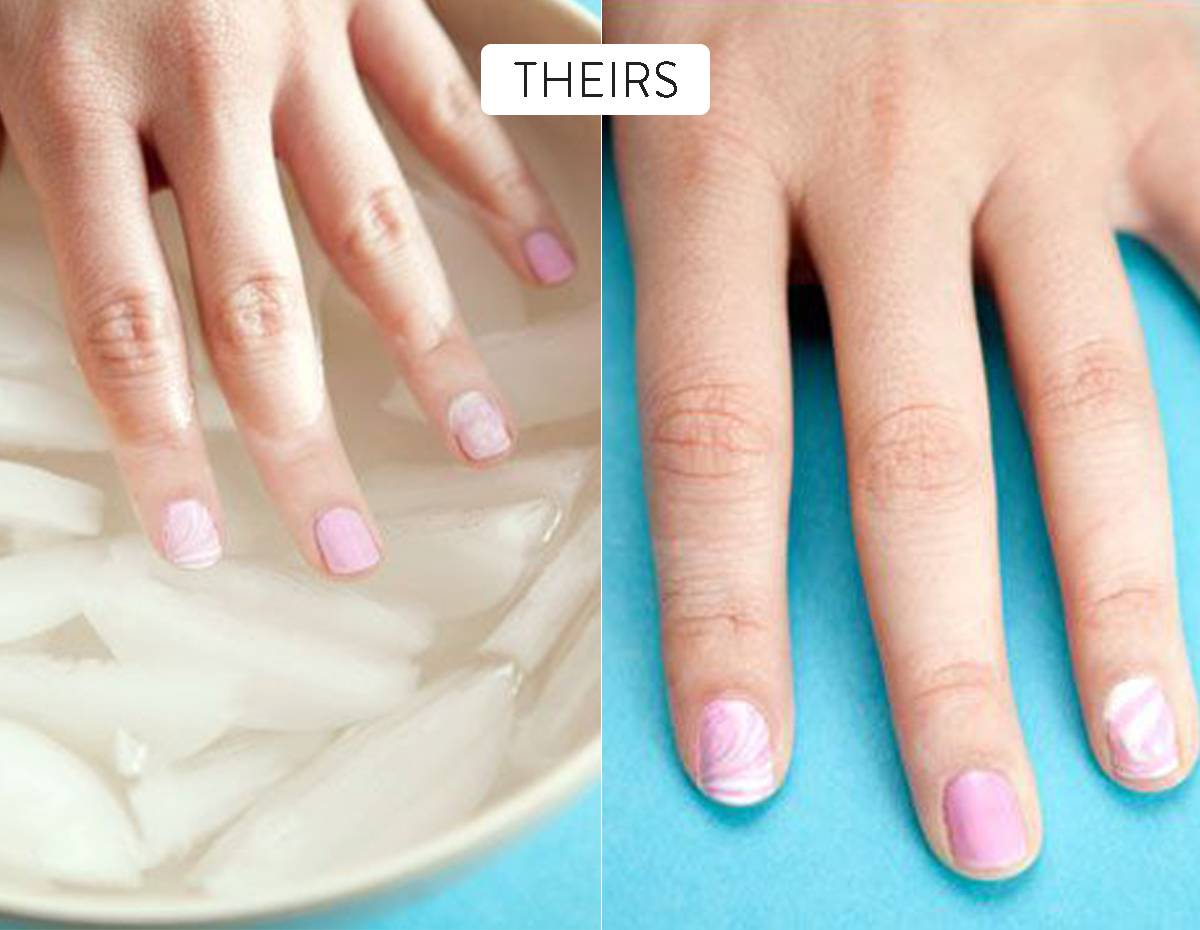
I can remember doing a version of this beauty hack back in middle school, where I ran my freshly painted nails under cold tap water to “dry” them. I didn’t have much success with that trick, but maybe my water wasn’t cold enough?
I painted my nails with two coats, letting the first coat dry before applying the second. I then dipped my fingers in ice water for as long as I could stand the cold (about 45 seconds, total).
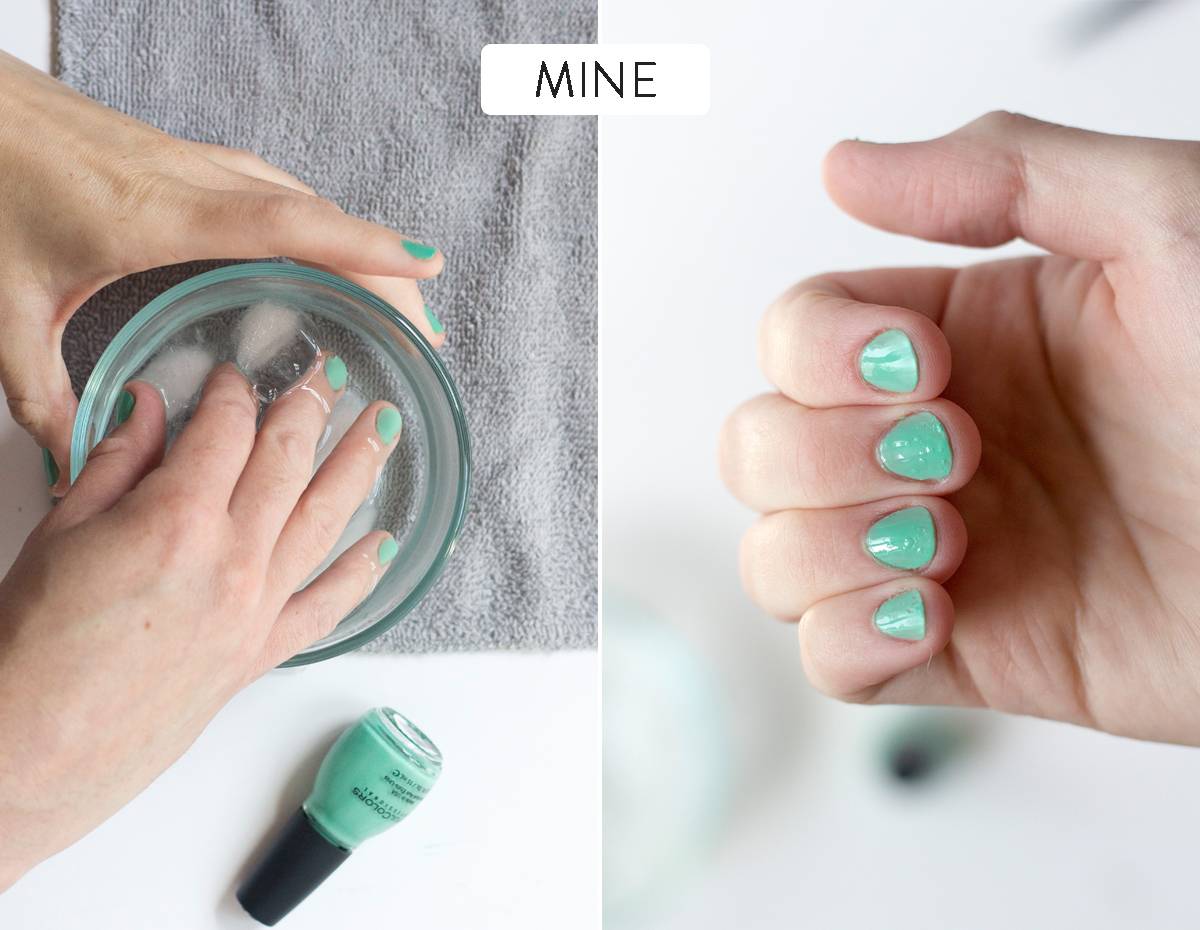
VERDICT: My nail polish seemed to be hard to the touch on the top of my nail, but I could tell right away that it was soft underneath. Plus, the ice in the bowl of water ended up bumping into my wet nails, immediately messing up the polish. This one is a bust.
Test #9. Use baking soda and lemon juice to whiten teeth
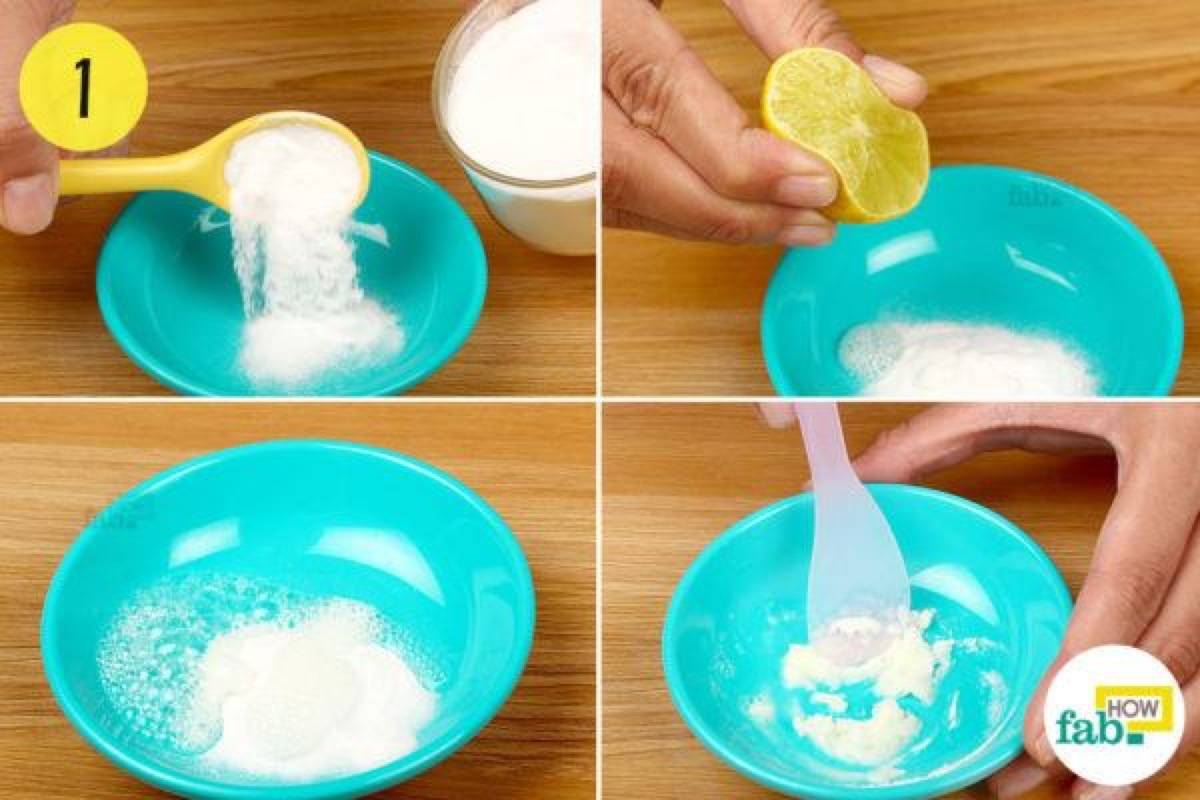
Baking soda has been touted to quickly remove dark spots from both teeth and from under your eyes. The results seem legit, but does it really work?
VERDICT: I did my research before attempting this beauty hack, because I want my teeth to last a long, long time. I’m glad I did, because as it turns out, this is one of those Pinterest beauty hacks that’s actually very harmful to your teeth. While the baking soda alone may be able to remove some outer tooth stains, it’s the lemon juice that’s the bad guy. The acid in lemon juice actually tears down the enamel on your teeth, and once you remove enamel, you can’t put it back. It’s best to stick to safer, dentist-approved methods of whitening teeth, and leave the lemons for the lemonade.
Test #10. The sparkling water face treatment
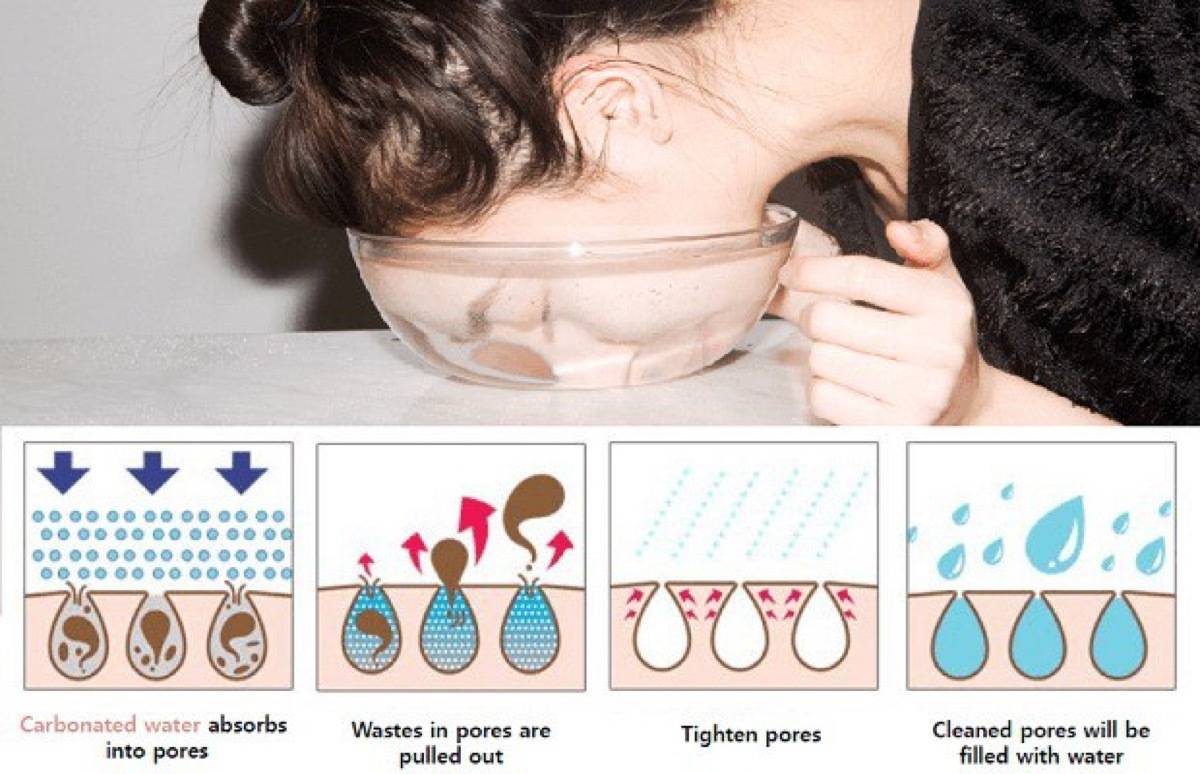
I saved my biggest skepticism for last. When I found this hack, I immediately assumed it was a hoax. From the overly simplistic diagram to that horrifying image of a woman trying to drown herself in four inches of water, I had my doubts.
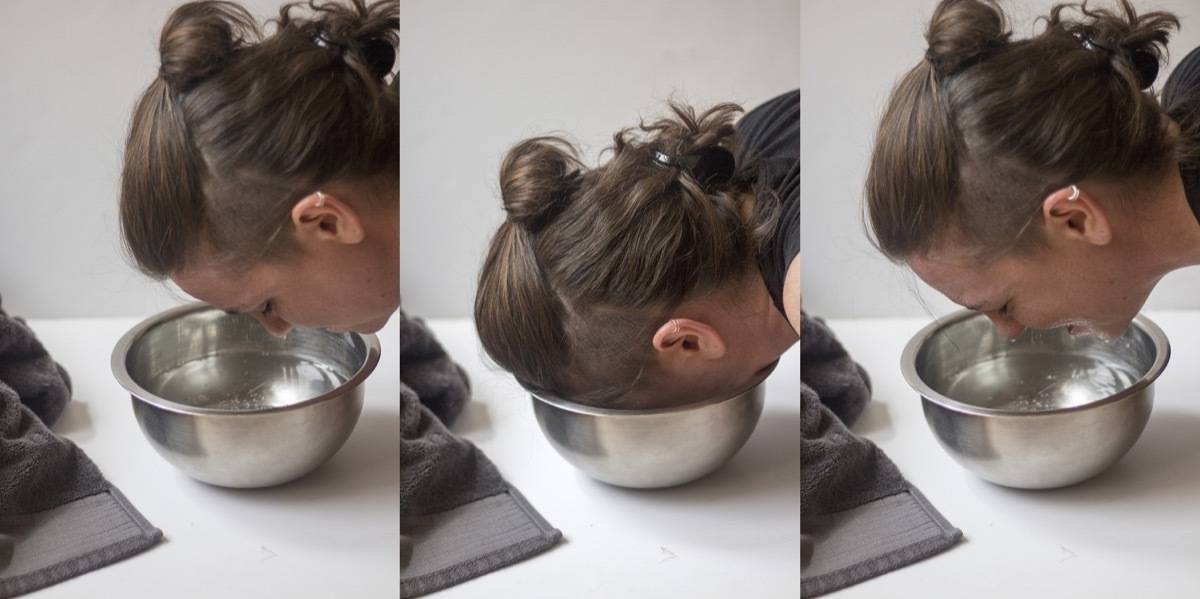
According to multiple sources on the internet, I needed to put my face in sparkling mineral water for 10-20 seconds. The rewards of lightly waterboarding myself weren’t promised immediately – this treatment is recommended to be done once a week for best results. I filled a bowl with bubbly bottled water, and took the plunge. The carbonation felt really weird. Bubbles kept making their way up my nose and forcing themselves into my eyelids. I made it to 18 seconds before I had to come up for air.
VERDICT: I have to admit, the results were really nice. My skin immediately felt a lot softer. I don’t know that it cleansed my skin and refilled my pours with mineral water, but it did something. The sparkling water treatment is intense, but I am loving the way my skin feels a day later. I’d do it again.
Before I embarked on my Pinterest beauty hacks myth-busting session, I thought I knew which ones would work, and which were just hoaxes. I was wrong! I was disappointed by some that didn’t work, but was also pleasantly surprised by the ones that did. And I am definitely going to be using white glue to paint my nails from here on out. If you ever embark on a beauty hack, don’t forget to do a little research first to make sure you’re only putting things on or in your body that are safe for you. Happy hacking!
Are there any Pinterest beauty hacks that are your favorite? Let me know in the comments!
Looking for more beauty hacks? Check out these four all-natural body care recipes!
On Test #2 – Please do not use baby powder, as baby powder is primarily Talcum Powder, a mineral. Instead use Corn Starch, both on your eyes and your baby. That said thank you for the tips.
@Phyllis Oh wow! Is it bad to have minerals near your eyes? I know it can be harmful to inhale. Thanks for the heads up!
Thanks for the corn-starch idea. It is a thickener after all. Also, I think if you put a coat of mascara on, then the starch, then another coat, the second coat should be enhanced.
Can’t wait to try the white glue tip, as I am NOT very skilled at staying inside the lines.
And I fell for the mouthwash soak. Nothing.
@Brenda Delhanty You’re probably right – a few coats of corn starch or baby powder mixed with mascara layers would probably bulk up pretty fast!
Good luck with the nail painting – I’m glad to know I’m not the only fool out here with blue feet. 🙂