
I can feel the fall weather approaching, which means it’s almost time for scarves, blankets and all things pumpkin spiced! Rather than buying new clothing I don’t need this season, I’ve been looking for ways to revamp the clothes I already have to make them feel like new. I’ve had a light green scarf for years, and it turned out to be the perfect piece for making this DIY embroidered scarf with a hand-drawn wind pattern along the edges.
This project is one that you can work on mindlessly in front of the TV, which makes it perfect for cool evenings at home. Using three different colors, I managed to turn my plain scarf into a brand new piece I’m excited to re-incorporate back into my wardobe this season. Bring on the fall weather!
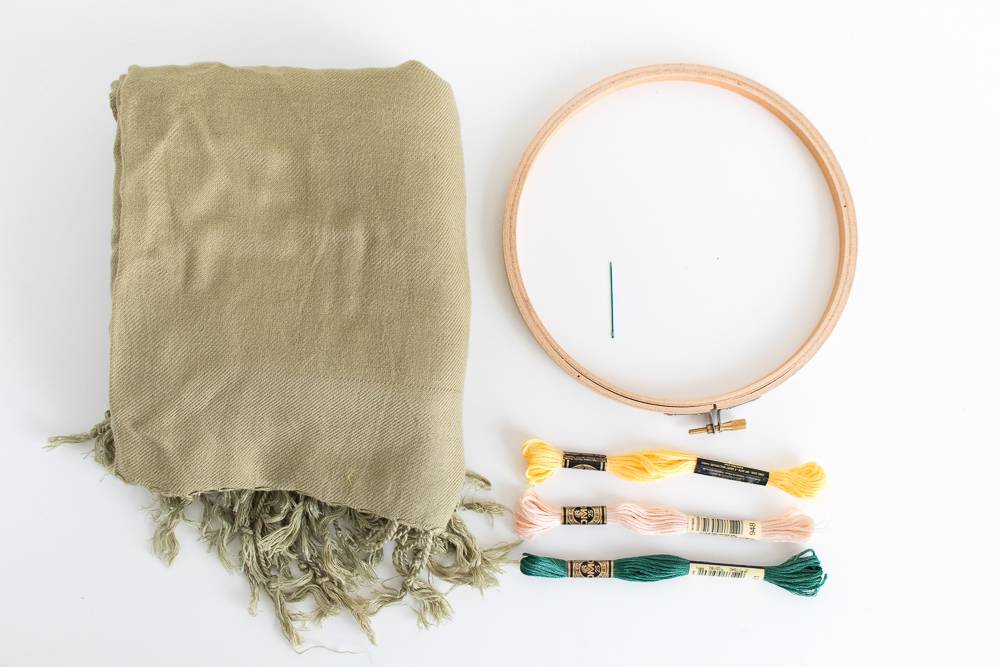
Materials:
- Solid colored scarf
- Embroidery hoop
- Hand sewing needle
- Embroidery floss, various colors
- Pen/pencil
- Scissors
Step
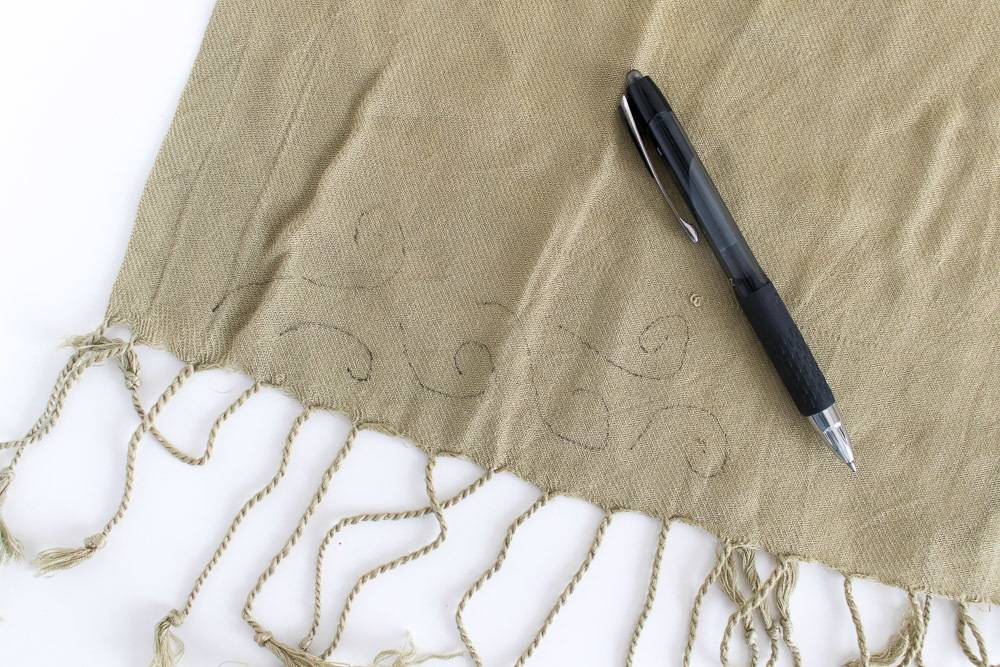
Lay out the scarf on a flat surface and gently draw a pattern along the bottom edges with a pen or pencil. This will be the outline you’ll follow.
Step
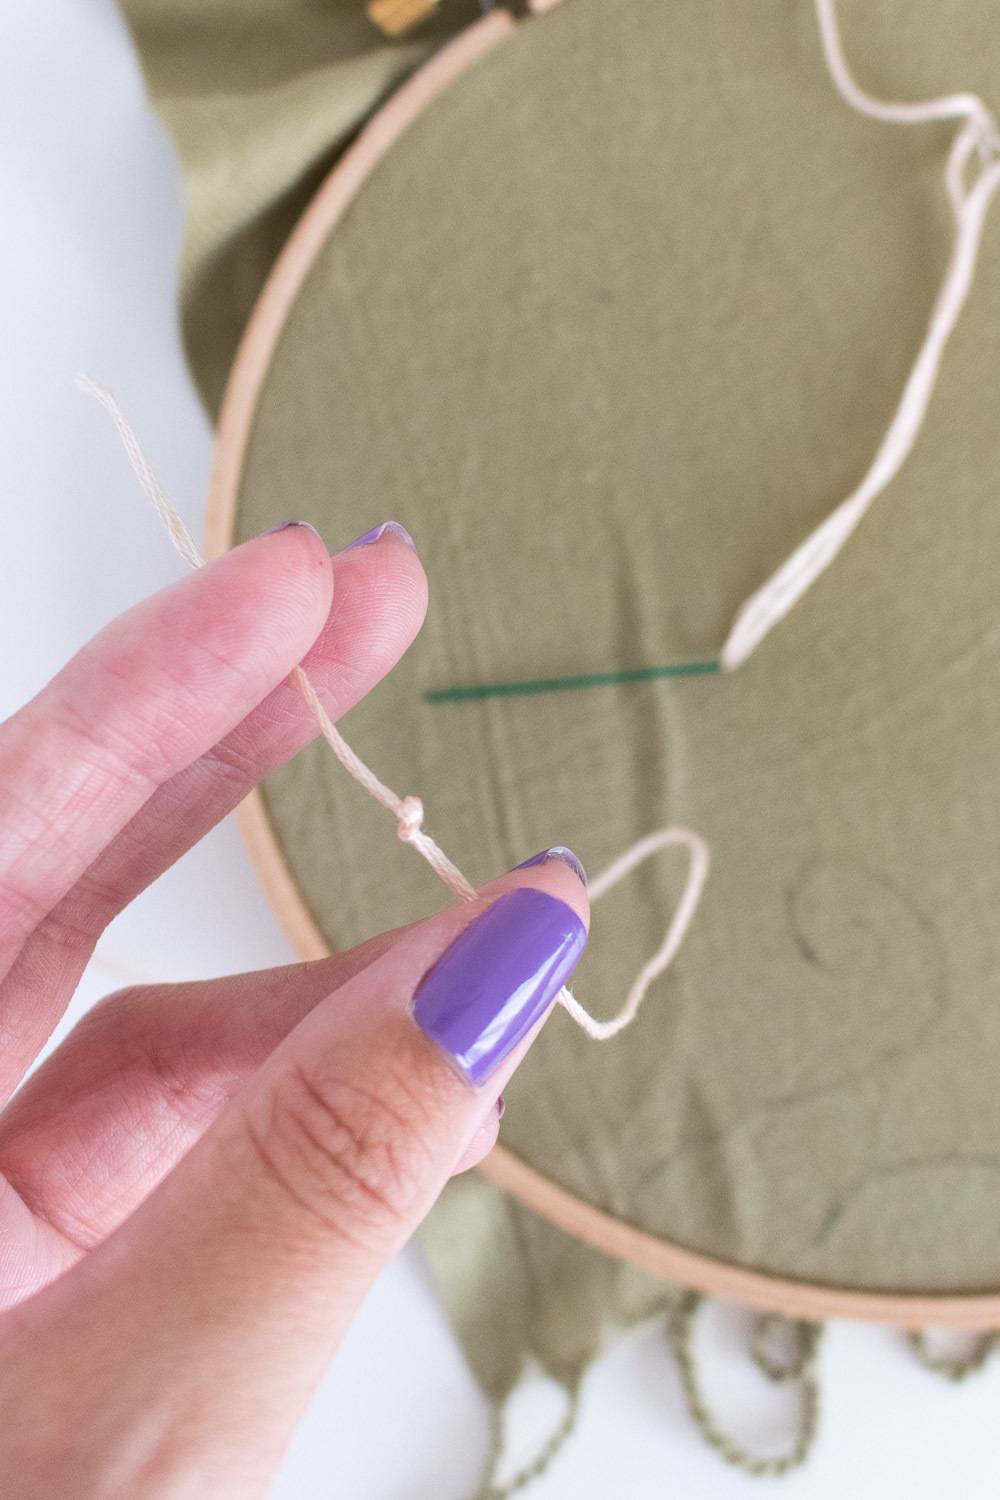
Secure one section of the outlined area inside of the embroidery hoop and thread a long piece of embroidery floss (several inches) through the needle.
Step
At the opposite end of the thread, tie a double or triple knot.
Step
Starting from the underside of the hoop, poke through the fabric at the base of your outline and pull the thread until the knot catches.

Step
This pattern follows a backstitch embroidering pattern. Following the outline, poke through the fabric again and pull from the underside to create one stitch. Poke up through the bottom again to create another. In order to fill in the empty space left by the stitch, back stitch down and pull back up through the original point. This will ensure you have a fully embroidered section.

Step
To finish the section, poke through to the underside and thread the needle under a previous stitch, then through the loop of thread. Pull to knot.
Continue all the way across the scarf, switching colors as desired and moving the embroidery hoop to pull each section taught. When finished, trim loose thread from the underside of the scarf.
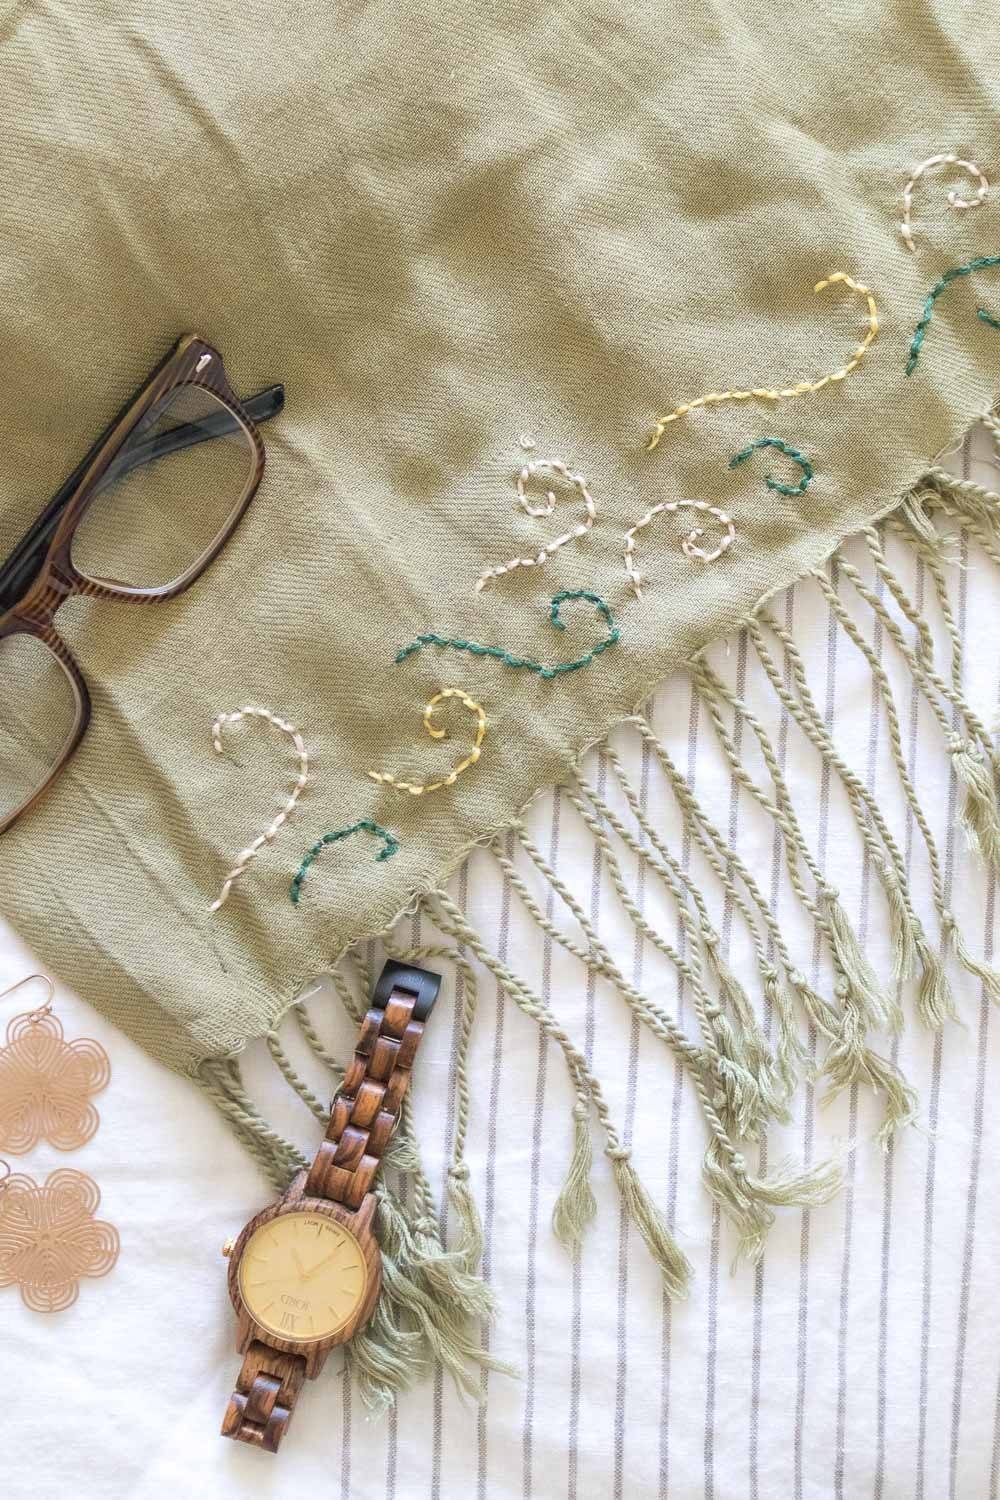
Now your new fall scarf is ready to wear or even gift! The homemade stitches makes a huge impact on a plain scarf and make it feel like new!