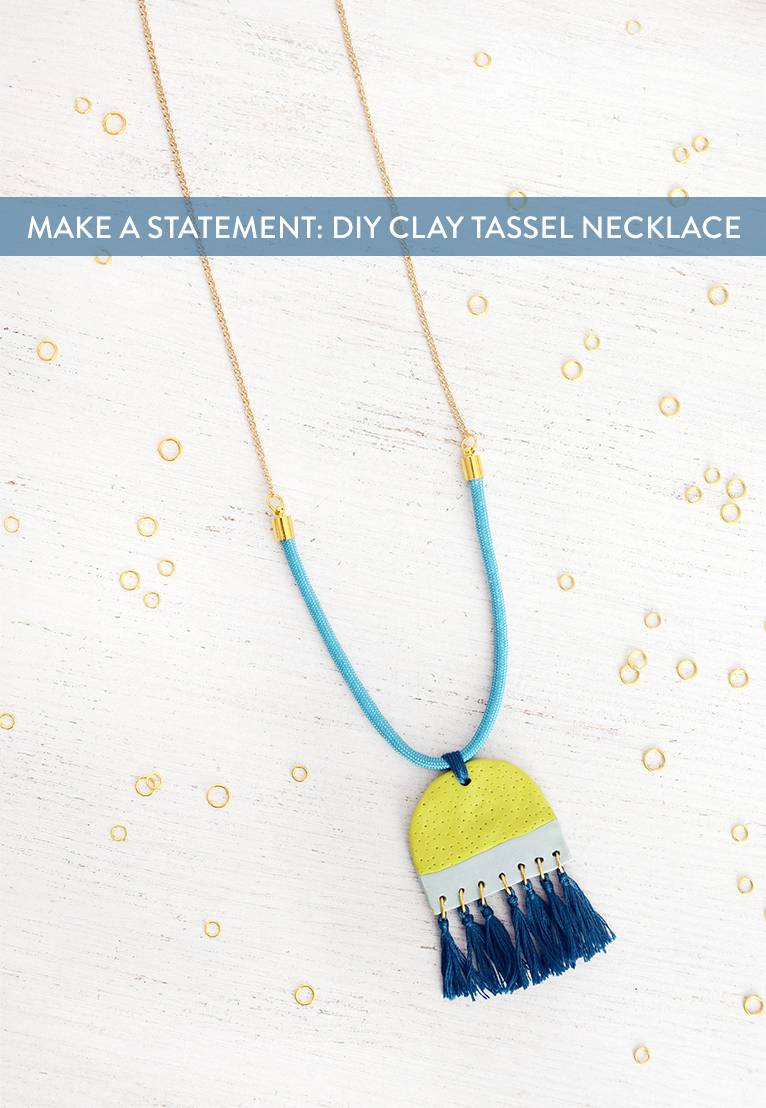
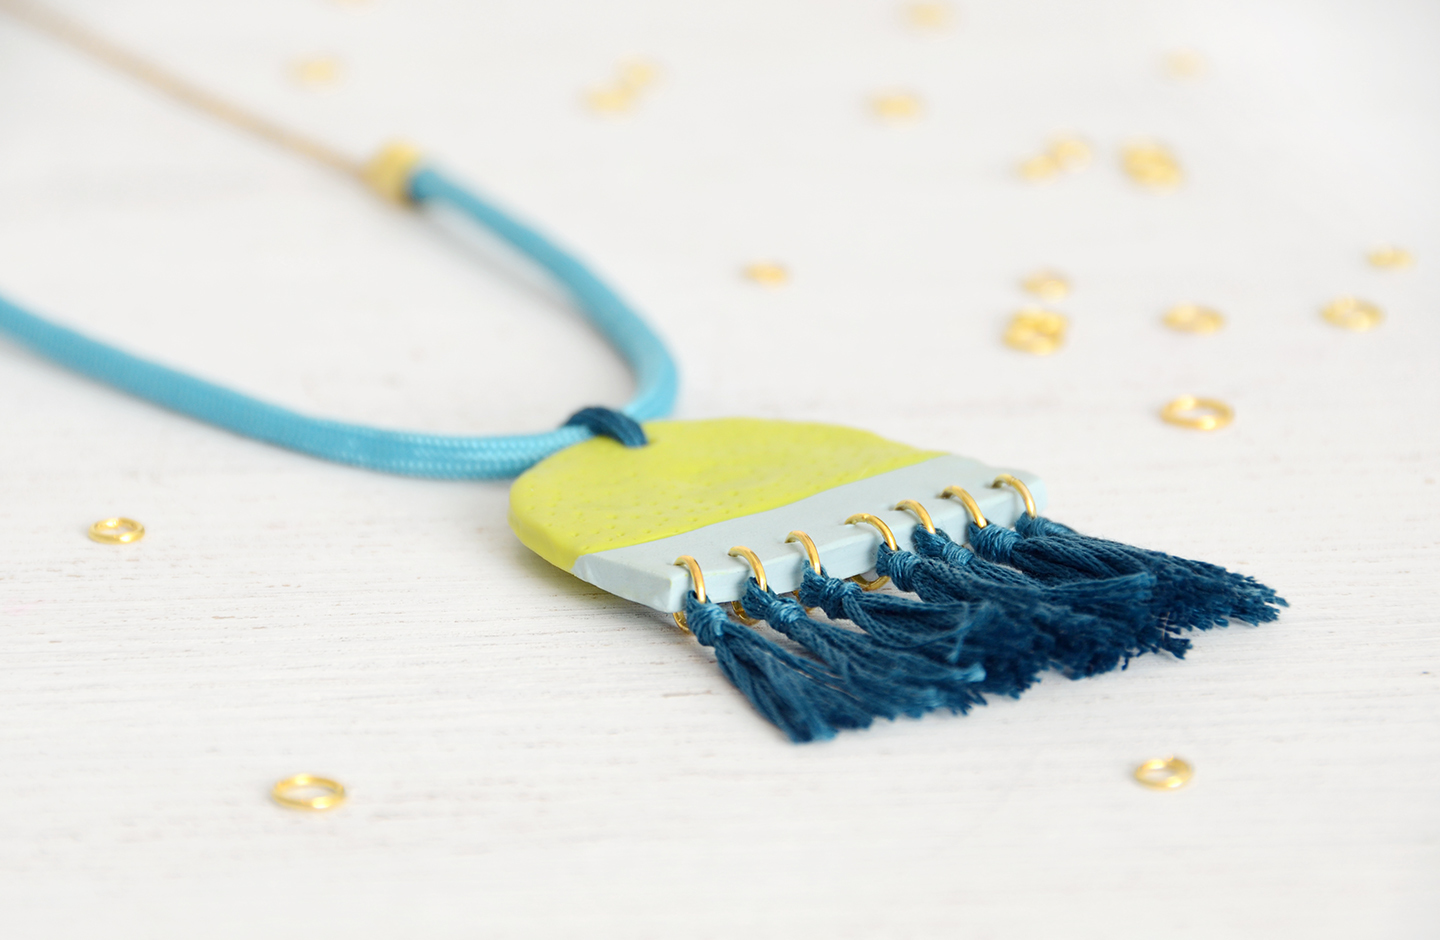
Every now and then we like to share a necklace tutorial over here at Curbly… and today is one of those days! This is no ordinary necklace tutorial though – this clay pendant tassel necklace is a bold, in-your-face statement piece that will surely garner compliments over and over again. And it’s really quite easy to make! So let’s get started.
Materials
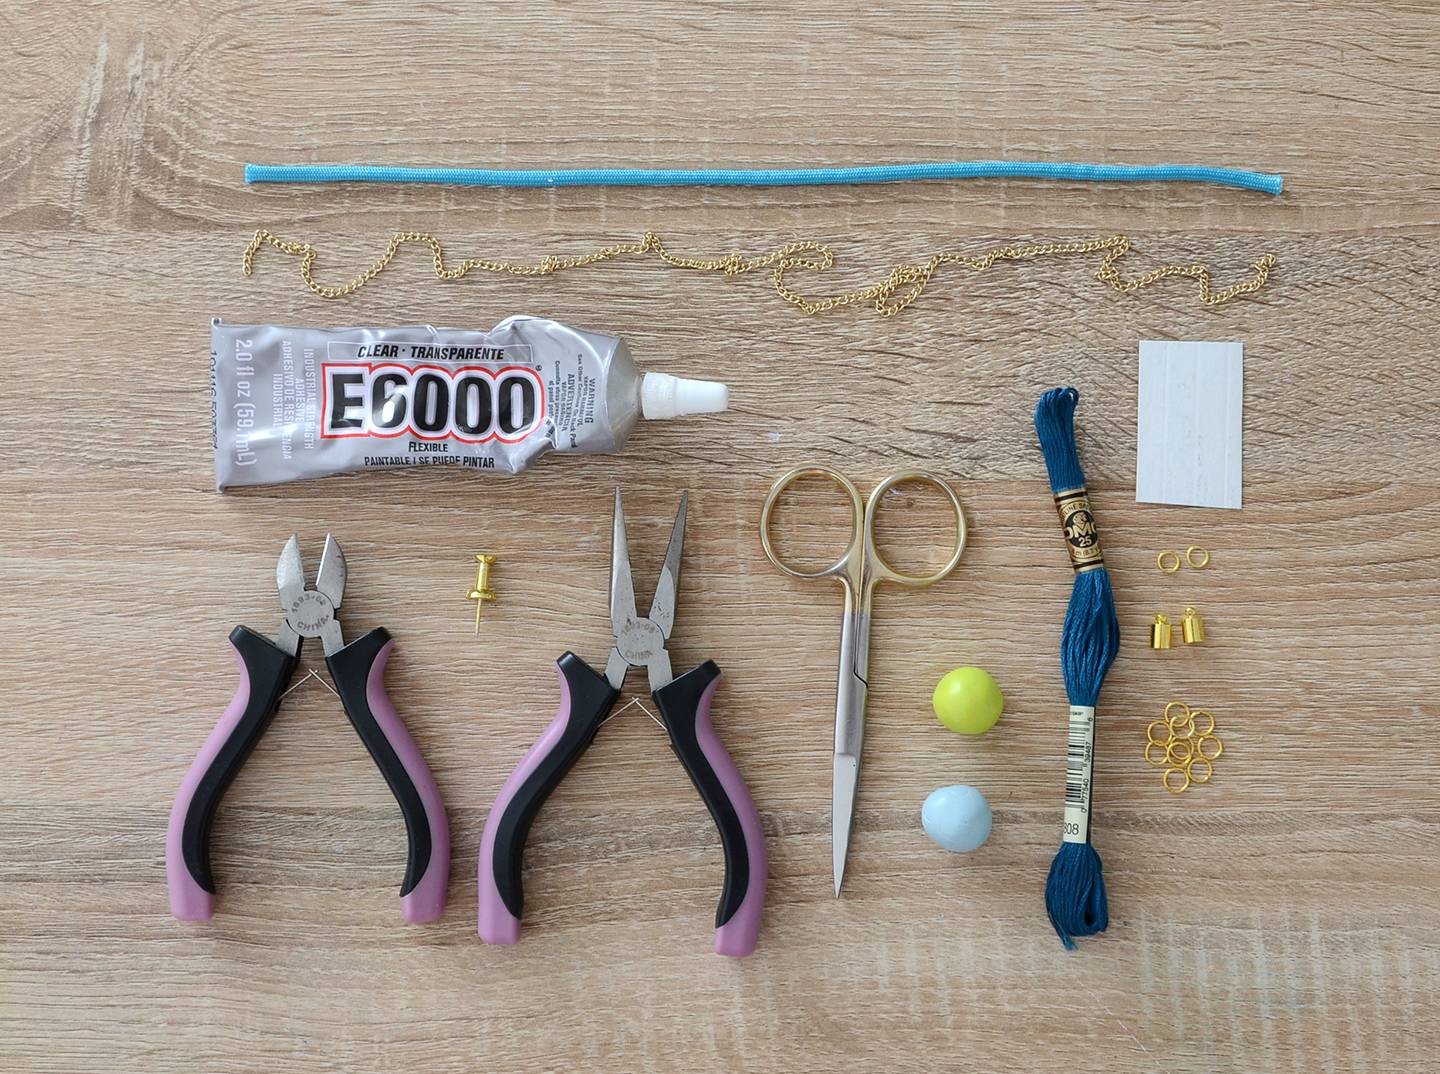
- 8 inches of paracord
- 18 inches of gold chain
- E6000 glue
- Wire cutters
- Pliers
- Thumbtack
- Scissors
- Polymer clay in two colors
- Embroidery floss
- Small piece of cardboard, 1 x 1.5 inches
- (2) 5 mm jump rings
- (2) 5 mm cord ends
- (7) 7 mm jump rings
Step
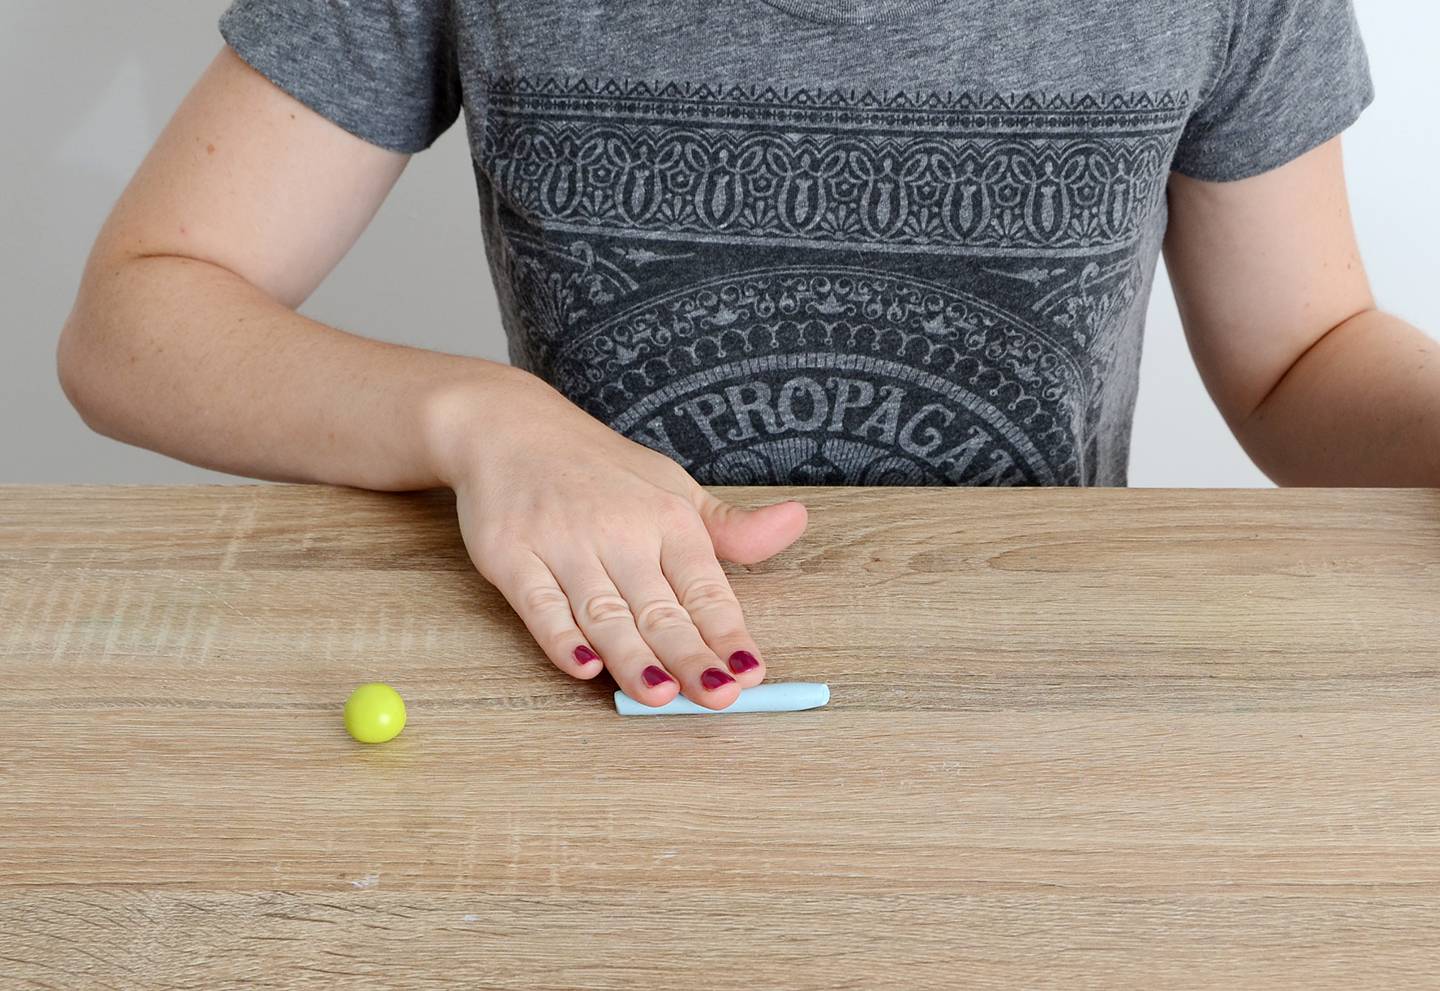
Begin by rolling out a small piece of your first clay color. Flatten it so that it’s a long thin strip.
Step
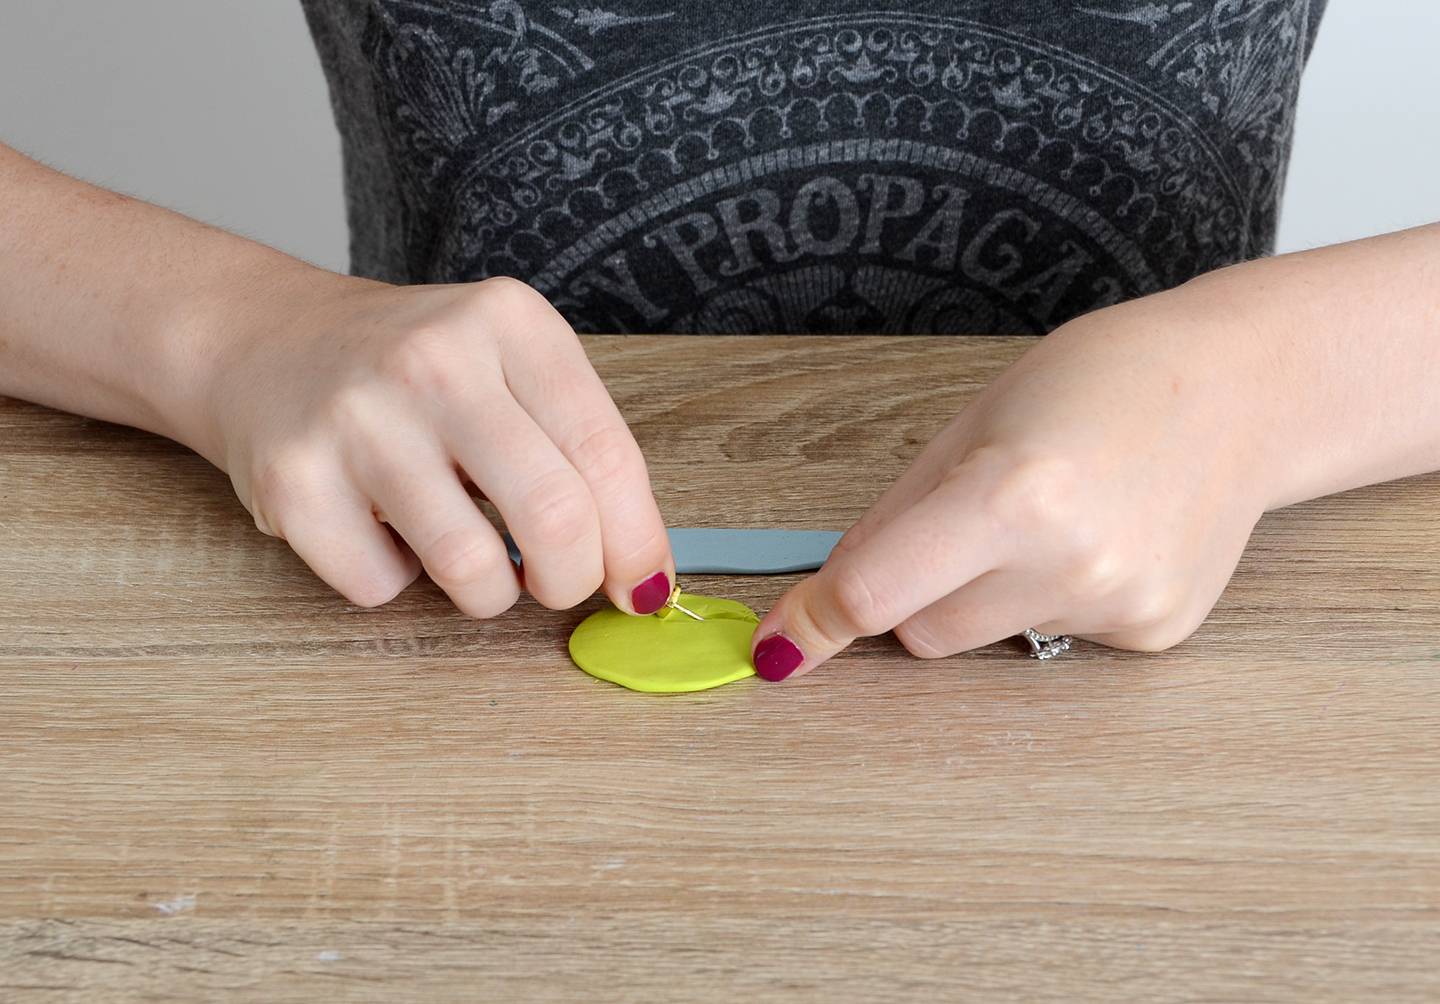
Flatten out the other color into a circle shape and use the thumbtack to cut the bottom off so it forms a semicircle. You can use a kitchen knife if it’s easier.
Step
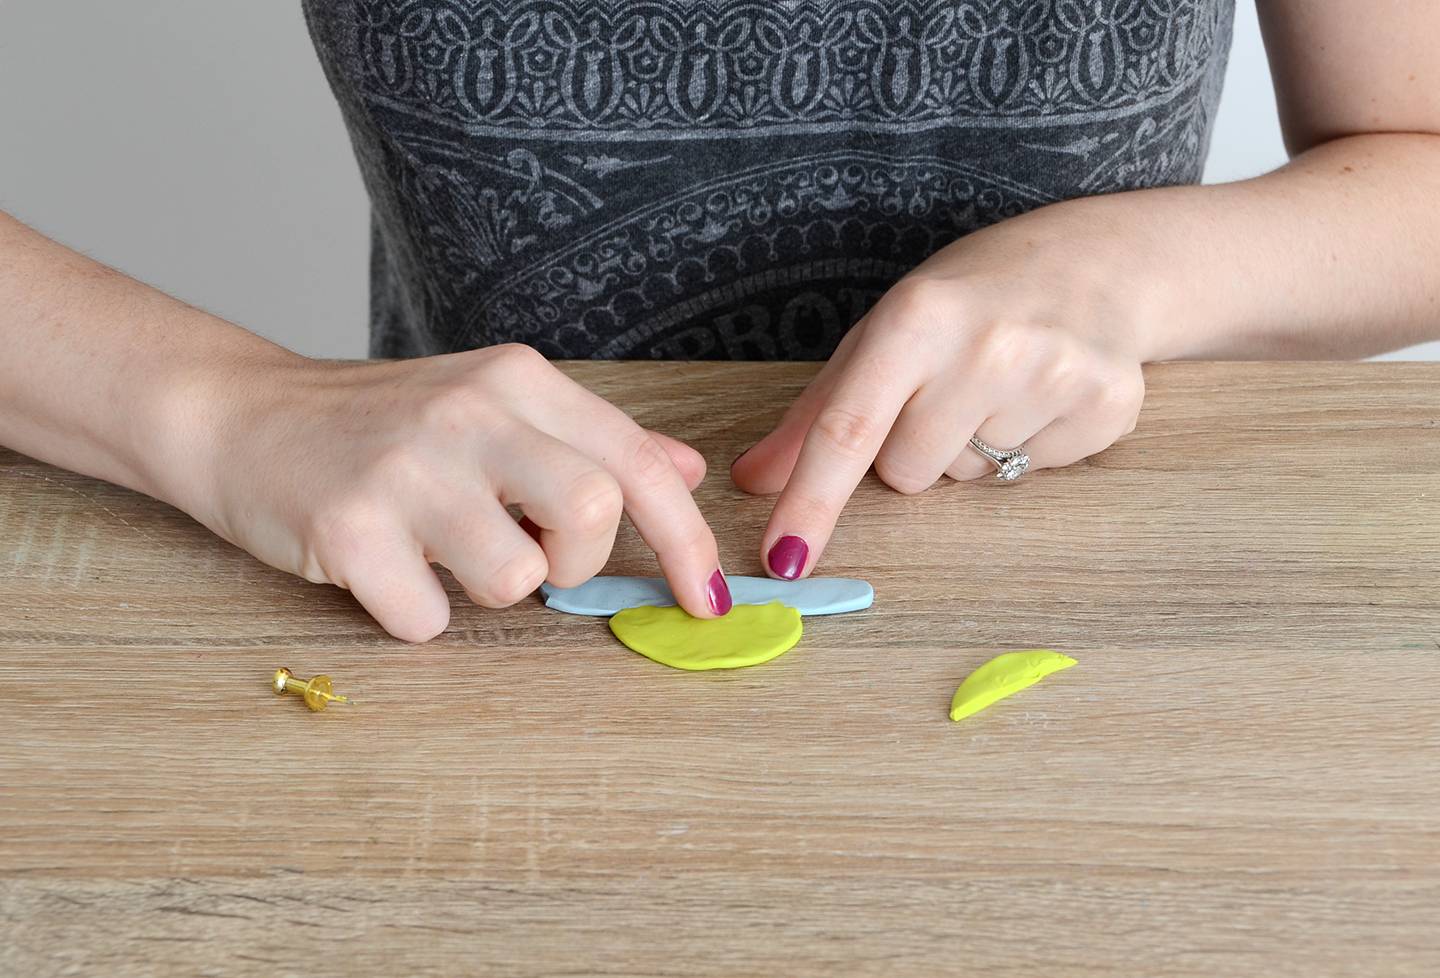
Attach the semicircle to the long strip and smooth out the seam with your finger so they are securely attached.
Step
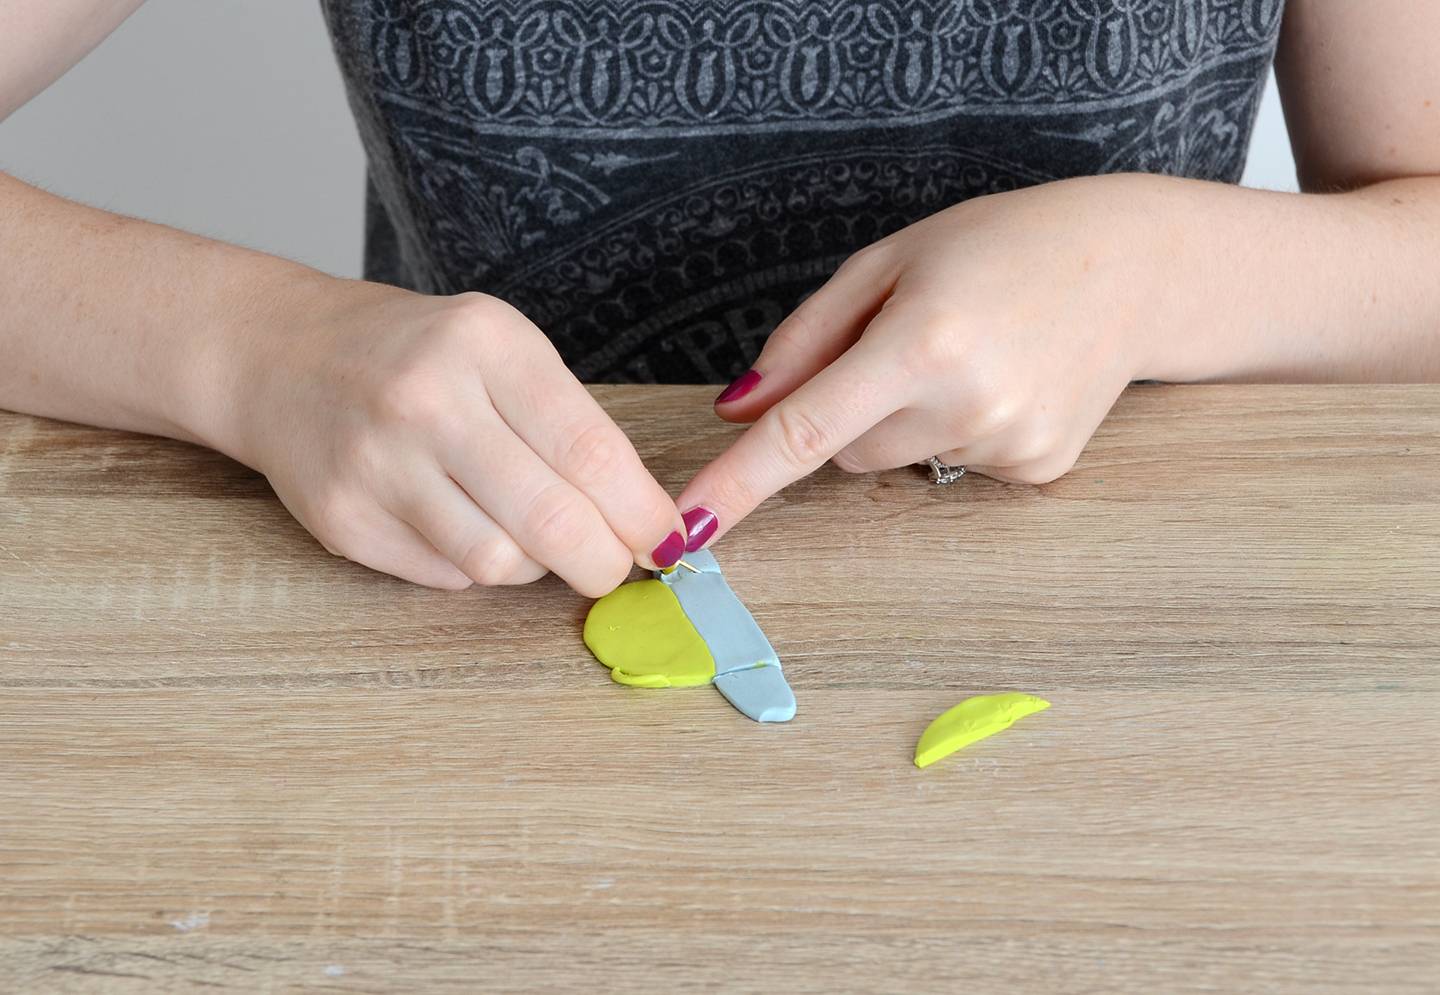
Flip it over and cut the ends off of the strips and trim the edges of the semicircle. Smooth the edges gently with your fingers.
Step
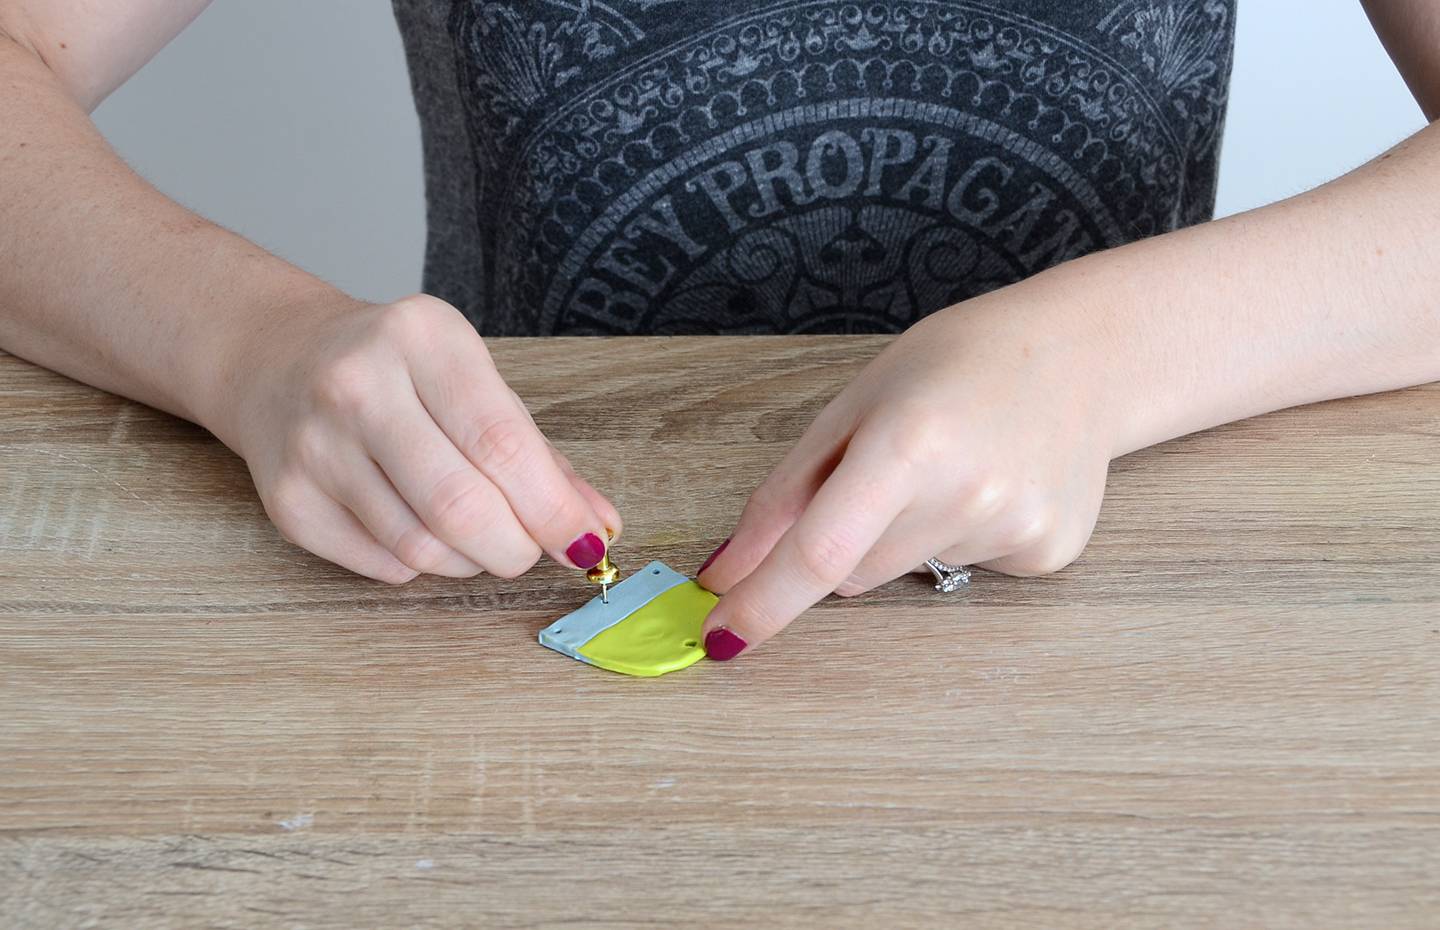
Use the thumbtack to poke a 3mm wide hole in the top, and seven smaller holes along the bottom edge (they should be about 1mm in diameter). Poke tiny, non-functional holes on the green section to add some texture at this point as well, making sure not to go all the way through the clay. Bake the pendant in the oven according to the instructions on the clay package.
Step
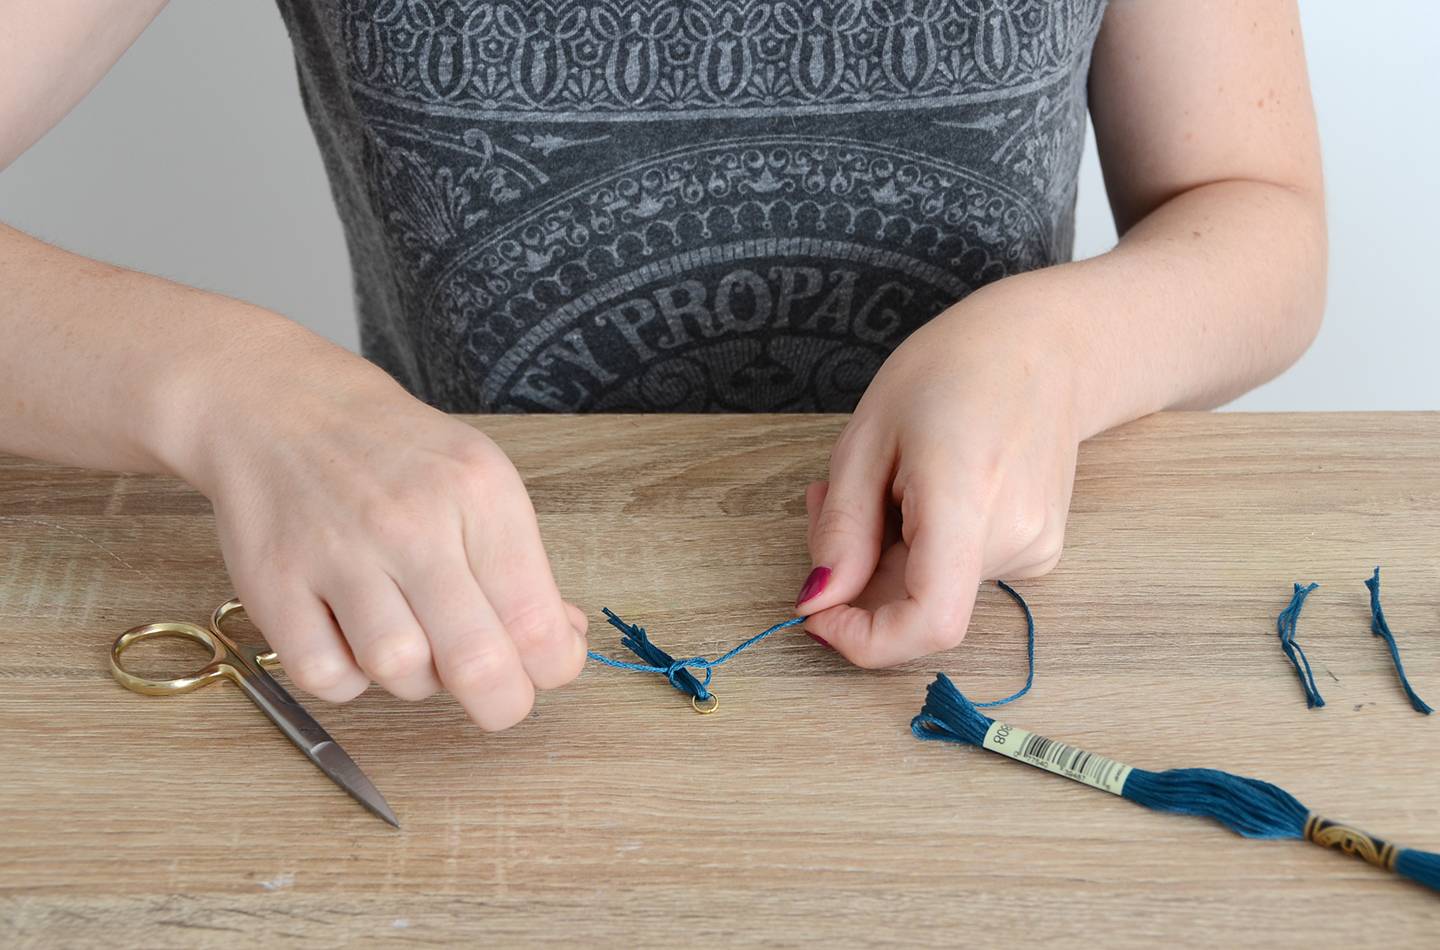
Now it’s time to make the tassels. Wrap the embroidery floss around the small piece of cardboard three times. Slide the loops off and cut through them, forming three equal length pieces of floss. (You don’t have to use the cardboard if it’s more trouble than it’s worth, it’s just a guide.) Do this seven times so you have a total of 21 small pieces of floss that are about 2 inches long. Slip three of the pieces through one of the 7mm jump rings, fold them in half and tie another piece of floss around them as shown above. Wrap that new piece of floss around the tassel a couple of times and then knot it. Repeat this process to create seven tassels.
Step
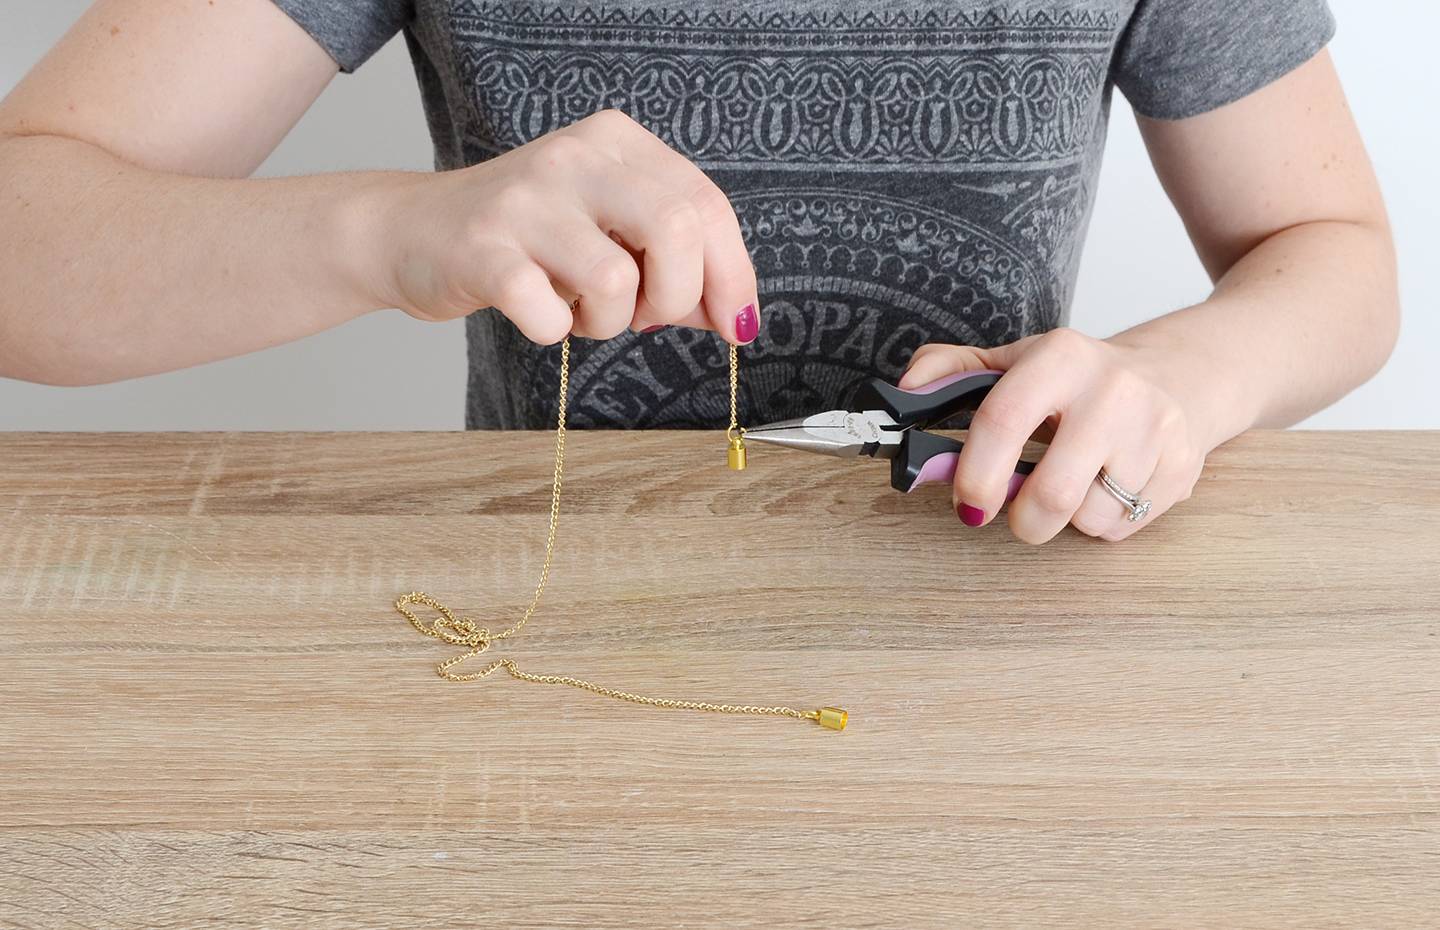
Drape the chain around your neck to make sure it is your desired length (don’t forget to take into account the eight inch section of cord that will be at the bottom). Trim the chain if necessary. Use a pair of pliers to connect the cord ends to both ends of the chain using the 5 mm jump rings.
Step
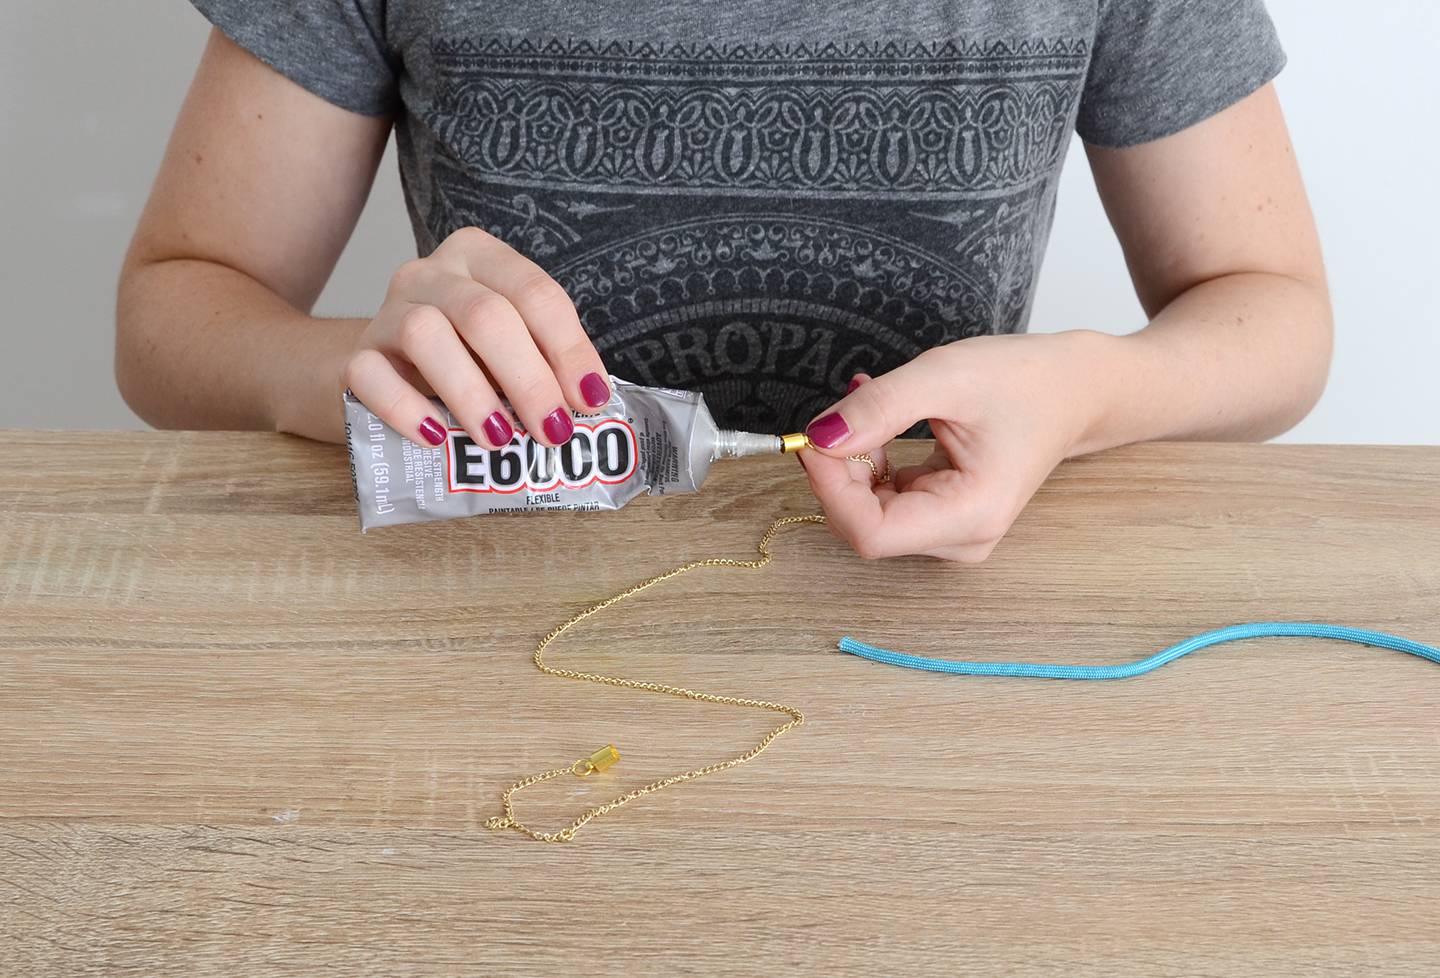
Fill the cord end halfway with E6000 glue and insert the end of the paracord into it. Do the same on the other end.
Step
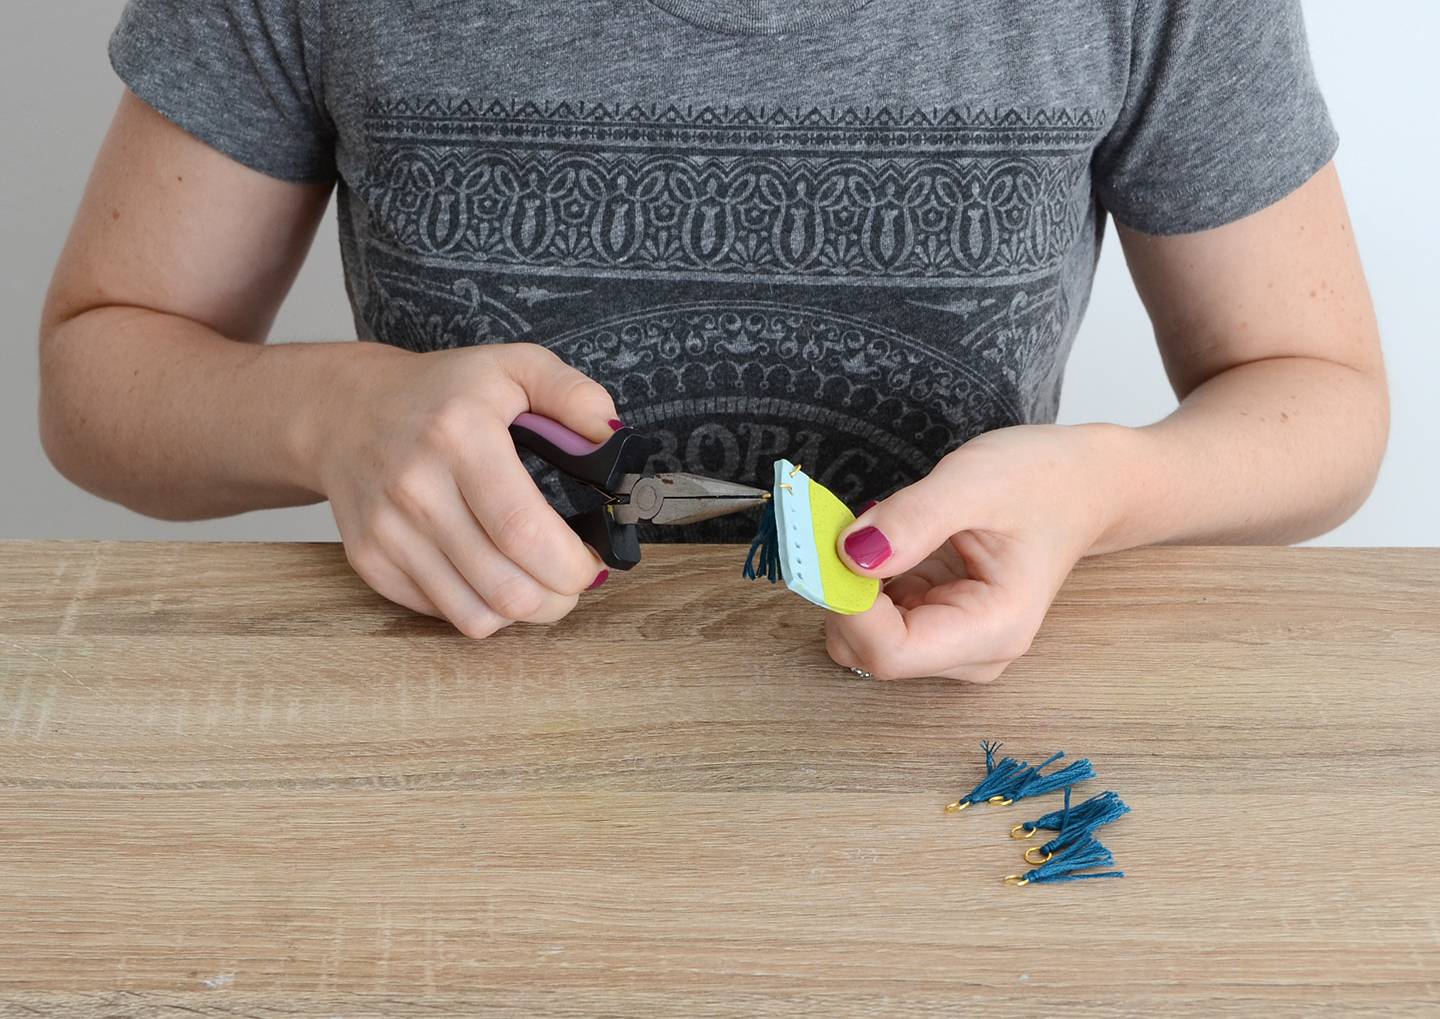
Open the tassel jump rings and slip them through the holes in the bottom of the clay pendent. Close them up again so they stay securely in place. Trim the bottoms of the tassels so they are even.
Step
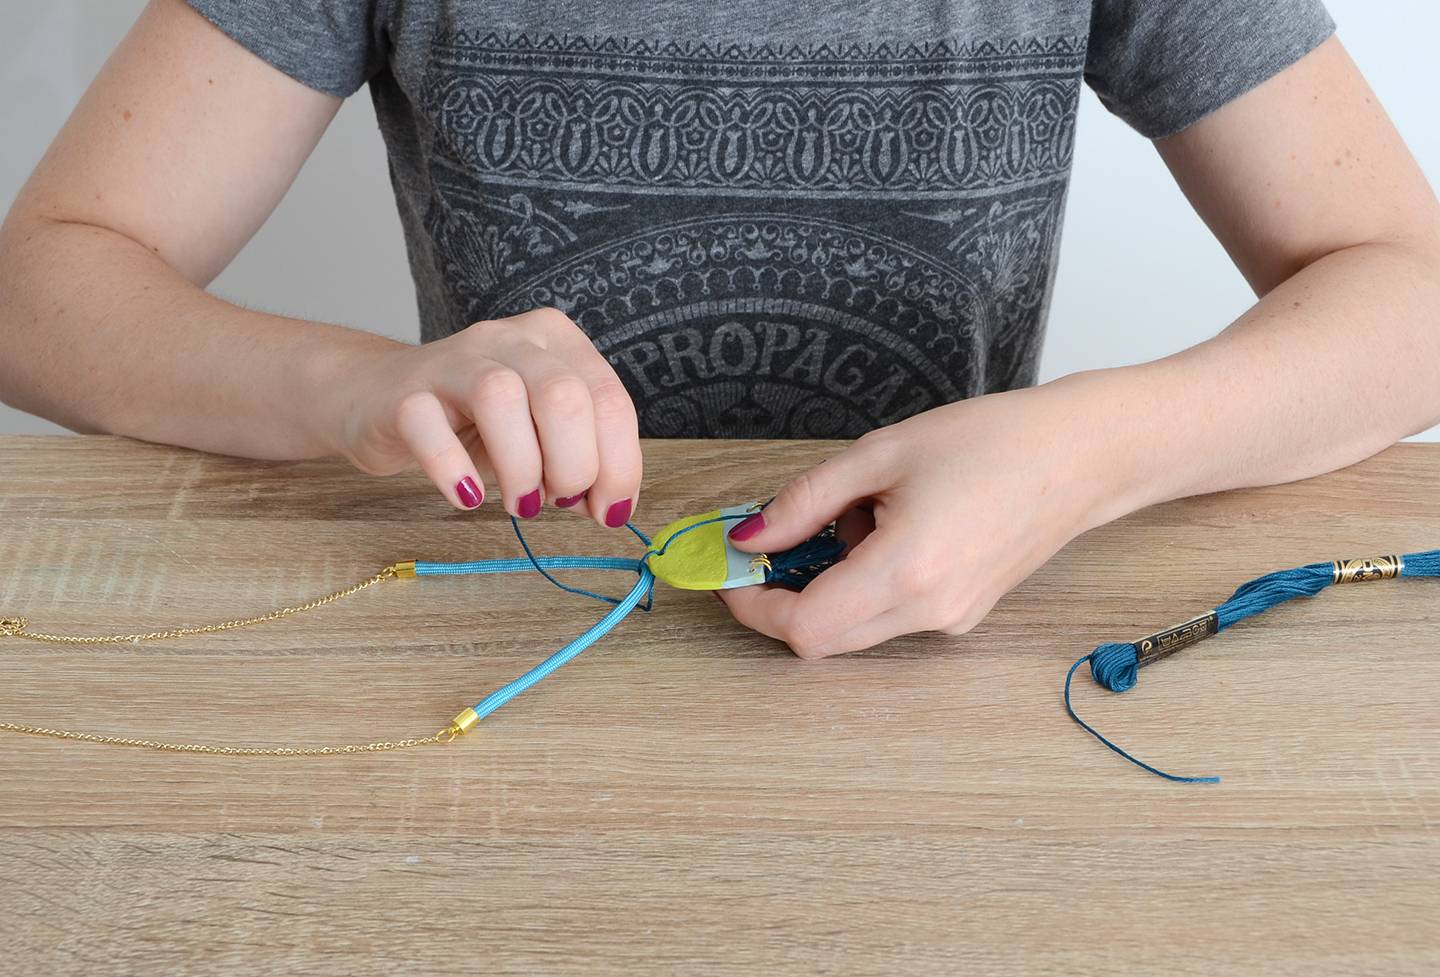
The last step is to attach the pendant to the cord. Cut an eight inch piece of embroidery floss and wrap it around the cord and then thread it through the hole in the top of the pendant. Do this two or three times and then knot it on the back and trim the ends.
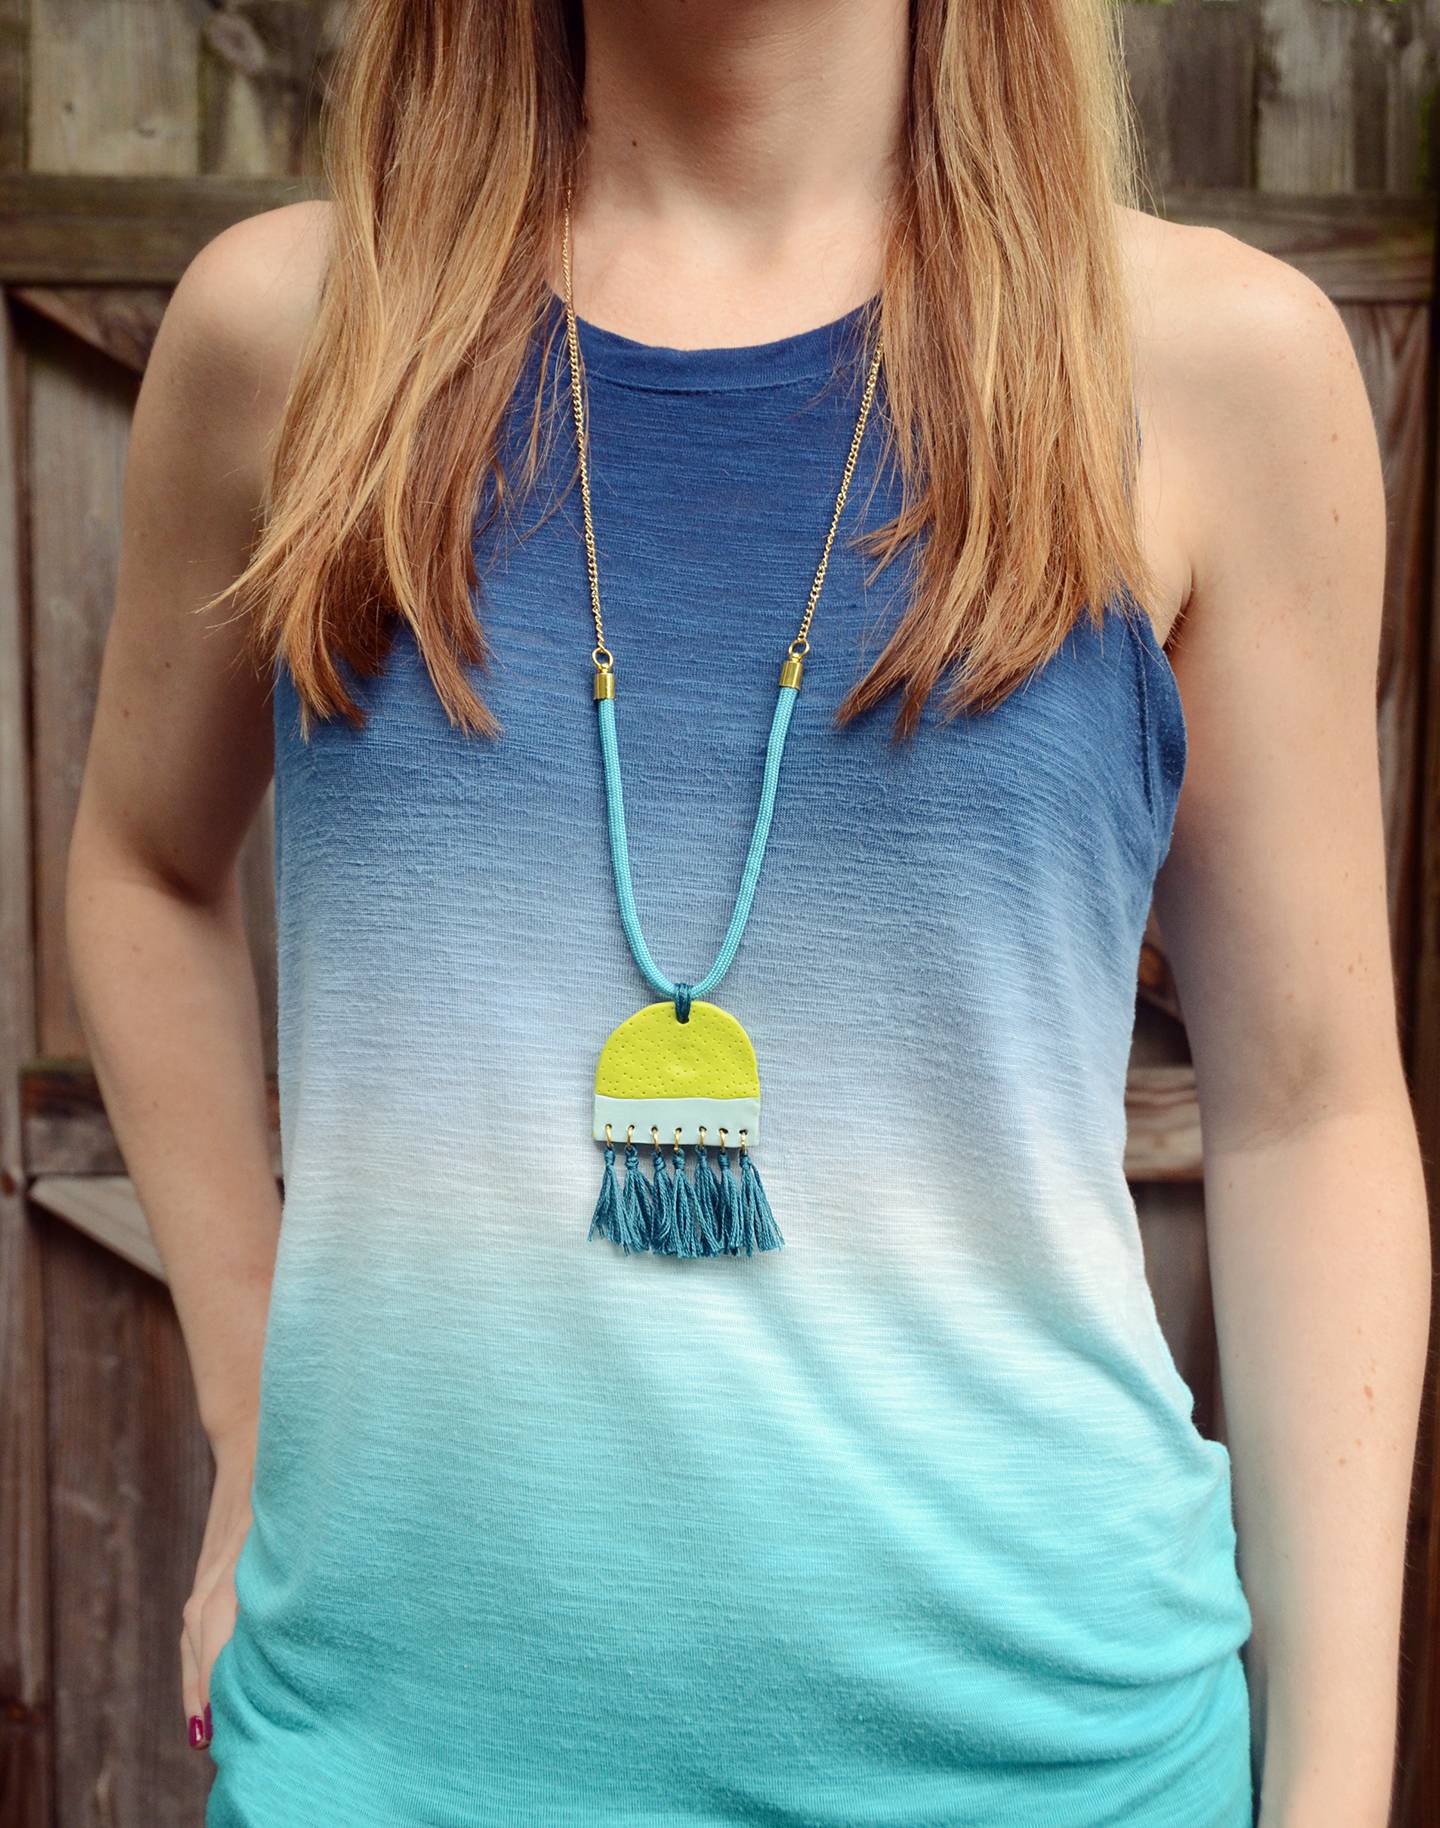
And your pendant tassel necklace is complete! There’s nothing subtle about this one… it certainly makes a bold statement.
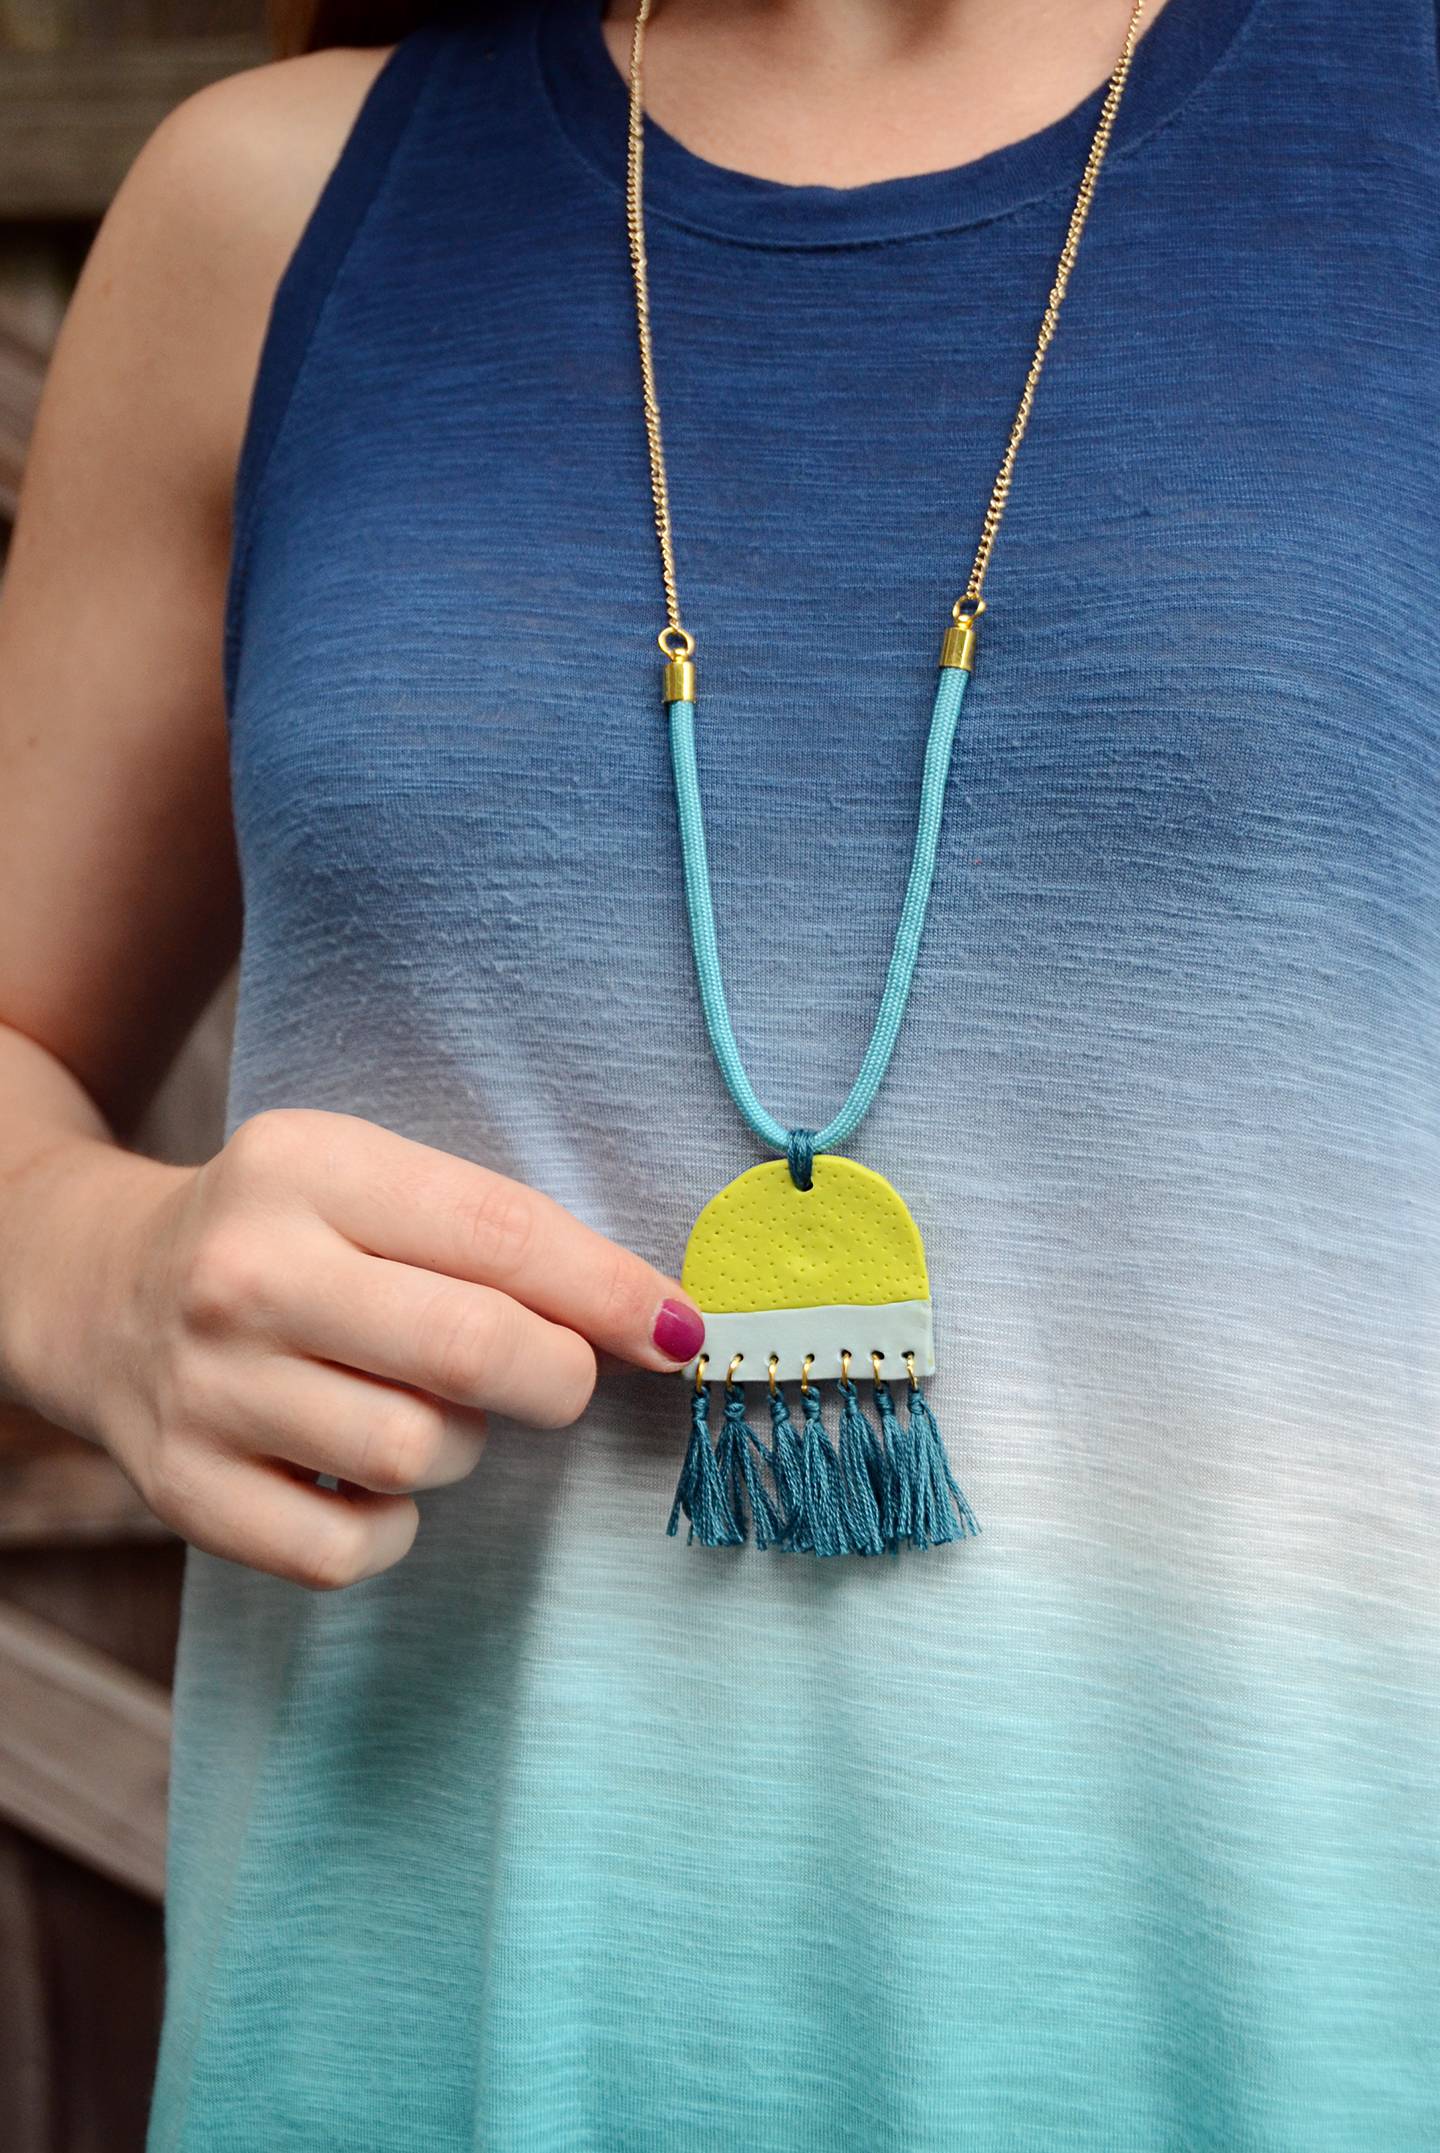
The quirky shape and unique color scheme make it feel contemporary with just a hint of a retro vibe… and those subtle holes in the green piece add the perfect amount of texture.
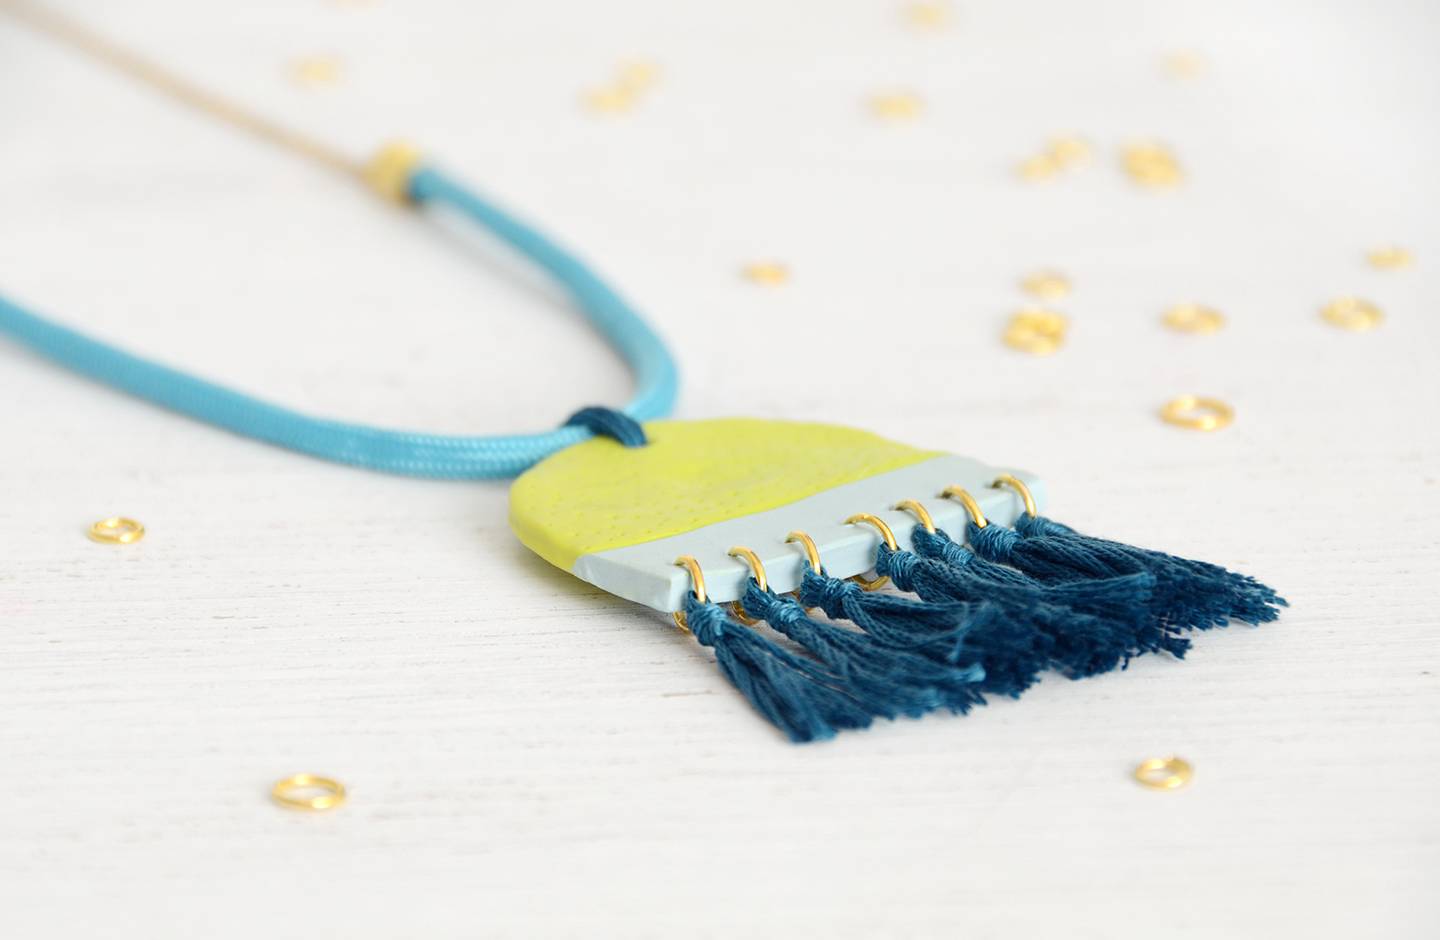
Don’t be afraid to try other color schemes though too… it would look great in warmer color tones or even a monotone look in shades of gray and silver. Go crazy!
