I’ve been practicing macrame a lot recently and even though I’m still a beginner, I love creating unique projects with this basic twisted macrame pattern (as you may have seen in my DIY twisted macrame keychains earlier this week). Because I have a love for Edison light bulbs, I’d planned to create my own dangling wall light in our living room for months, and this simple macrame wrapped wall light DIY was the perfect solution.
This twisted macrame pattern is simple to make through repetition, so it comes together in less than an hour. Work on it in front of the TV, and you’ll have an entire macrame wrapped lamp cord in no time. To personalize it more, I added a little watered down paint to give it a watercolor dyed appearance that matches the aesthetic of my home.
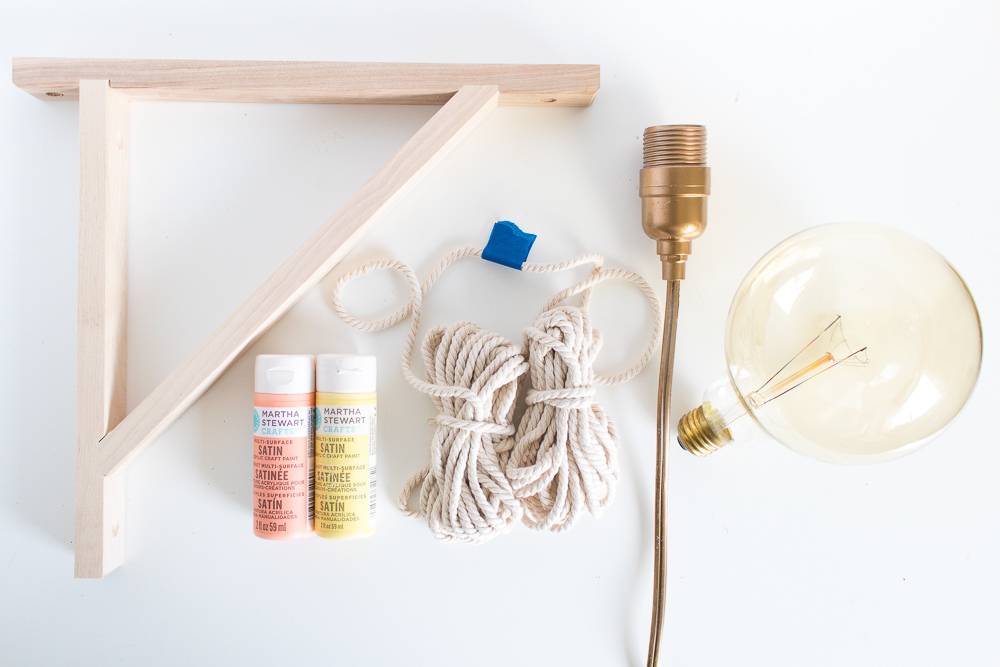
Materials:
- 6mm cotton macrame cord
- Light cord
- Large Edison light bulb
- Scissors
- Wooden shelf bracket (this one is from IKEA)
- Paint (optional)
- Paintbrushes (optional)
Note, I painted a plain white cord gold. This is optional.
Step
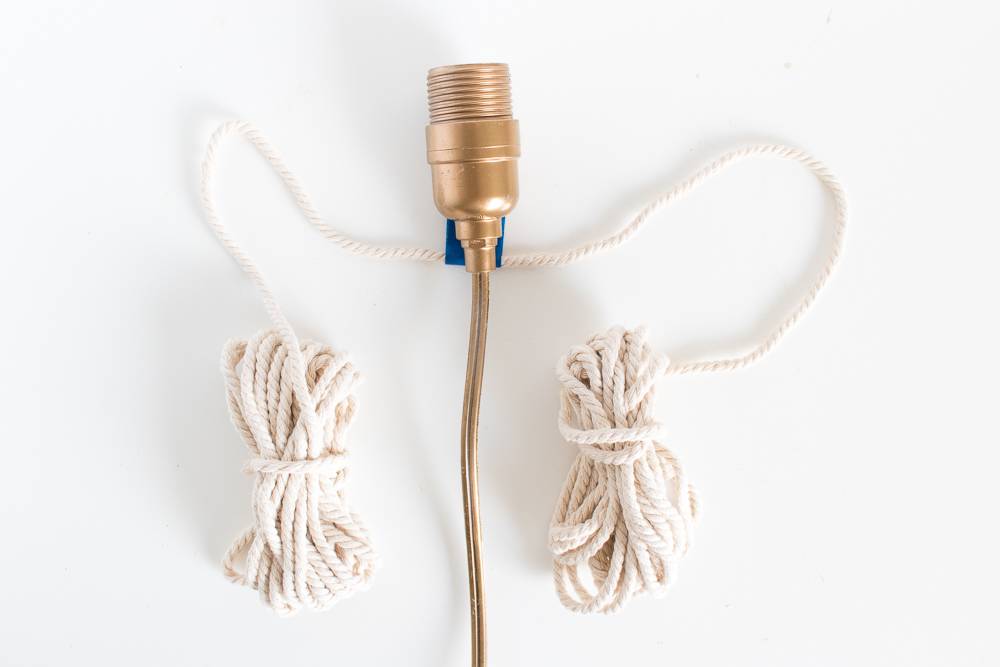
Cut the cotton macrame cord to about 10 body lengths or 10 fingertip-to-fingertip lengths. Find the middle and mark with a piece of tape. Roll up each side so it is manageable and place the top of the lamp cord on top of the middle of the macrame cord.
Step
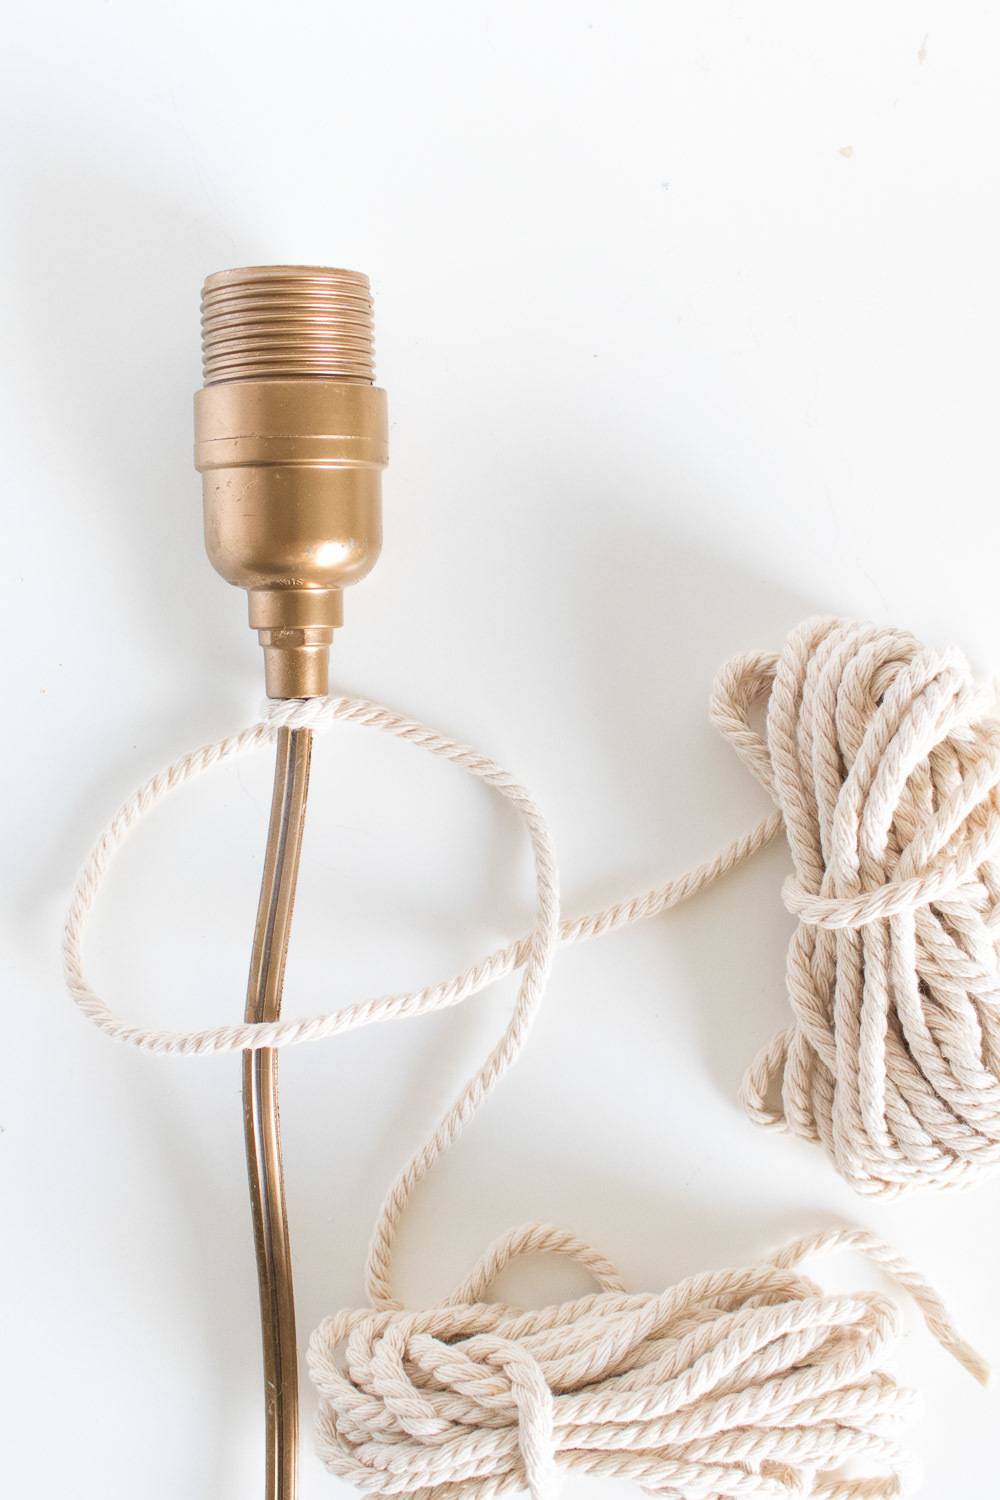
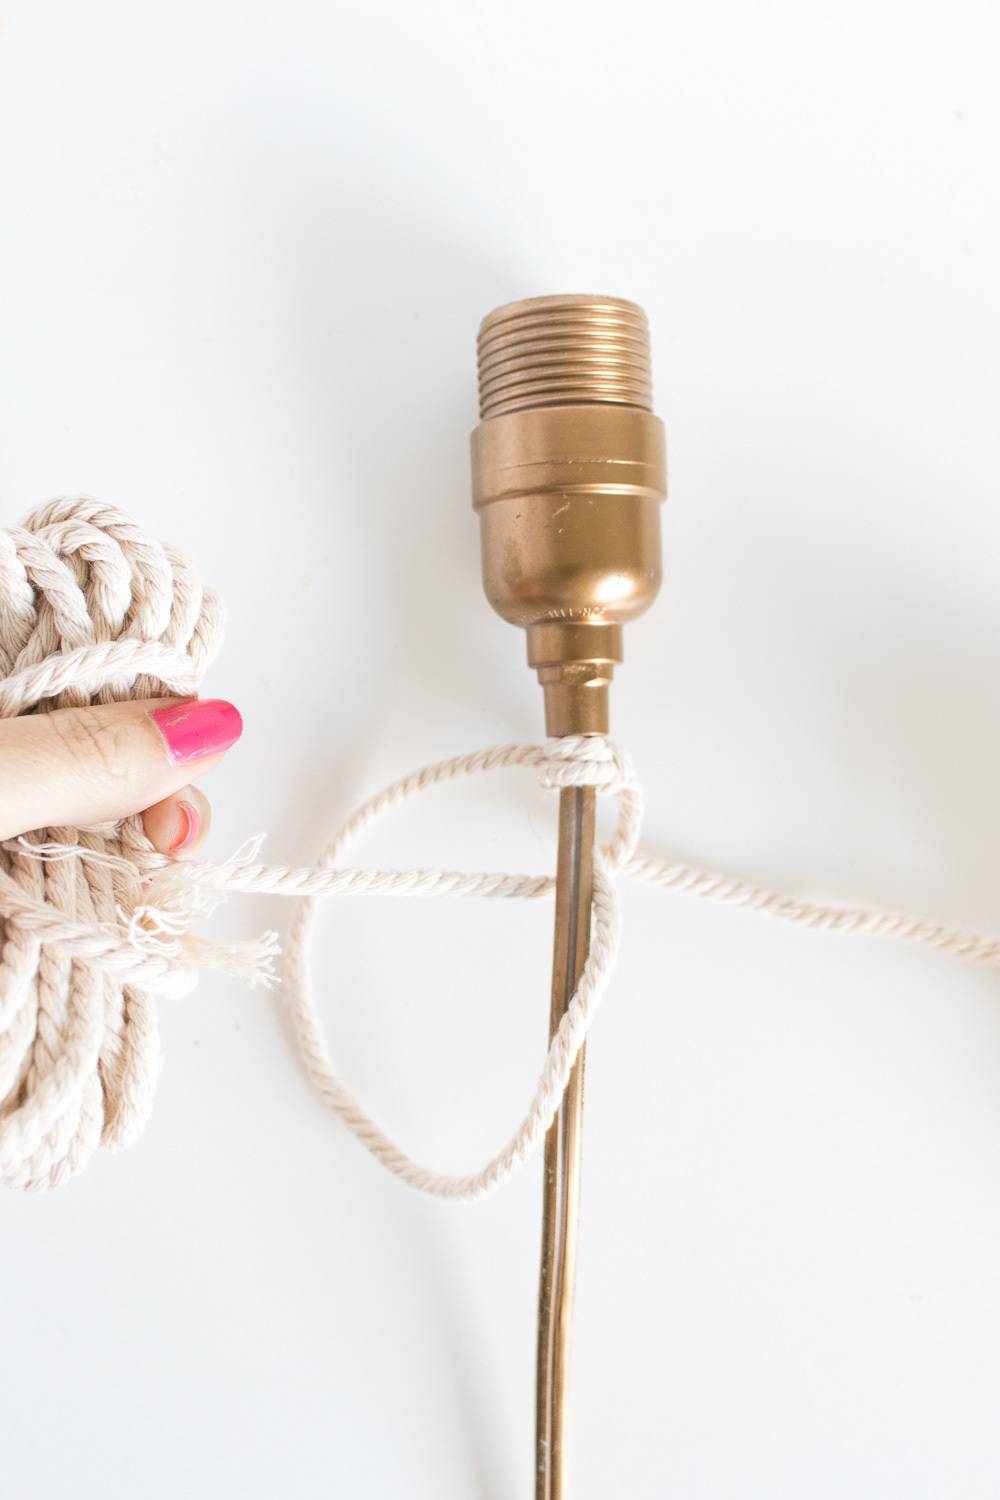
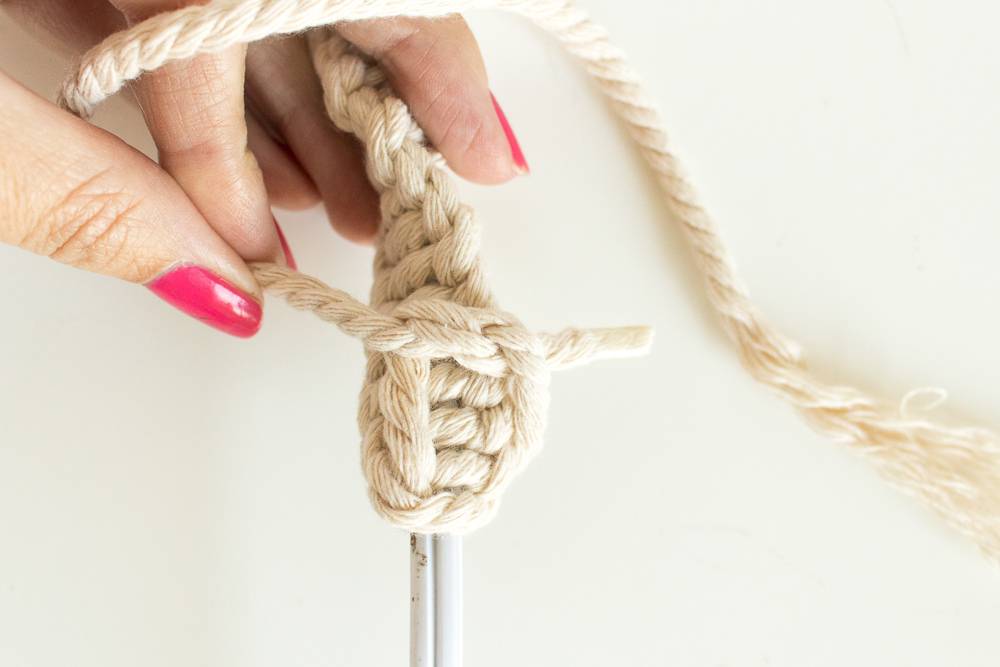
Remove the tape once you’ve aligned the cords. To make the knot, move the left side over the lamp cord, creating a triangle-like shape. Place the right side on top of the left cord, twist behind the lamp cord and through the loop of the left side. Pull tight to create a left square knot.
Step
Repeat this knot all the way down the lamp cord, allowing it to natural twist. If you run out of macrame cord before reaching the desired end of the lamp cord, you can trim the end and start again where you left off with another length of cord. It will appear almost-seamless.
Step
When you reach your desired end, finish the lamp cord by tying a traditional knot. Trim excess cord.
Note, I did not macrame the entire length of the cord because it was too long and would not be visible when hung. I recommend measuring beforehand to prevent unnecessary work.
Step
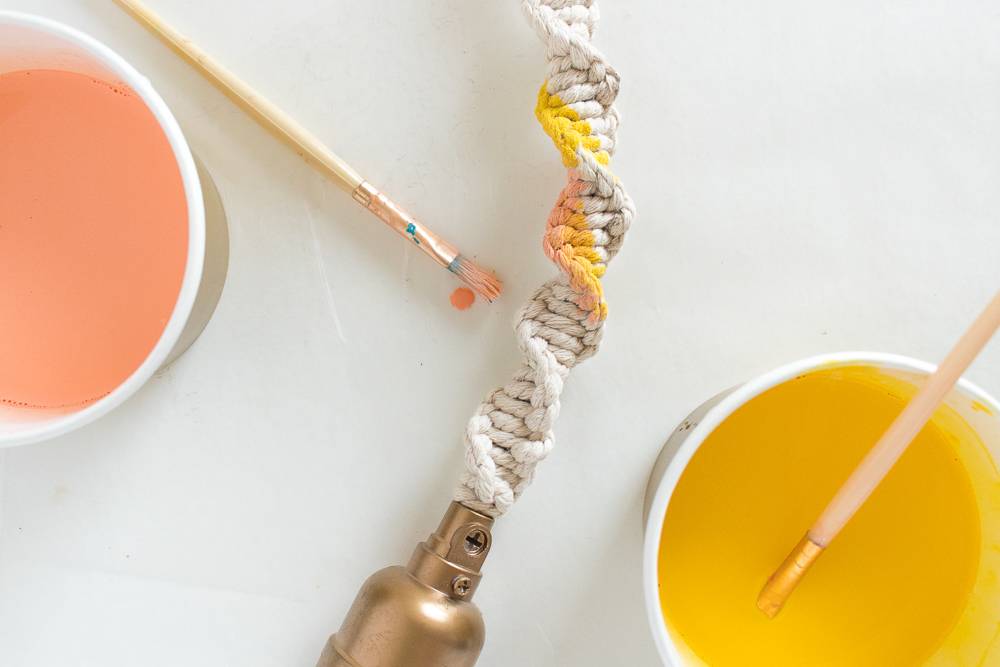
This step is optional. Once done securing all knots, dye the rope. Dispense paint into cups/bowls and stir with a little water to dilute. Use paint brushes to dab the diluted paint onto the cord in no particular pattern and let dry. It will lighten up as the paint dries.
Step
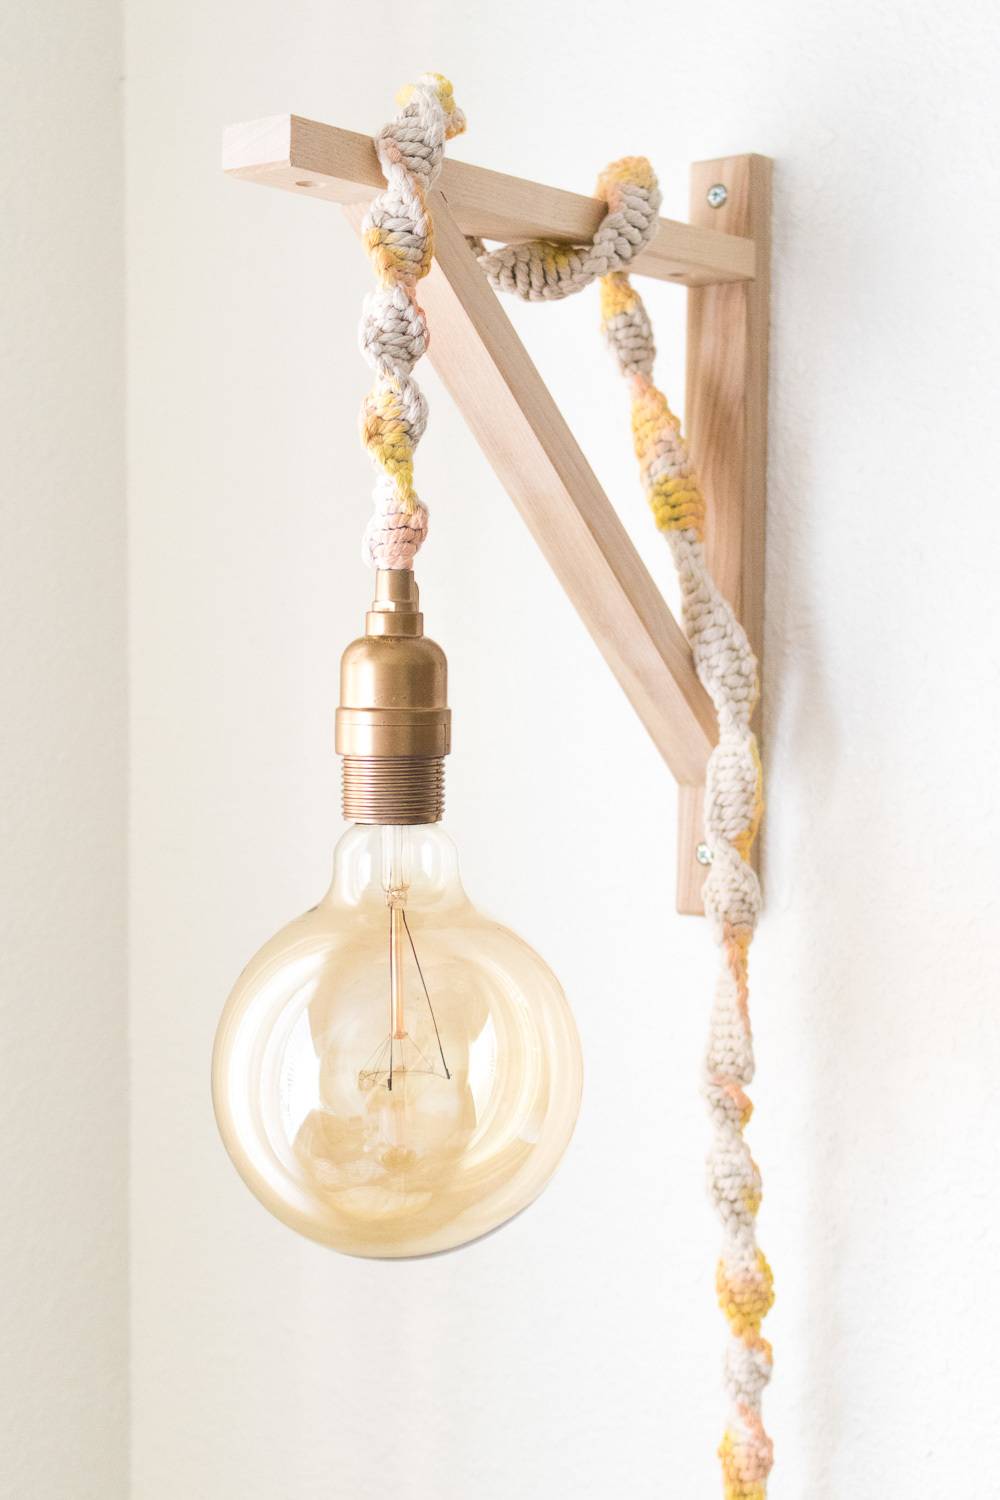
To assemble the light fixture, hang a large shelf bracket on a wall. Twist the top of the lamp cord through the middle of the bracket and let it hang limply over the top. Screw in an oversized Edison bulb and plug the bottom into an outlet.
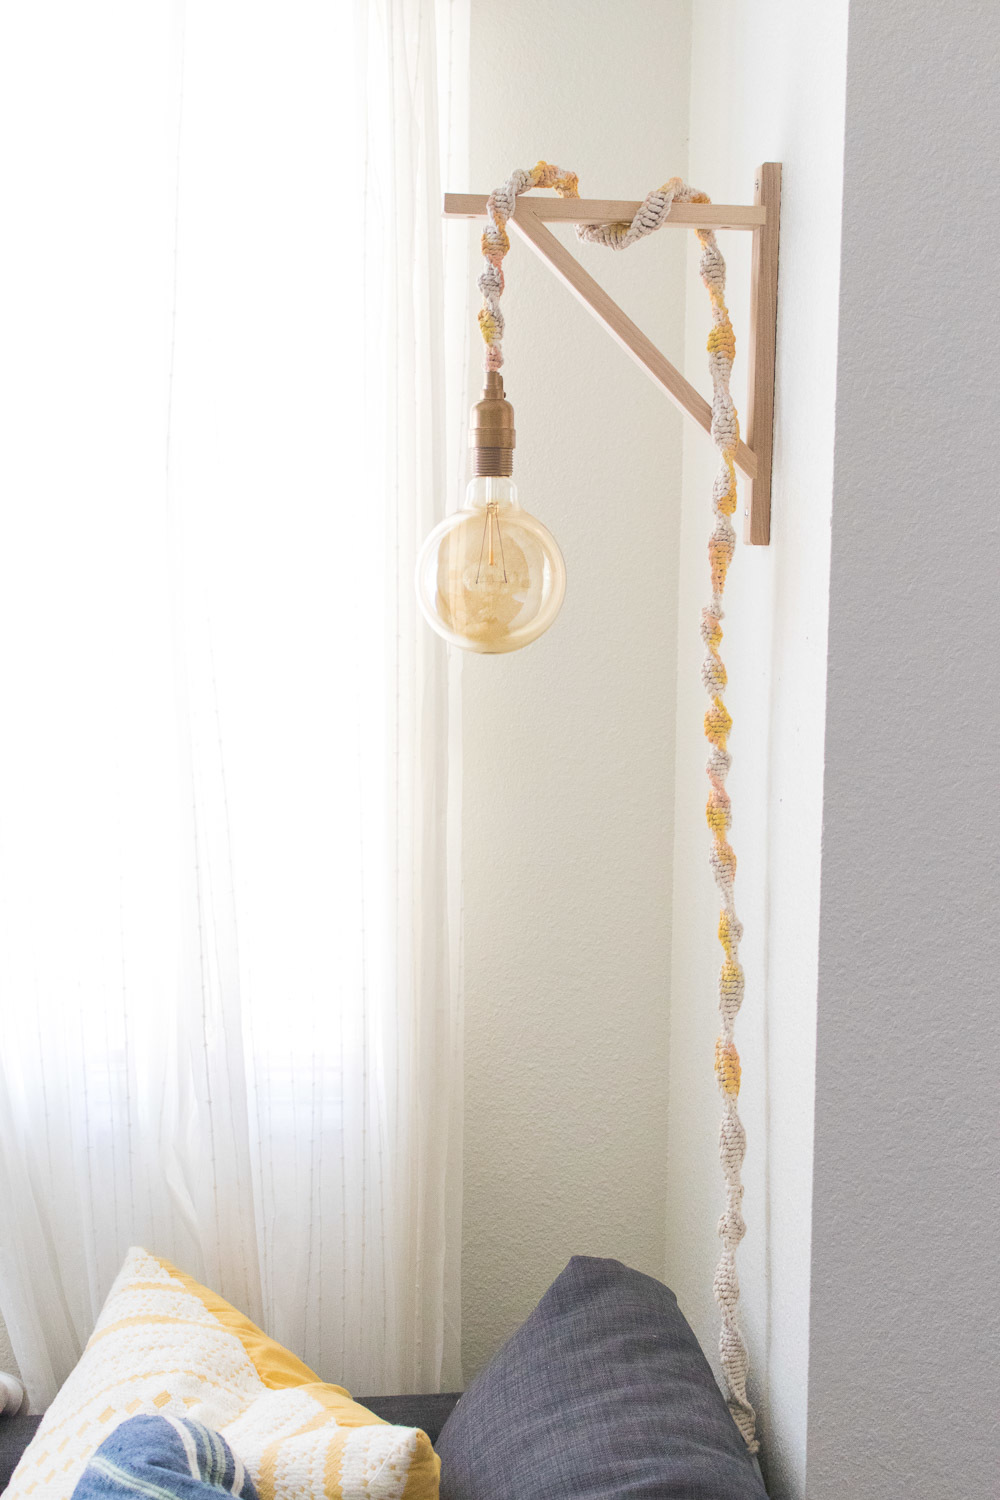
This light makes a lovely statement over our couch in an area that was once lacking light. Now it’s a unique addition to the room, and we can easily switch a light on and off without leaving the couch!
Nice! I love it!
Heel mooi ,,,ga ik ook proberen maar met 2 kleuren touw….