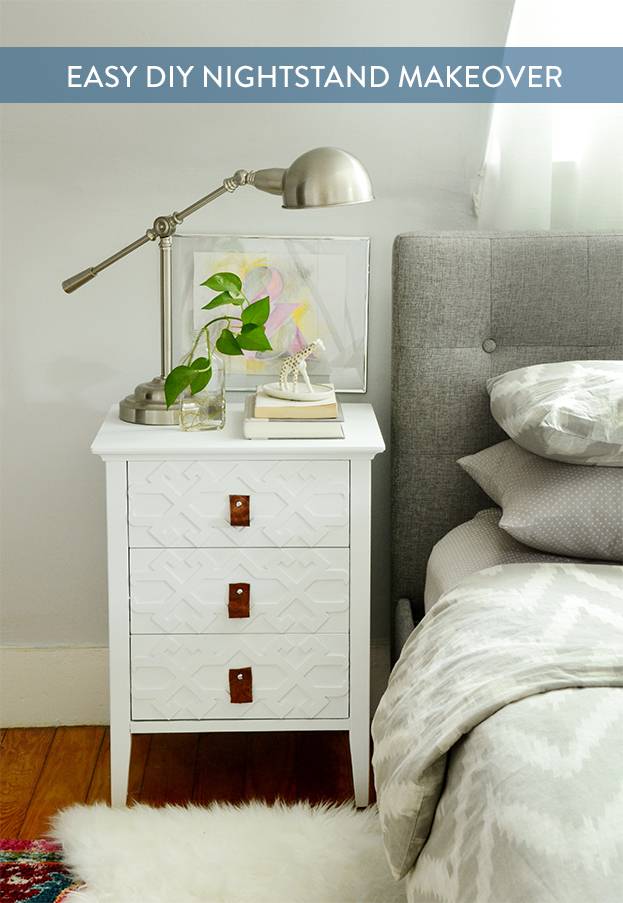
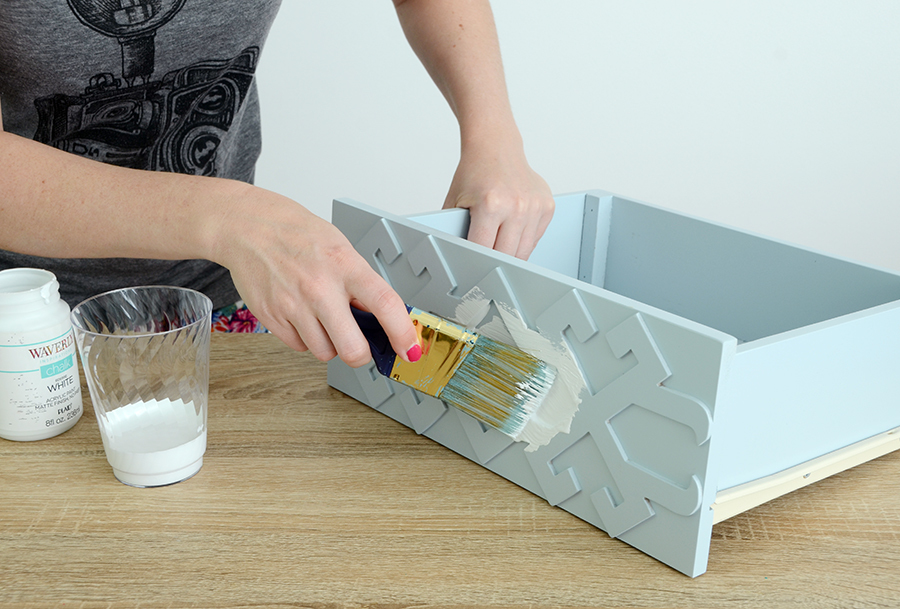
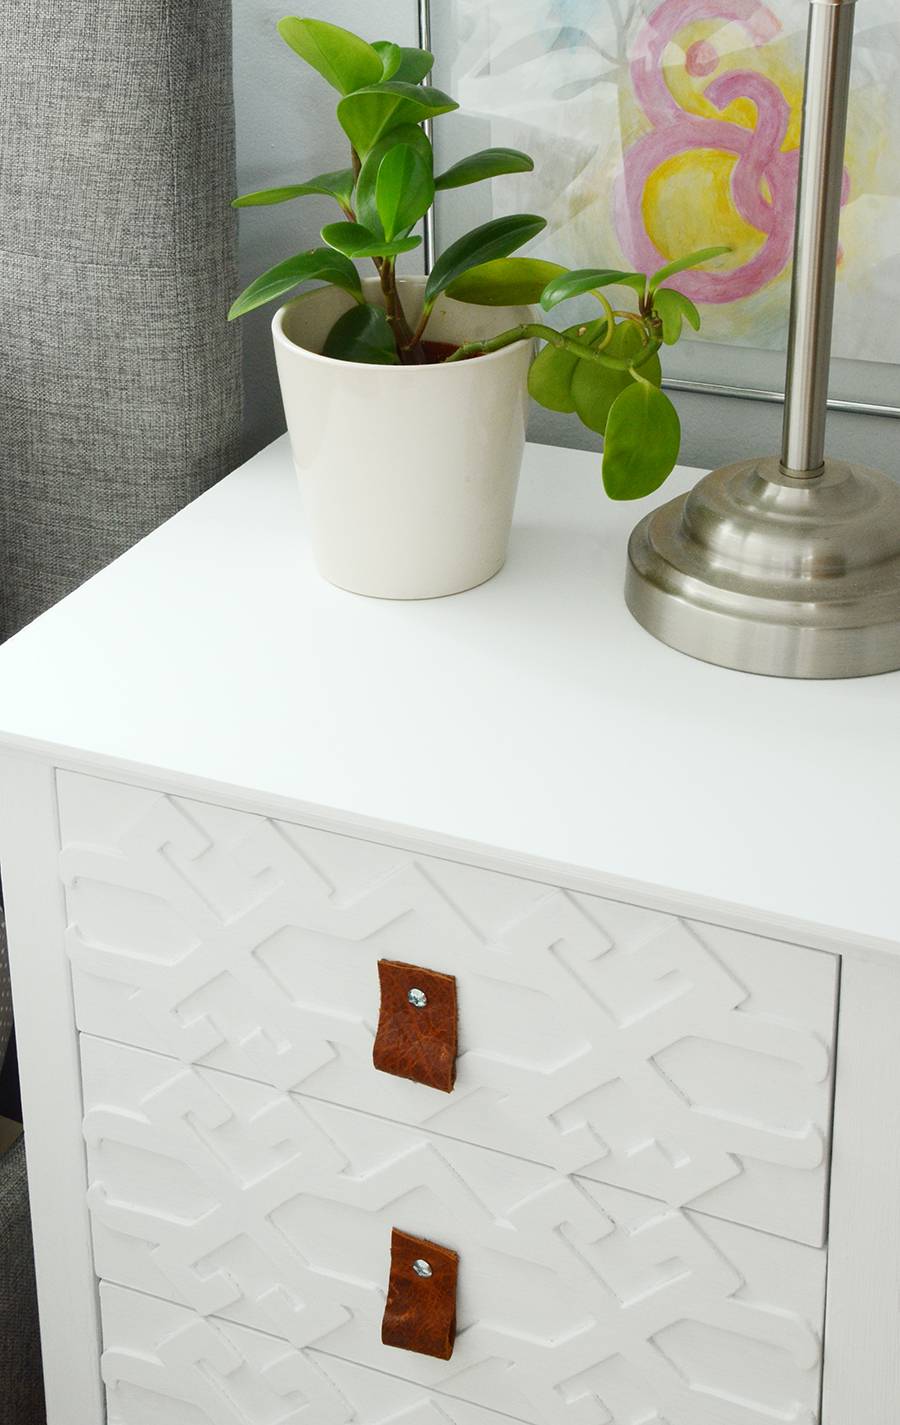
I’ve wanted to upgrade my nightstands for a long time. I love the raised pattern on the drawer fronts, but the pale blue doesn’t work well with the existing colors in the room. So I decided to give them a couple of coats of white chalk paint and add some leather pulls to lend a more sophisticated vibe. Click through to check out the final look, as well as a tutorial.
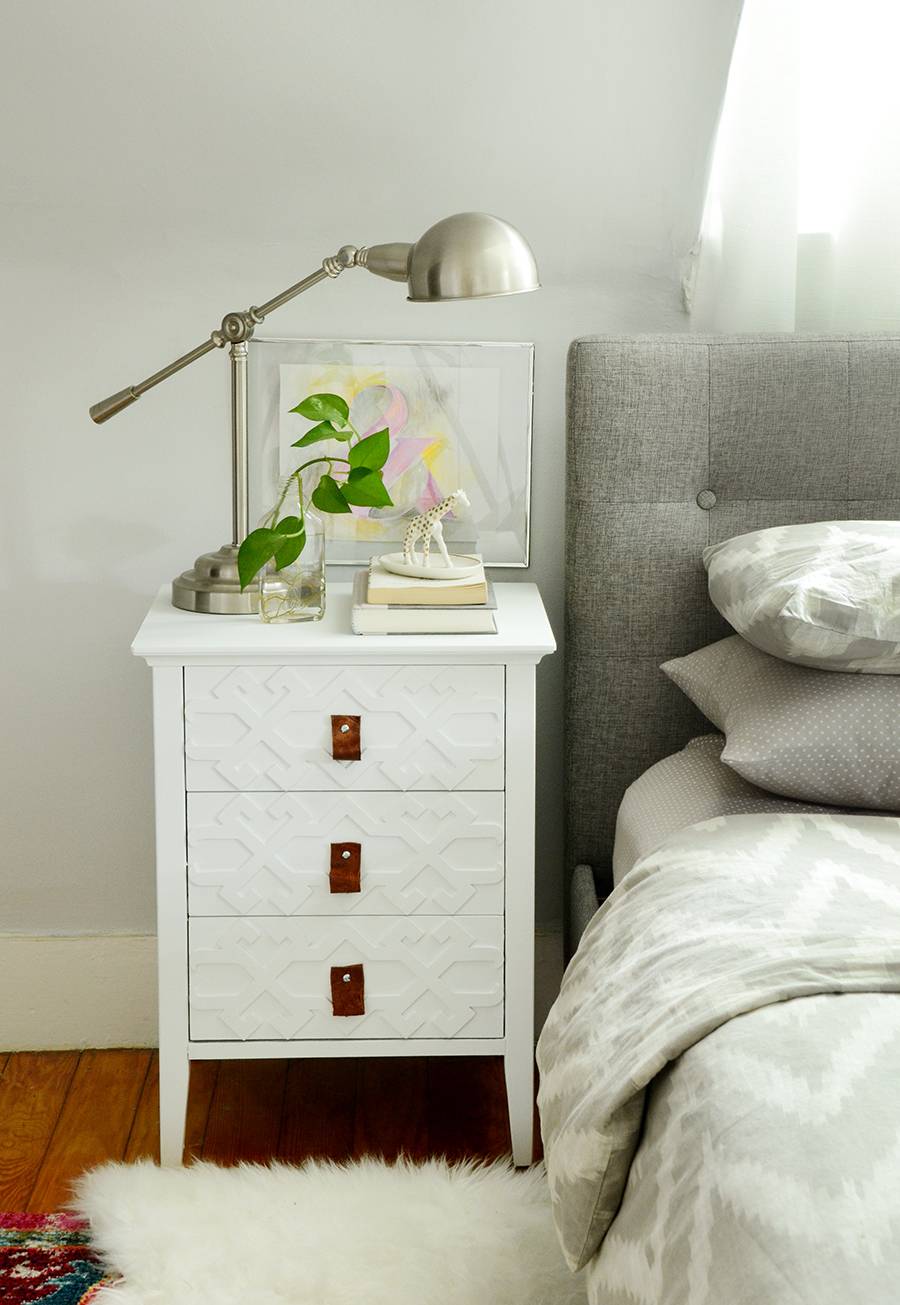
The white looks much better in the space, lightening up the area next to the bed and eliminating the random blue color that didn’t correspond with anything else in the room. And the chalk paint worked really well… it’s not just for creating a distressed look, it’s also great as a flat, smooth finish!
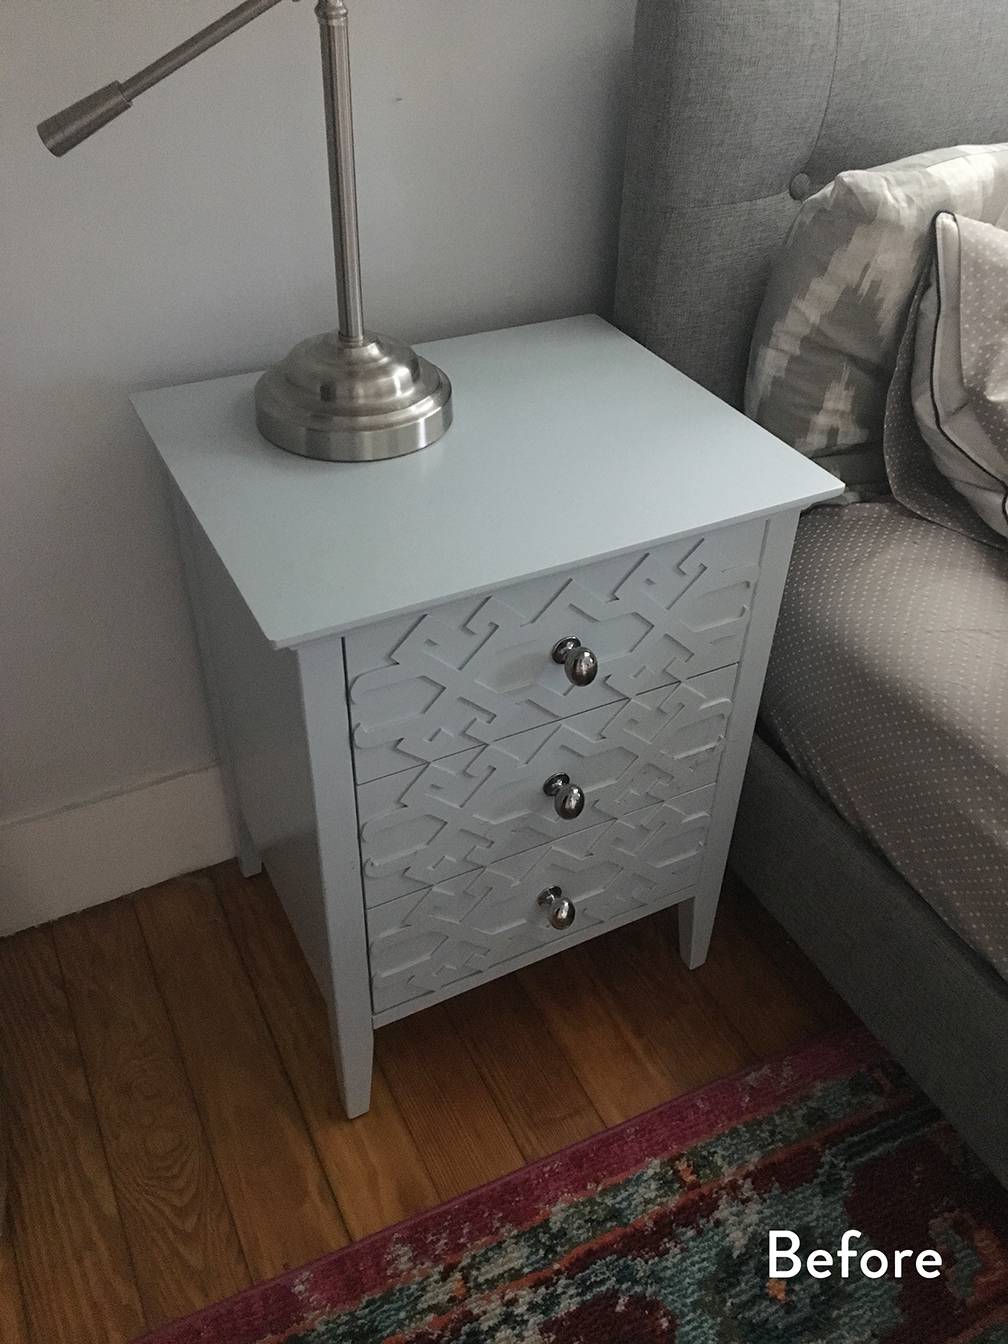
Here’s the before picture for comparison’s sake. Better, no?
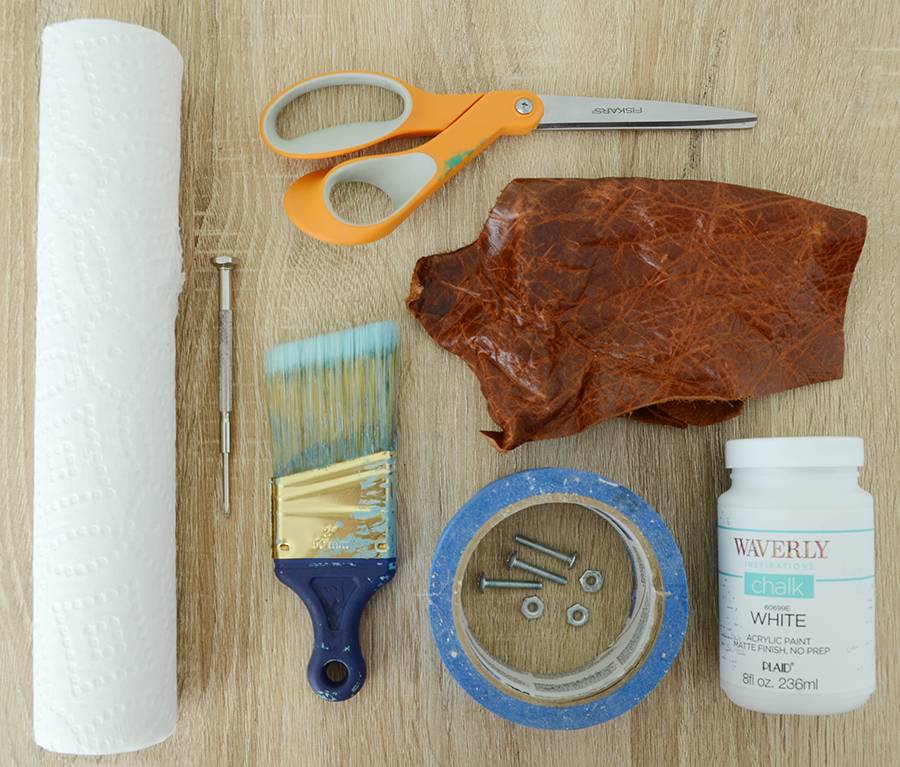
Here’s what you’ll need if you’d like to do a similar upgrade on your furniture:
- White chalk paint
- Scrap leather
- Scissors
- Screws with washers
- Blue painter’s tape
- Paint brush
- Screw driver
- Paper towels
- Hammer and large nail (not pictured)
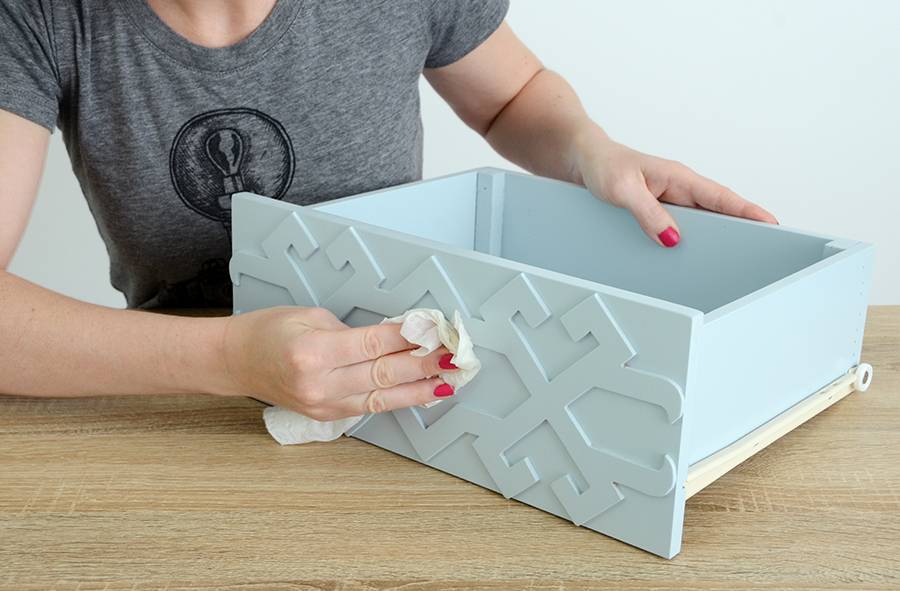
Begin by wiping down your furniture with a damp paper towel to remove any dust or dirt.
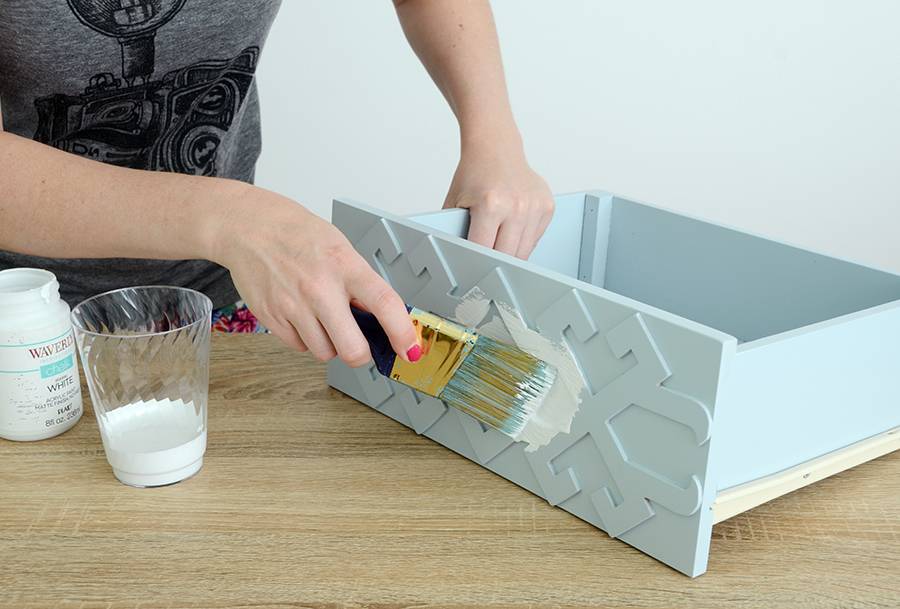
Let it dry, and then begin painting each piece. You will most likely need two coats – it’s better to do two thinner coats rather than one thick one. If you have a textured surface like I did, go back in with a smaller brush to apply paint in the nooks and crannies after you’ve applied the paint with the larger brush. I needed about 12 ounces of chalk paint to do two coats of paint on both nightstands.
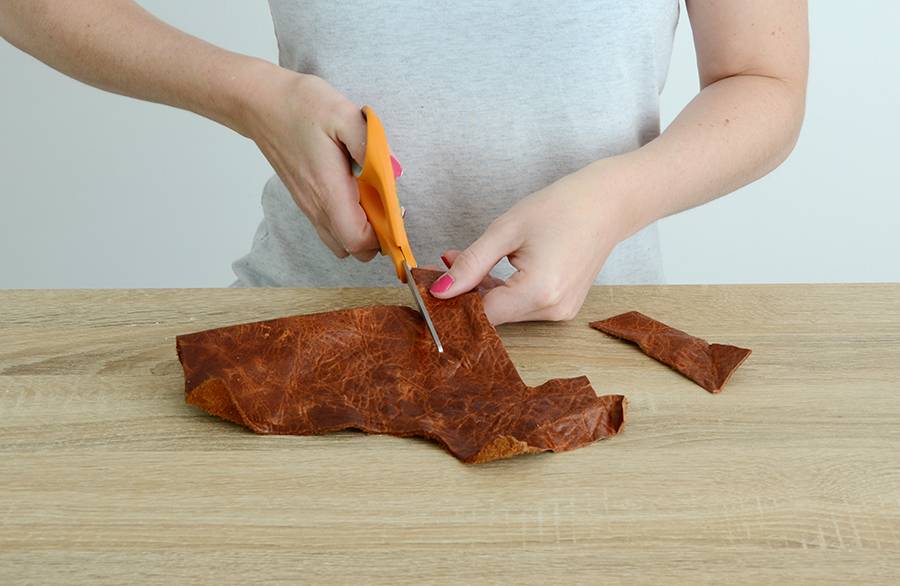
While the paint is drying, begin cutting your leather. Each pull should be 6 x 1.5 inches.
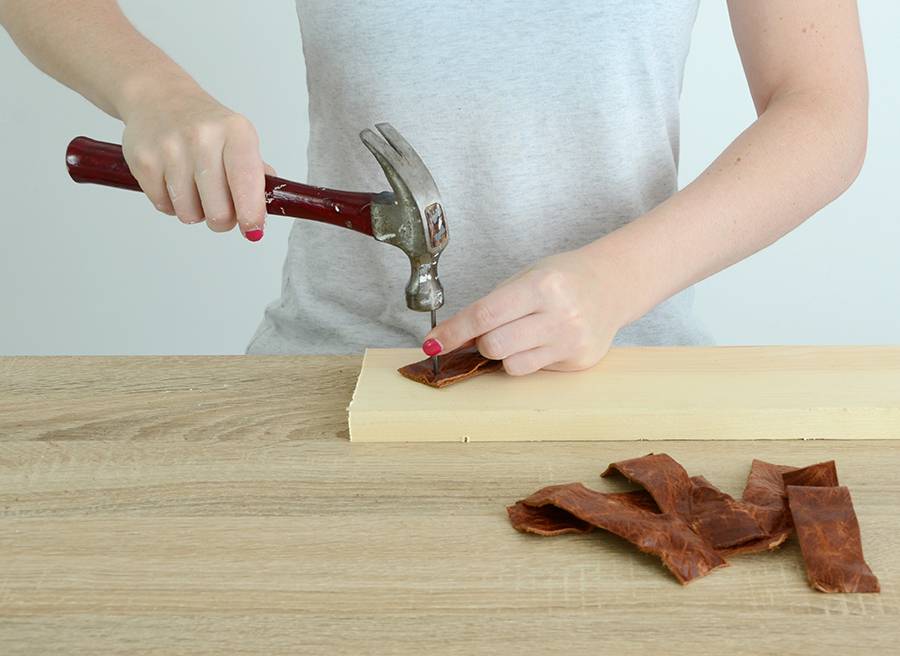
Fold a piece of leather in half and hammer a nail down through the top of it into a piece of scrap wood, to make a hole for the screw. Repeat this process for the rest of the pulls.
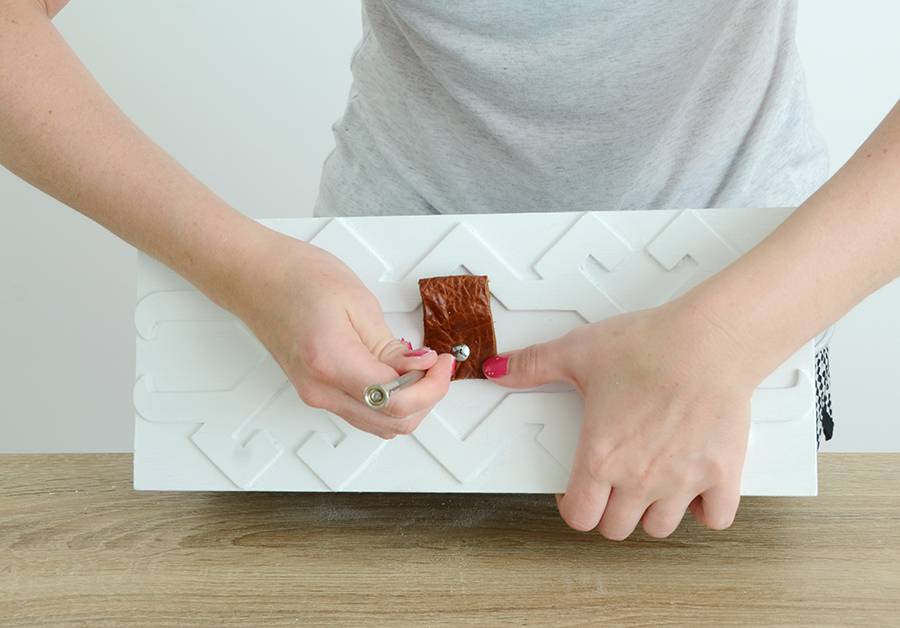
Insert the screw through the pull and the hole in the drawer, and screw the washer onto the screw on the back side of the drawer. Repeat this process for the rest of the pulls.
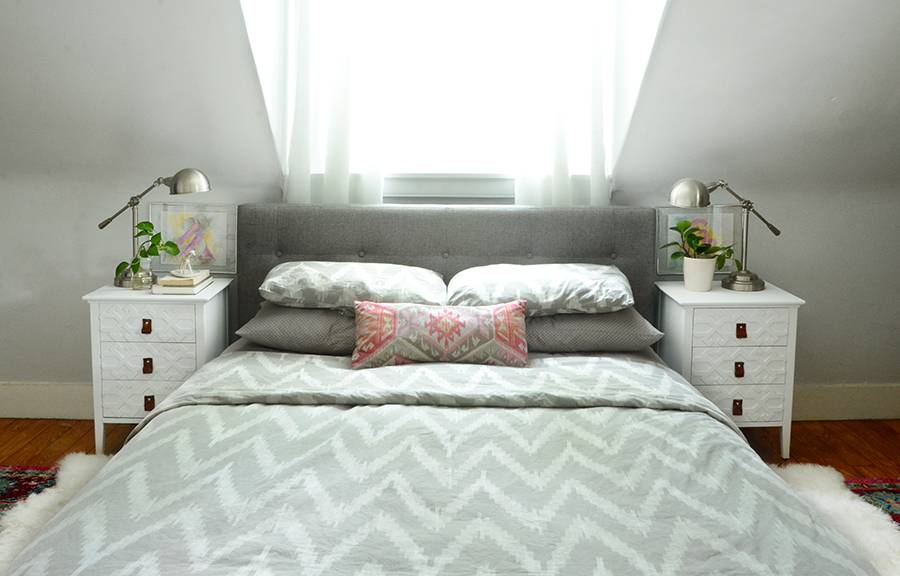
And that’s all! It’s a very simple process that won’t take more than a few hours including drying time. The resulting look is much more sophisticated and unique.
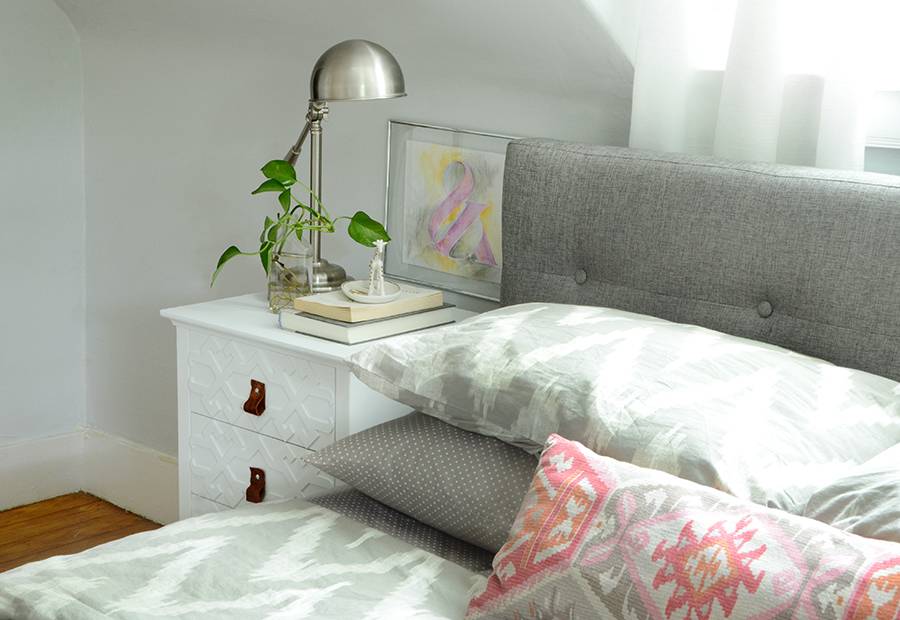
And the functionality is still the same… the leather pulls work just as well as the regular ones, and the height is perfect for our low bed frame.
You could also switch it up with a different color paint and suede or another thick fabric for the pulls. Brass screws would look great too. The sky’s the limit!
