
How soon is too soon to put up a Christmas tree? Because I wanted to put mine up at 12:00 am on November 1st. We usually do a live pine tree at my house, so we have a few more weeks to go until we can put one up and not have it be a fire hazard by December 25th. In the meantime, however, I’ve been scrounging up ornaments, garlands, and lights to decorate with. Maybe this is a little extra, but I like to change up the theme of my tree every year! This year I made three different Christmas ornaments, each using a different Dremel tool from our oh-so-handy combo kit.

I’m a huge fan of all of the Dremel tools, mostly because I’m a big baby and get nervous around other power tools. All three of the tools in this handy-dandy combo kit are not intimidating at all! However, don’t let their size fool you. Though they be but little, they are fierce; my point being: wear your safety gear when operating! Always wear goggles to protect your eyes, and clamp projects to a steady surface rather than holding them in your bare hand. Okay, on to the Christmas-ing!
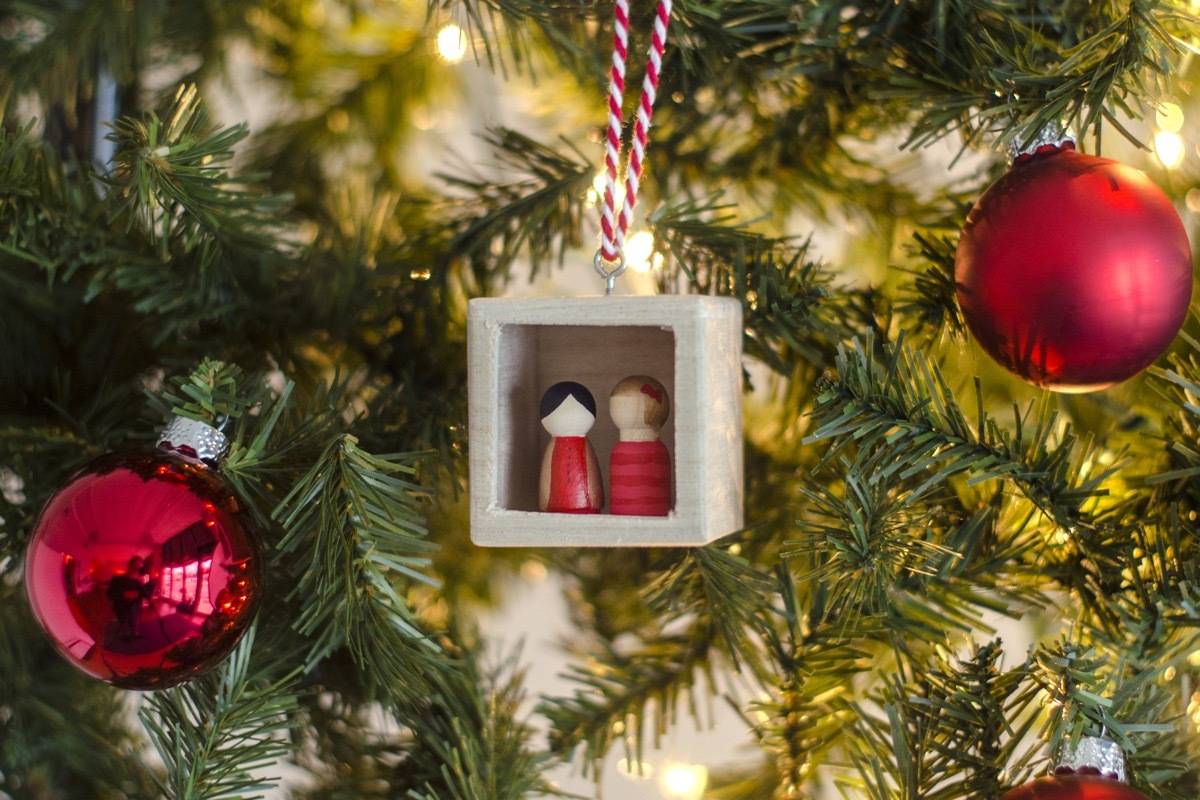
Ornament #1 – Couples Shadowbox
This Christmas ornament is meant to be created in the likeness of you and your better half, but really this shadowbox could be filled with anything holly, jolly, or the like.
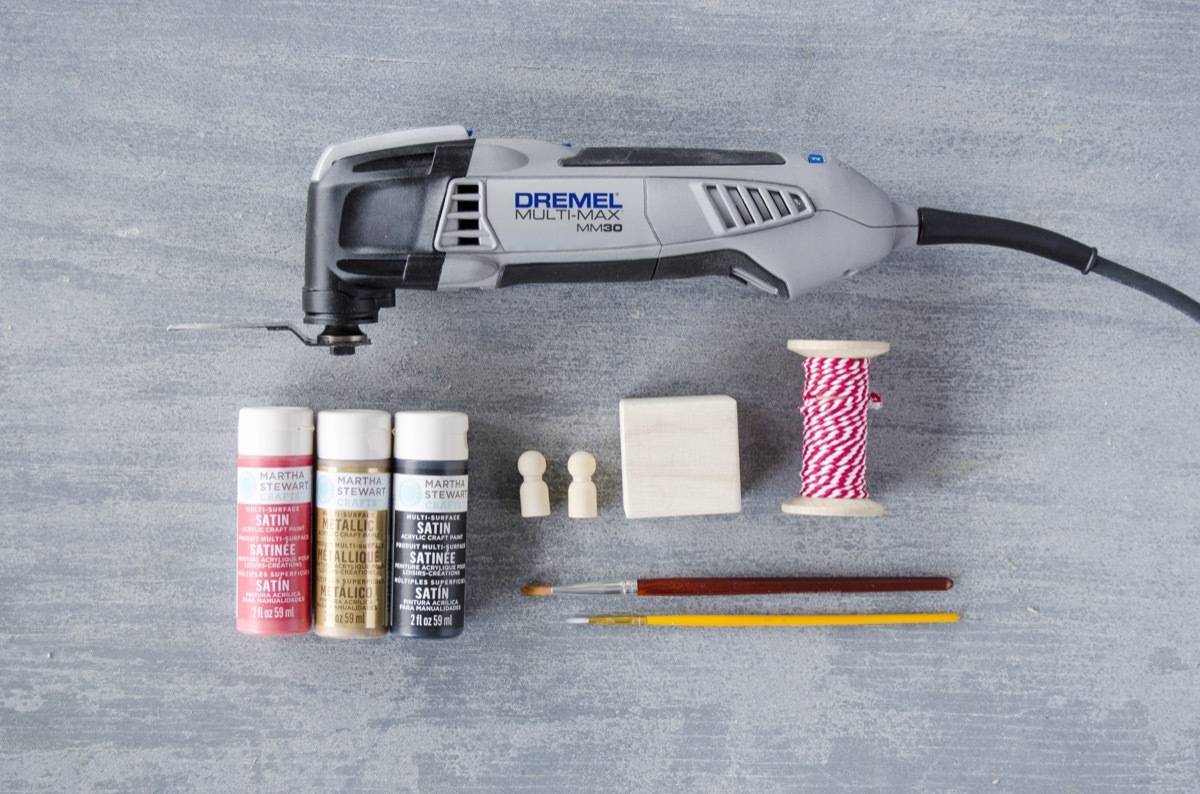
- Dremel MM30 Multi-Max oscillating tool
- Hollow balsa wood block (I picked mine up from my local craft store)
- Small peg people (also from the craft store)
- Acrylic paints and paint brushes
- Clamps and a sturdy surface to clamp to
- Safety goggles
- Small eye hook
- Twine
- Hot glue and glue gun
Step 1
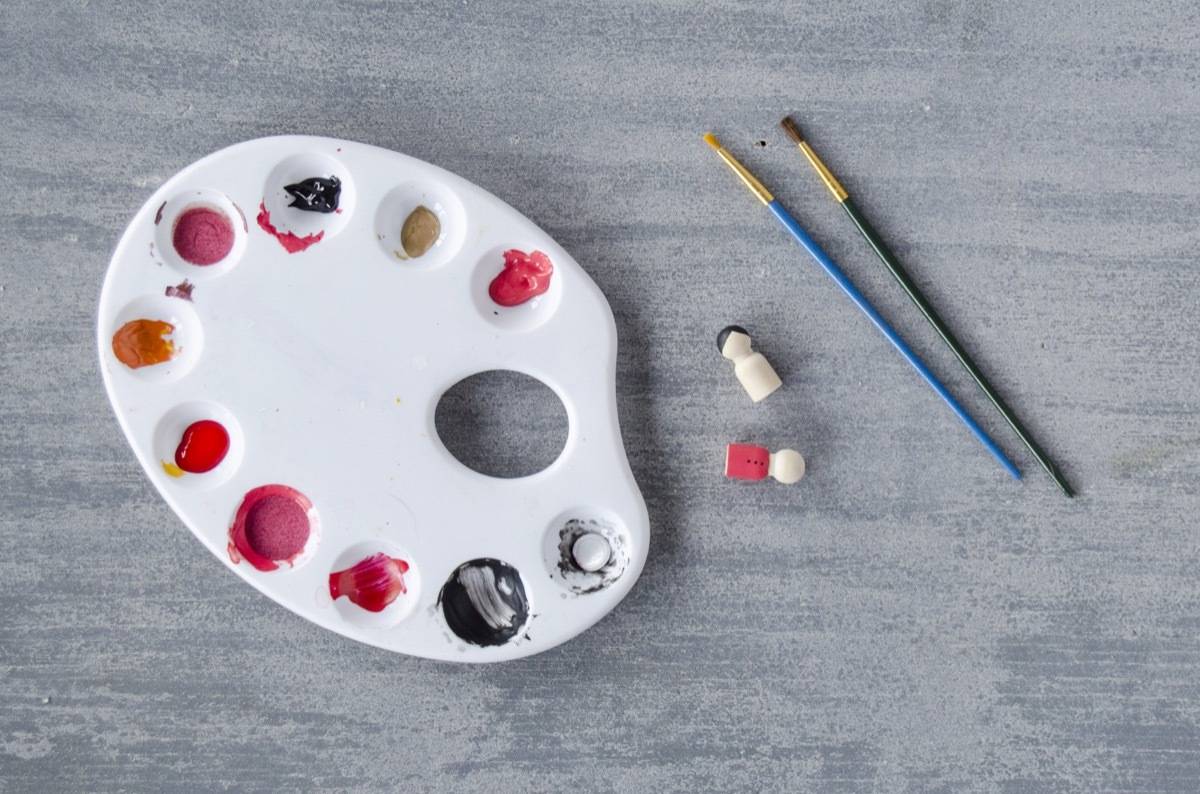
Start by painting the peg people. Since you’ll want them to look like you and your boo, pick paint colors to match (hair color, favorite shirt, eyes, etc.). If it’s easier, use a marker to draw on any details you like.
Step 2

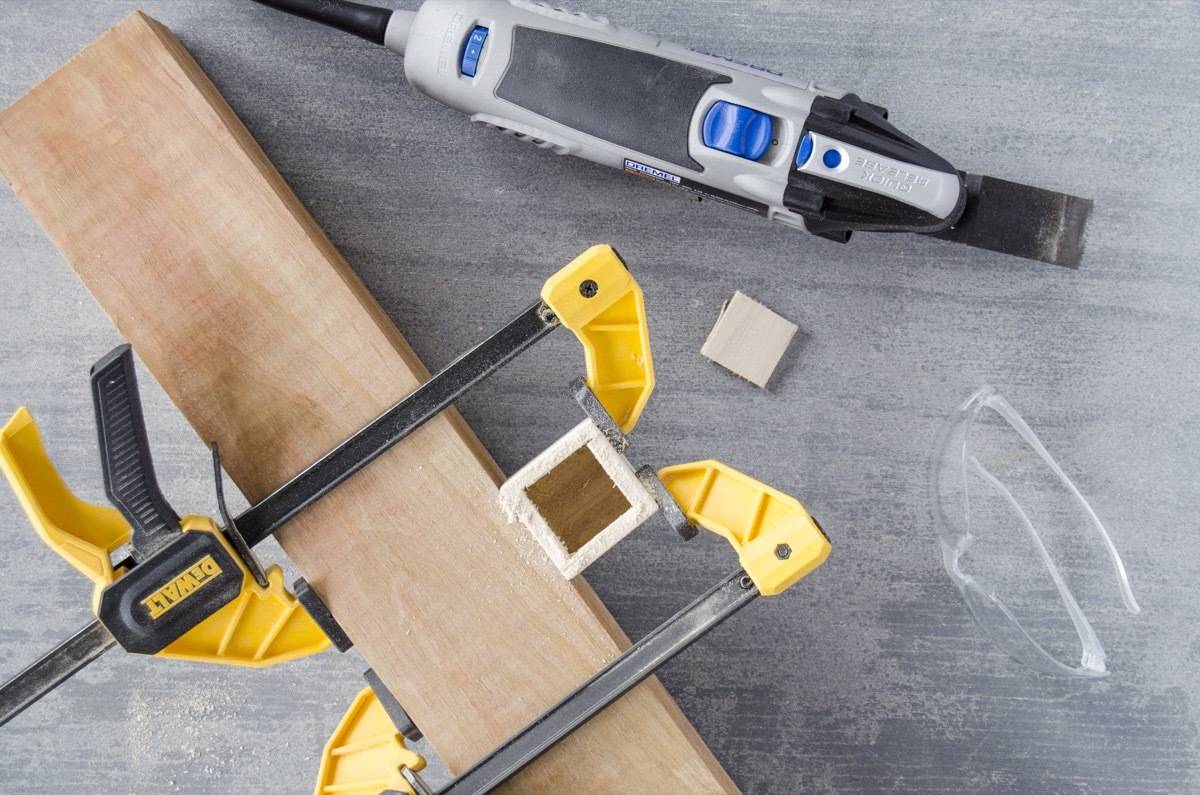
To cut an opening in the balsa wood cube, I used the Dremel MM30 Multi-Max oscillating tool from the combo kit, with the wood flush cut blade (the rectangular one) attached. Clamp the cube to a steady surface. With safety gear on, begin to cut out a square with the oscillating tool. To avoid splitting the wood, cut slowly, not cutting all the way through the wood on the first pass. There’s no need to force the blade into the wood – the weight of the tool is enough.
Step 3

Use hot glue to glue your tiny peg people inside. If you’re having trouble squaring them away inside, a pair of tweezers may help.
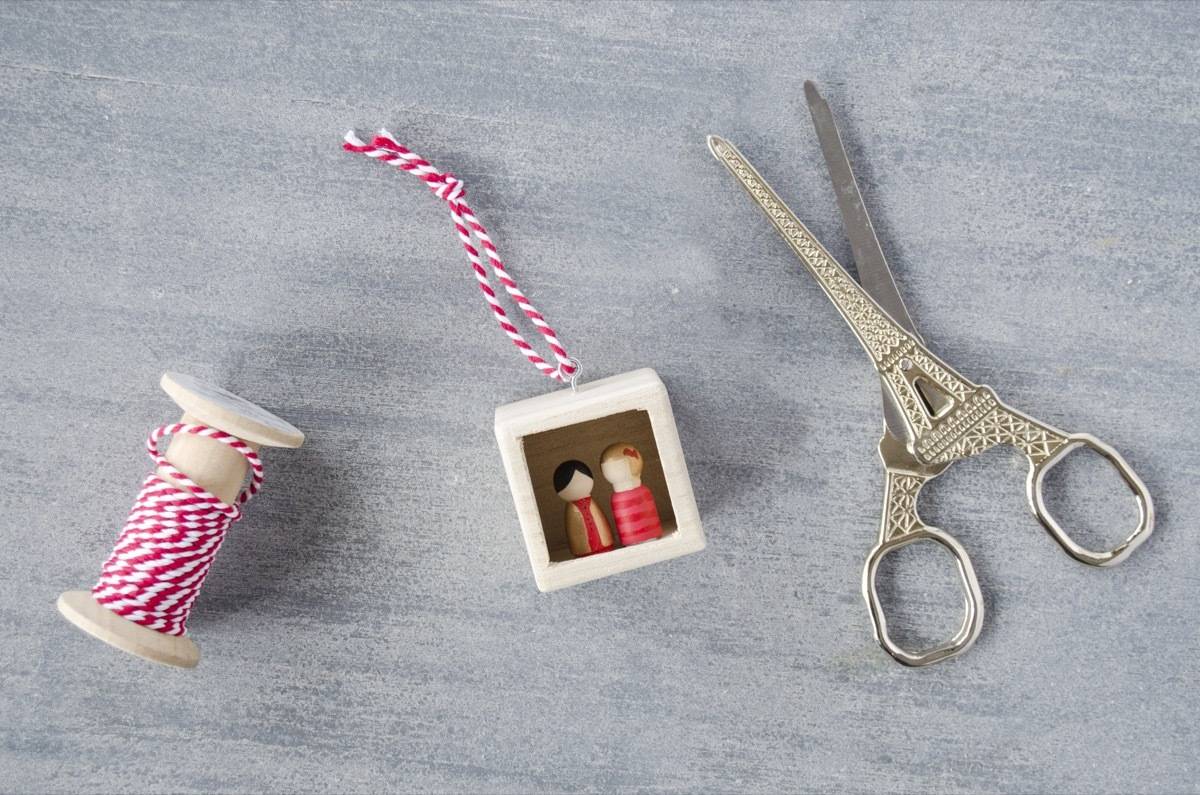
Add a small eye hook to the top, and tie twine to hang. Done!
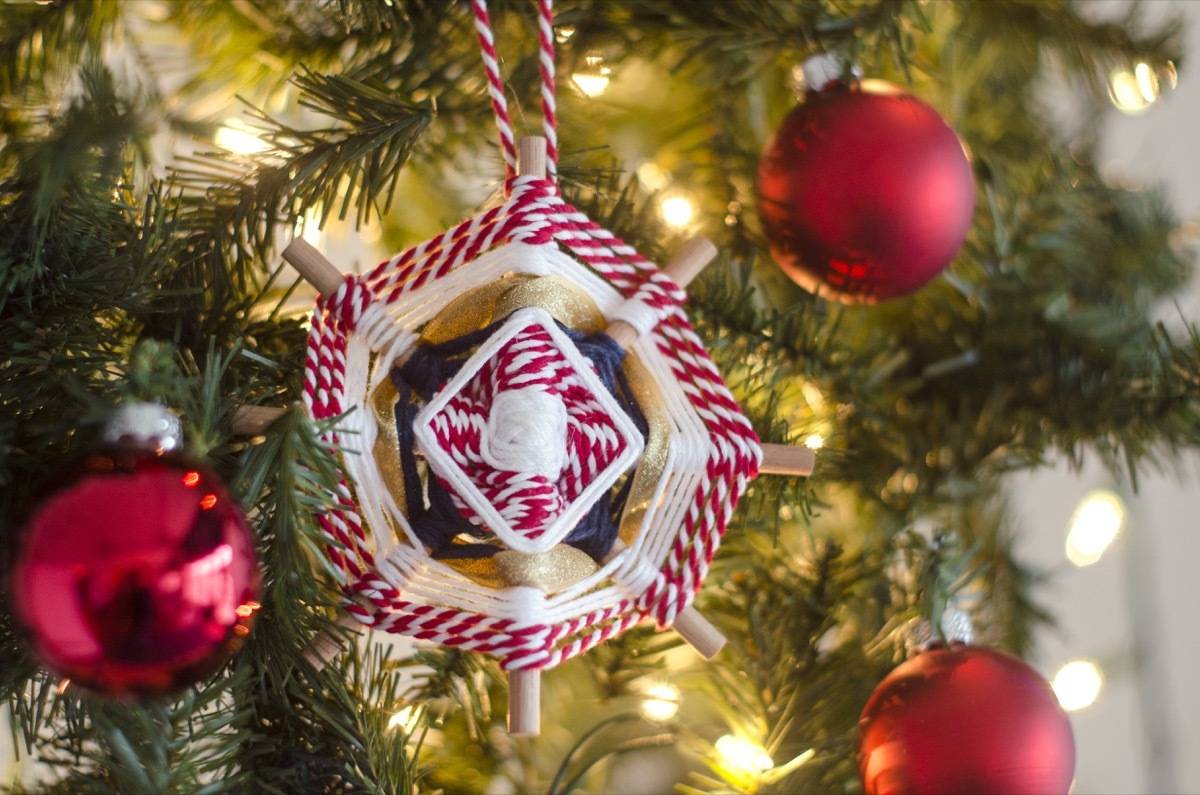
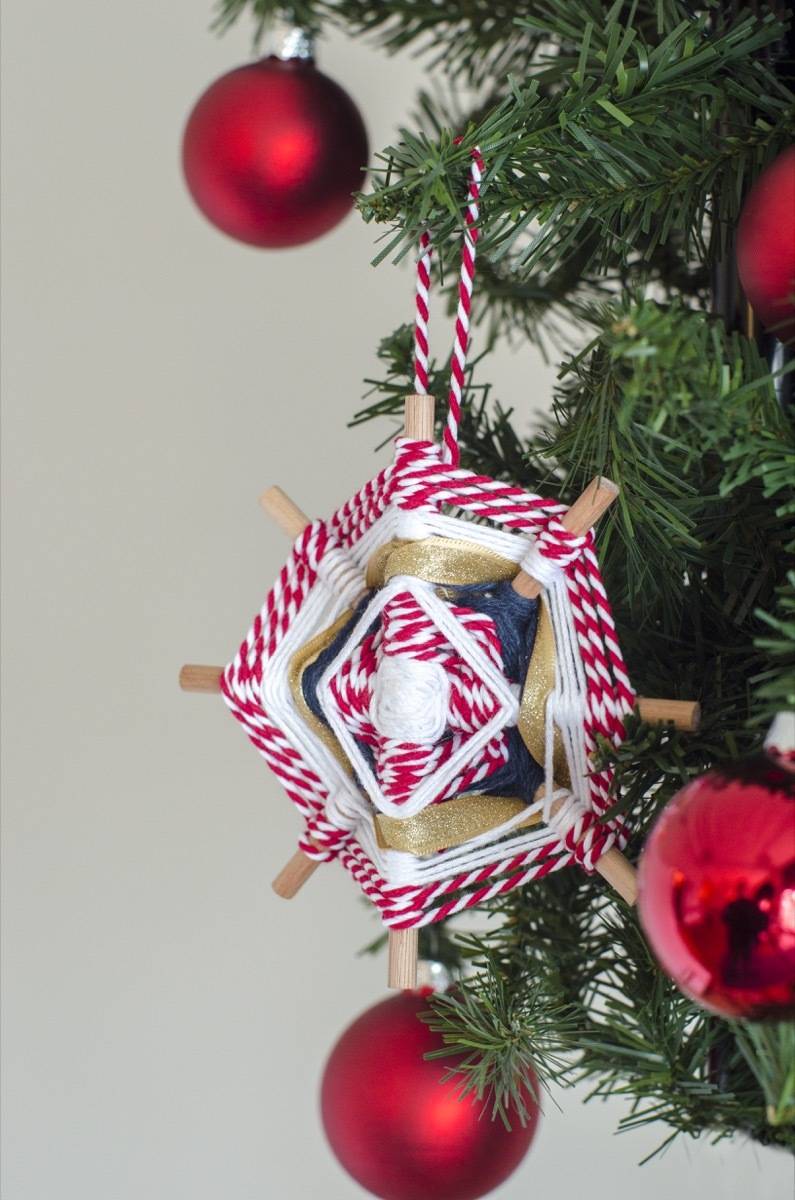
Ornament #2 – Ojo de Dios
Remember this weave from summer camp? The Ojo de Dios (or God’s Eye) design is usually done with popsicle sticks, but for this ornament, we’ll be using dowels and a variety of textiles.
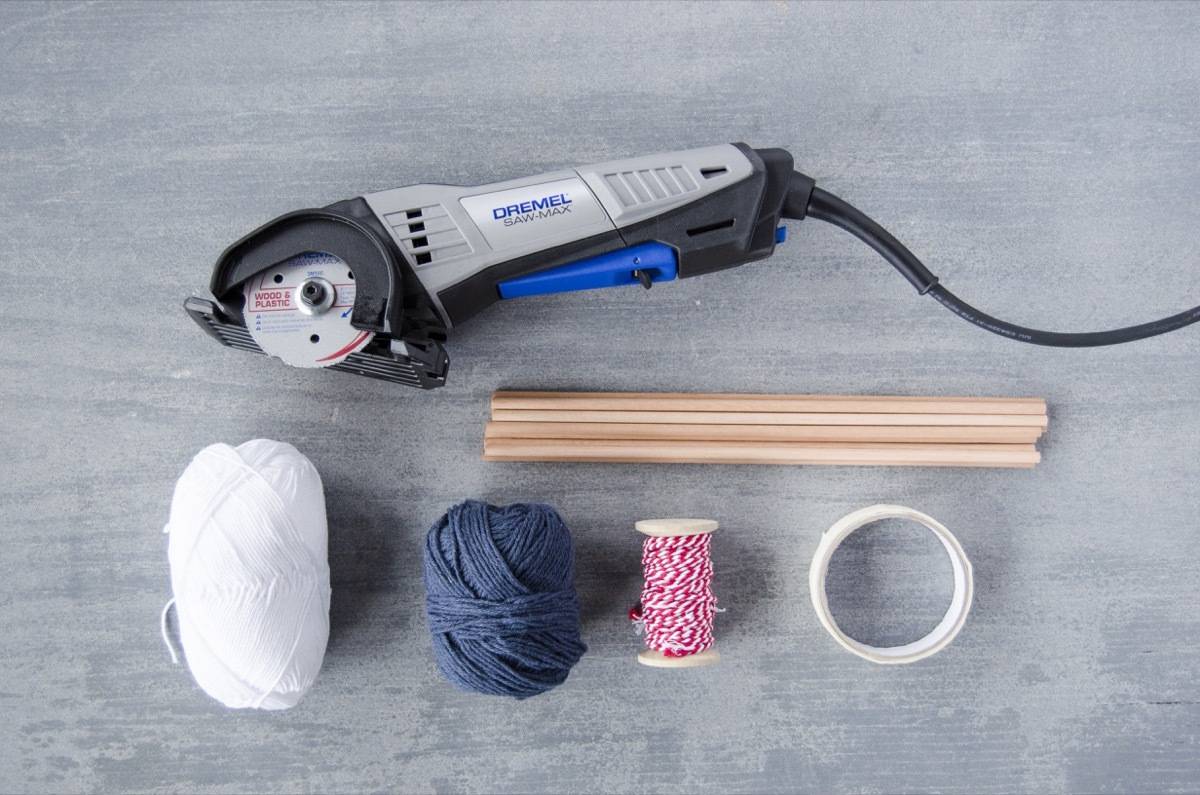
- Dremel SM20 Saw-Max multipurpose tool
- 1/4 inch dowels
- Sand paper
- Masking tape
- String, twine, ribbon, or yarn
- Clamps and a sturdy surface to clamp to
- Safety goggles
- Hot glue and glue gun
Step 1

Begin this Ojo de Dios by wrapping the dowels together with masking tape. The dowels will need to be cut down to a smaller size, and the masking tape helps hold the round dowels together as they’re cut.
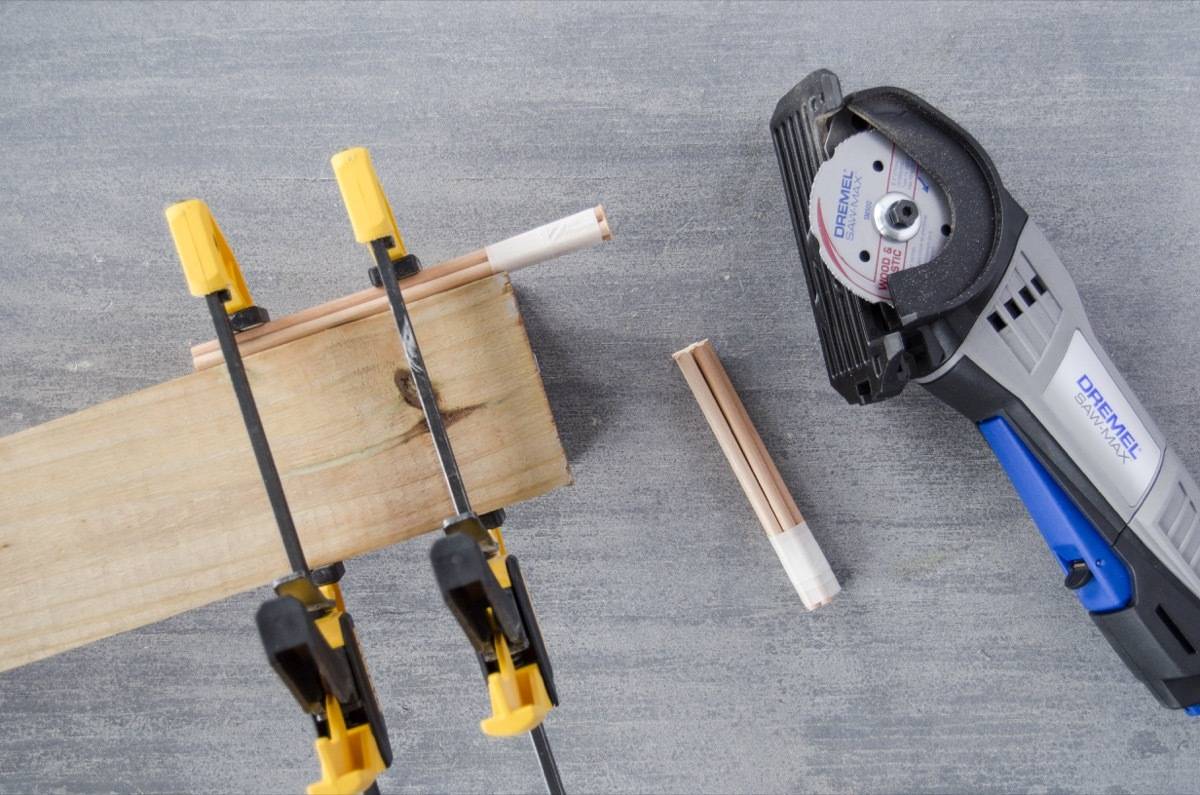
For a quick, clean cut, I’m using the Dremel SM20 Saw-Max multipurpose tool from the combo kit, with the wood carbide wheel attached. Set the depth of the blade guide so it will pass through the height of the bundle of dowels. I.e., make sure enough of the blade is exposed so you only have to make one cut. With the pile of tightly-bundled dowels secured to a sturdy surface (and with your safety gear on!), cut through the dowels.
Step 2
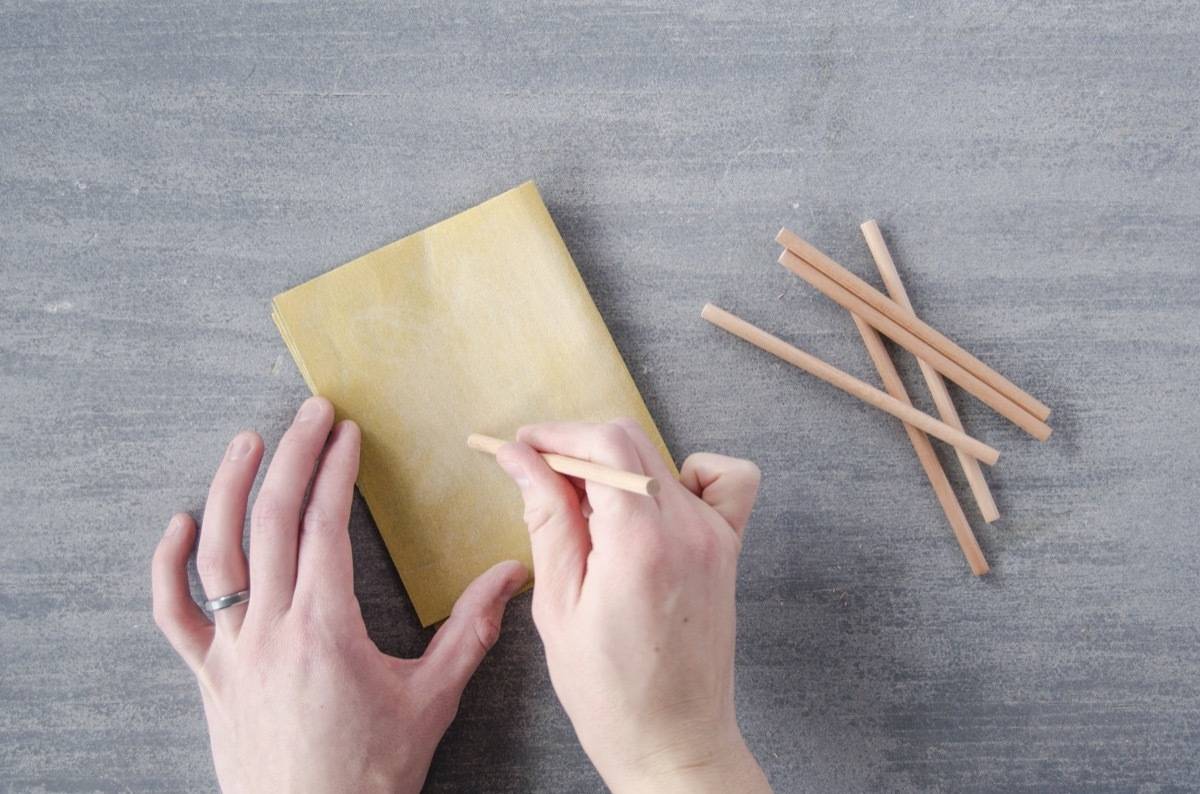
Sand the cut edges for a smoother finish.
Step 3

Now that your dowels are nice and short, it’s time to make your Ojo de Dios. Use hot glue to glue two dowels in a cross-shape. Wrap twine a few times diagonally around the dowels to hold them in place.
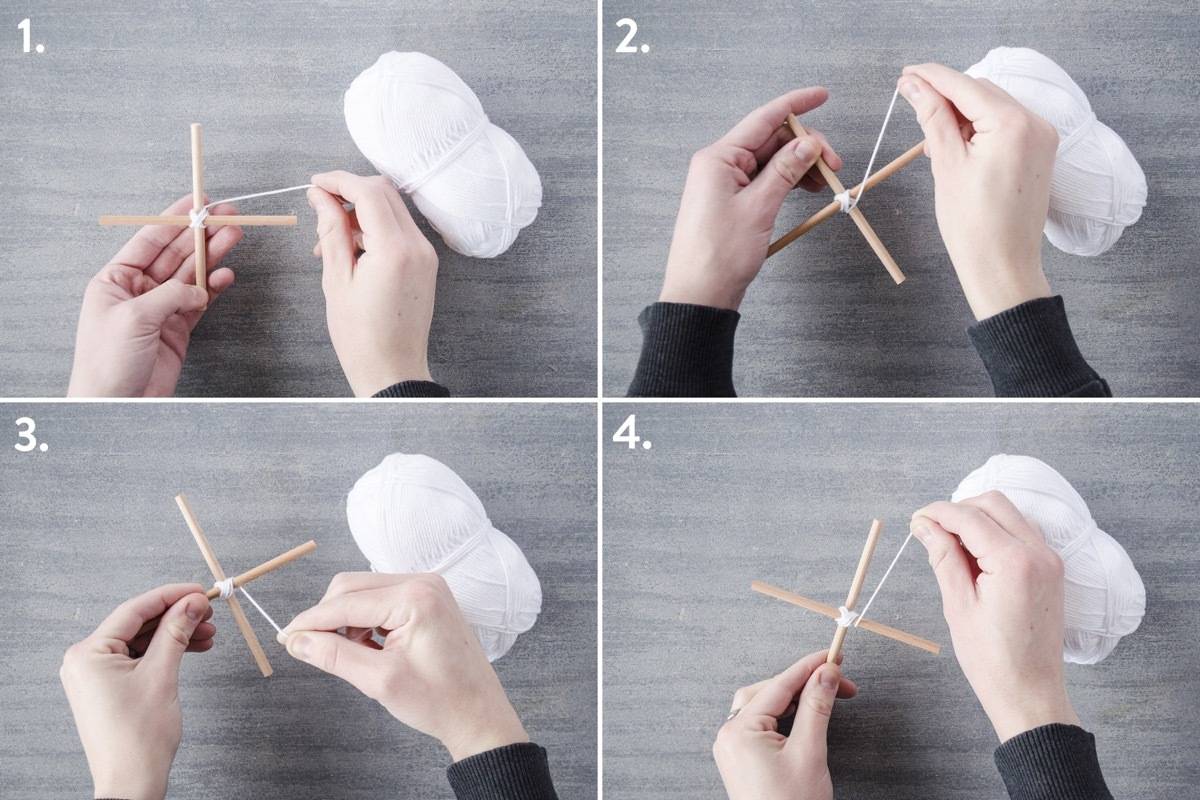
To create the God’s Eye pattern:
1. Start the string from one dowel, moving counter-clockwise
2. Pass the string over the next dowel
3. Wrap the string under that same dowel
4. Continue counter-clockwise, passing over the next dowel, and wrapping the string under the same dowel
Continue this pattern for a few rotations, then cut the string and hot glue it to the back.
Step 4
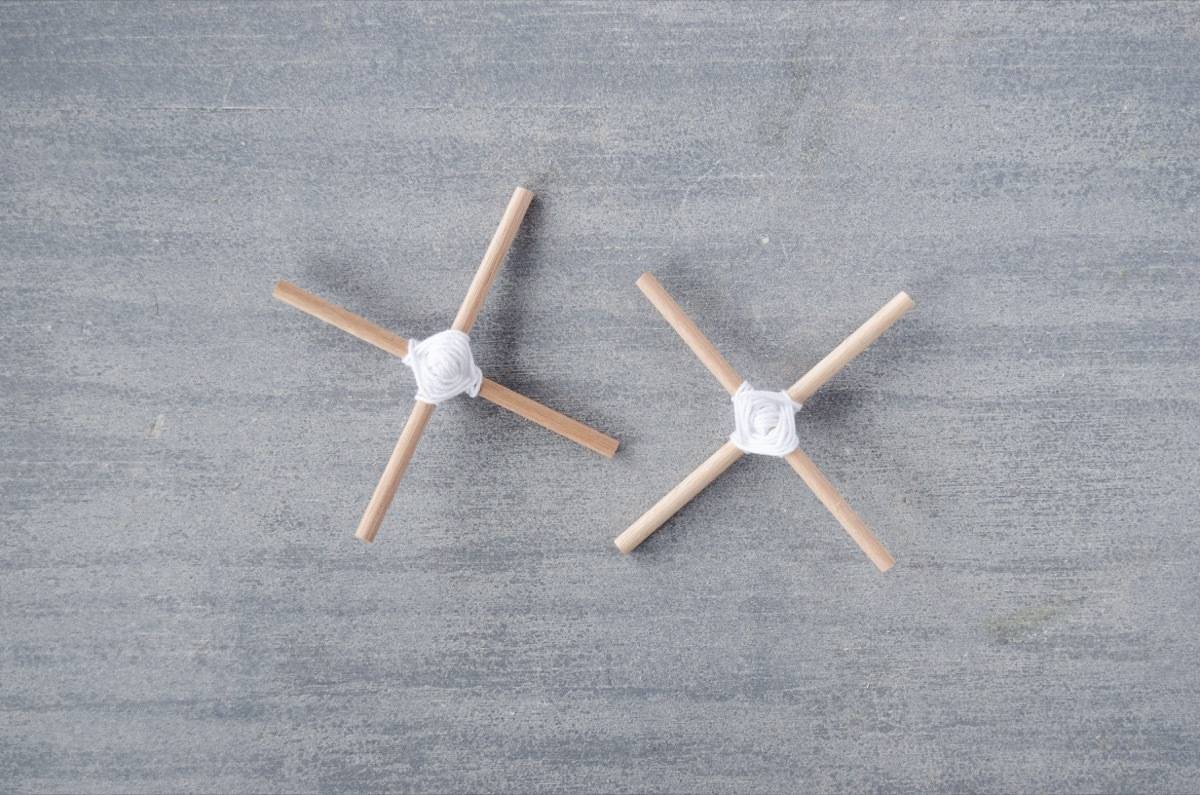
Create a second God’s Eye, using the same method as the first. Lay one on top of the other, creating a starburst shape, and hot glue in place.
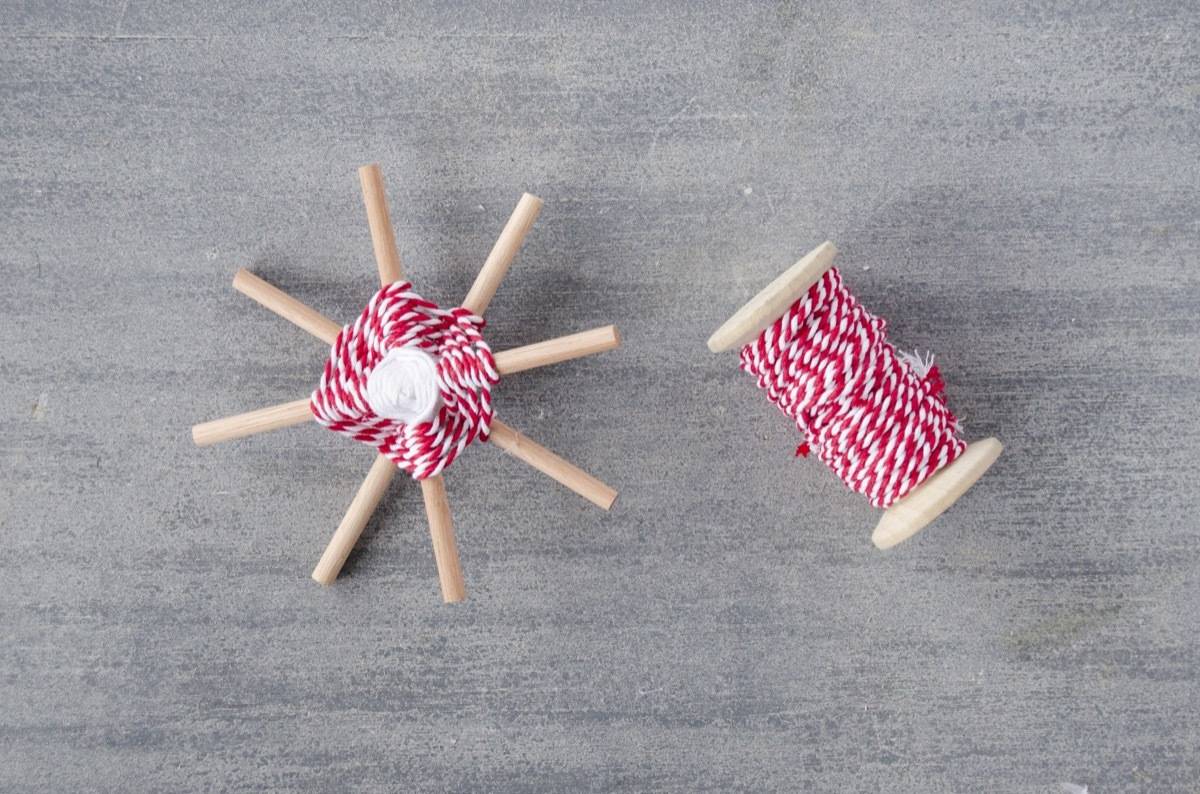
Continue weaving in a different color string or twine, incorporating all dowels.
Step 5
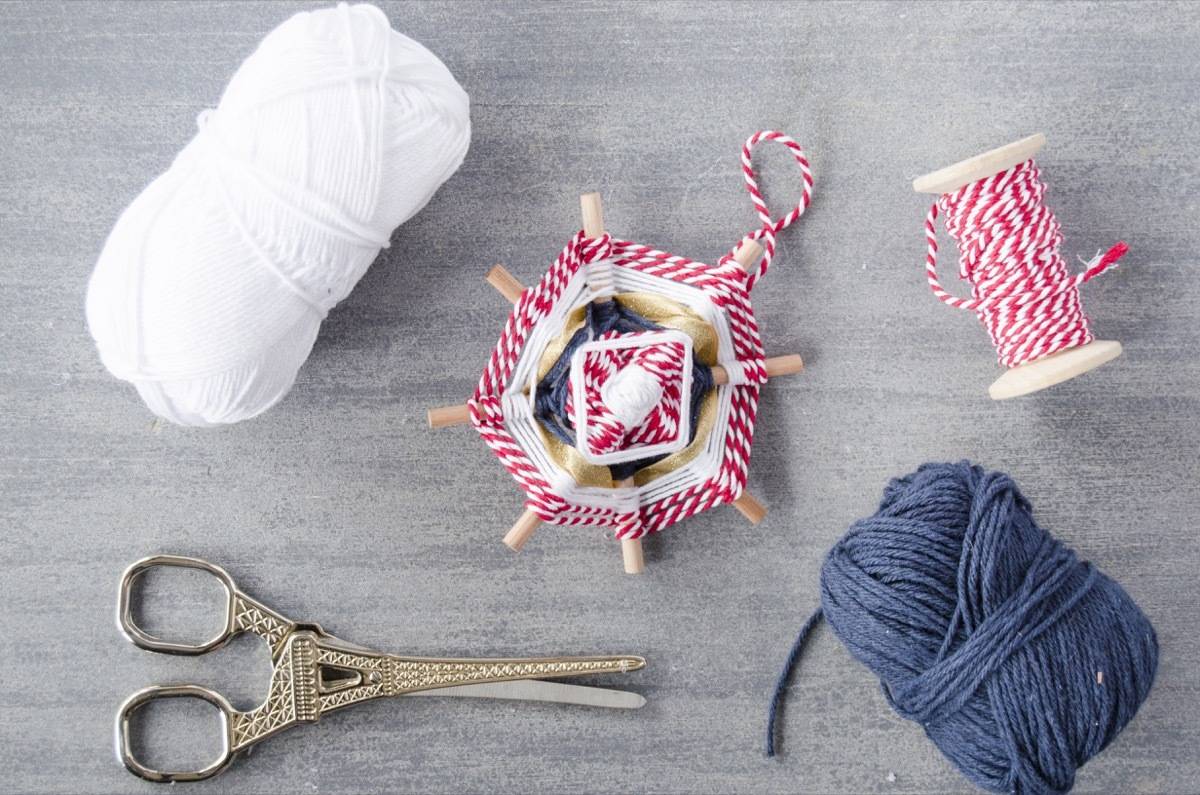
Keep going until you’re satisfied with your Ojo de Dios. You can alternate between wrapping every dowel and every other dowel. When you want to switch colors, hot glue loose ends to the back of the DIY Christmas ornament. Finish by tying a loop at one end, and hot gluing in place. Done!
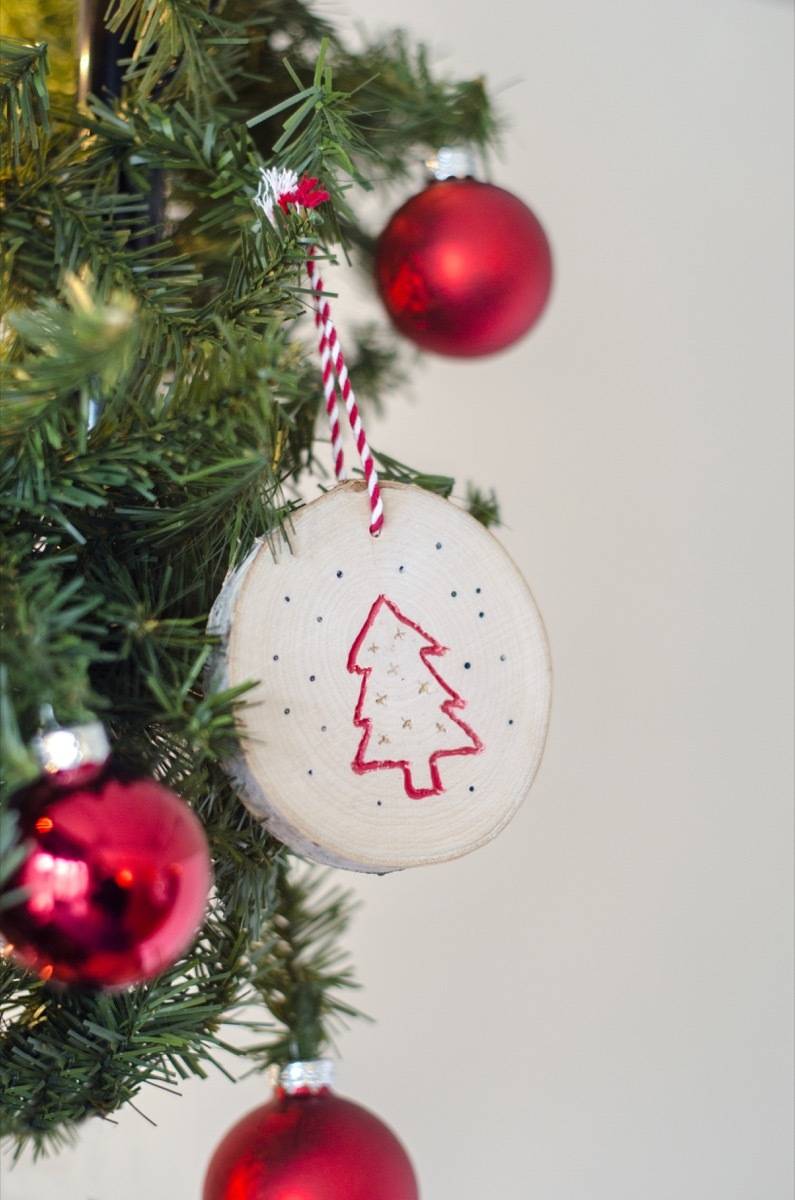
Ornament #3 – Etched Wood Rounds
A classic – this ornament is easy to make and the intricacy of the design is really up to you! It makes for a great monogrammed ornament, too.
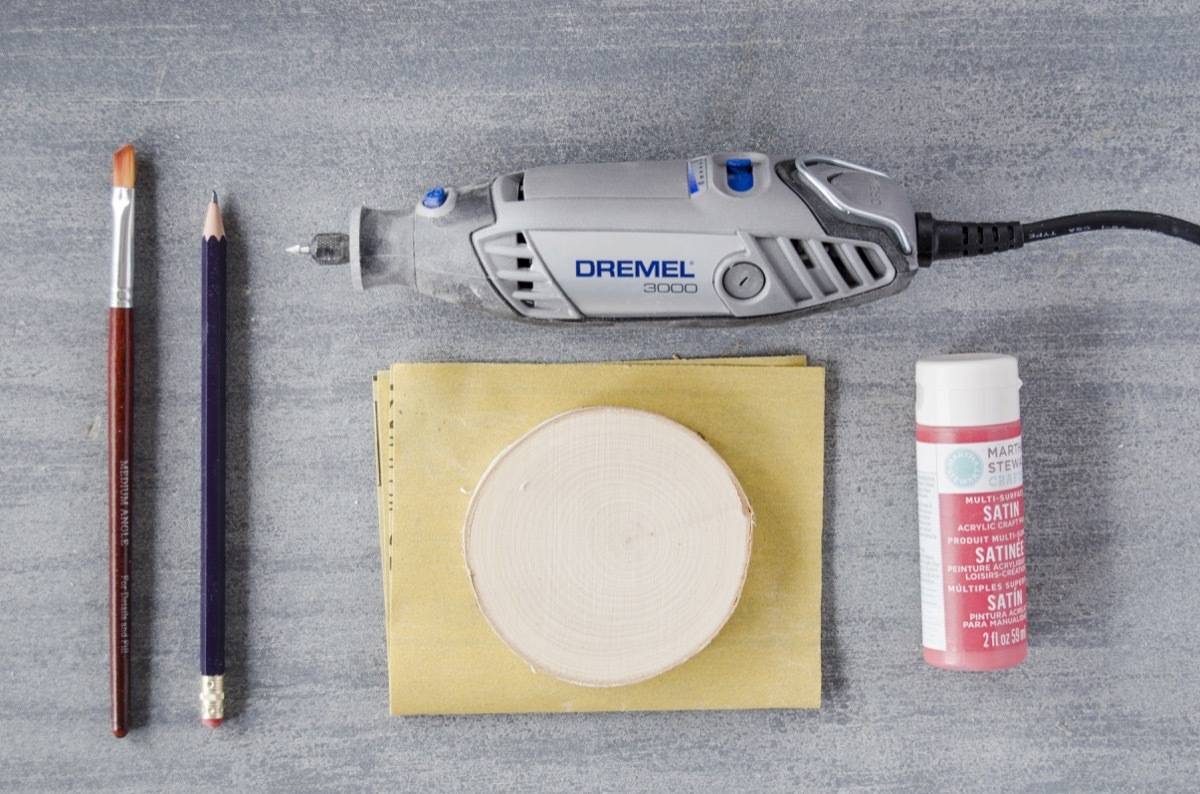
- Dremel 3000 rotary tool with triangle-shaped cutter bit (or equivalent engraving bit)
- Birch round (you can also purchase them with the hanging hole already drilled through, otherwise you will also need a power drill)
- Acrylic paints and paintbrush
- Sand paper
- Clamps and a sturdy surface to clamp to
- Safety goggles
Step 1
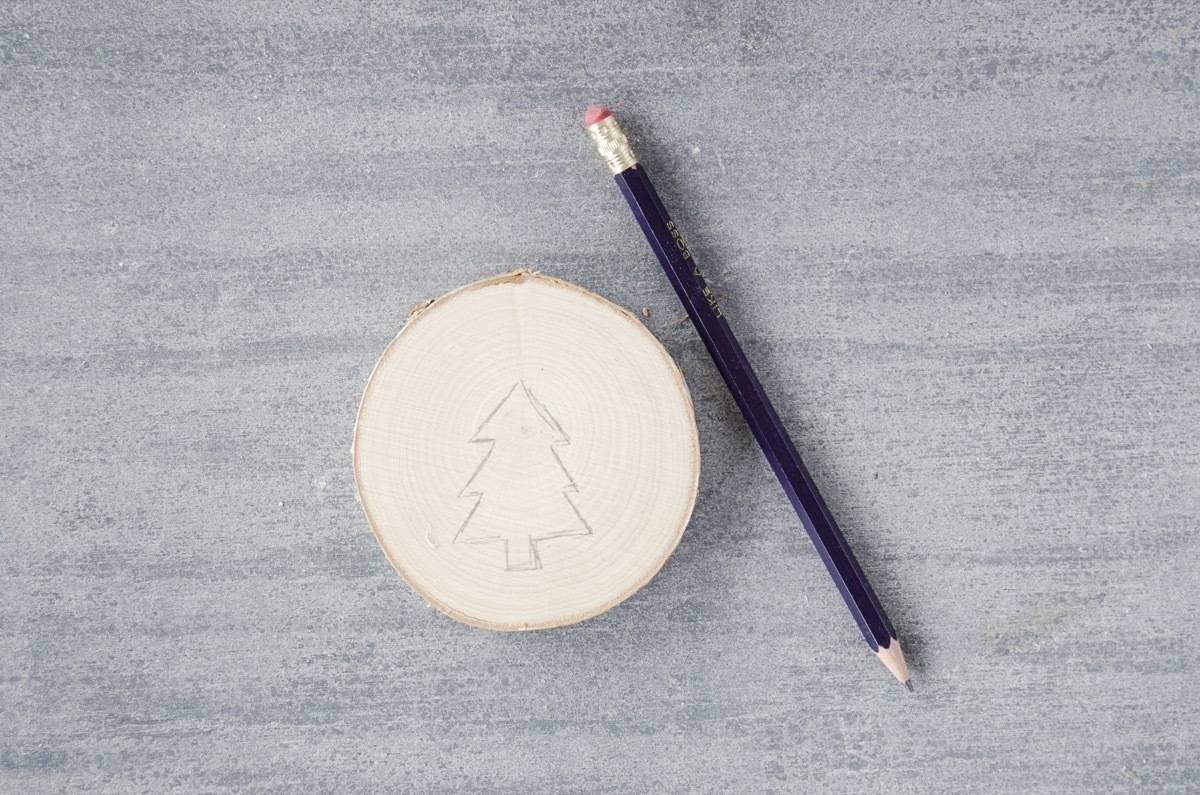
This DIY Christmas ornament begins with a design. Use a pencil to sketch a simple shape onto the face of the wood round. I’m going with an angular pine tree (angles are easier to etch!).
Step 2

Clamp the wood securely to a non-moving surface. To etch the wood, I’m using the Dremel 3000 rotary tool from the combo kit, with a triangle-shaped cutter bit. Put on some safety goggles, and etch 1/8-1/4 inch into the wood, following the sketched design. Once etched, wipe off any dust.
Step 3
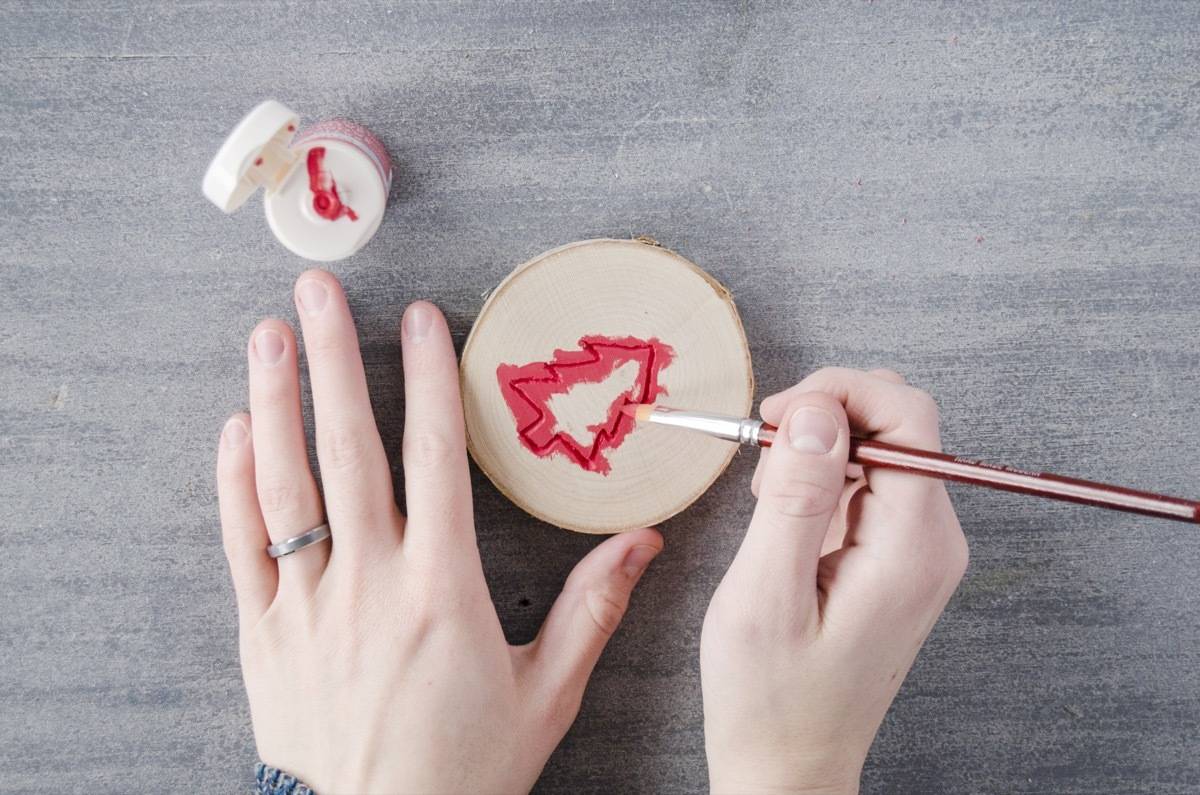
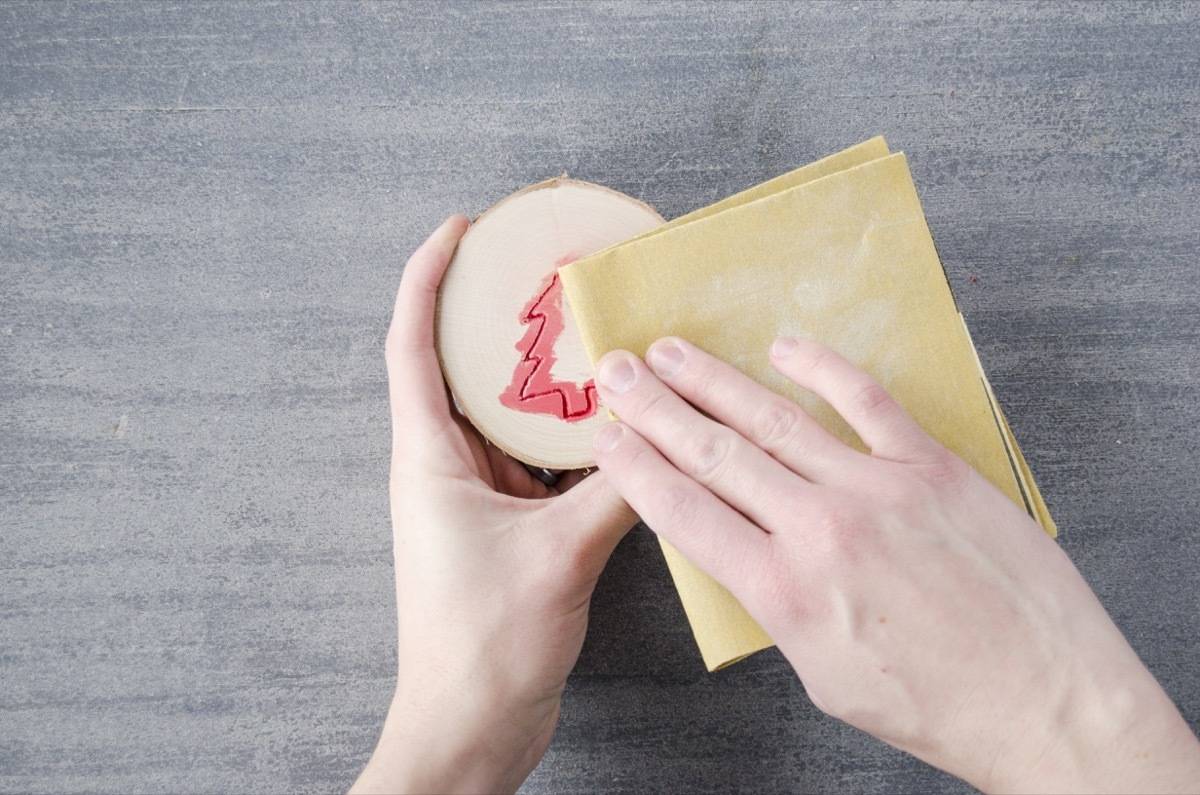
Use acrylic paint to fill the etched lines in the wood. Don’t worry about being too tidy with the paint – just make sure you fill the lines. Let the paint dry, then sand the surface of the wood. This will remove paint from the smooth wood, while leaving the lines colorful.
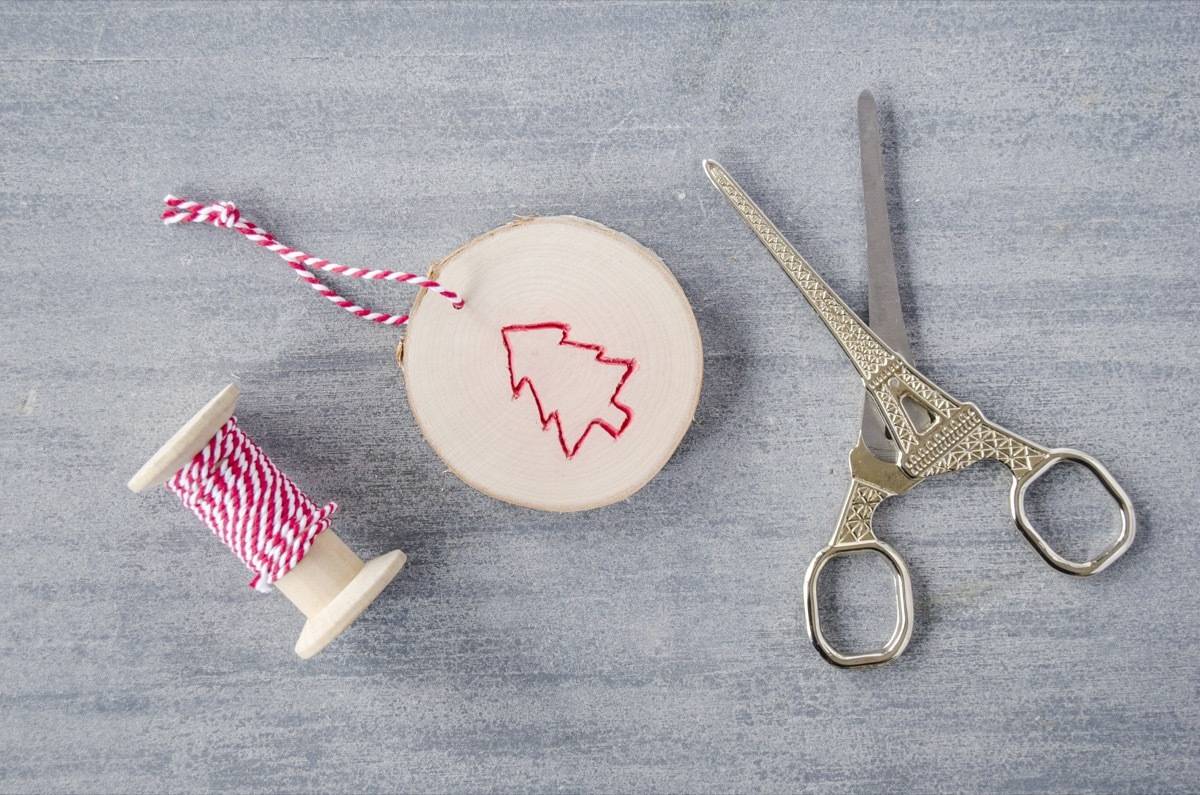
If needed, drill a hole through the wood round. Thread some twine through, and hang!

I think the shadowbox is my favorite of the three. I get a kick out of anything tiny and cute. Which is your favorite?


This post was sponsored by The Home Depot, but all opinions are mine alone. We love working with companies that support DIYers, and thank you for supporting the brands that help make Curbly possible! This post contains affiliate links; if you click on them and buy a product, we may get a commission from the sale.
A homespun Christmas is still the best for me!
@Travis Hiland Agreed! Christmas and crafting totally go hand-in-hand.