
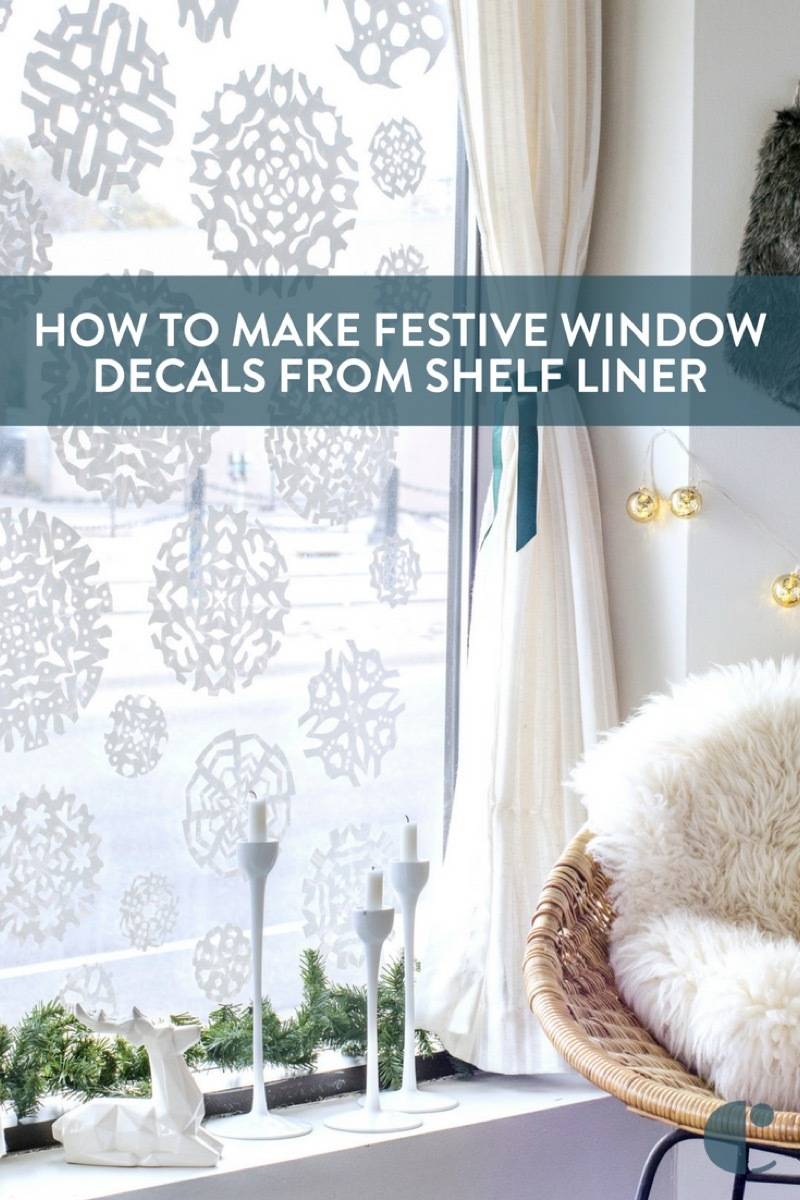
Here in the frozen north (a.k.a. Minnesota), no one really likes snow. As soon as those first puffy flakes come tumbling down from the sky, you can almost hear a unanimous groan echoing across the state. We experienced our first snowfall the weekend after Halloween, and no one was happy about it… except for me. I love the snow! Granted, I’m not from here, so maybe it’s just a matter of me not being sick of it yet. The snow is still magical, though. I can’t get enough of it, and I am more than happy to hang a few DIY window decals in its honor.
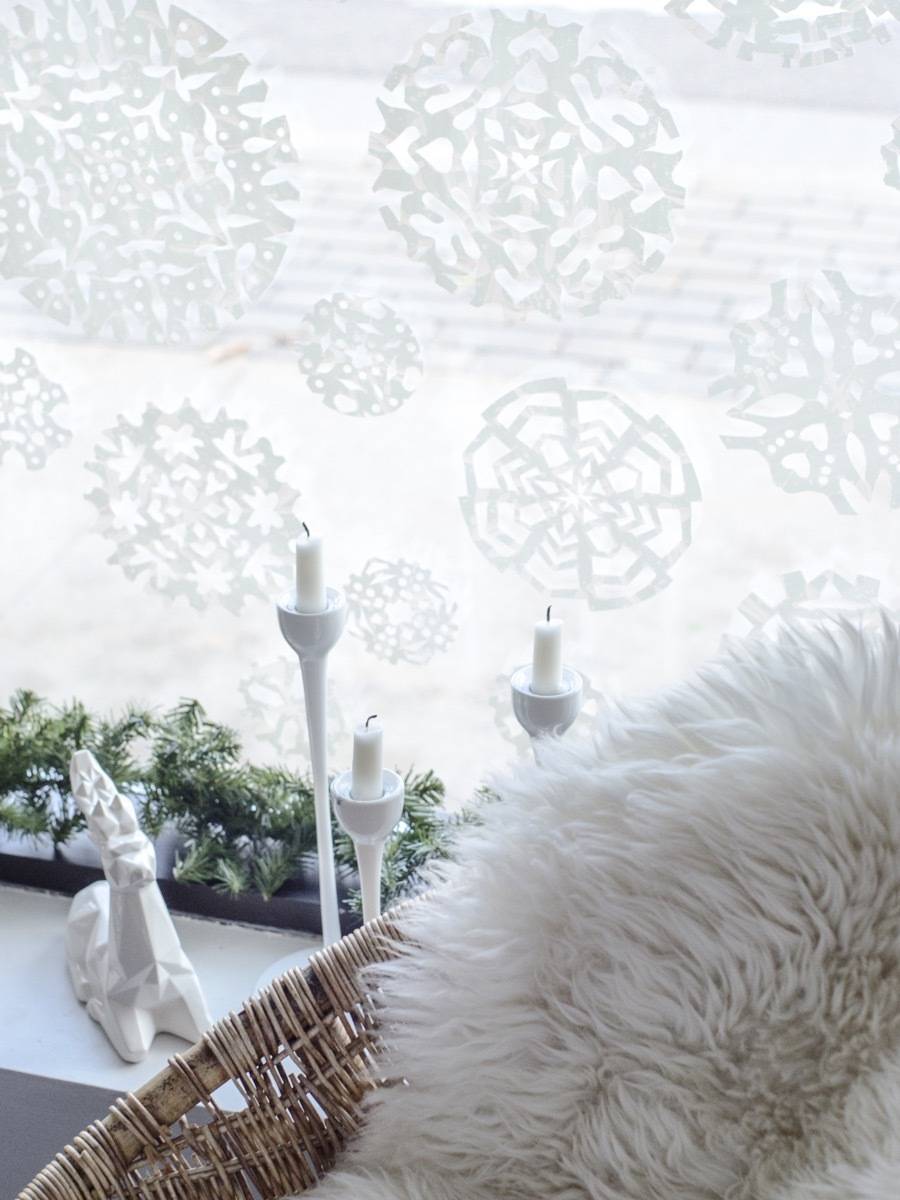
These aren’t regular paper snowflakes, my friends. These are vinyl decals that will cling right to the glass, and can be hung inside or out. Keep reading to find out how to create these snowy DIY window decals using… shelf liner?! Watch the video, and keep reading for the full walkthrough!
Materials
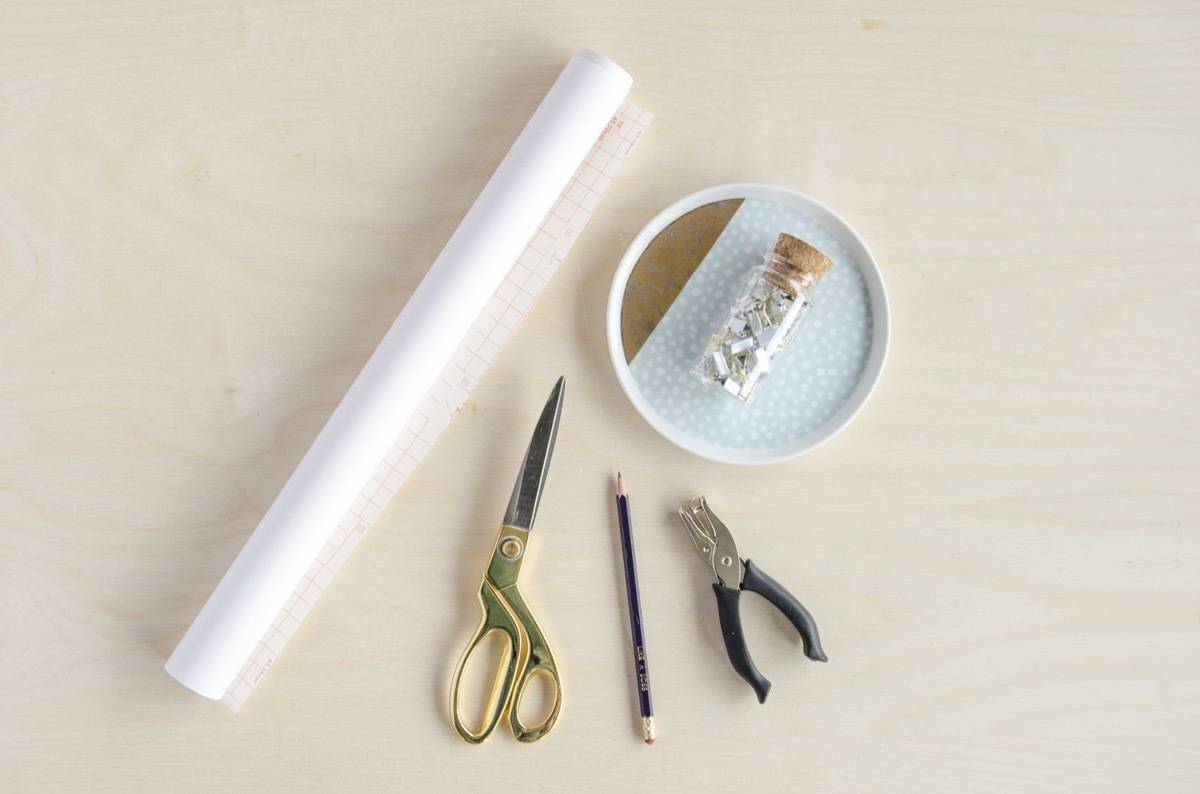
- Adhesive shelf liner (also called contact paper)
- Scissors
- Pencil
- One-hole punch
- Binder clips
- Round plate (or other round objects to trace)
Step
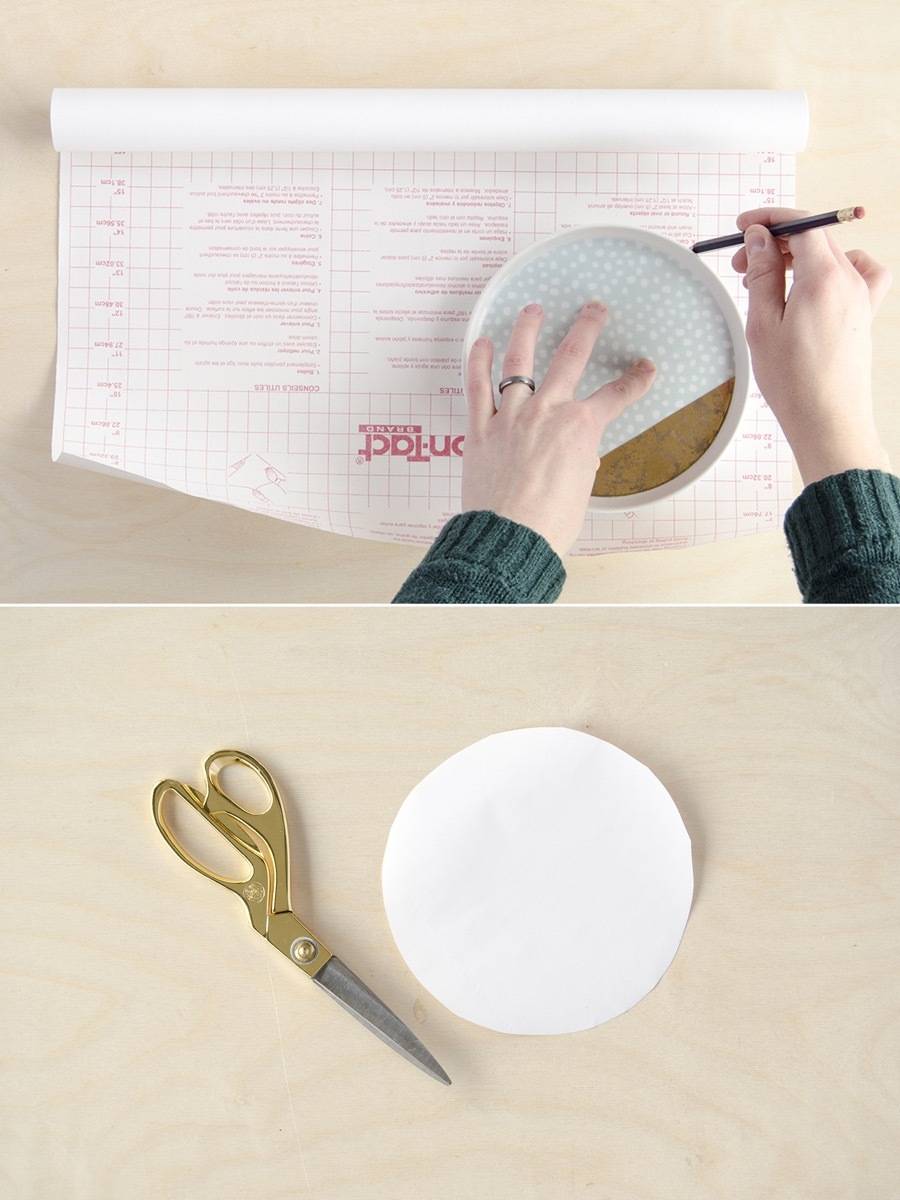
Start by rolling out a section of shelf liner, then tracing the shape of a circle onto the back with a pencil. Rather than free-hand it, grab something round (like a plate), and use that to trace. To get a variety of sizes in my DIY window decals, I also traced around larger plates, smaller bowls, candle holders, etc. Grab your scissors, and cut out the circle.
Step
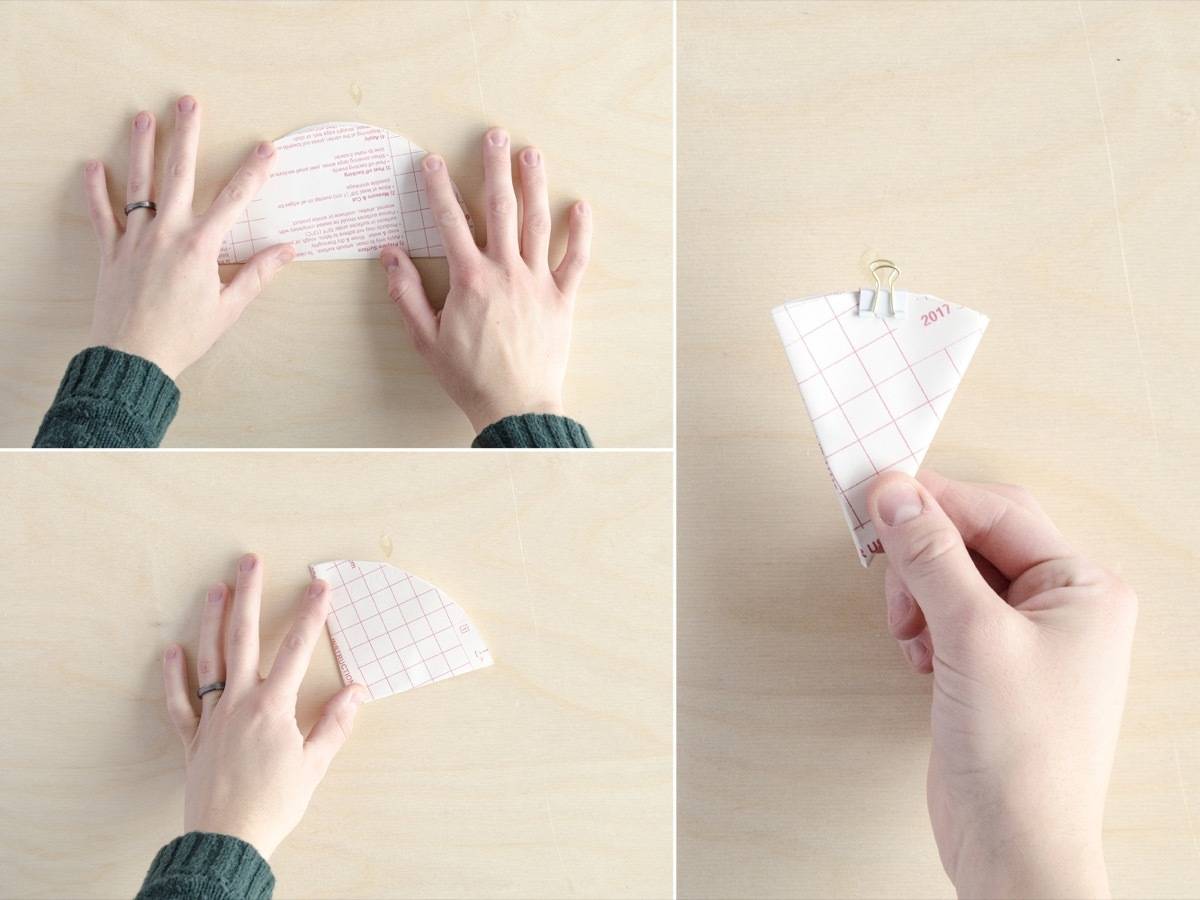
Fold the circle in half, then in half again, then in half again. To keep the paper in place while you cut your design, hold it together with a binder clip.
Step
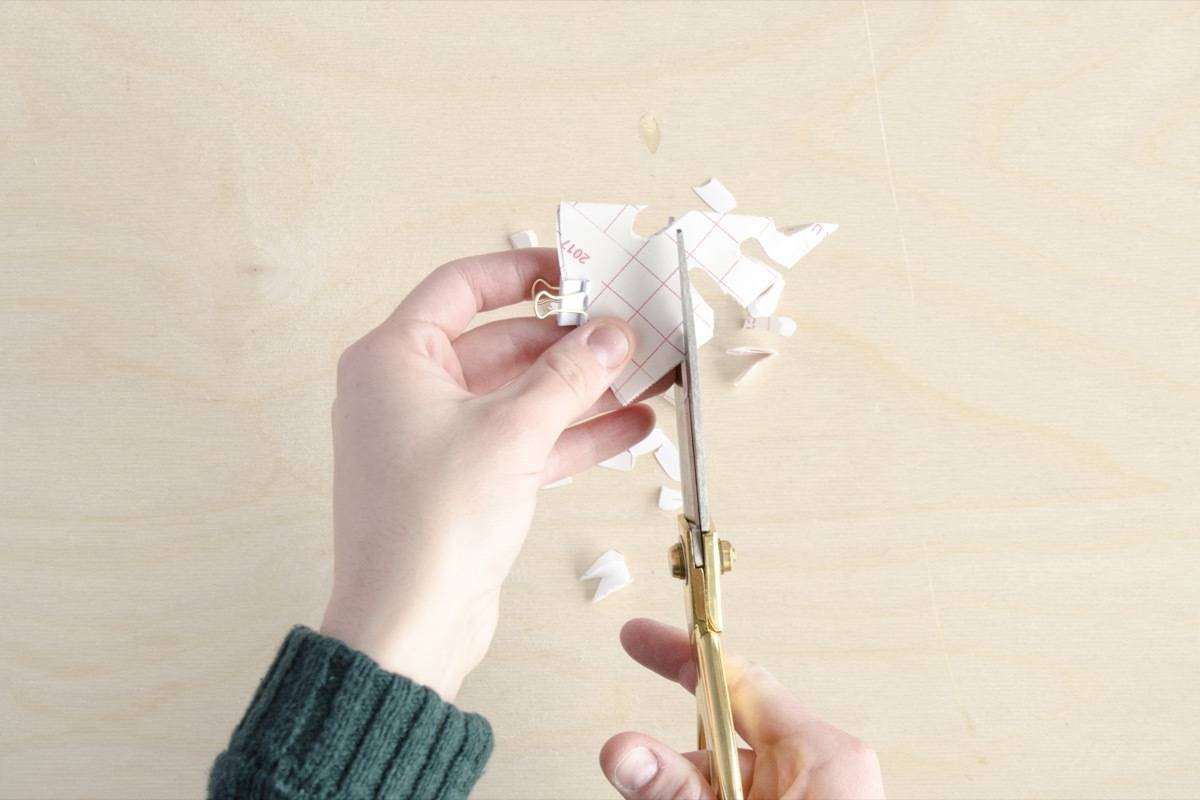
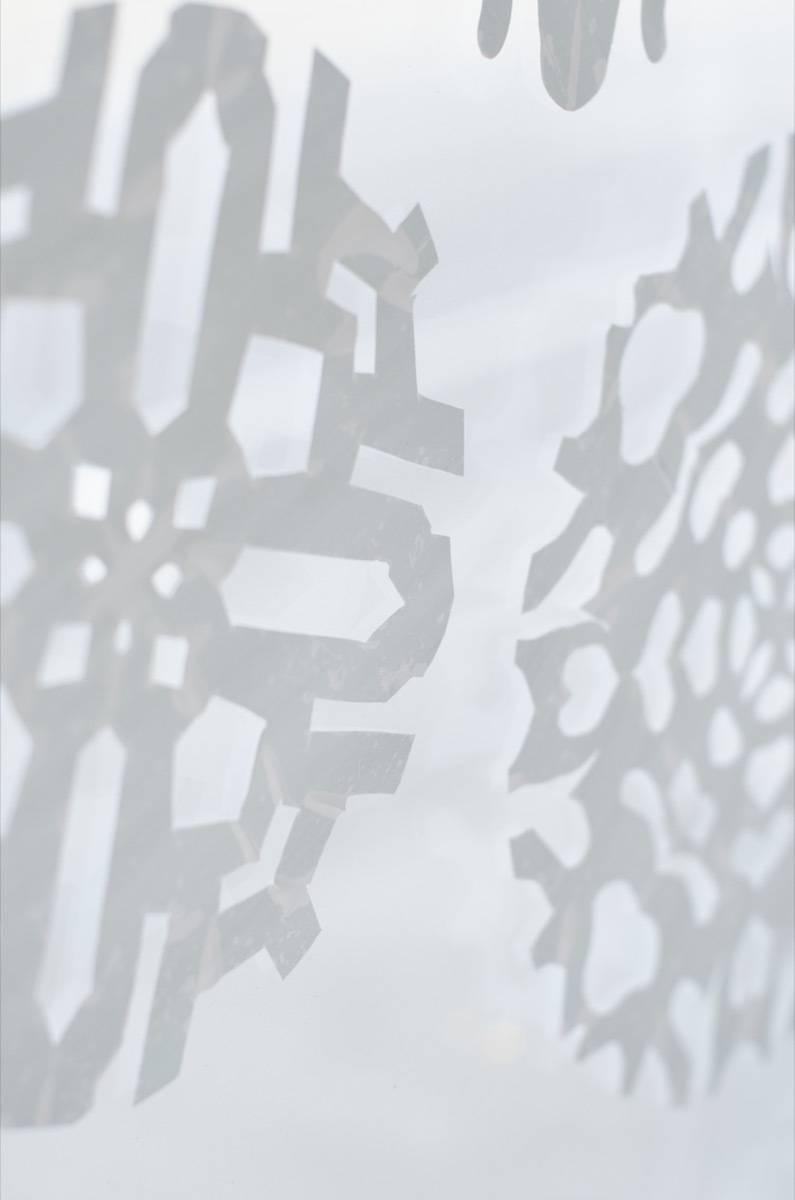
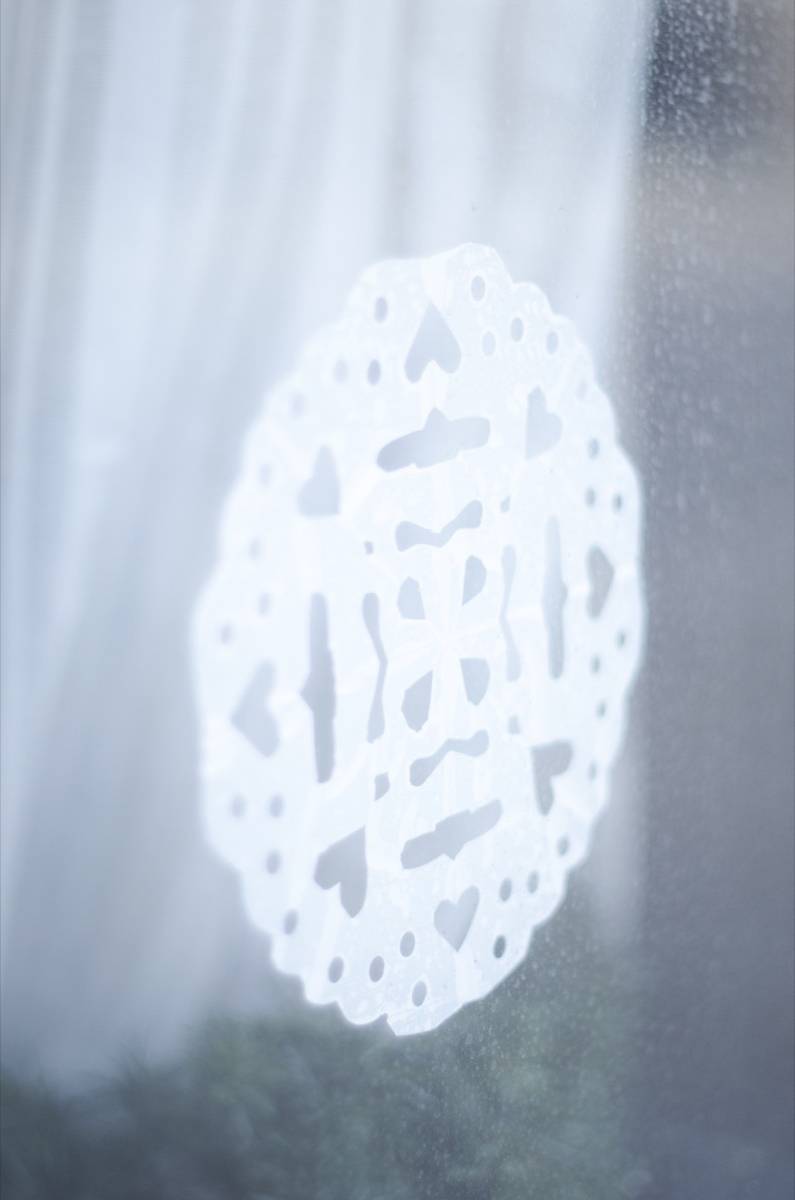
With a pair of scissors, cut into the folded paper. You can cut any design you like (a quick internet search will pull up some great patterns if you want inspiration). As long as you don’t cut clear through, your snowflake will turn out lovely.
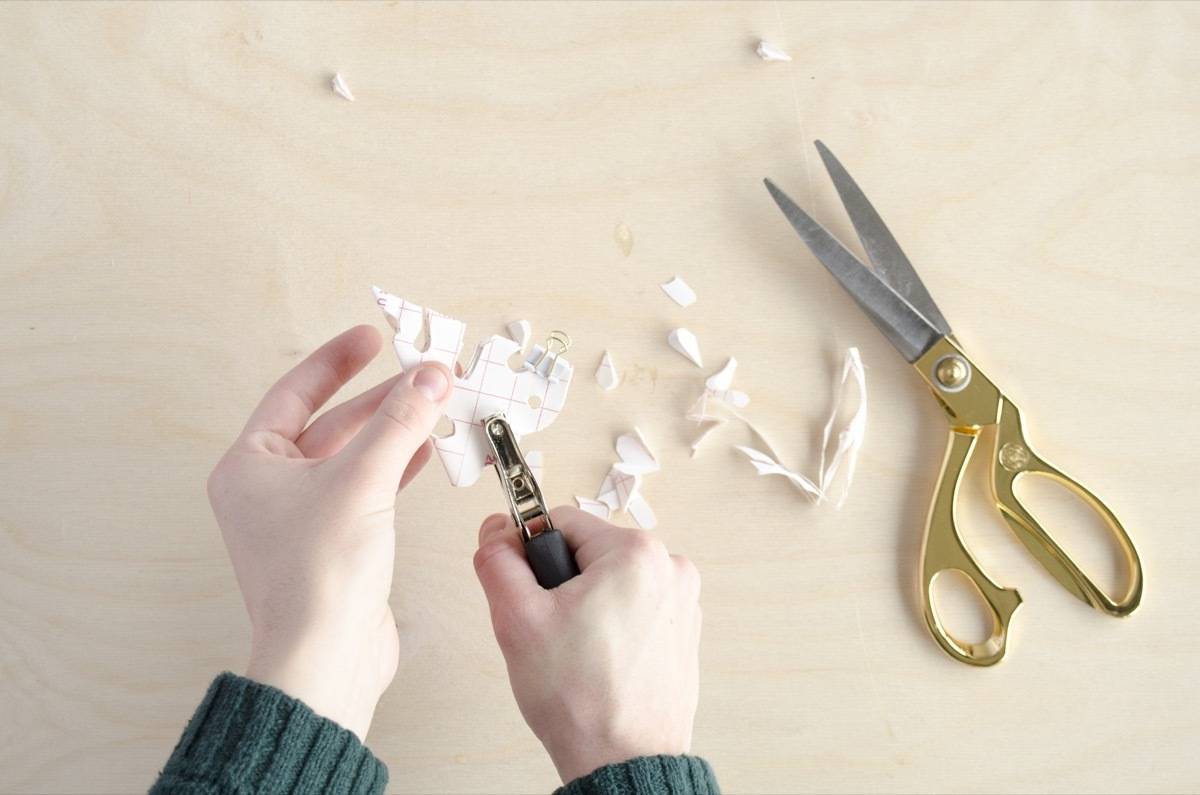
A one-hole punch can also come in handy for adding more detail* to your snowflakes.
*Note: The more complex the snowflake, the harder it will be to hang completely flush with the window. Don’t go overboard!
Step
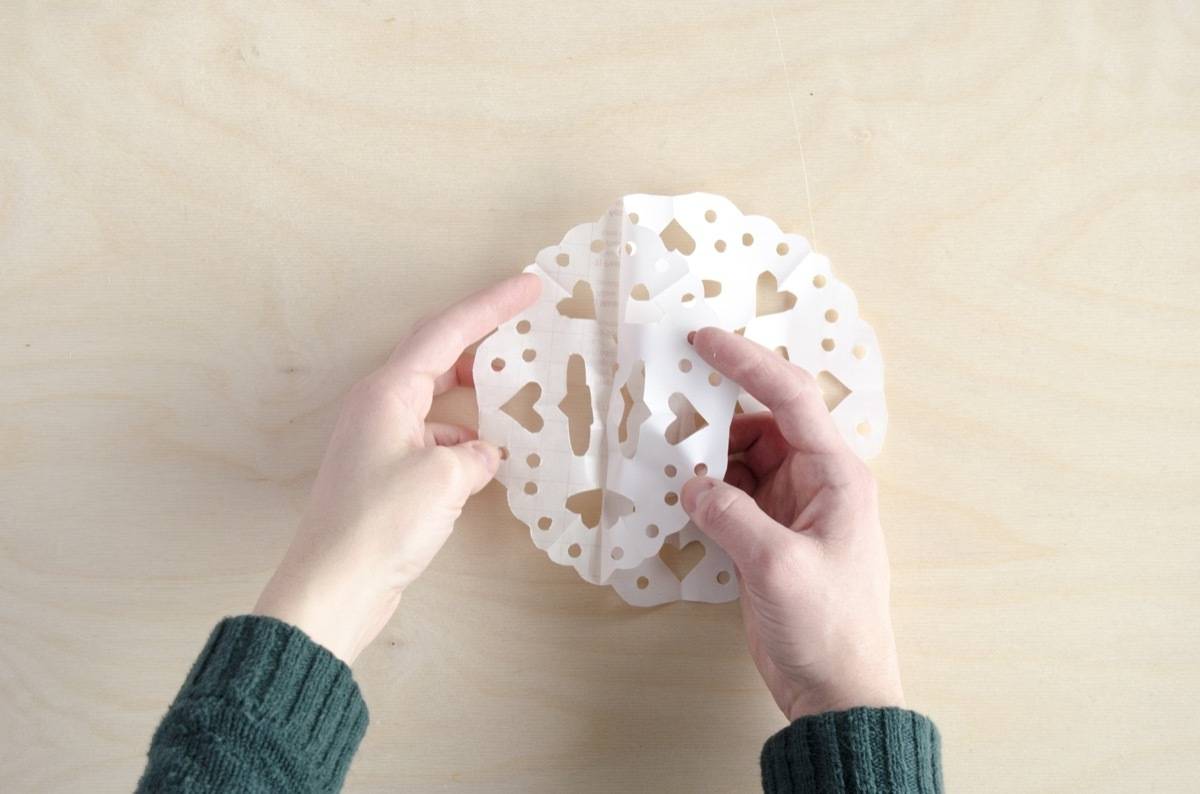
Peel off the paper backing completely. If you are having difficulty finding the edge of the backing, a pair of tweezers may come in handy for grabbing the edge of the shelf liner.
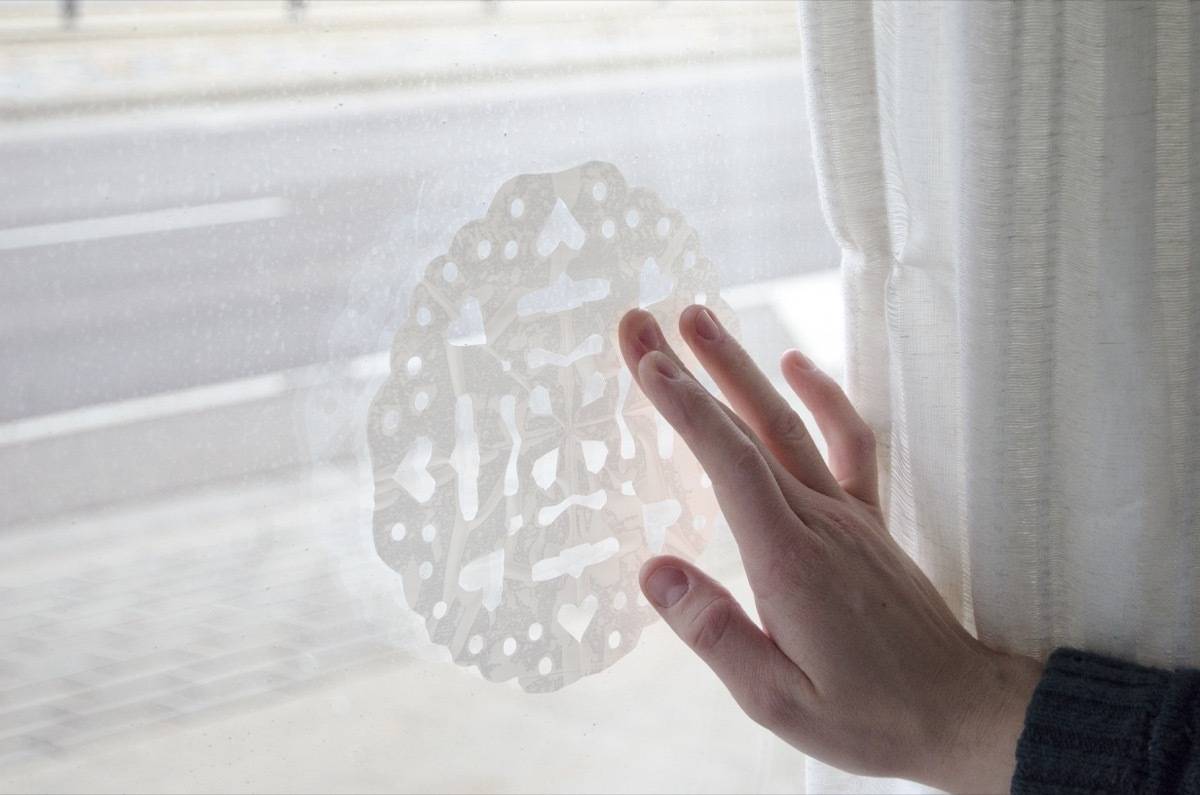
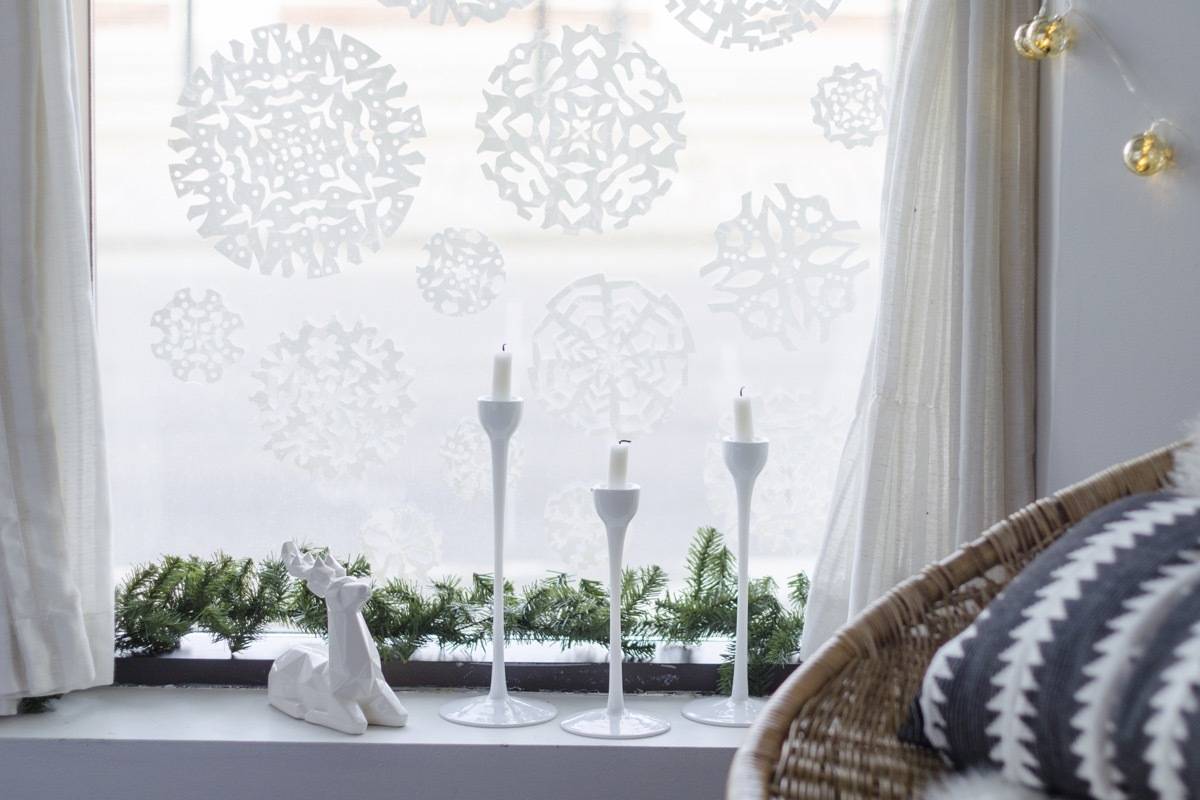
Hang your DIY window decal! Hold the snowflake up to the glass, then press down in the middle. Smooth out to the edges, removing air bubbles as you go. Don’t worry if you get it crooked – you can pull up the shelf liner and readjust.
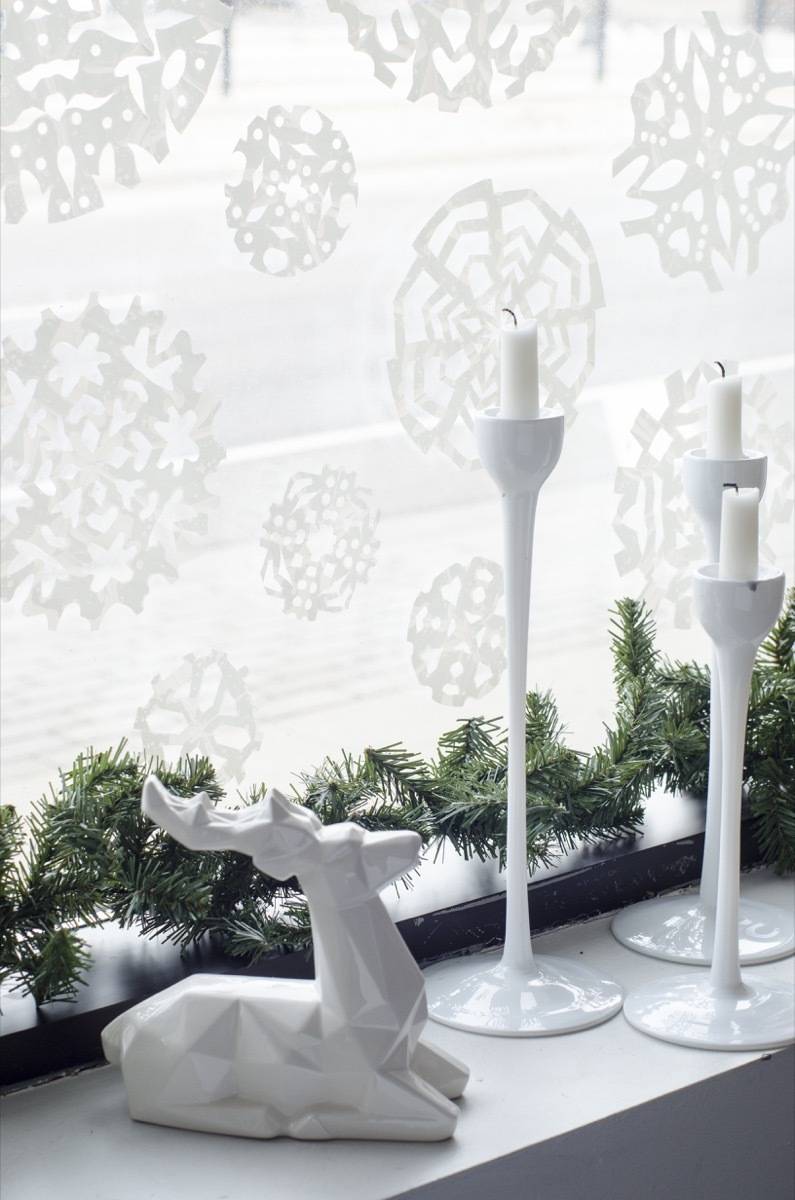
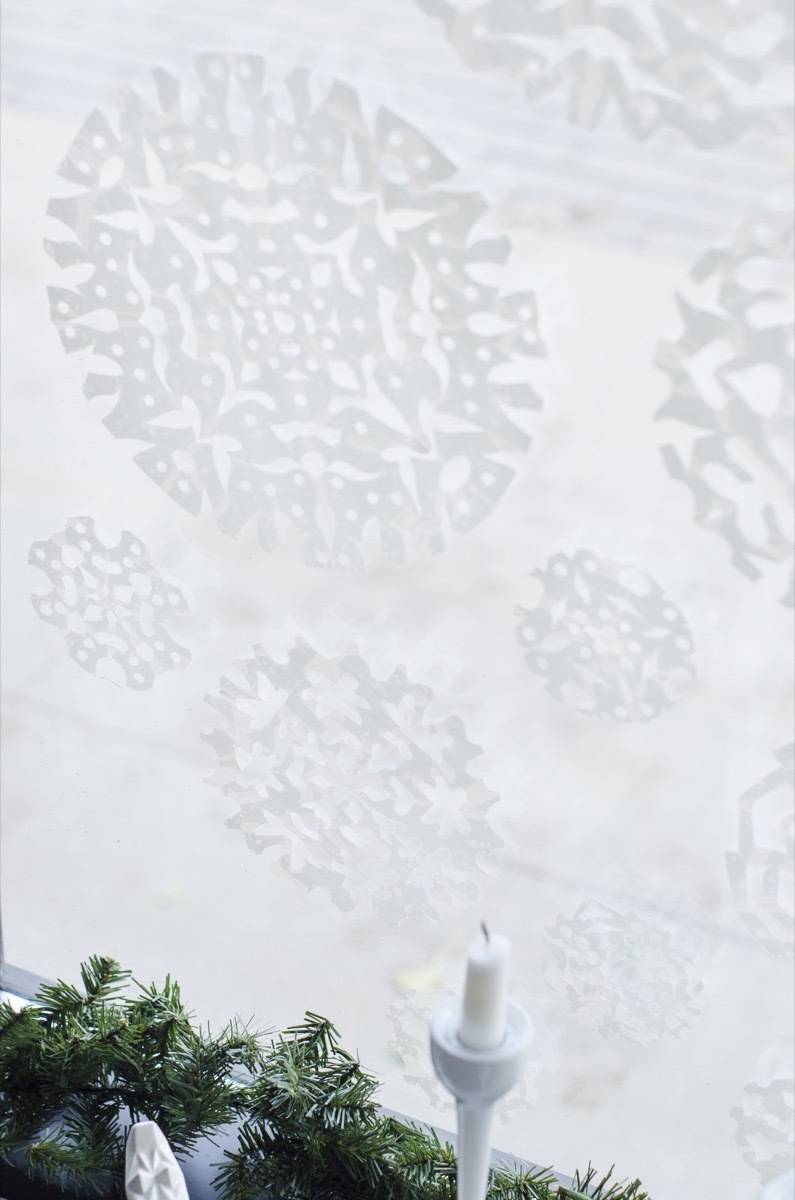
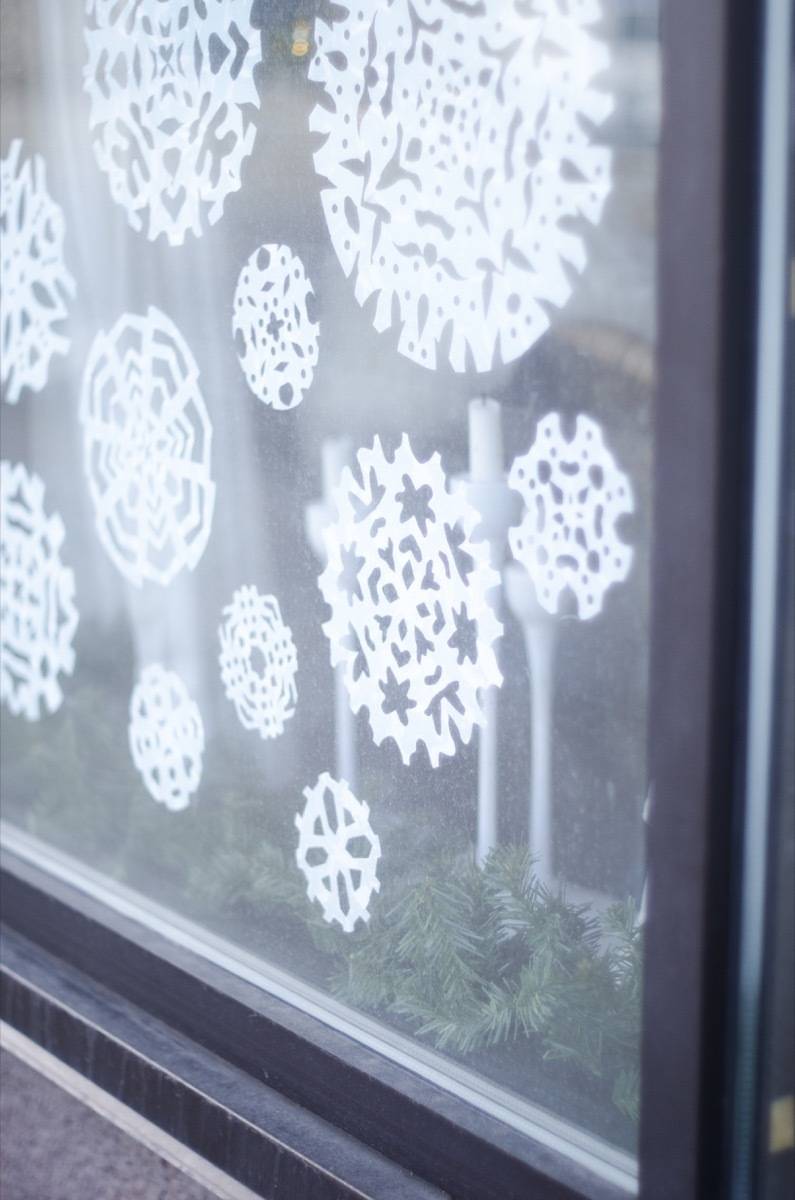
They look good from the outside, too! Regular paper snowflakes are just fine, except for the fact that you can see the tape being used to hold them up. Not these, though!
Once the winter season is over, these DIY window decals are easy to remove, too. Just peel ’em off! If there’s any leftover glue residue, clean the window with rubbing alcohol. Happy holidays!
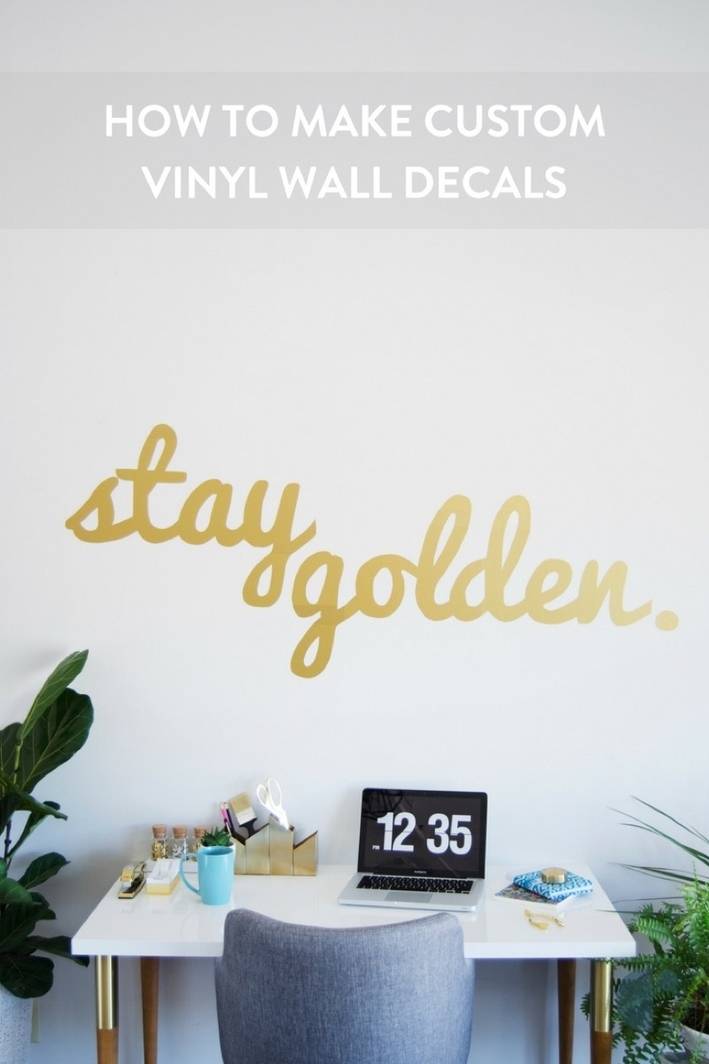
If you love these snowy DIY window decals, get ready for customized wall clings!
As a life-long Minnesota native, I beg to differ on the collective groan when it snows. When it snows in November, the awful brown/gray is covered by a beautiful blanket of white. When it snows in March, the awful melting gray is covered by a blanket of white. Yes, we do have to shovel, but it’s still beautiful. April snow, however, will bring a groan because that’s just too late. BTW, I do like your version of snowflake cutouts.