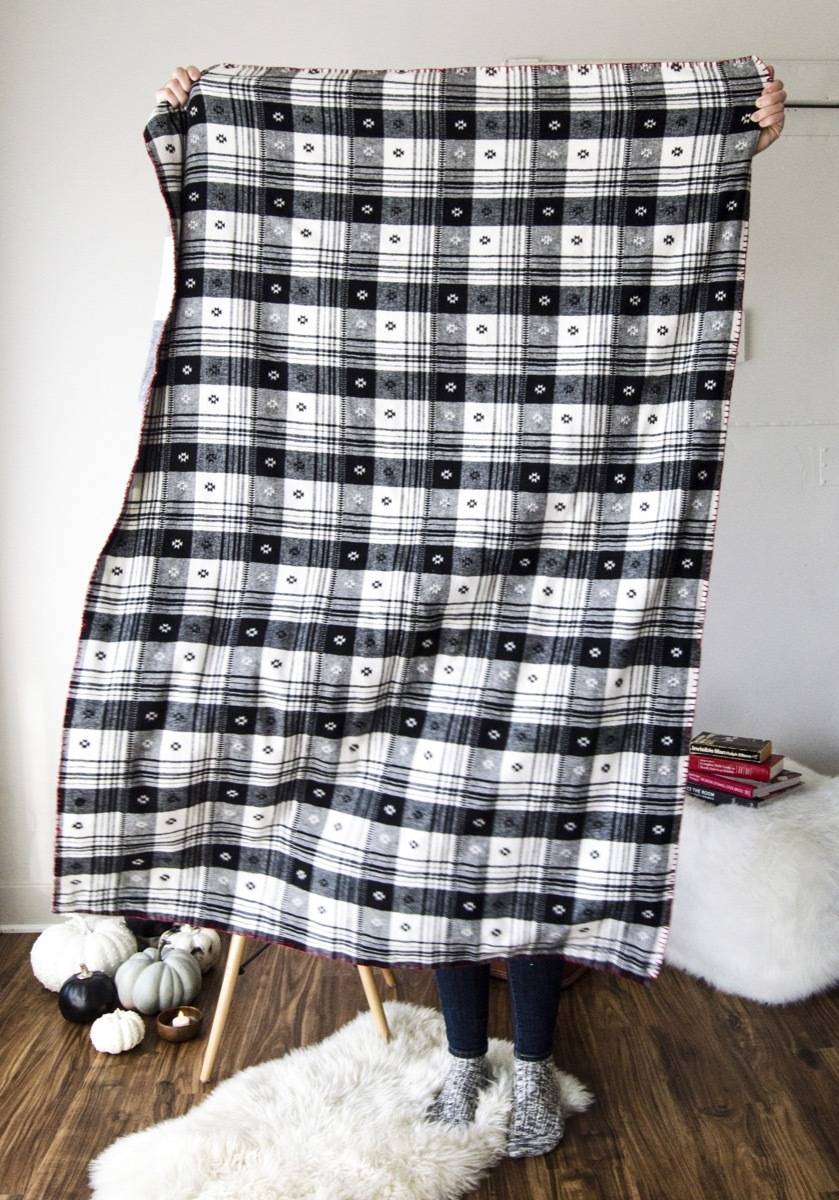
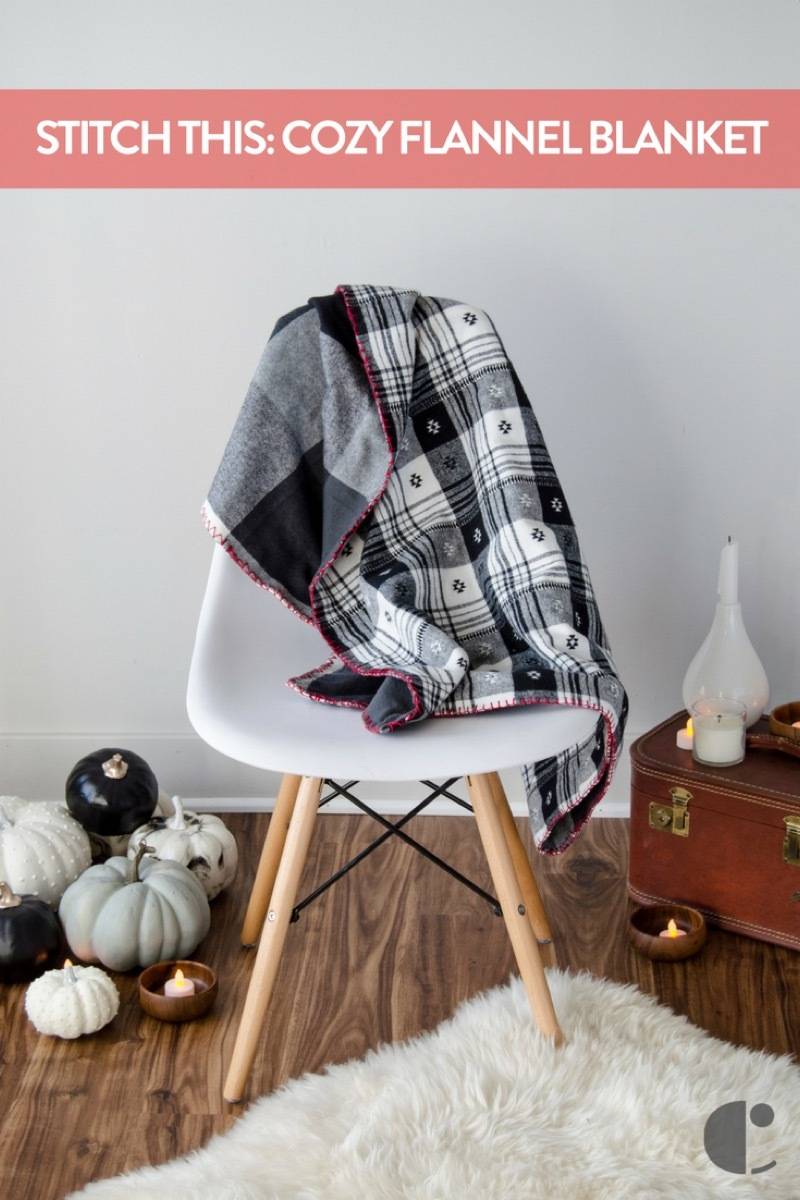
Ahh, autumn. You make me want to light bonfires in my backyard, start drinking cocoa on the daily, and cozy up in anything warm and snuggly. This fall I’m exploring my reignited love of flannel (I’m actually wearing a flannel shirt right now as I write this), and with these local Minnesota temperatures ever on the decline, a DIY flannel throw was in order. I just love blankets – you can never have too many, which makes them a wonderful gift. This one was simple to make too, and ever so comfy.
Watch the video to see how easily this DIY flannel throw came together, and keep reading for the full details.
Materials
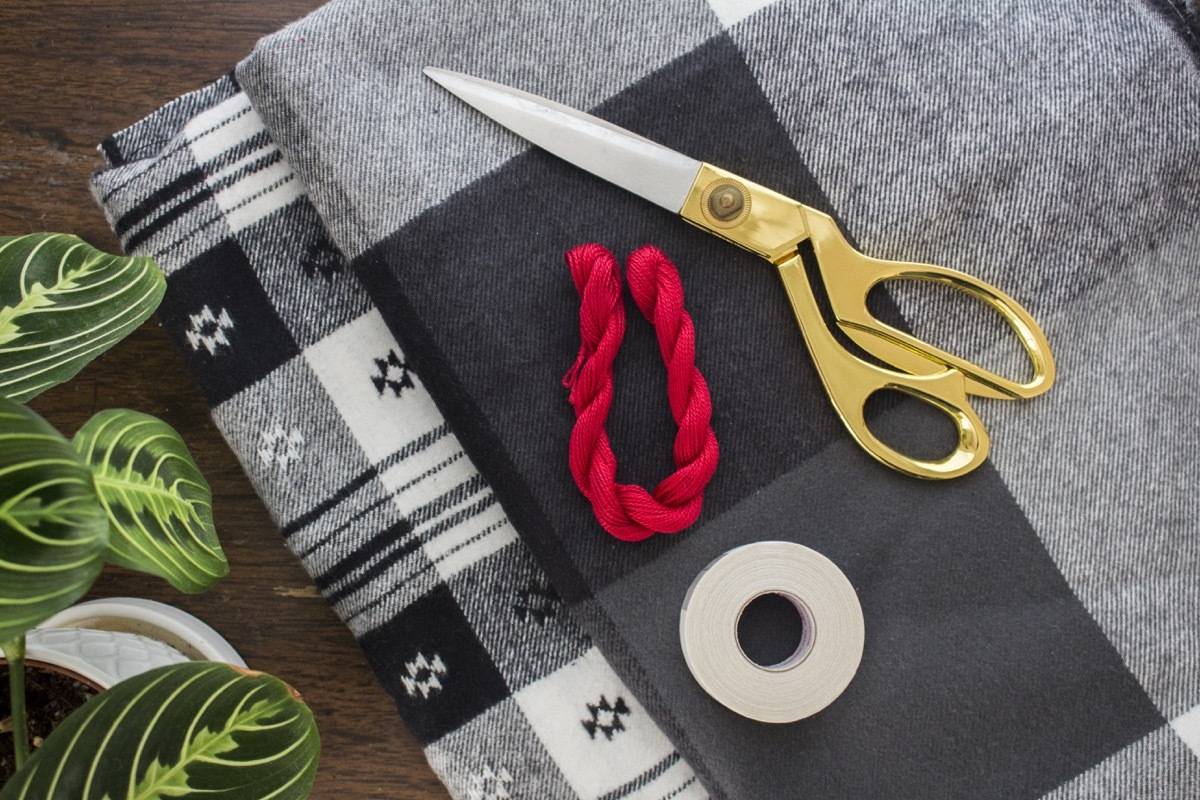
- Two pieces of 44″ flannel fabric – 1 and 2/3 yards of each
- Embroidery floss and needle
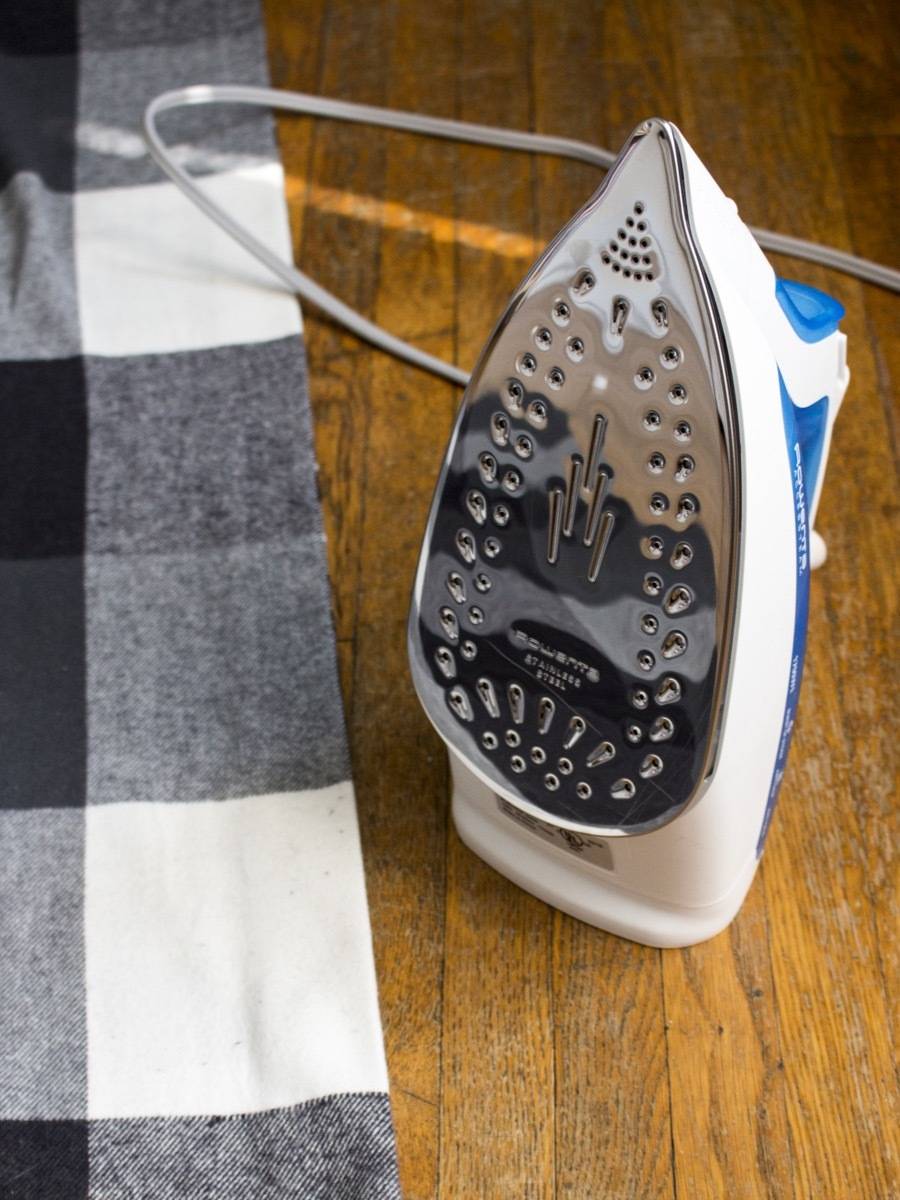
- Iron-on hem tape and iron
- Scissors
Step
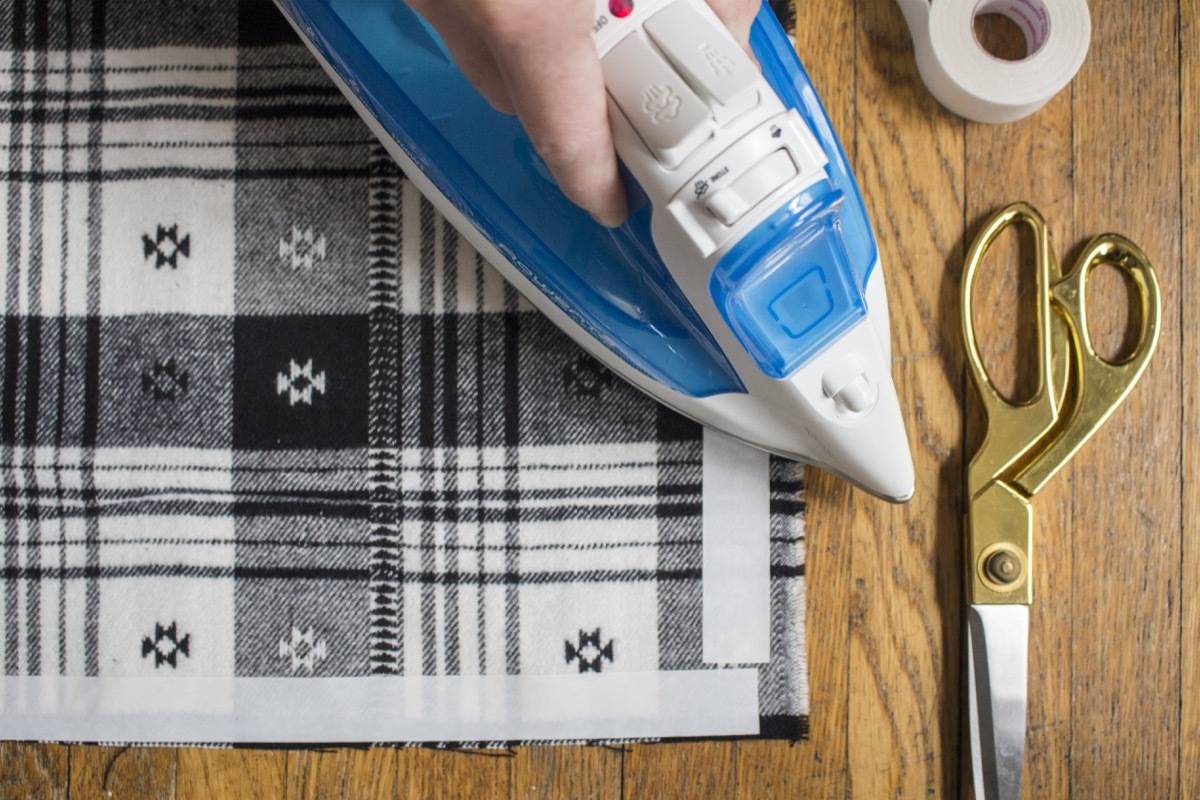
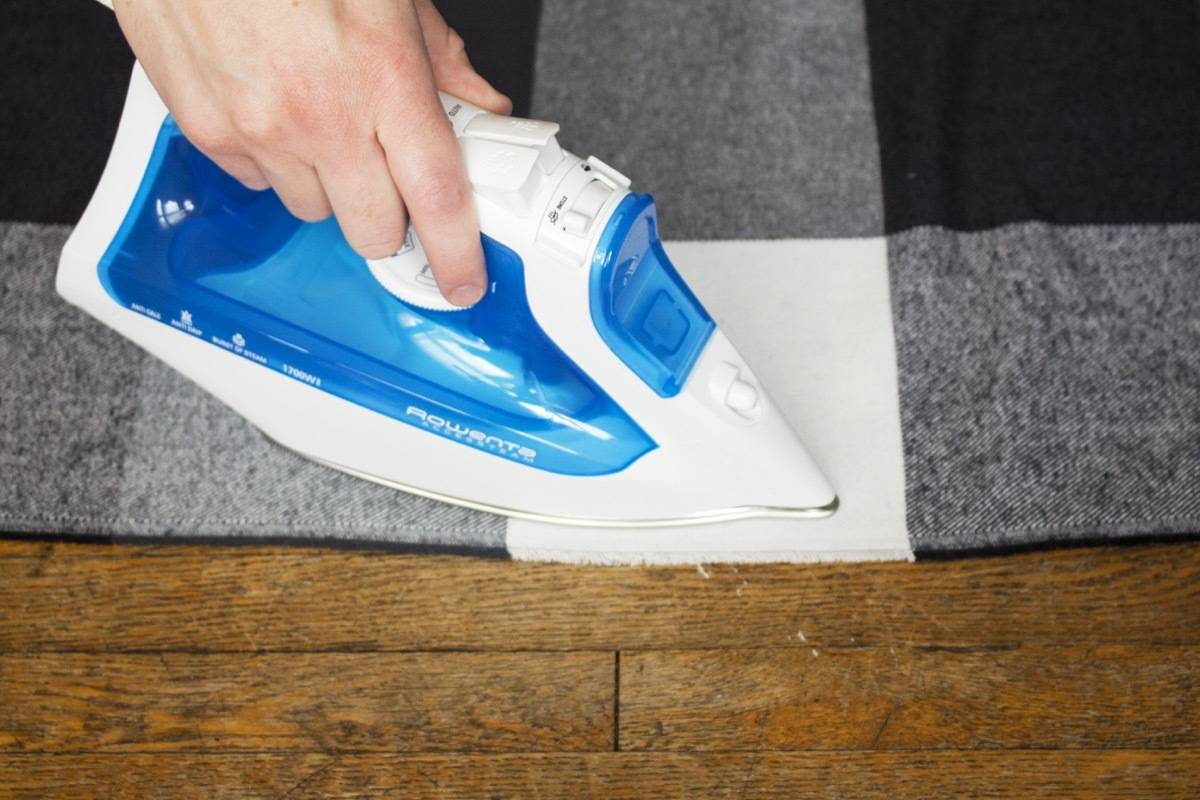
Lay one piece of flannel right-side up on a flat surface that you can iron on. Line hem tape (paper-side facing up) with the four sides of the blanket. In accordance with the directions, iron the tape in place. Use medium, dry heat in 2-second increments. Do this for all four sides of the flannel.
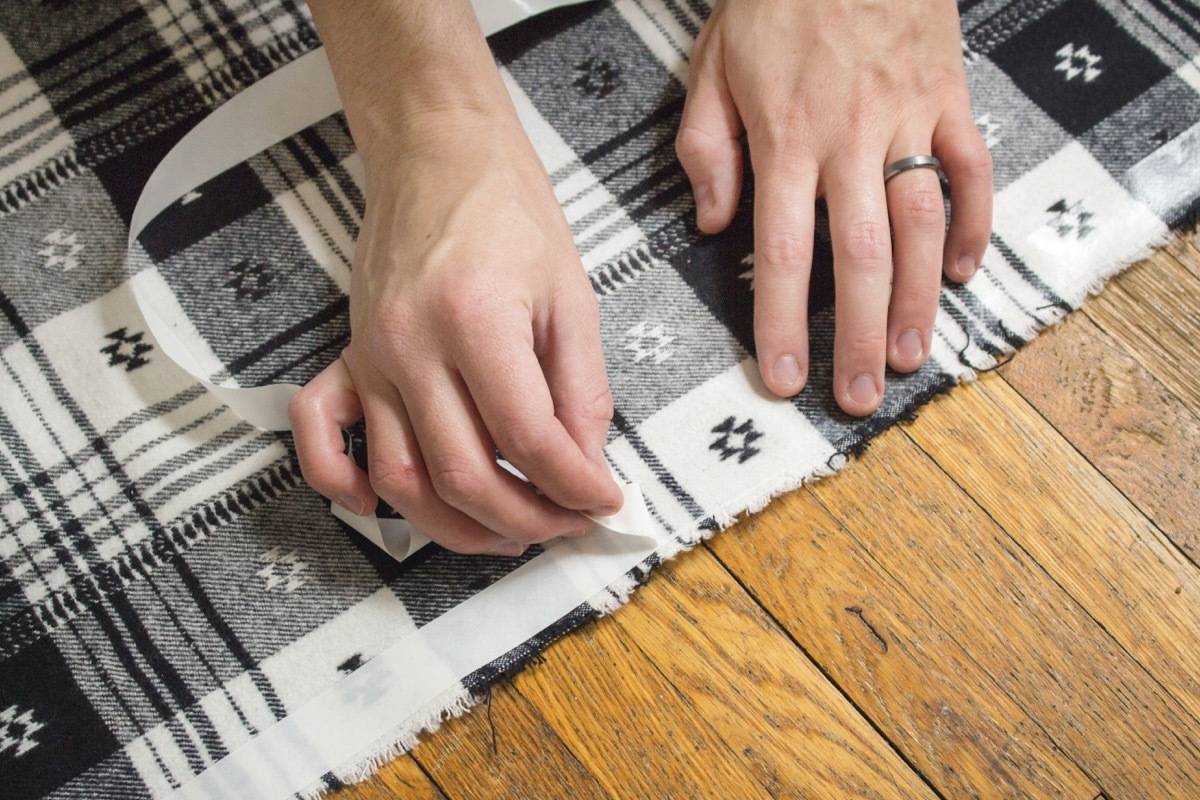
Once the tape has cooled, remove the paper backing.
Step
Lay the second piece of flannel on top of the first, right-side down. Iron along three of the four sides, in 8-seconds increments.
Step
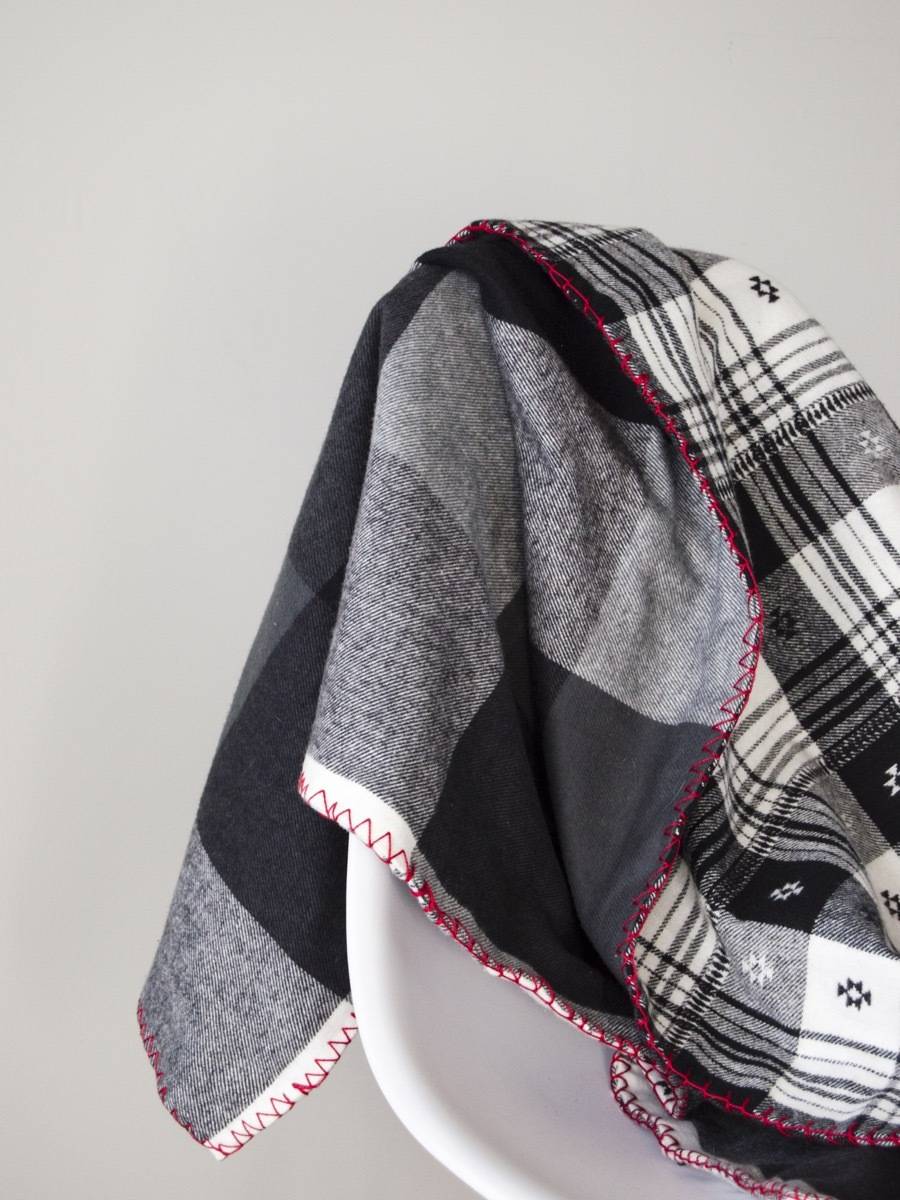
Once the tape has cooled, turn the blanket inside-out through the open side. On this open side, flip the raw edges in, and iron the blanket shut. Iron along all sides to flatten the seams.
Step
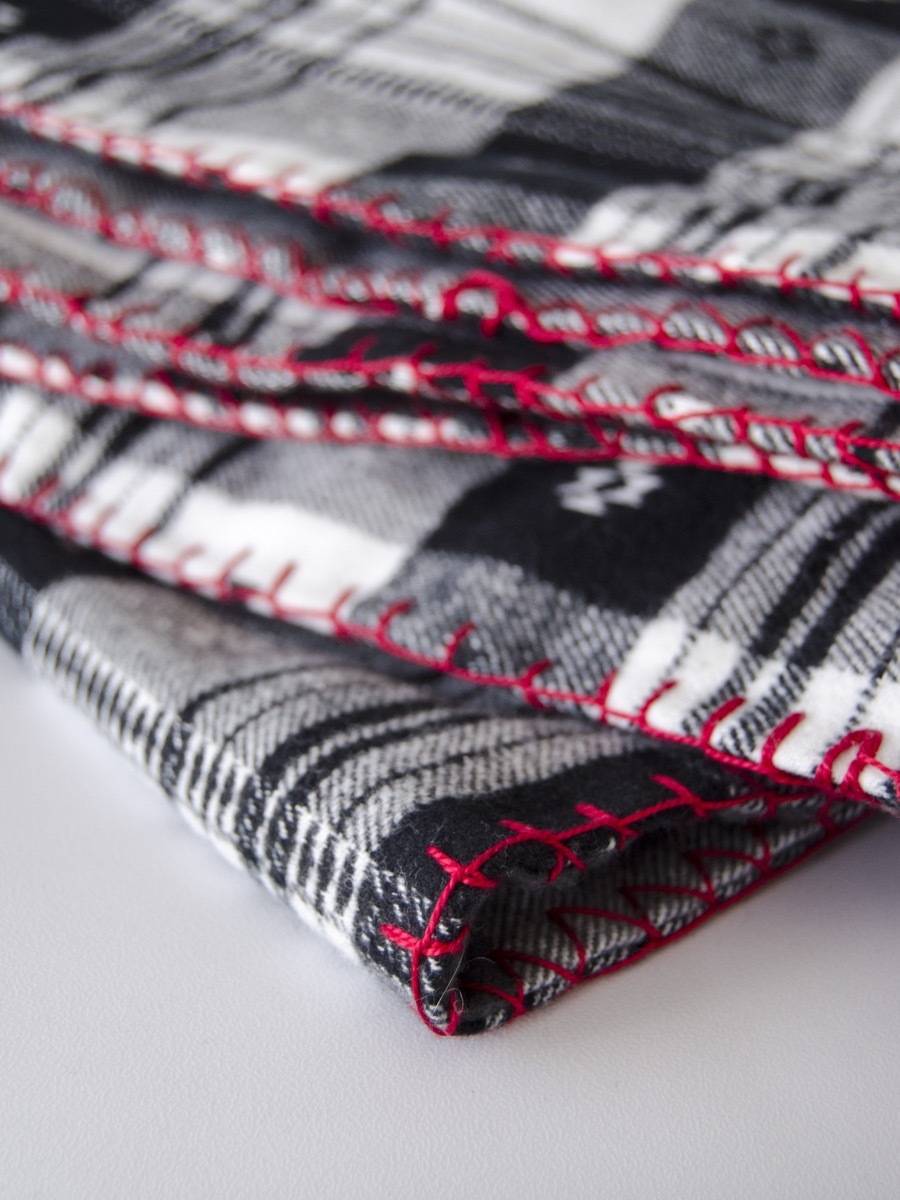
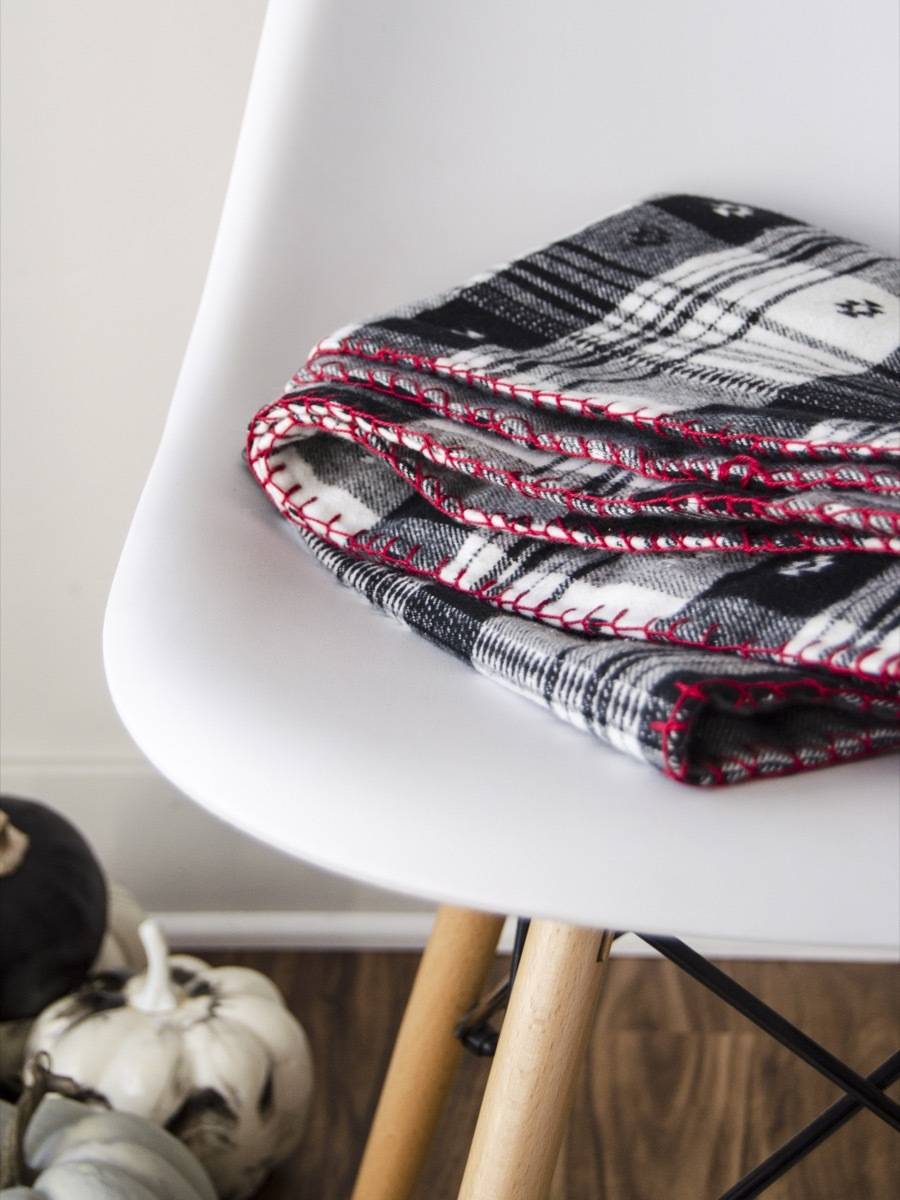
Now all that’s left to do is blanket-stitch the edges of this flannel throw. Blanket stitching not only adds a pop of color along the edges, but it also helps the structural integrity of the blanket.
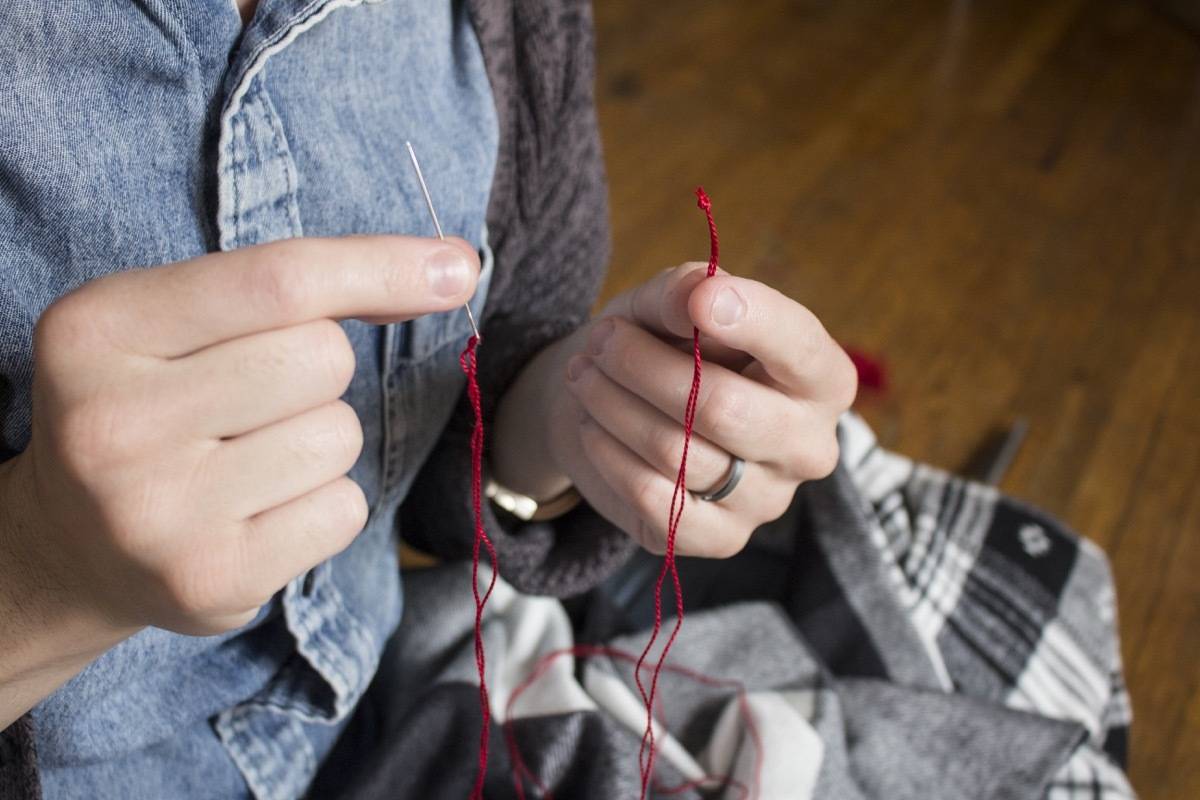
To blanket stitch, you’ll need some embroidery thread and a needle. Thread the needle, knotting both ends together.
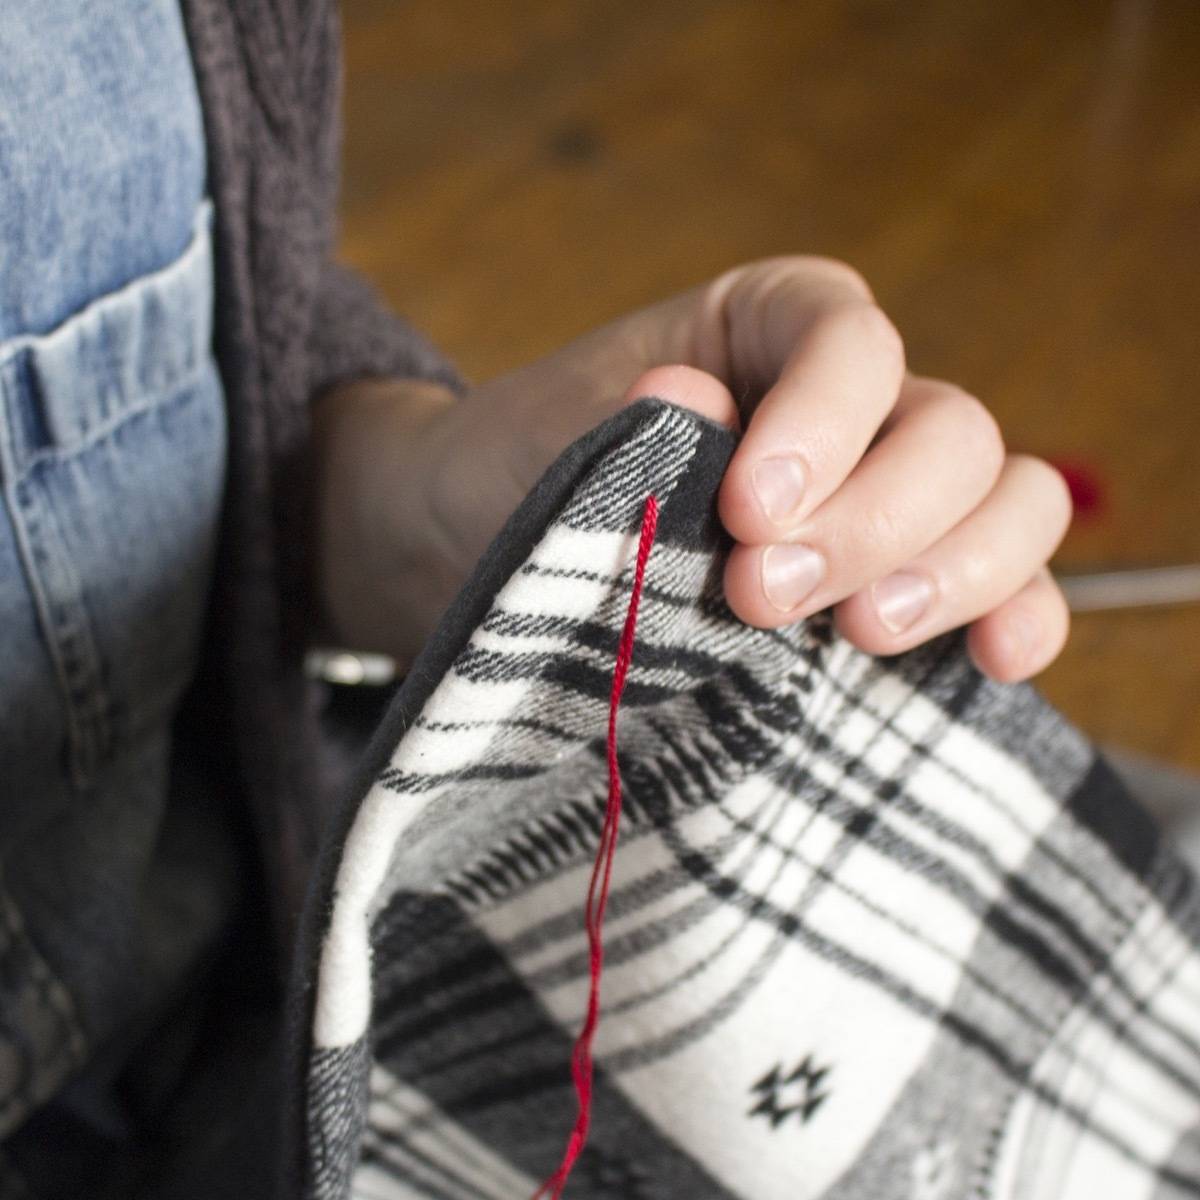
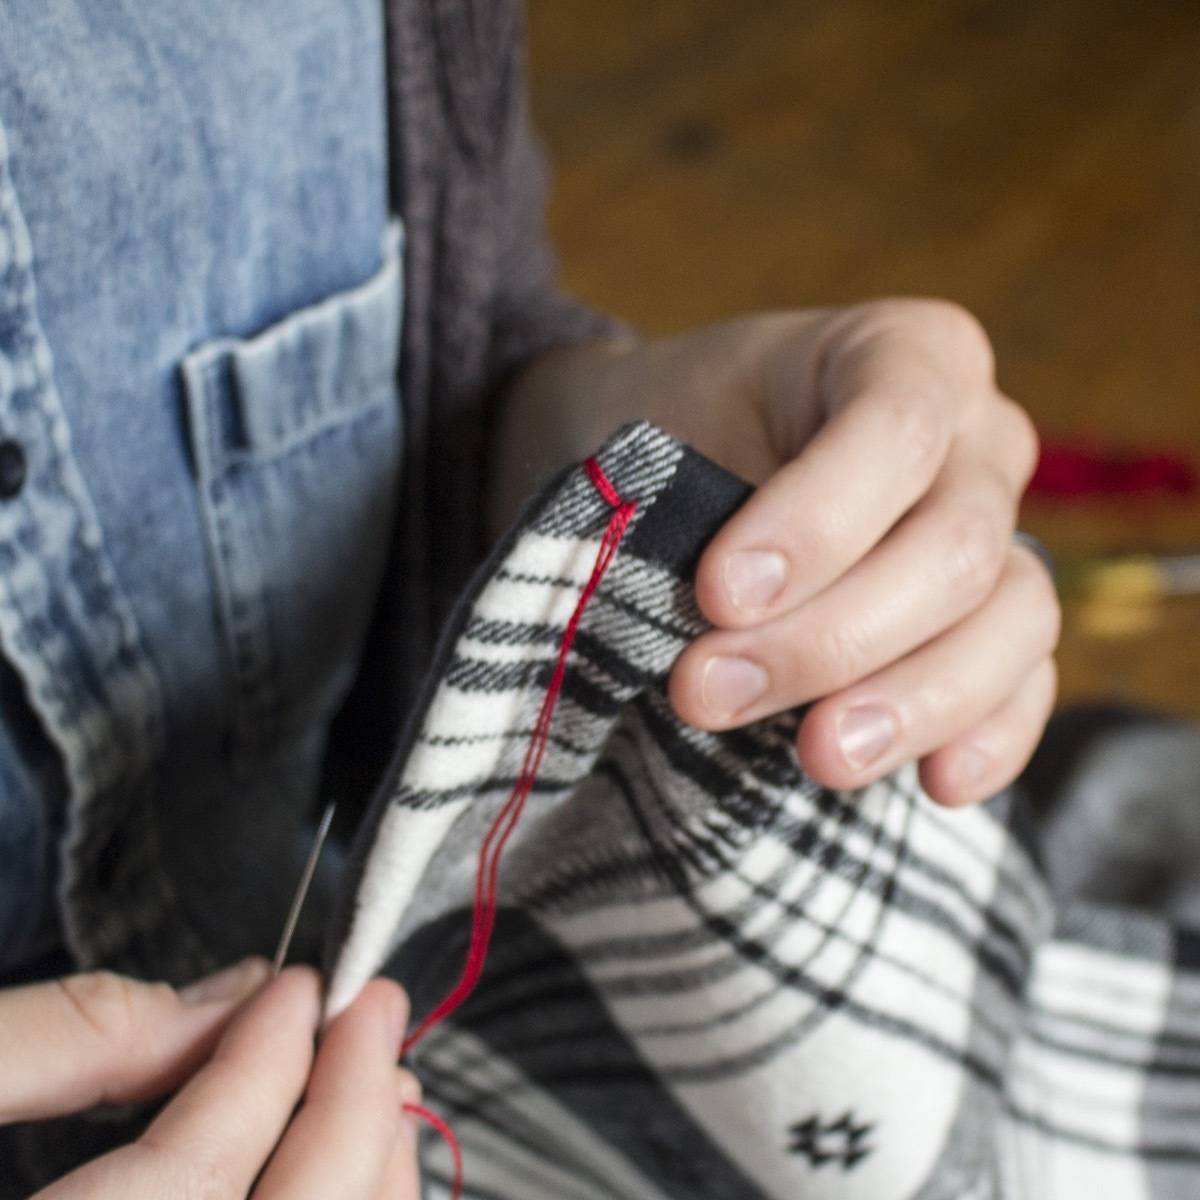
1. Stitch from the bottom up, just through the top layer (to hide the knot in between both layers).
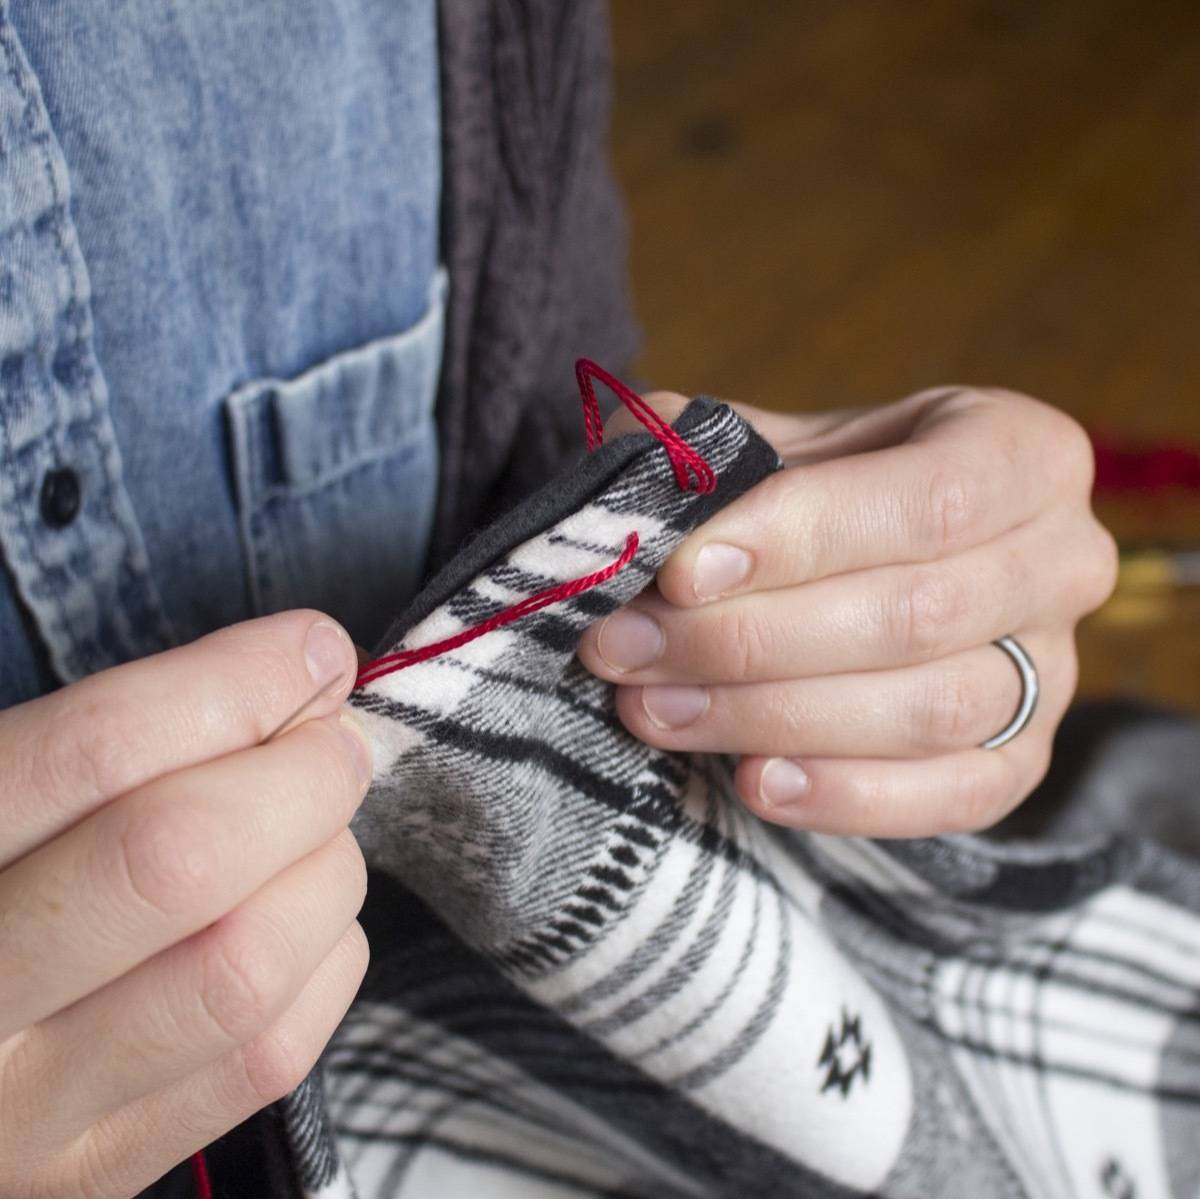
2. Stitch from the bottom up (this time through both layers), through the same point the needle entered before.
3. Move down the edge, and stitch from the bottom up. This time, don’t pull the stitch taut, leaving a small loop.
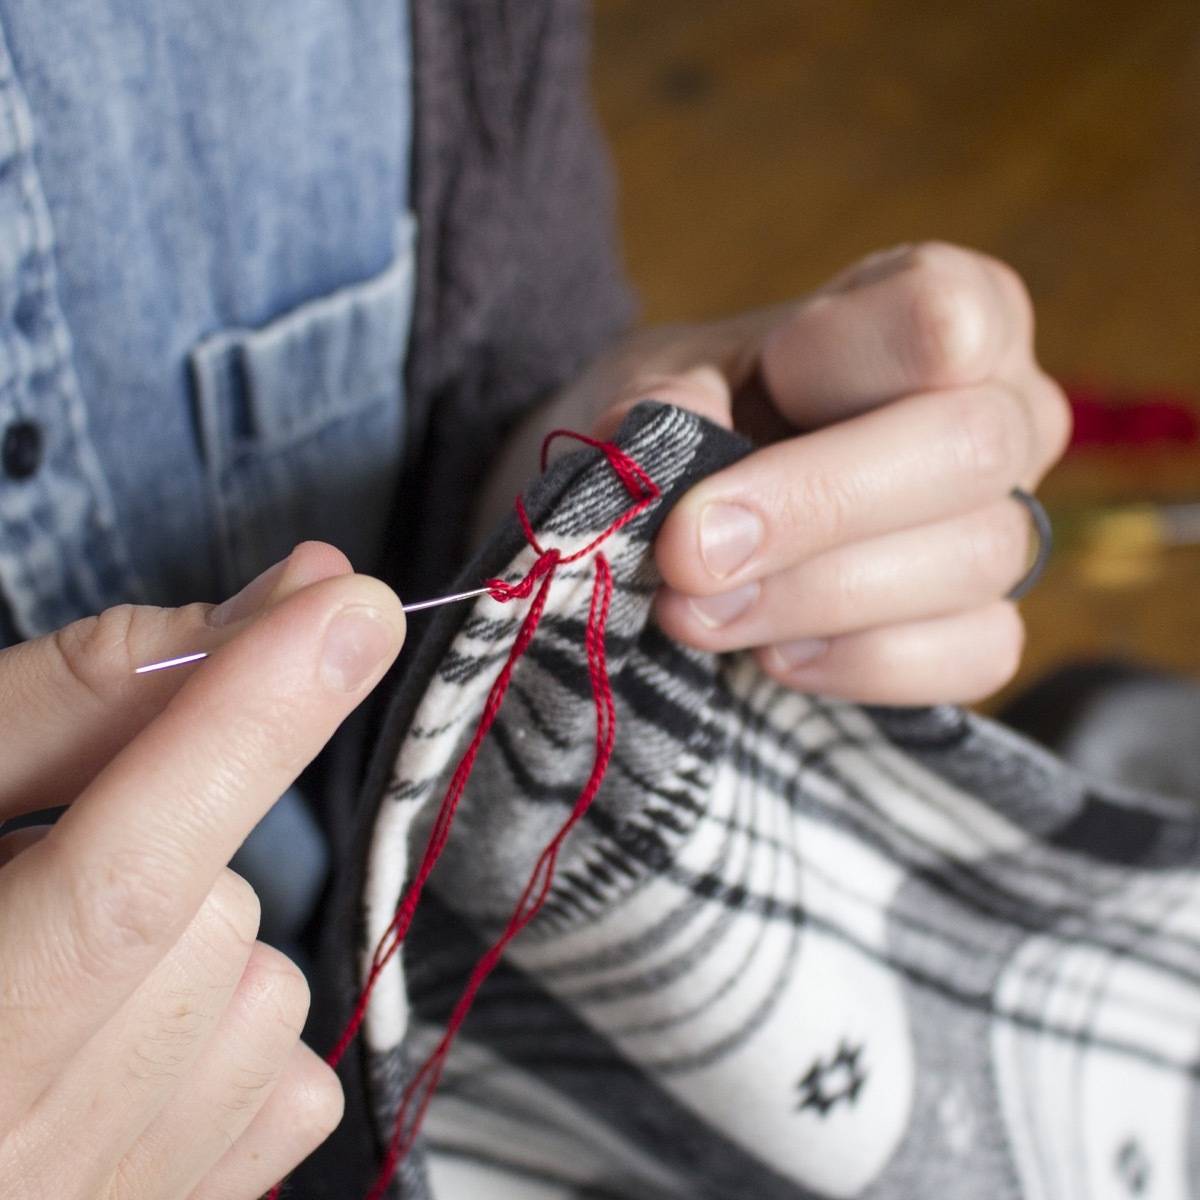

4. Separate the two threads of the loop, and feed the needle through one of the threads.
5. Pull the stitch taut.
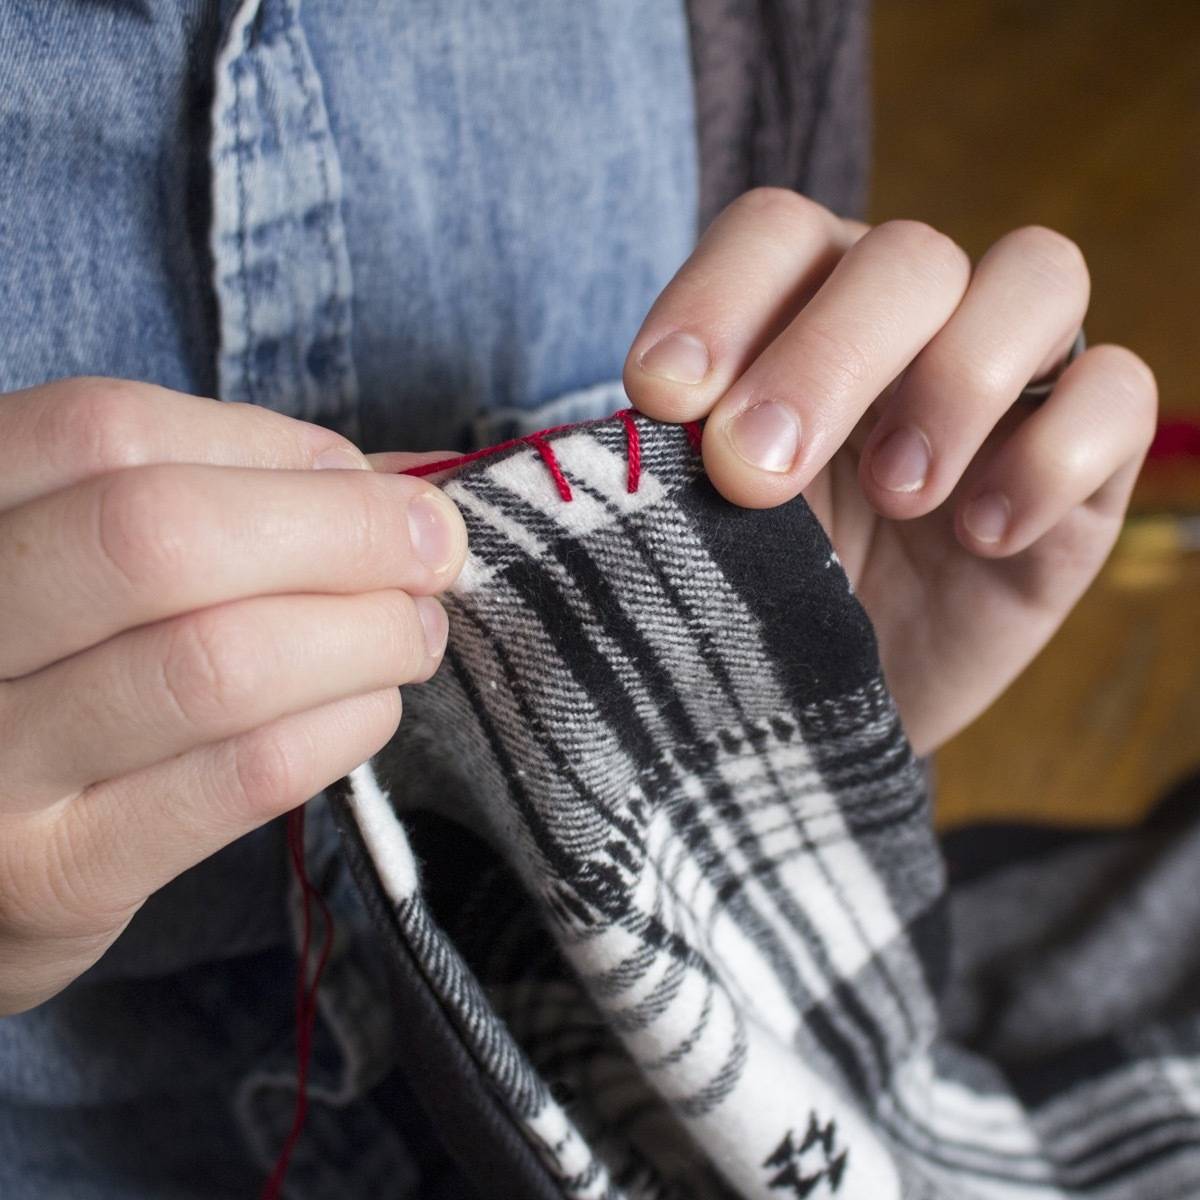
6. Repeat steps 3-5, moving down the edge, stitching but not all the way, feed the needle through one of the loop threads, pull the stitch closed. 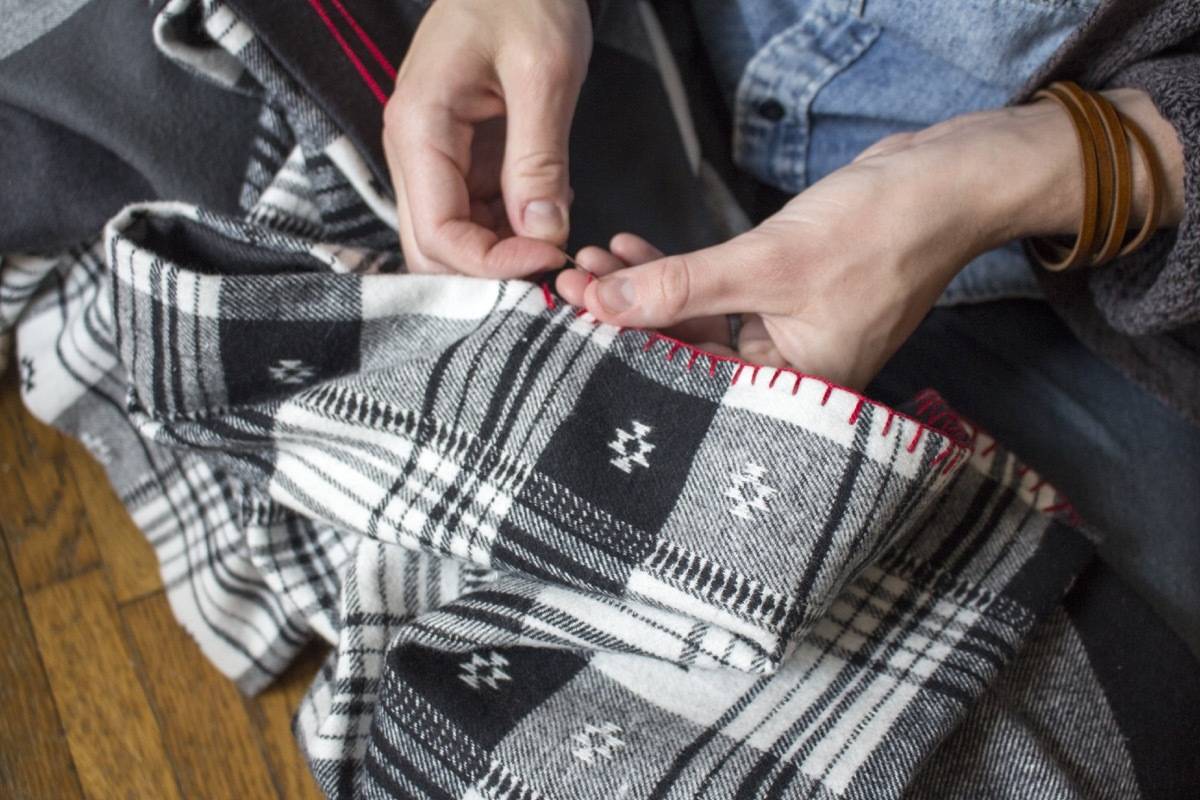
Stitch away! It gets faster and easier as you go. It took me roughly two and a half episodes of The Office to complete the stitching on this DIY flannel throw.

If you’re intimidated by the amount of stitching needed for this DIY flannel throw – don’t be! Once you’ve completed a few and gotten the hang of it, it’s quite a relaxing activity. So put on an old movie, heat up some hot cocoa, and have fun crafting.
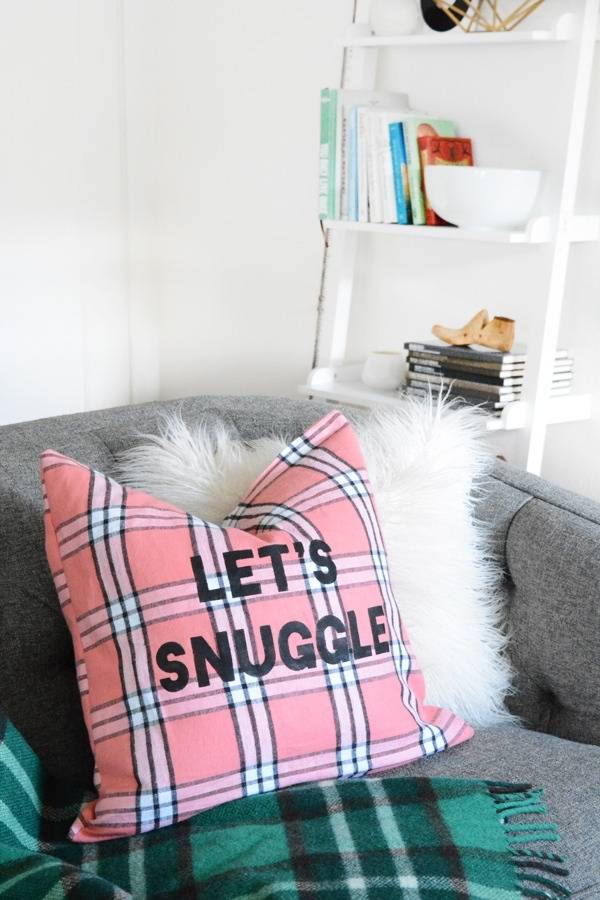
Can’t get enough cozy flannel in your life? DIY this snuggly typographic pillow!