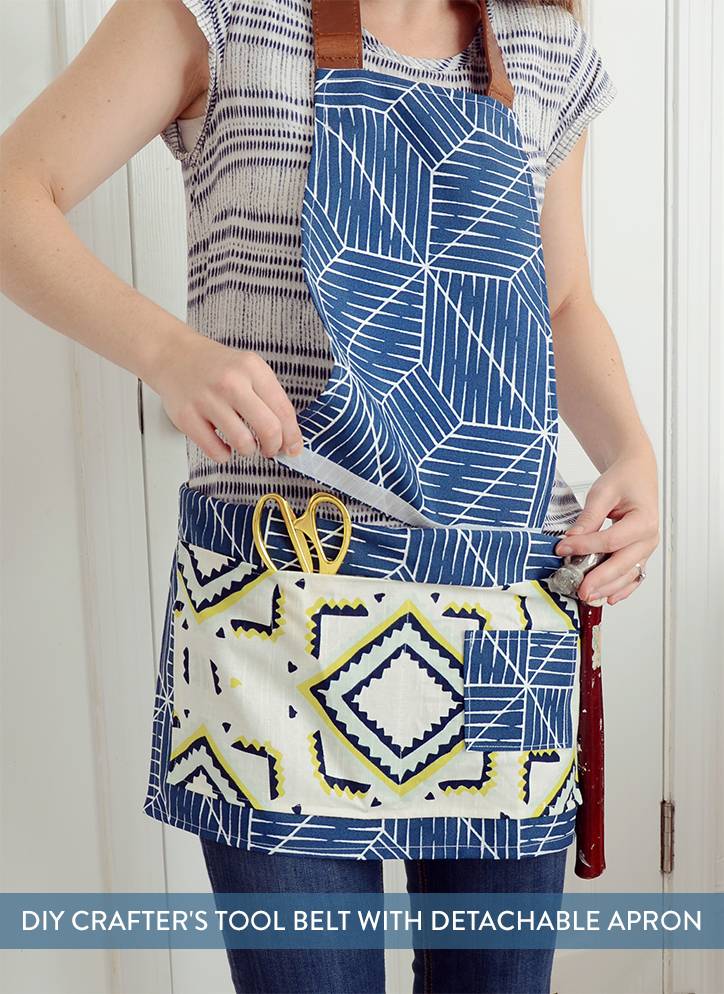
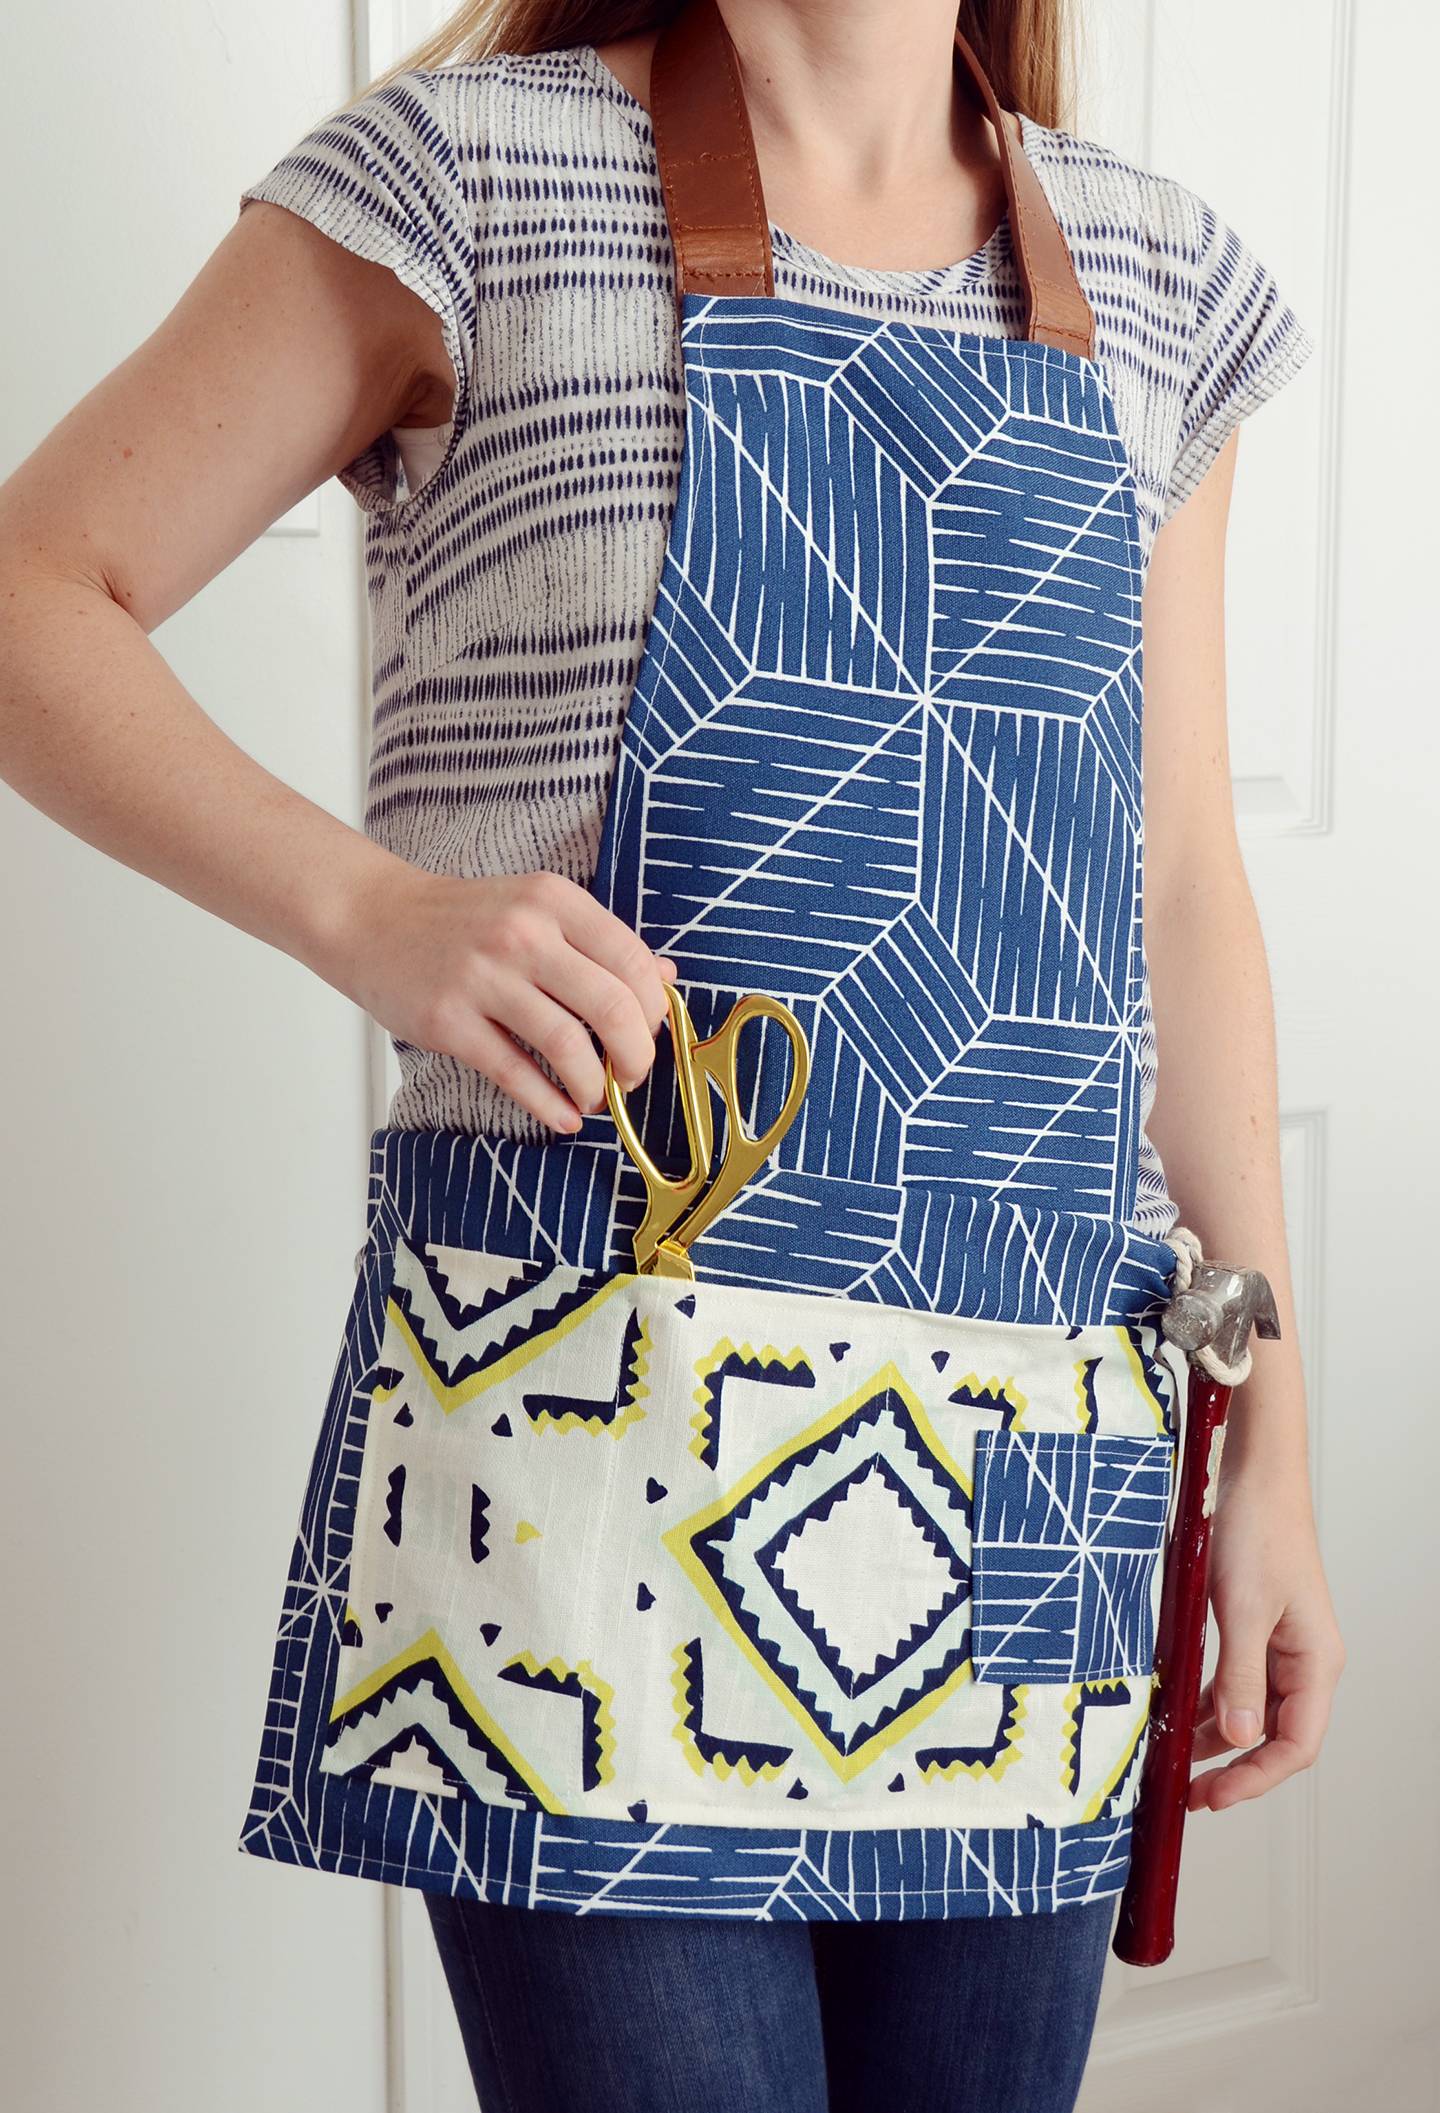
As a serious crafter, I always have two recurring problems: I ruin my clothing (thanks to paint/stain/glue splatters), and I’m also always running around the house looking for tools as I’m trying to finish my project. So I made a crafting tool belt with detachable apron, and it solved both of these problems! Now I can gather all my tools at the start of the project and literally keep them on me as I work. I don’t know why I didn’t make one of these ten years ago! Click through to check out the sewing tutorial.
Materials

- Canvas fabric in darker color, 1/2 yard
- Medium weight fabric in lighter color, 1/4 yard
- 2 old leather belts (or vegan leather)
- 11 inches of adhesive velcro
- 10 inches of cotton rope
- Measuring tape
- Scissors
- Hot glue gun
- Pins (not pictured)
- Thread
- Sewing machine
Step
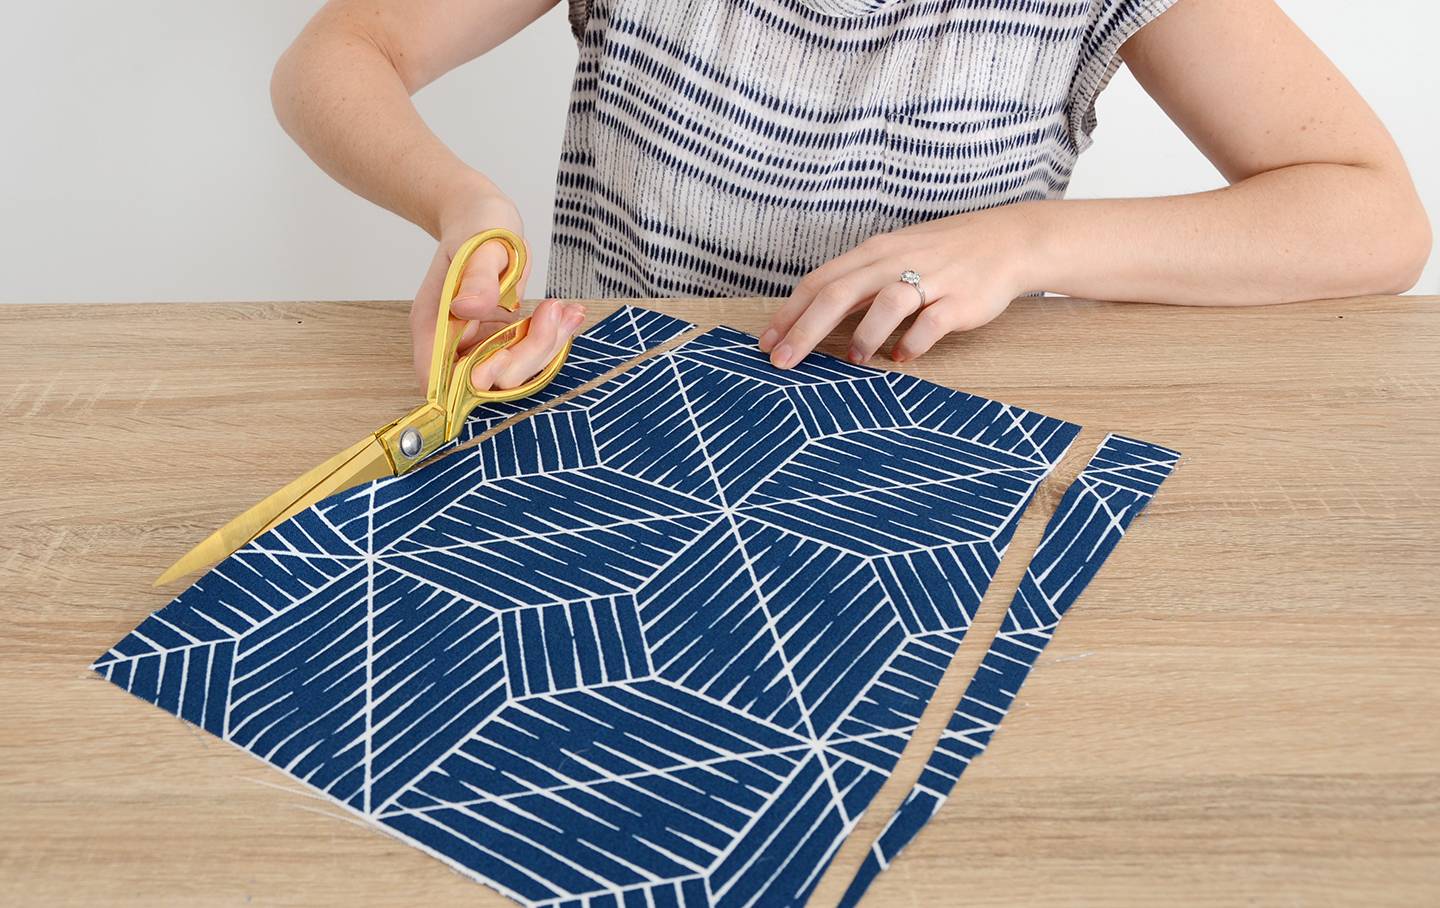
Begin by cutting a 12 x 15 inch piece of the darker canvas fabric. Then measure over 1.5 inches on one of the shorter ends and cut from that point to the opposite corner (shown above). Do the same on the other side. This will form a long trapezoid shape.
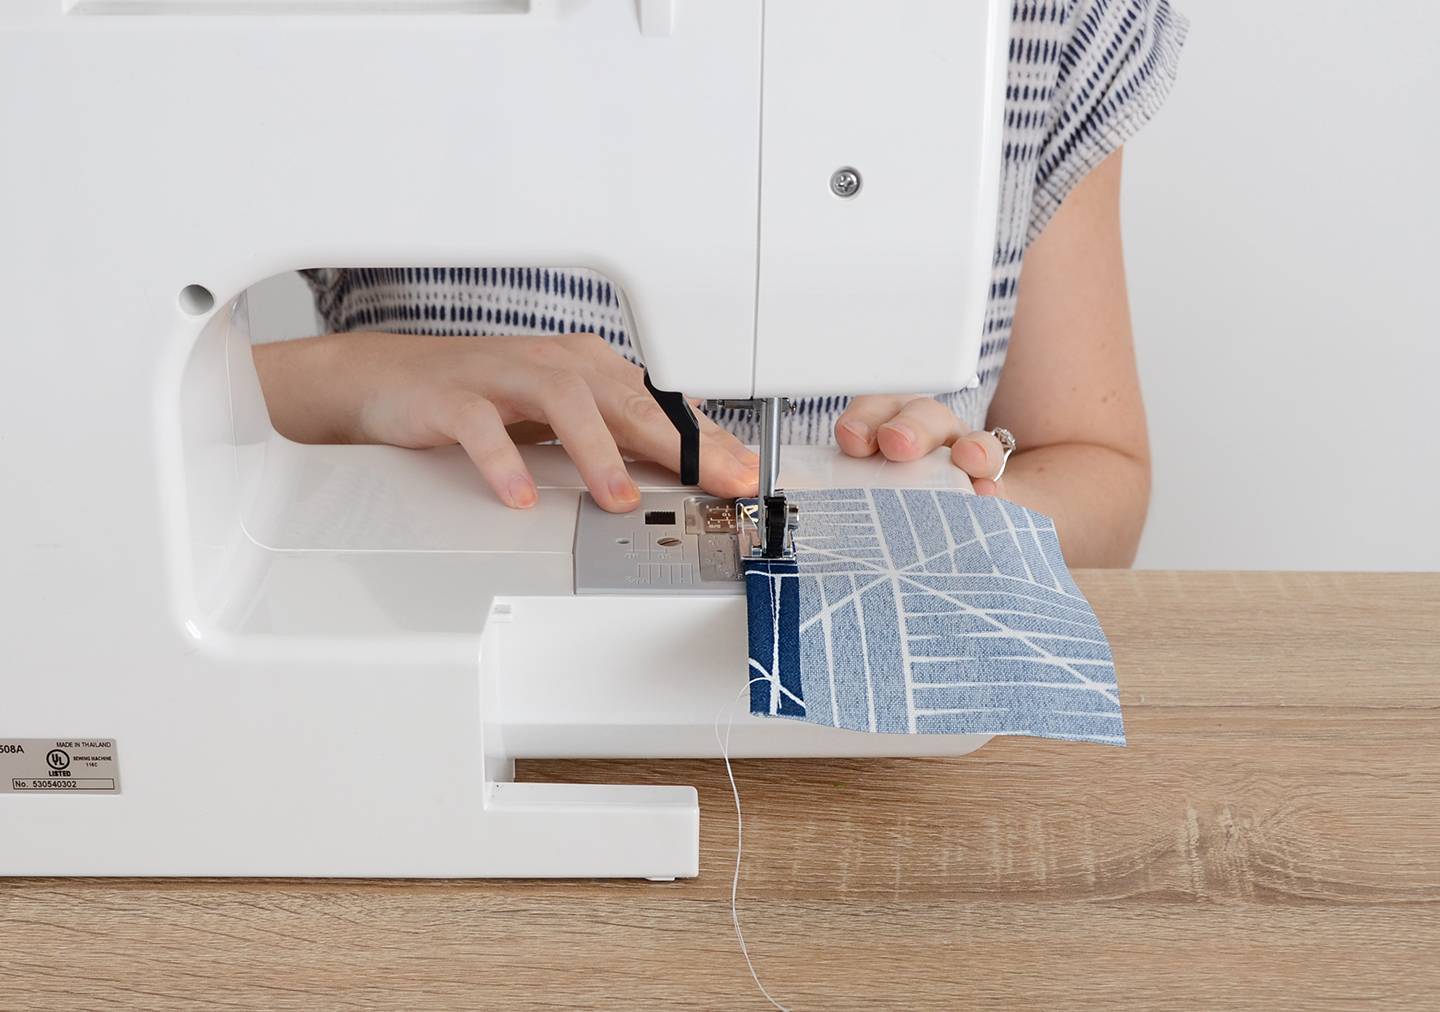
Step
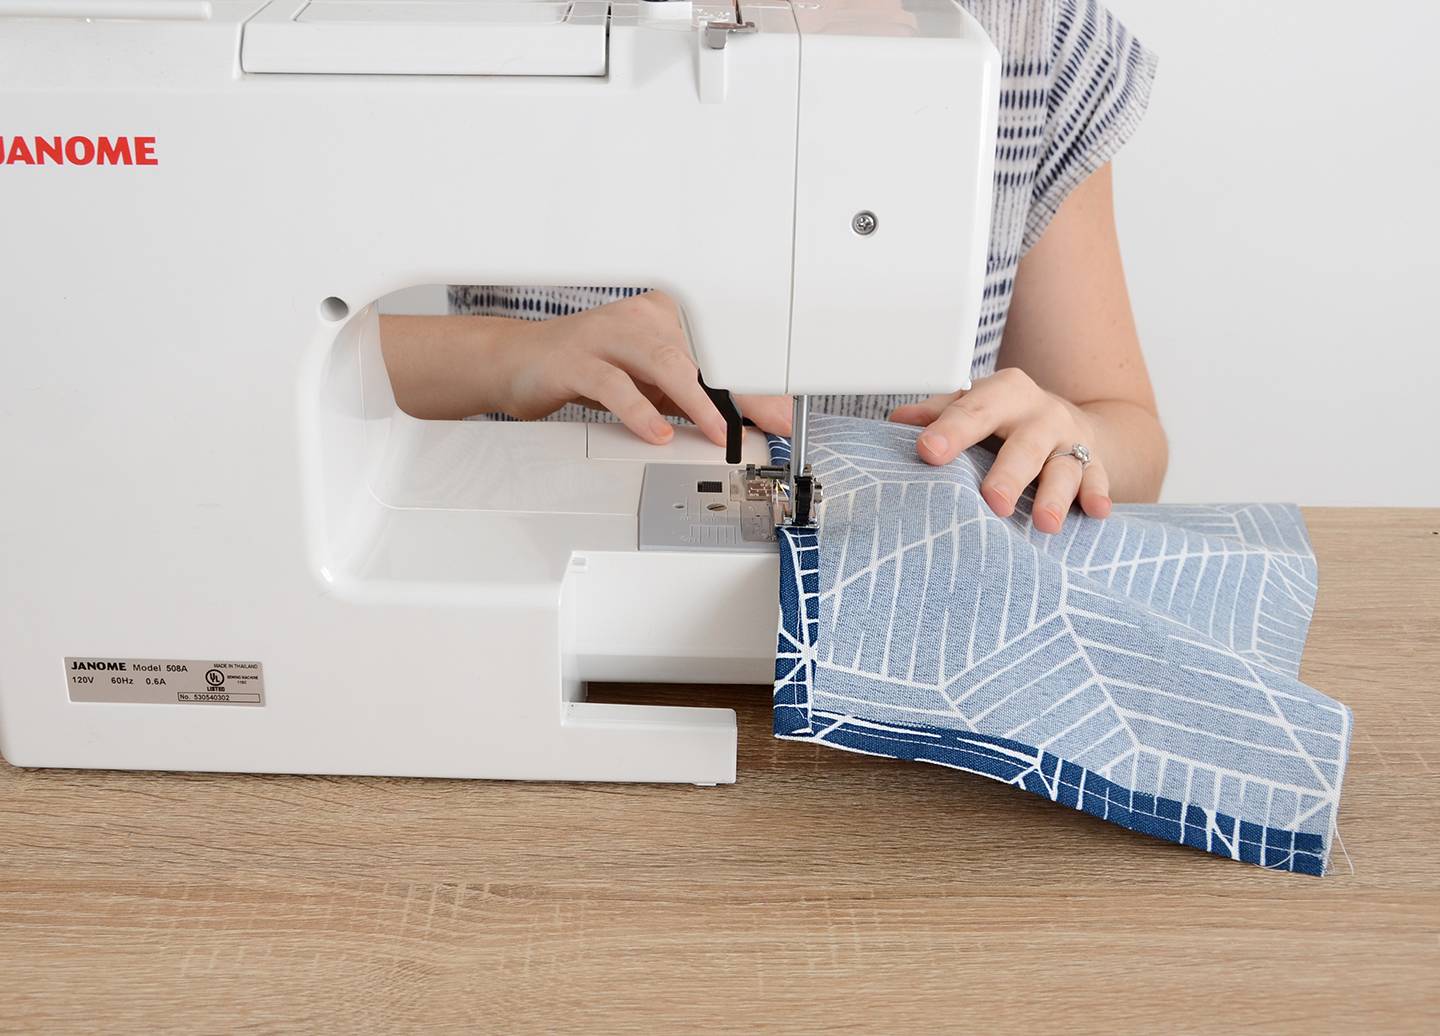
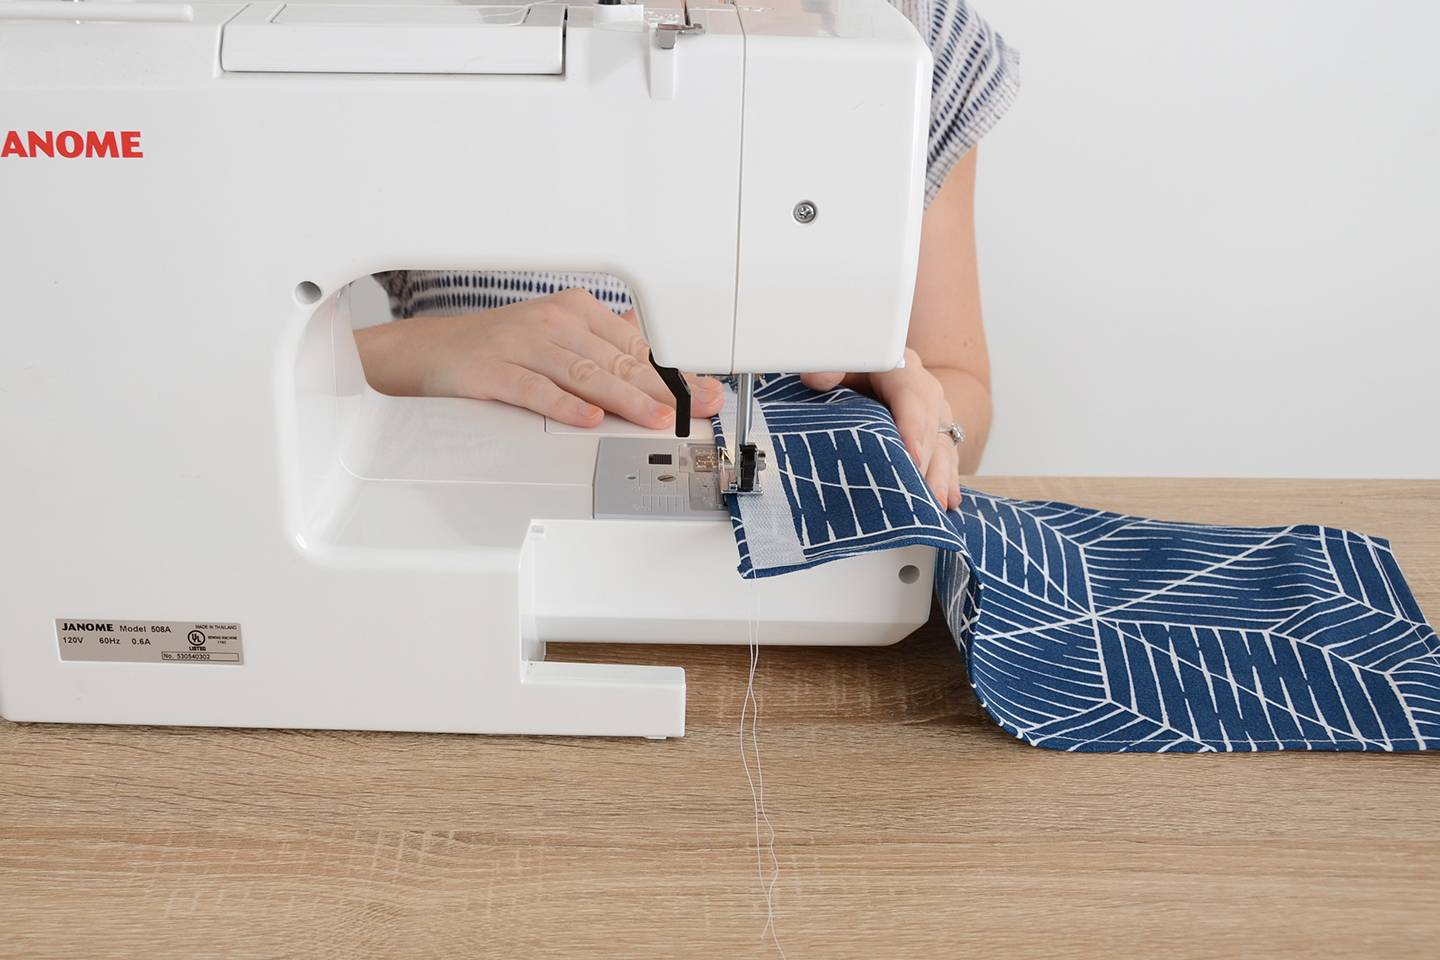
Hem around the whole perimeter of this piece using a half inch seam allowance.
Step
Attach the prickly side of the velcro to the front of the 11 inch side of the fabric and sew around the edges.
Step
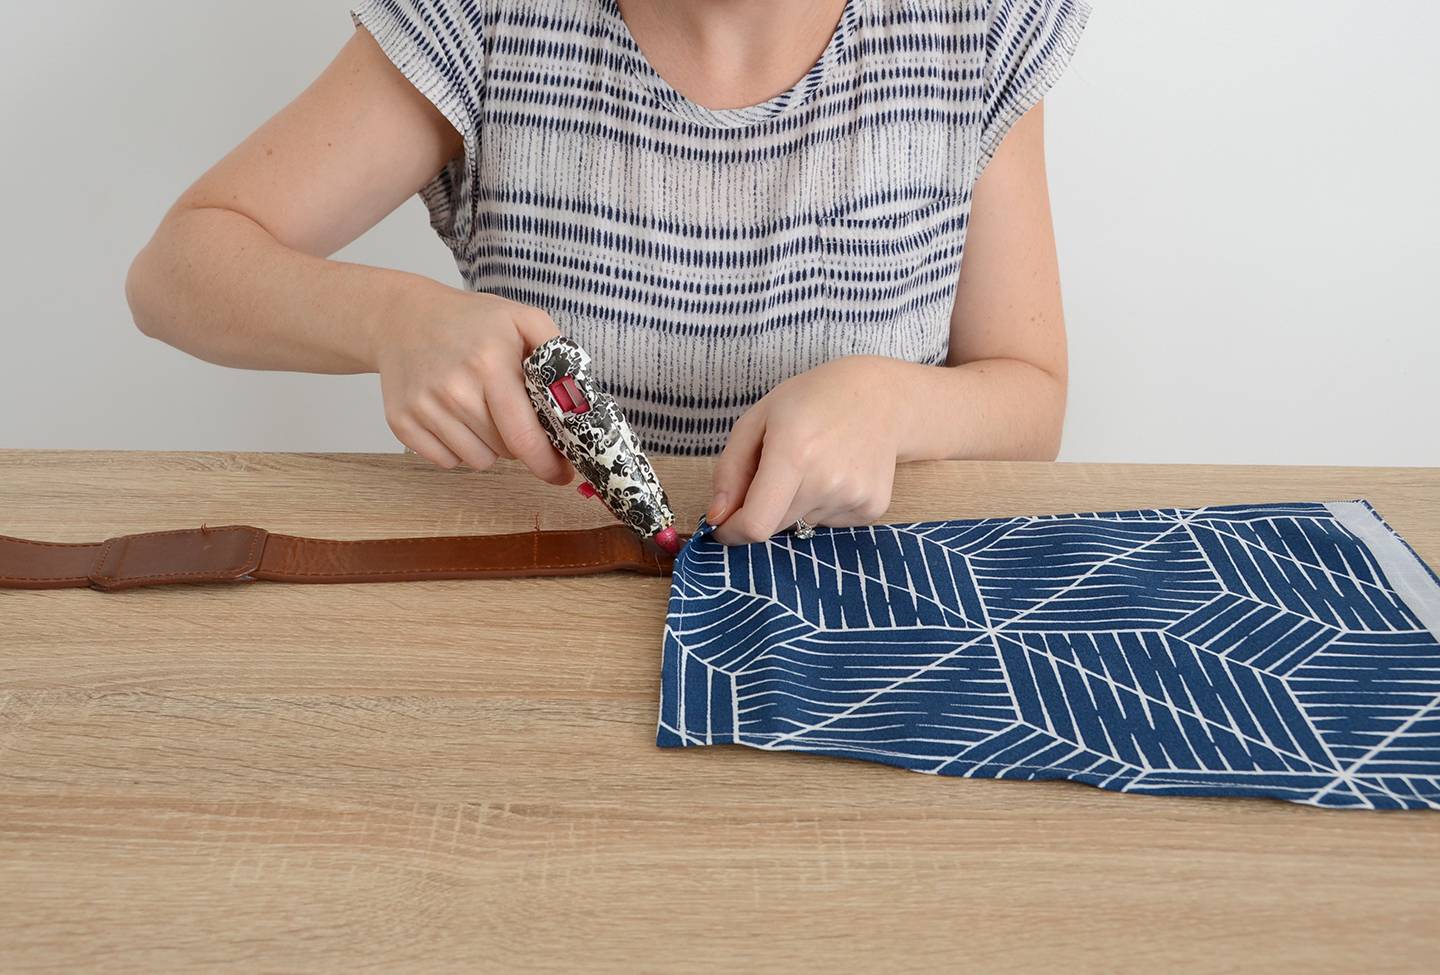
Measure a 24 inch piece of an old belt and hold it around your neck to make sure it will fit nicely. Cut at that point and glue one end to the corner opposite the velcro. Bend it in half and glue the other end to the other corner.
Step
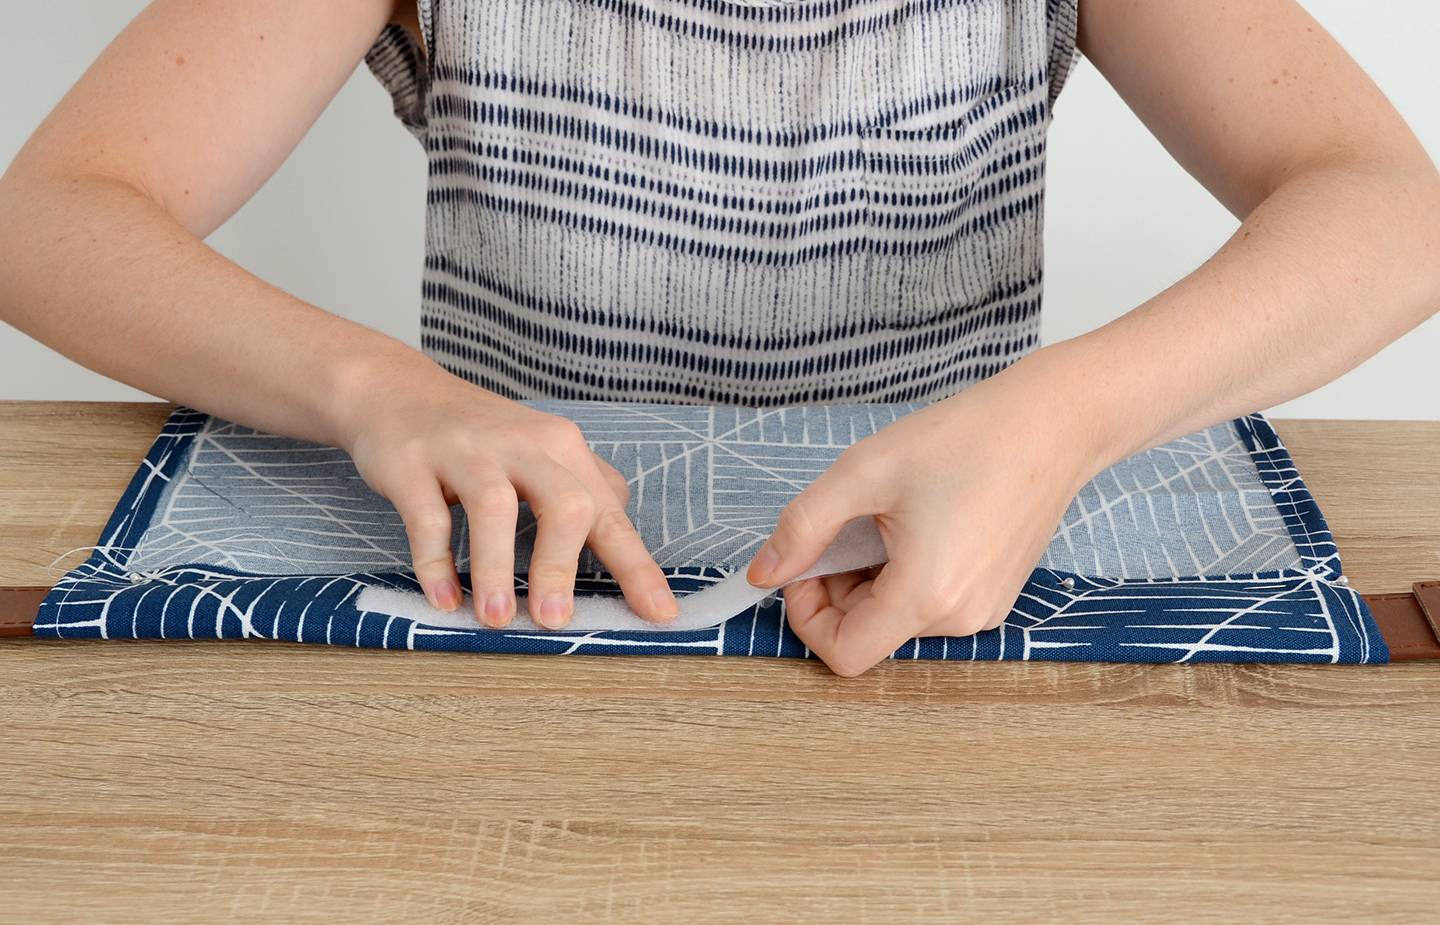
Next cut another piece of canvas fabric – this time it should be 14 x 20 inches. Hem around three sides with a half inch seam allowance (leaving one of the long edges raw). Place the other belt at the top and fold the fabric over, pinning it in place. Adhere the soft side of the velcro to the middle of the folded section as shown above.
Step
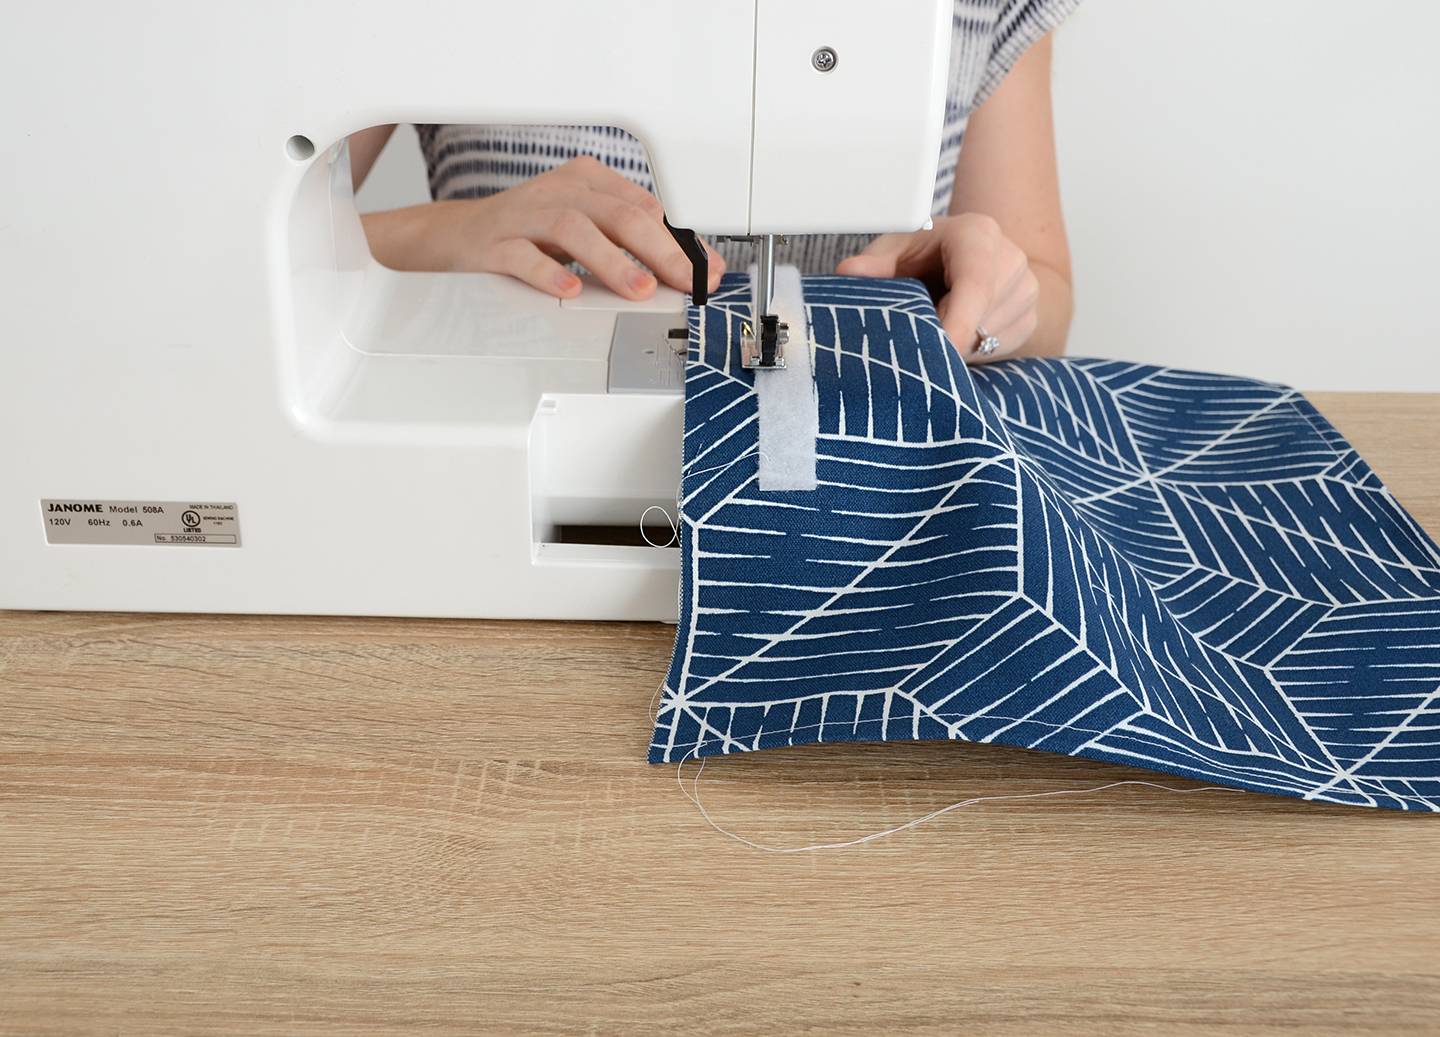
Unpin this section and sew over the velcro to keep it firmly in place.
Step
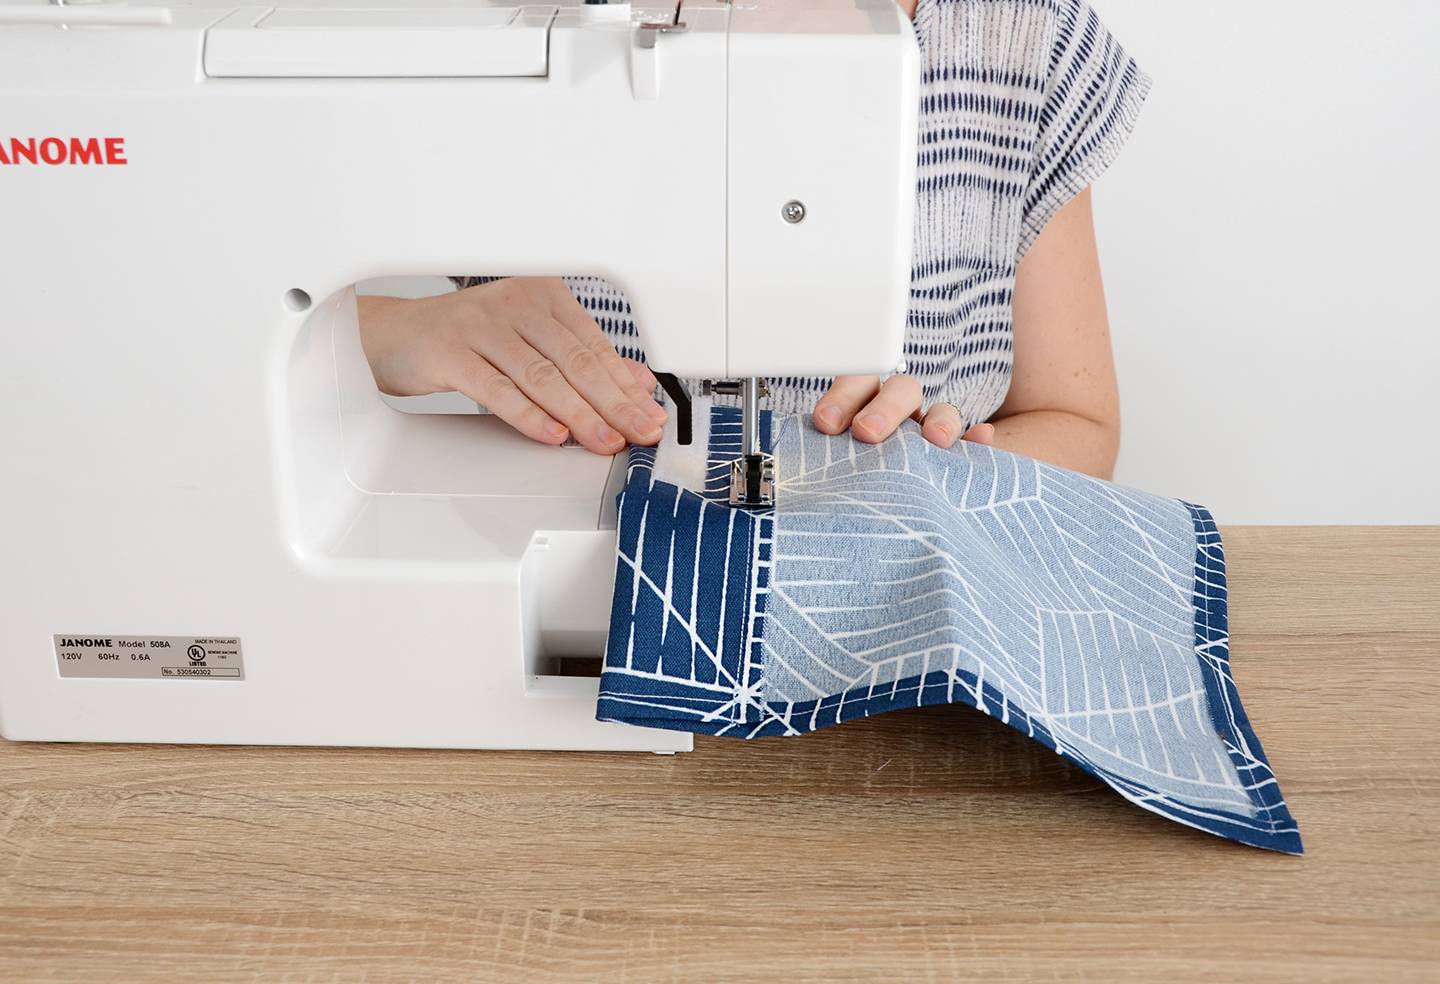
Fold it back over and sew all the way across, creating a tube through which the belt can be slipped.
Step
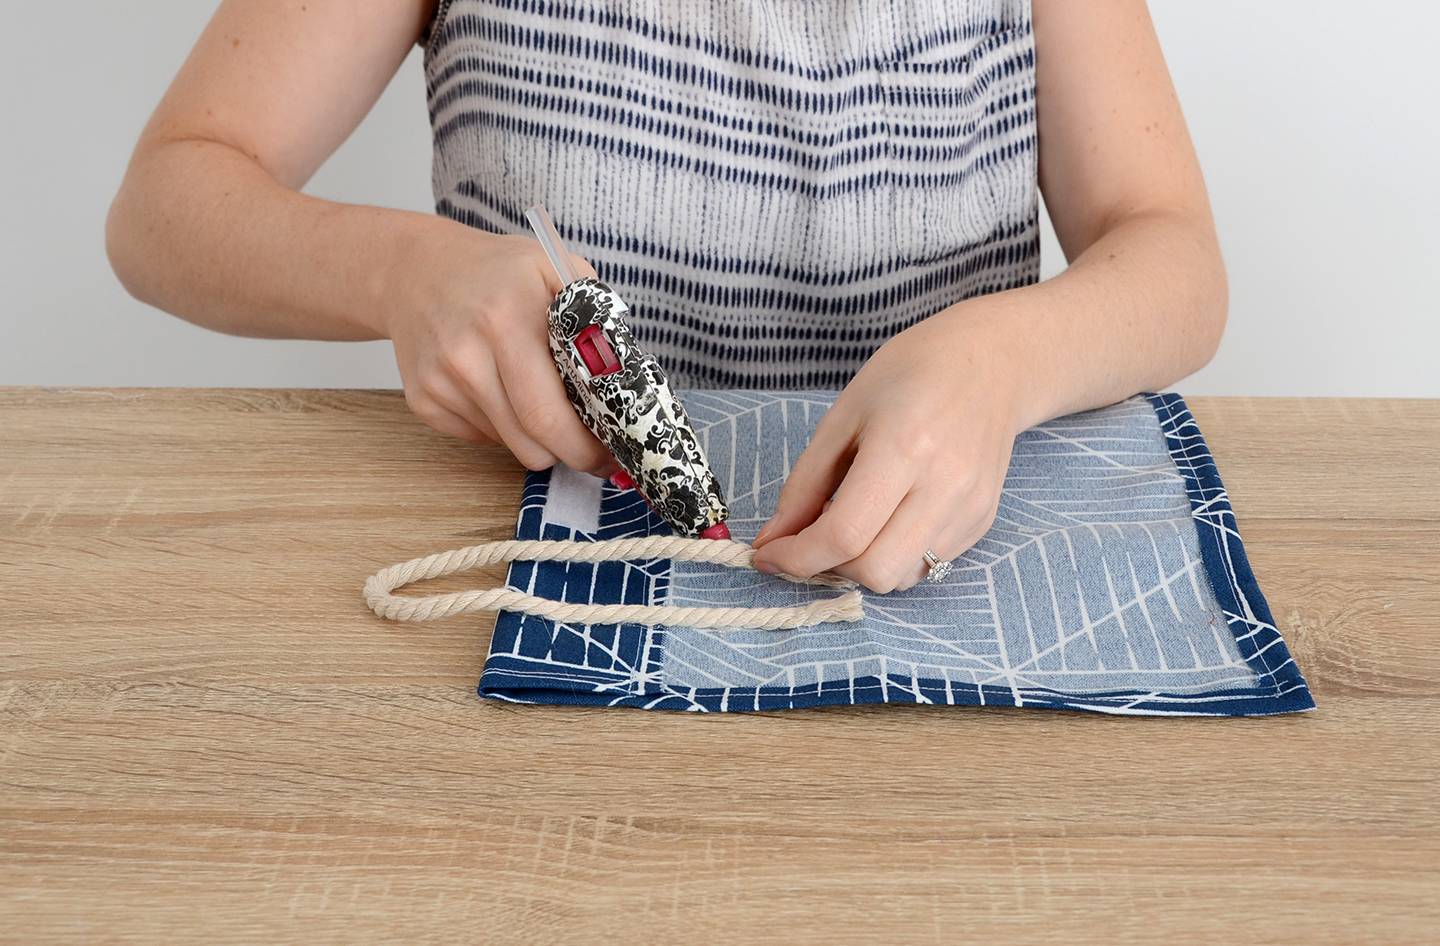
Glue the cotton rope as shown above, leaving a 3 inch loop that overhangs (this will be where you can hang a hammer).
Step
Next, let’s make a small pocket. Cut a 5 x 5 inch piece of canvas and hem one side of it as shown above.
Step
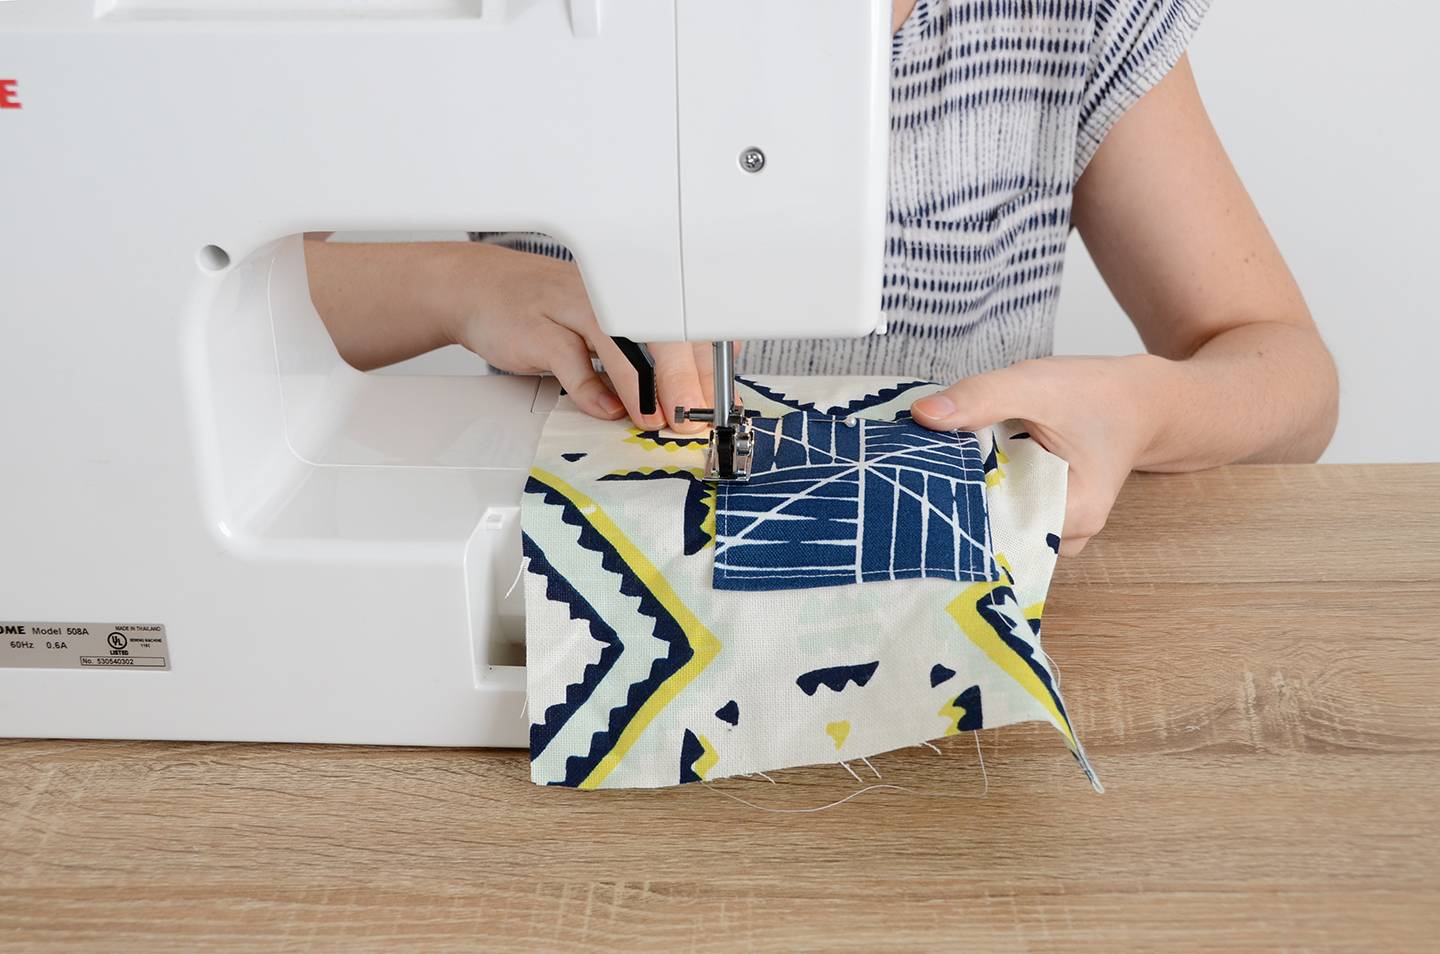
Cut an 8 x 17 inch piece of the lighter fabric and pin the little pocket to one end of it, folding the unhemmed sides under. Then sew around those three sides.
Step
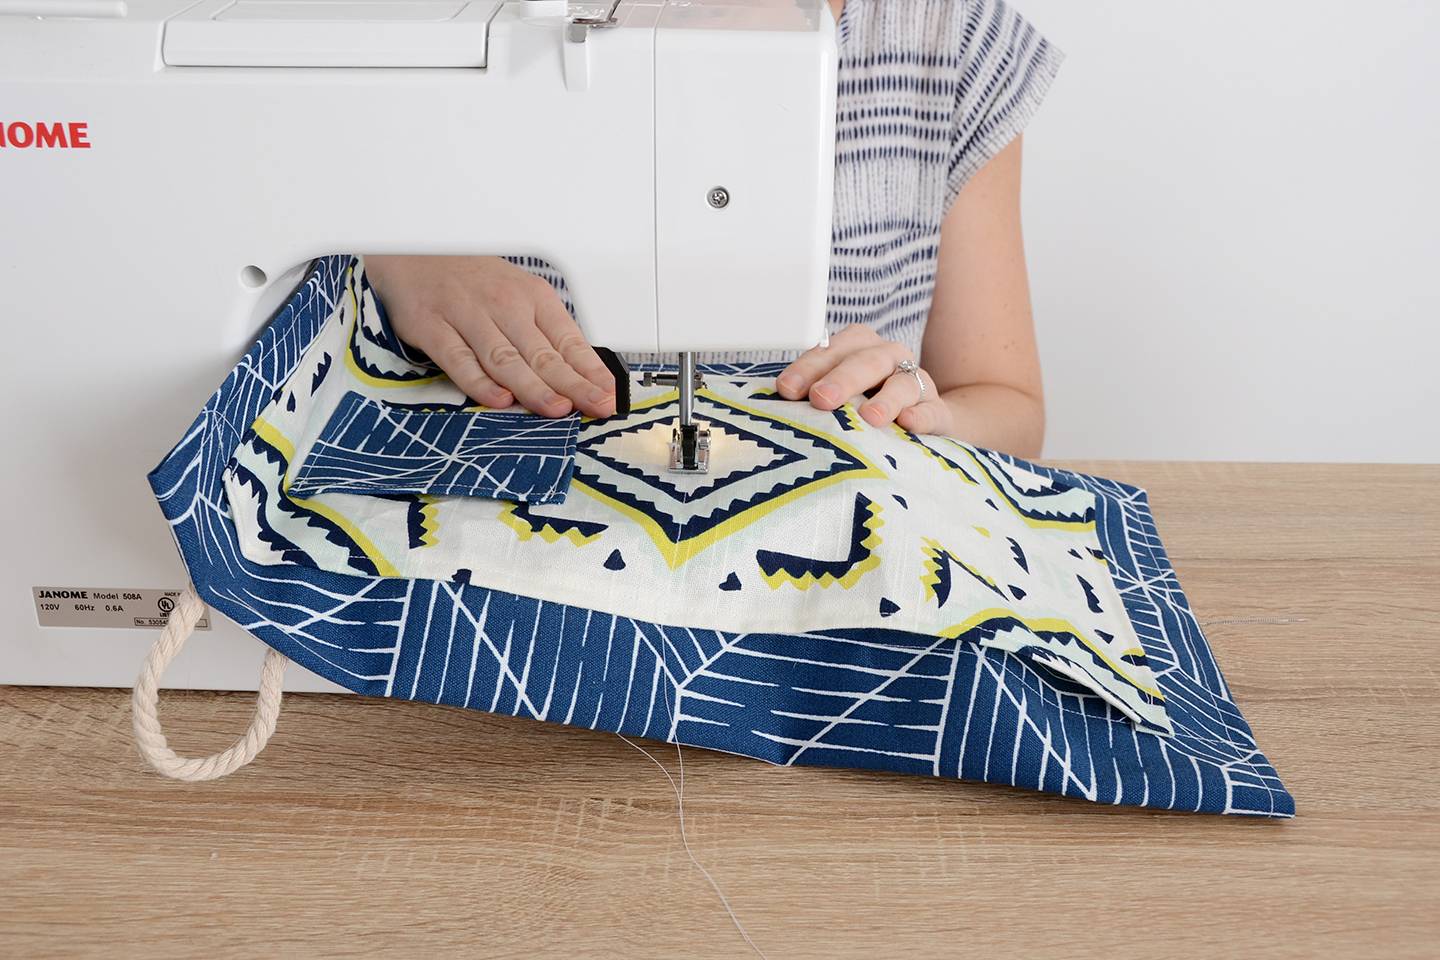
Hem the long side of the contrasting fabric piece that corresponds with the hemmed side of the little pocket. Center it on the main piece of canvas by folding under the unhemmed sides and pinning as you did with the little pocket. Sew around the three unhemmed sides as you did before. Sew down the middle to divide the pocket into two sections. Then you can sew down the middle of that section (the one without the little pocket) to create two even smaller sections.

Trim any loose threads, slip the belt through… and you’re ready to craft up a storm!
You can customize the sizing by adding or subtracting a few inches from the sides of both pieces, and of course you can also get creative with the style too – try different colors, patterns and other pocket variations as well.
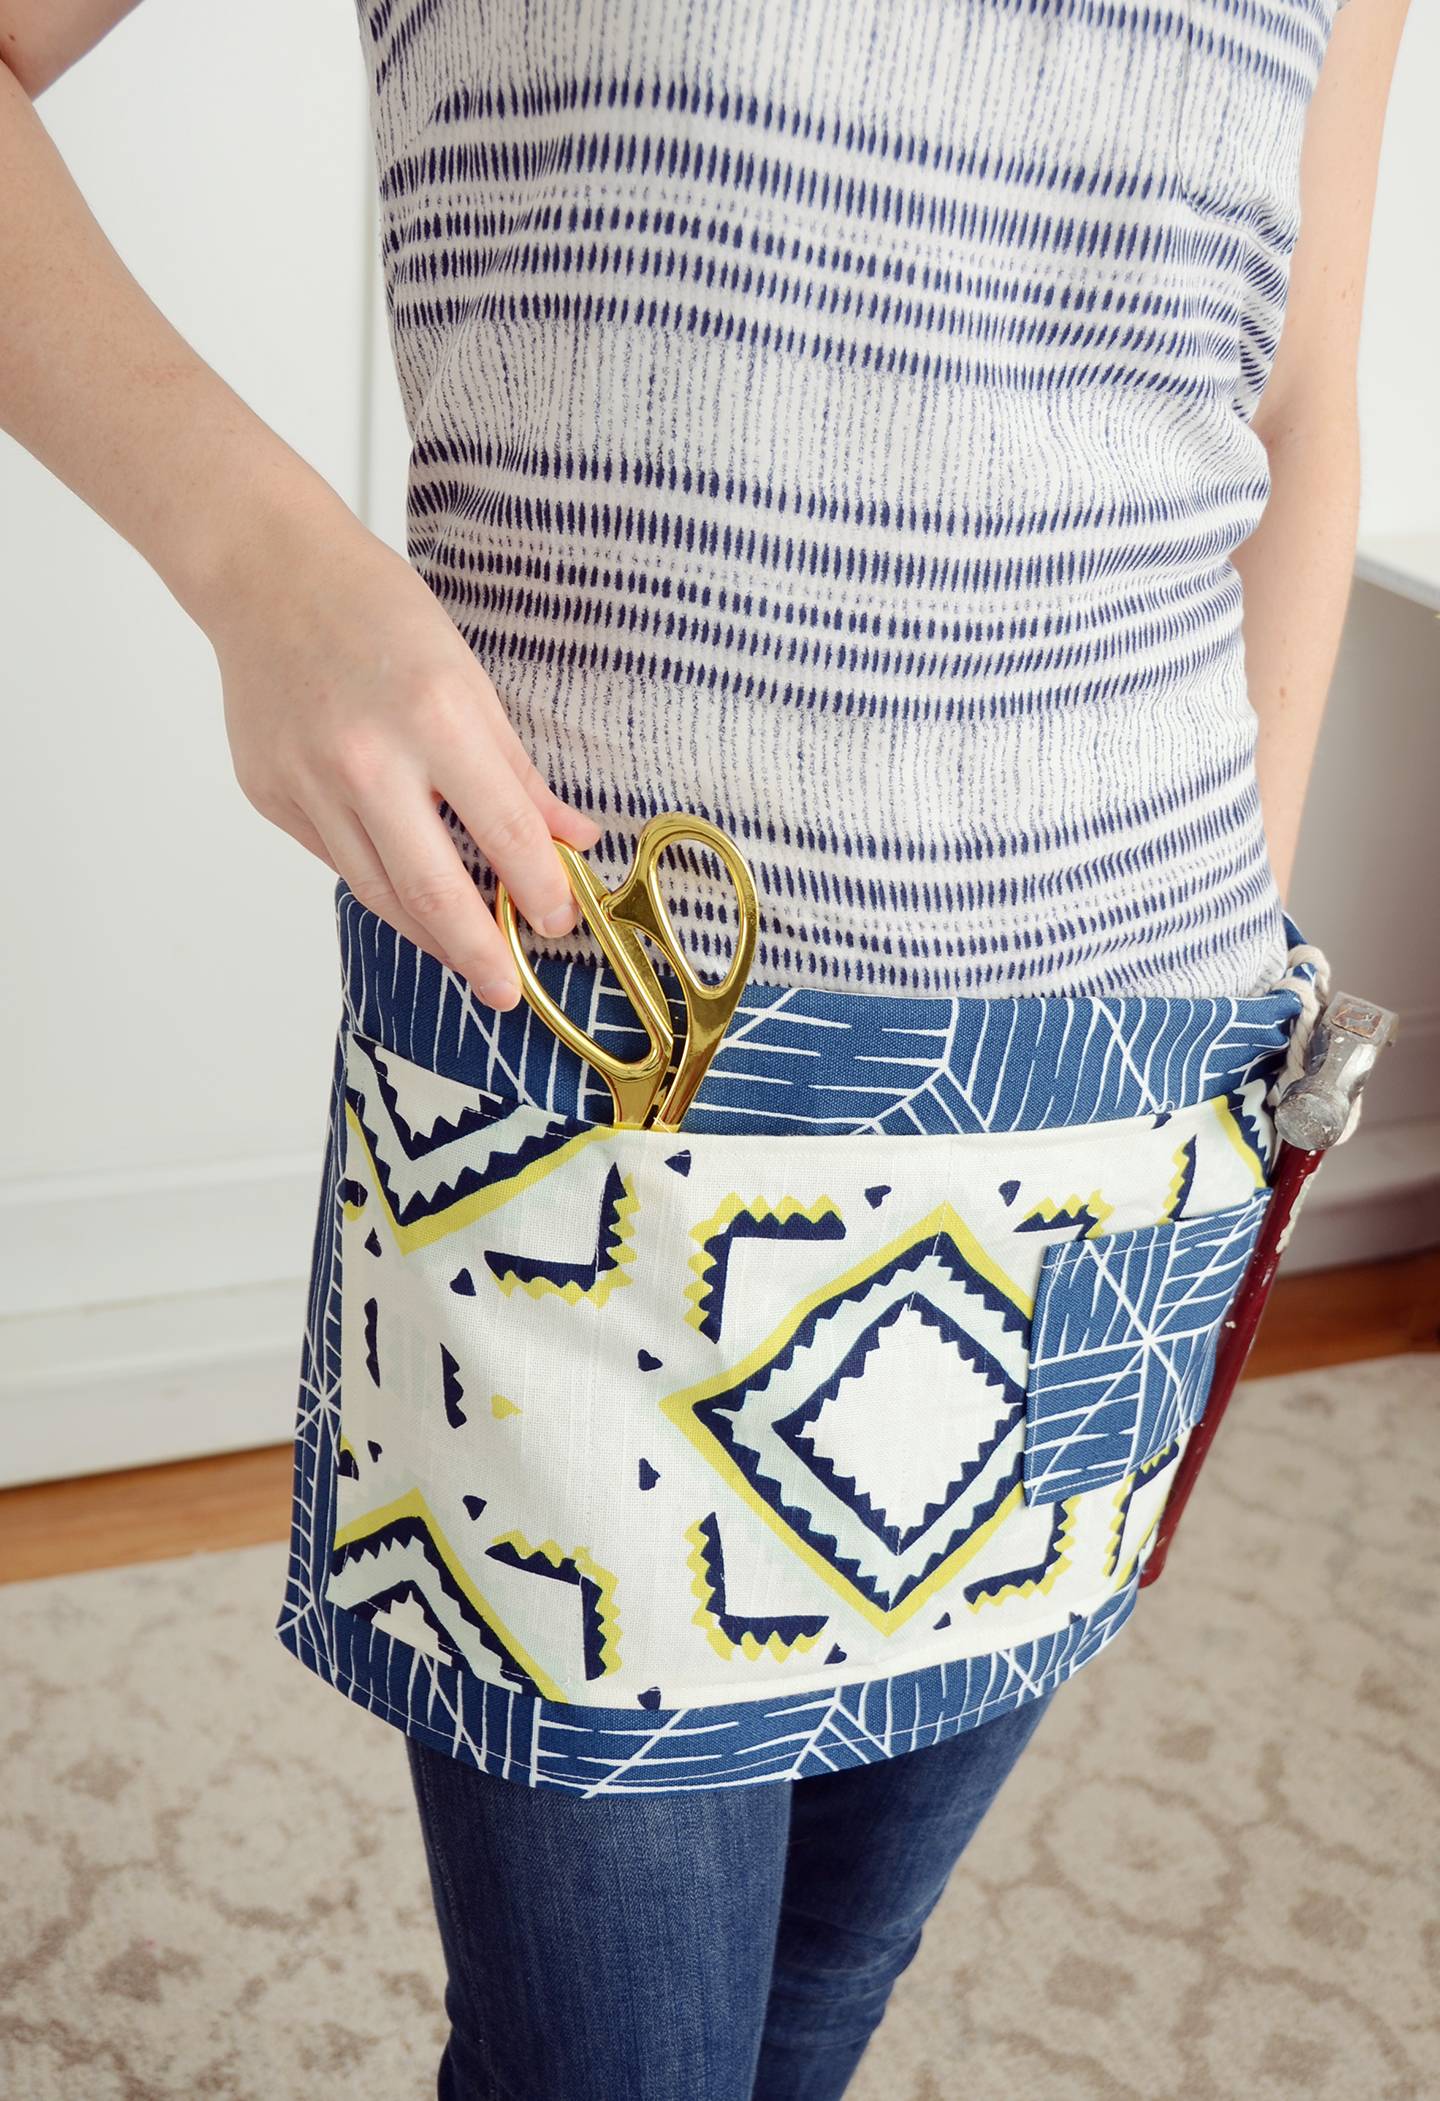
You can velcro the top piece to the bottom to have an apron and tool belt combo, or you can remove the top and use the tool belt separately. So versatile! Happy crafting everyone!
If you’re looking for more great sewing projects, check out this collection of Simple Sewing Projects for All Skill Levels.