Scrap-bookers make some rather cool things with bottle caps. They create 3D collages to fit the caps’ interiors and then pour resin (preferably) or something such as Diamond Accents into the caps to create a hard, glossy coating. Personally, I’ve been only disappointed when using the later, as it has a tendency to bubble and make ink bleed. The former, I’ve heard, can be time-consuming and a bit messy. To get around using these products for this tutorial, however, we’re going to use glossy photo paper, which provides a nice glossy effect all by itself. We’re also going to be using our computers to make the ornaments; I’m using just the basics here, including iPhoto and Pages. It might take a few extra steps than if you were using, say, PS but such software isn’t really needed for the same outcome. (It’s been awhile since I’ve used Word, but if memory serves, it has the same capabilities needed.)
Here’s what you’ll need to make one:
- bottle caps, you can find them in the scrap-booking aisle of your craft store or you can use used ones too
- large jump rings, one per ornament
- glossy photo paper and color printer
- scissors
- Dremel with tiny bit
- Craft Tack, also available at your local craft store
- needle-nose plier
- block of scrap wood (this is just to drill upon)
- photo editor and word processing program; again, my instructions are for MAC users.
Step 1:
First we’ll prepare the images. In iPhoto, find the picture of your choosing. Click edit and crop to a square, keeping the focal point rather tight. Export the image to your desktop keeping the image at high quality and the size at small.
Step 2:
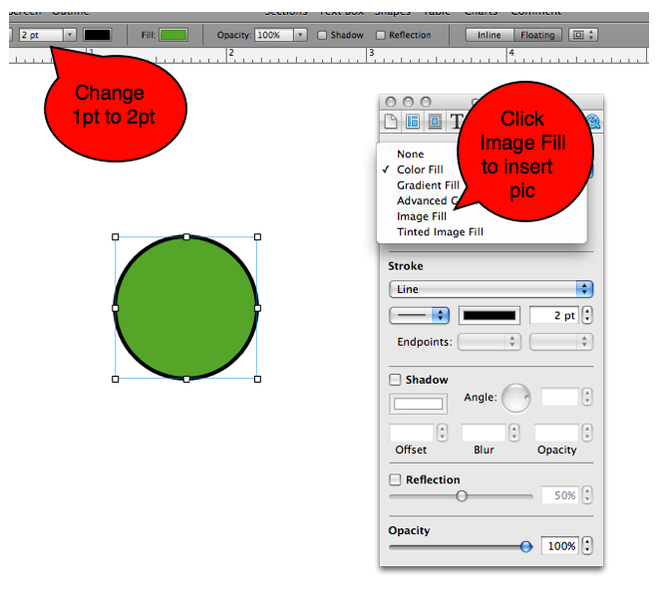
Using Pages, open up a blank document. Pick a circle from your shapes icon. Scale it down to 1.01″ x 1.01″. Change pt from 1 to 2. Click on inspector, go to fill and then click on image fill. Choose the picture you’ve exported to your desktop from step 1. The green color in your shape will revert to the image.
Step 3:
Repeat steps 1 & 2 until you have the desire amount of pics. Arrange them on your Pages doc to fit your photo paper. In my case, I used 4 x 6 paper, so using the margins as a guide, I fit my circles into those dimensions. Use your Command/Shift/4 combo to screen print the 4 x 6 area.
Step 4:
Move the image you just made into iPhoto. Resize it to 4 x 6 (or whatever the size of your photo paper). If you don’t your circles won’t print at the correct size. Print the picture and cut out the images. Don’t worry if your cutting skills are a bit wobbly. As long as there is some of the black border showing, the shadow created by the interior of the caps will hide missteps.
Step 5:
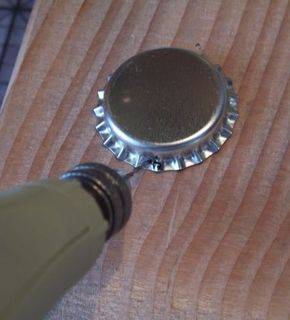
Using the block of wood to protect your work surface, drill 1 hole in each bottle cap, and, using the needle-nose plier, insert jump rings.
Step 4:
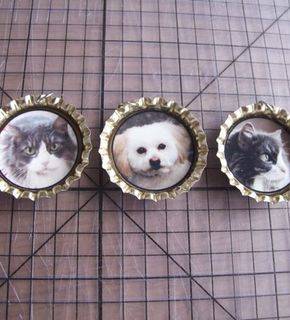
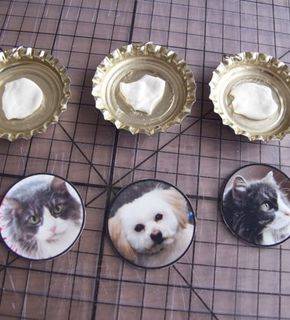
Put a tiny bit of Craft Tack on the insides of the bottle caps and insert the pictures. (I tried other adhesives, such as tacky glue and E6000; Craft Tack was definitely the way to go. Although, glue dots or sticky-back foam would probably work just fine.)
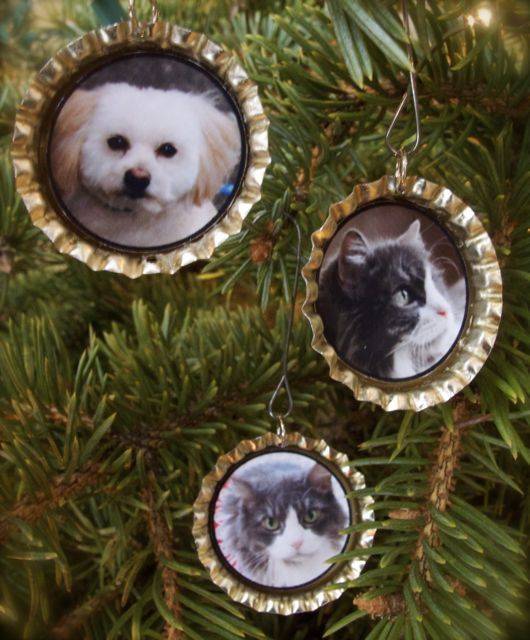
Add a hanger of your choosing and you’re done.