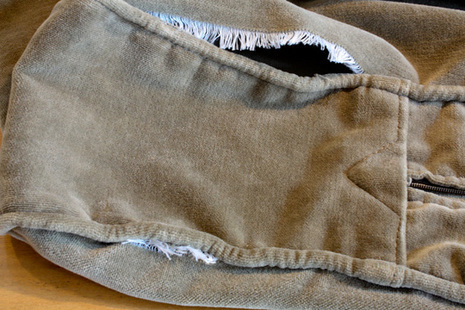
Slipcovers can be a lifesaver – until you see what happens at the dry cleaners. Unfortunately, not all slipcovers have neat, finished, serged seams inside. If the seams have been stitched with a very skimpy seam allowance, a tumble at the dry cleaners will likely leave you frowning when you get them back. Here is a quick little pic-torial to show you how to fix those torn seams yourself and save $$$.
All You Need:
sturdy straight pins
scissors
fairly heavy duty sewing machine
matching thread
seam ripper (possibly)
What you do:
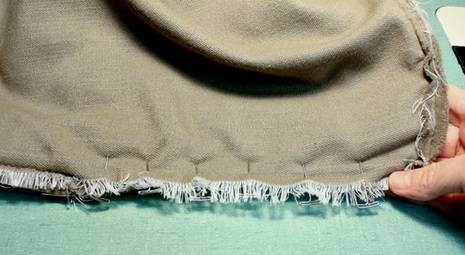
1. Turn cushion cover inside out to assess how much of the fabric has unraveled
2. Trim off extra threads so you can see what you’re doing
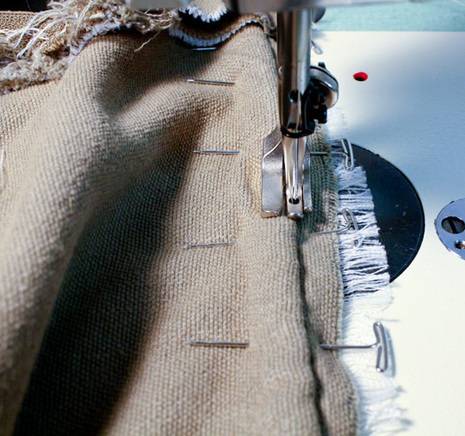
3. Pull the still in tact fabric up far enough to get beyond the raveled edge, but not so much that you’ll end up with a big, obvious gather. Now pin it to the cording edge, with both edges as even as you can make it.
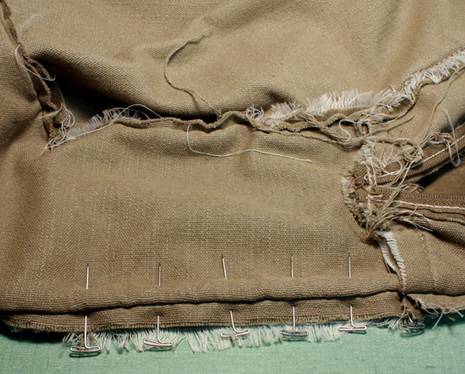
I need to keep my stitching right along the line to which I’m pointing.
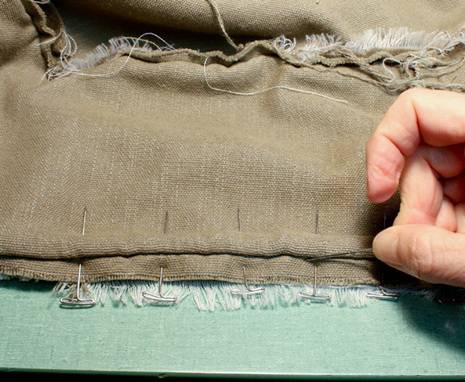
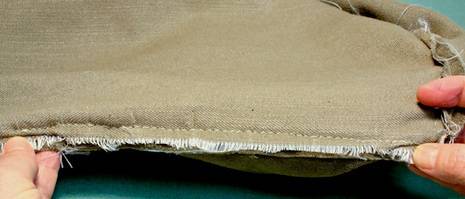
This is the underneath side of the pinned seam. Notice how I’m going to have to make sure my new stitching eases in to the stitching on either side of the tear. There will end up being just an ever so slight gather where I stitch a new seam to join the old seam.
4. Stitch as close to the cording as you can, merging into the old seam on either side of the tear.
5. After stitching, check the new seam to make sure it’s as smooth and even as it can be. You can see the small overlap on the far left and far right of the seam.
6. Turn right side out and see how it looks. Remember, the integrity of the seam was damaged because of raveling. This is a repair, not a brand new cushion cover.
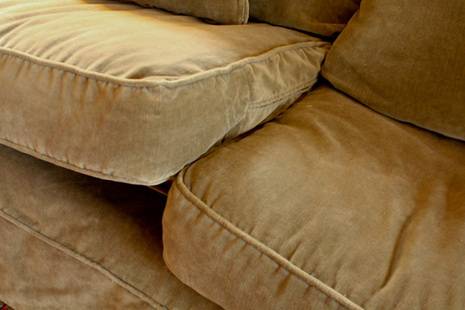
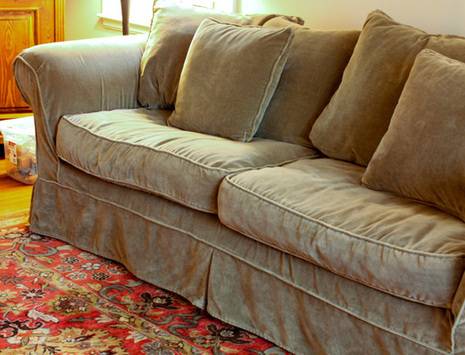
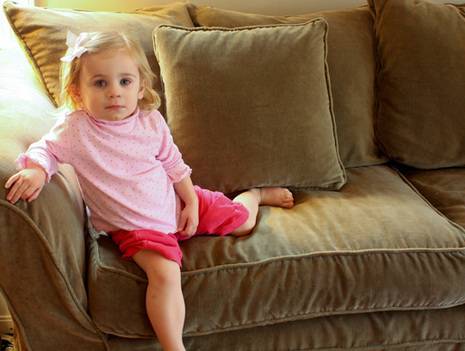
This cushion can undoubtedly stand up to a few more years of toddler fun.
