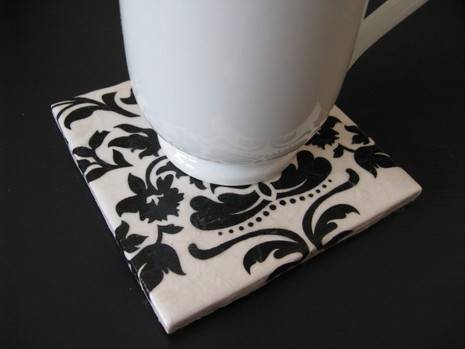
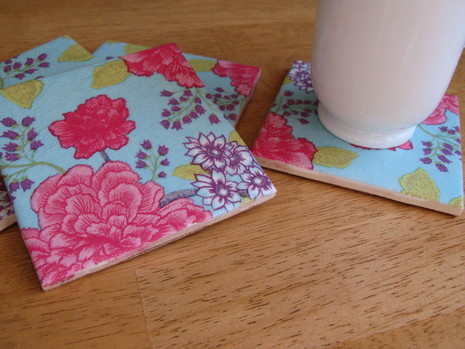
With the help of some 4″ square ceramic tiles, turning decorative paper napkins into a set of very polished-looking coasters is easy.
To make a set of 4 coasters, you’ll need:
- 4-4″ square ceramic tiles (you can find these at your big box store for about 15 cents a piece)
- Mod Podge
- small paint brush
- polyurethane (I used Aqua-Zar in satin, but glossy would look great too)
- decorative paper napkins
- Squares of thin cork or felt, both available at your local craft store
- Water-proof glue, like E-6000
- A foam or stiff bristle brush to apply the water-proof glue
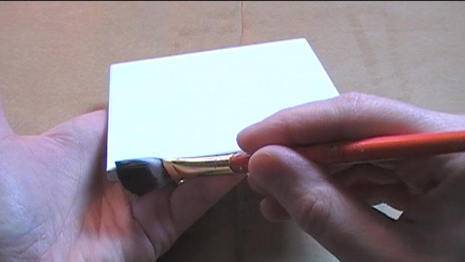
First, brush the tile tops and their edges with a coat of Mod Podge.
UNFOLD your napkin and find a pretty spot on it, center the image on your tile and then apply them to the tile, making sure you fold the napkin down to cover the edges. DO NOT worry about wrinkles!! They just add character to your coaster!!! Also, you might find it easier to cut your paper napkin into more manageable pieces before applying them to the tiles.
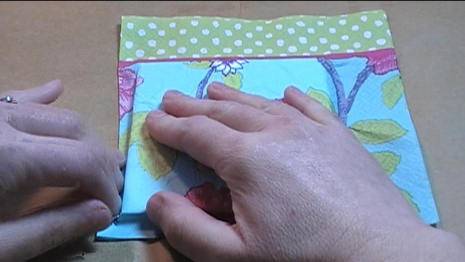
Wait 3 to 5 minutes and then carefully rip away the excess paper napkin, pulling downward as you tear. (This is illustrated in the video.)
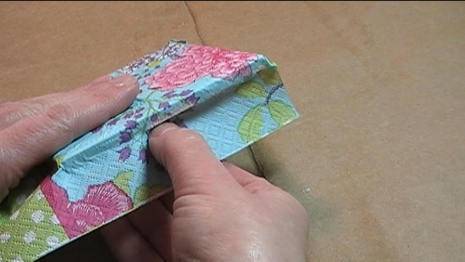
After the Mod Podge is COMPLETELY dry, you can address the edges. Leaving them ripped, gives them a ‘hand painted’ look. If you want a more polished look, use a bit of sandpaper to sand off the napkin from the edges.
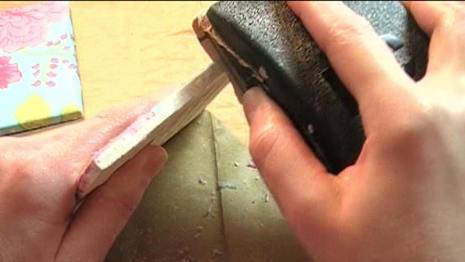
(At this point, if you aren’t satisfied with the way your coasters are looking, you can still turn back by soaking them in a bit of warm water. The paper napkins and Mod Podge will come off. Wipe the tiles off and let them dry for a re-do!)
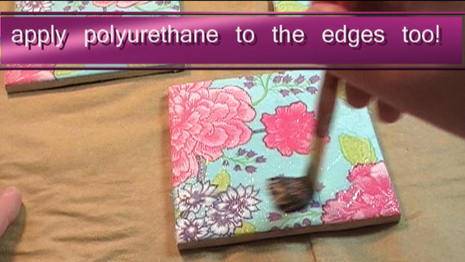
Then, apply three coats of polyurethane to the tops and the sides of the tile, letting it dry completely between coats, of course.
Finish up by brushing on a bit of E-6000 to the bottom of your tile and gluing on a square of cork pad or felt.
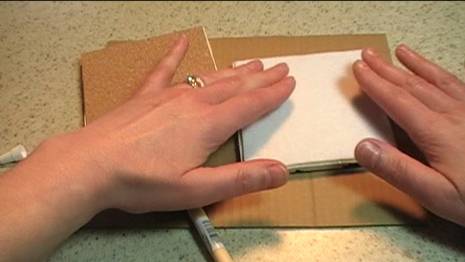
And that’s it! Here’s another one I did, currently protecting my desktop.
