
Anyone else dread the annual wrangling of ribbons at Christmas time? There’s nothing like a perfectly tied bow on a beautifully wrapped gift, but keeping those ribbons from getting tangled and wrinkled the rest of the year can be a huge pain.
Thanks to Curbly contributor Mara at ModHomeEc, we’ve got an easy solution with items you might already have! Read on for an easy DIY that will keep your ribbons in place once and for all. Why not make an extra for a crafty friend, too?
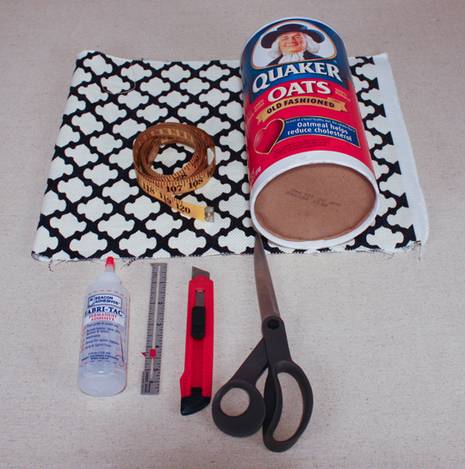
What you need:
- A cylindrical container (think oatmeal or corn meal box)
- Fabric
- Scissors
- Tape measure
- Straight edge
- Utility knife
- Spray adhesive
- Fabric glue
- Gimp or other trim for the top
- Dowel rod (optional)
What you do:
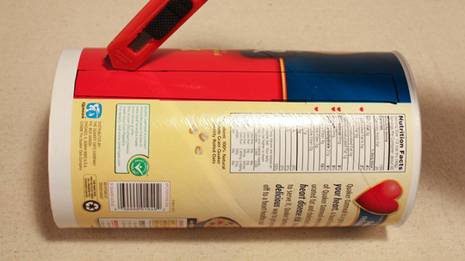
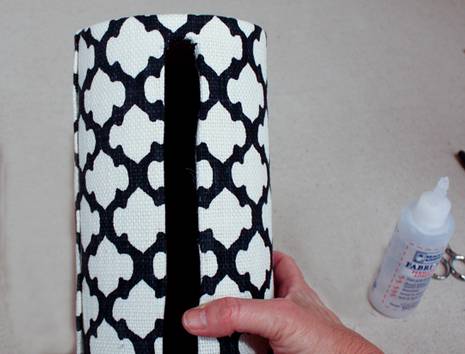
1. Using a straightedge, draw a one inch wide rectangle running the length of the oatmeal box and cut out the rectangle.
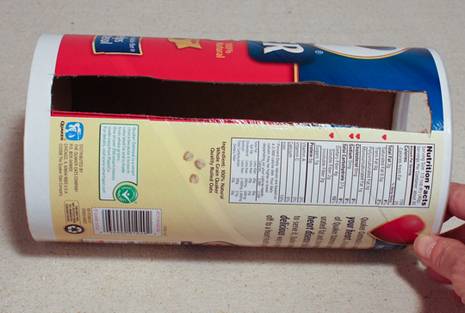
2. Measure the circumference and height of the box, adding one inch to both measurements.
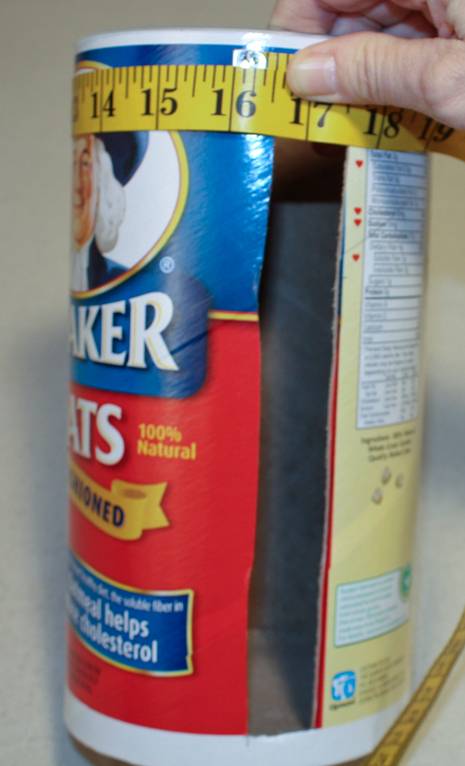
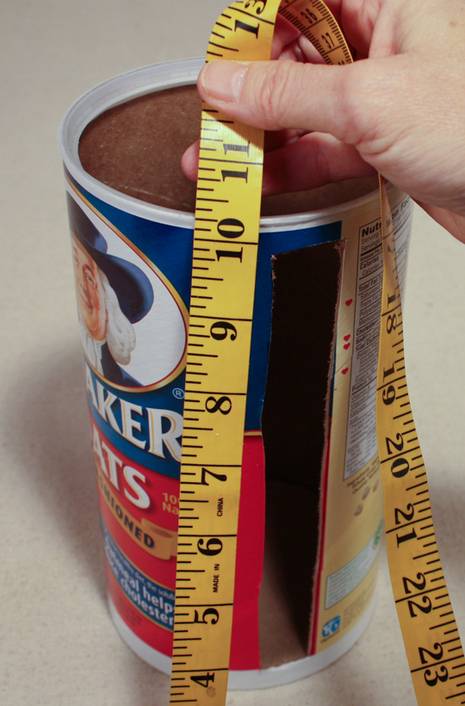
3. Cut your fabric to to the determined size.
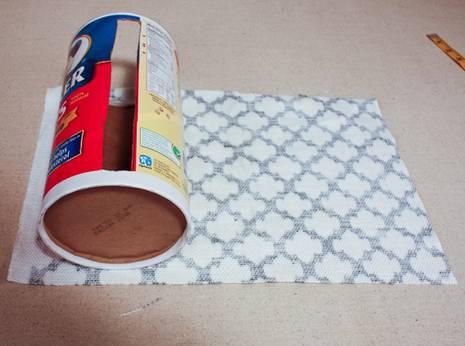
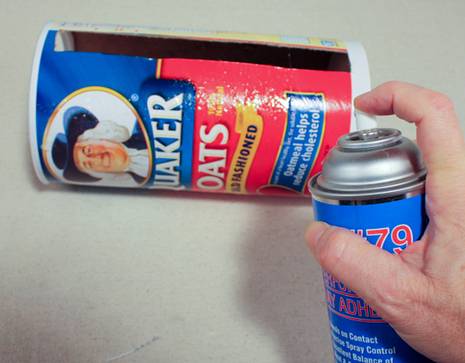
4. Spray adhesive onto the oatmeal box and wrap the fabric around, stopping short of the end.
5. Run a line of fabric glue along the cut edge and fold over to form a finished edge.
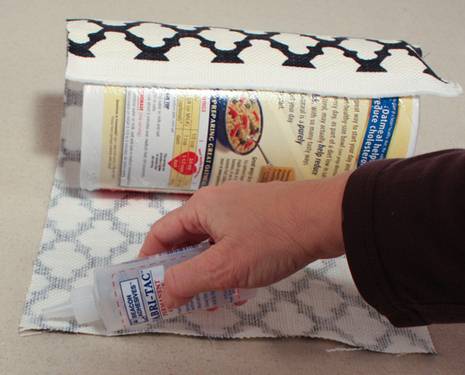
6. Finish wrapping the fabric around box and secure the edge with fabric glue.
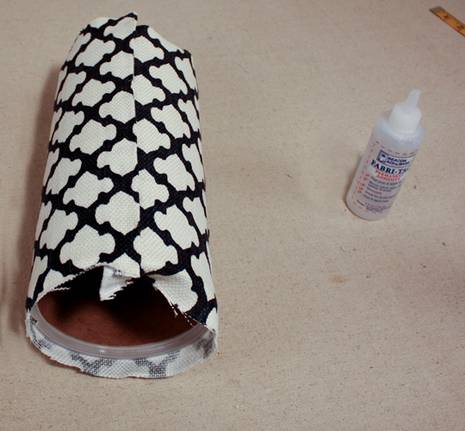
7. Run a line of fabric glue or hot glue along the inside top of container and fold fabric down until it’s secure.
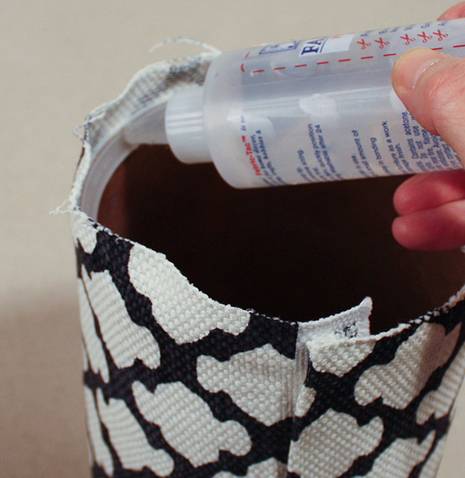
8. With a pen, draw a line down the center of the fabric that is covering the cut out rectangle, stopping an inch short of the end and then continuing the line out to the right and left corner in a “v”.
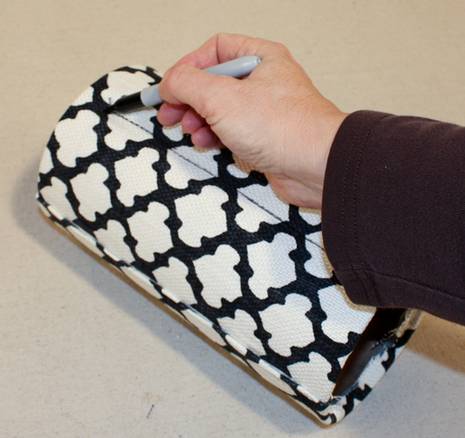
9. Cut fabric along drawn lines. Apply glue to the edges and fold ‘flaps’ to the inside of the container. Hold tight until fixed securely.
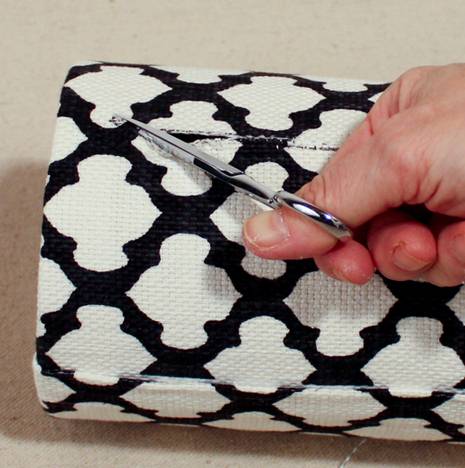
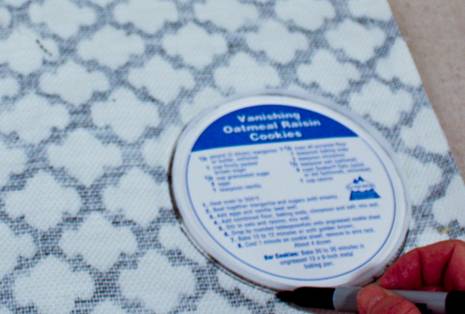
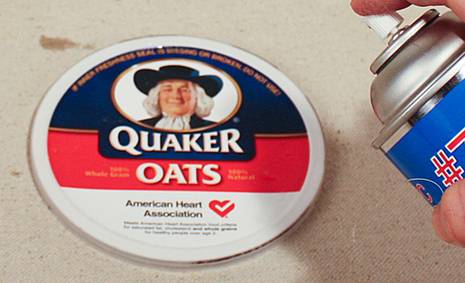
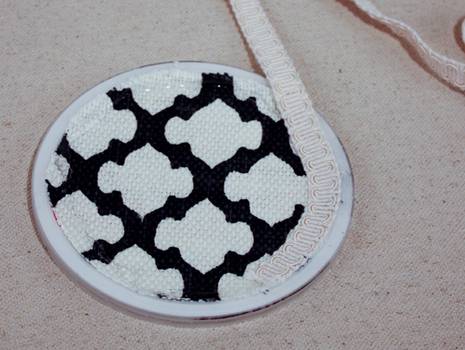
10. Trace the top of the container onto your fabric. Cut out, glue onto the top of the container and add gimp along the cut edge.
11. Cut a piece of dowel rod to run through the ribbon spools. You could make several of these containers and string them through one long dowel rod that you hang handily above your craft area.
12. Feed the ribbon spools into the box and carefully pull the loose ends through the horizontal opening.
Tada! Organized ribbons FTW. Why not make one or two for a friend and fill them with some gorgeous spools of ribbon?


Thank you for the great idea. M Rossell