
Chevron striped fabrics are no where to be found, so after finding this awning-like fabric, I cut and sewed my own. Fabric cut on the bias is a blessing and a curse. You need the stretch when sewing welt cord, but you don’t need the stretch when sewing flat seams.
To sew your own modern chevron design, follow this simple tutorial:
here’s what you need:
- striped fabric
- scissors
- straight edge
- pins
- sewing machine
- thread
- hot iron
![]()
here’s what you do
Lay your fabric on a table and fold one top corner over to make a crisp 45 degree angle and cut along the fold
![]()
![]()
Determine the length of the fabric panel you want to work with in order to piece together both right and left sides of the chevron design.
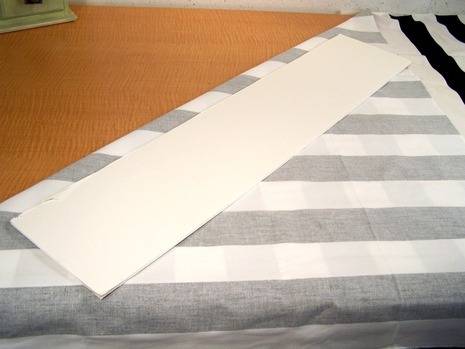
Cut a rectangular pattern out of cardboard that you can use to place on top of the diagonal stripe, trace and cut it every time. Make sure you place your pattern exactly the same on every left hand section and the same when you flip it and cut the right hand sections.
![]()
Cut enough panels (both left and right sides of the design) to give you a total of at least a 54″ width of fabric
![]()
Now the tricky part is getting all of these stripes lined up and pinned. I’ll tell you right now you’ll have to do some “easing” of the fabric to get the stripes to make a crisp connection. Easing is nothing more than dividing and conquering. You have more fabric on either the top or bottom than that you have to “ease” into a designated measurement.
Just start in center of the section and place a pin, stretch the shorter side so that the stripes meet at the same points, place a pin to secure, do the other side and then just keep halving the sections by pinning the fabric in place. The photos below illustrate this sewing technique.
![]()
![]()
![]()
With the fabulous ‘walking foot’ on my sewing machine, the fabrics will feed under the needle at an even ratel. I pull the fabrics from behind to put a little stretch on the seam and I hold it firmly from in front of the needle to give it a counter-stretch. I still let it run through the machine on it’s own, I just don’t let there be any slack in the fabric. My goal is a flat seam with the edges of the stripes meeting perfectly.
This black metal attachment is the walking foot that pulls the top fabric while the feed dog is pulling the bottom fabric.
![]()
![]()
![]()
I started with this:

And ended up with this:
![]()
What to make, what to make??