This
is the go-to hem for anything more formal where you don’t want to be
able to see a line of stitching on the bottom. It is called a blind hem
for obvious reasons — you can’t see the hem! Amazing! And
professional! To do this, you need to have a blind hem foot for your
sewing machine. Thanks to the Diana Rupp of Make Workshop! Check out her book Sew Everything Workshop! To see this tutorial in live action, check out the Threadheads video. If you’re craving more diy style, subscribe to Threadheads on iTunes!
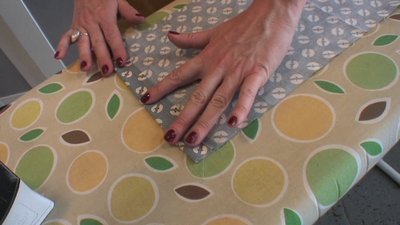
1. Turn back the raw edge to the wrong side of the fabric to one inch. You can eyeball it or measure it with a ruler.
2. Iron it back so the fabric stays how you just folded it.
3.
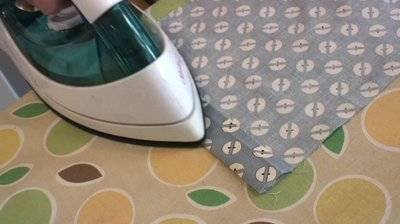
Fold this under to the desired amount of hem you would like (ours is
about 2 inches), so that there is a fold that is created with the
fabric right sides together. Iron the fold into place.
4.
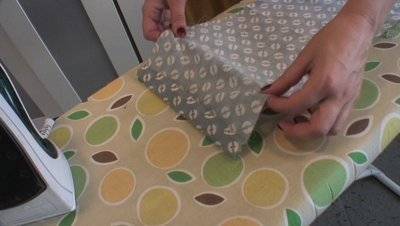
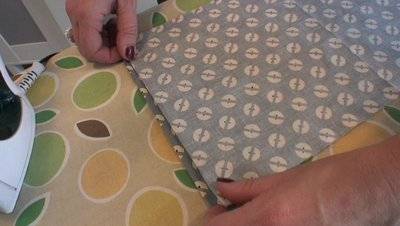
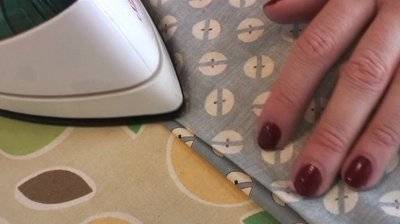
Lay it flat again, wrong side up. Take the fold line and line it up so
that you only see 1/8 inch of the original hem that you pressed. Press
this fold down.
5.
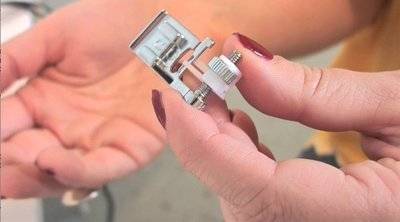
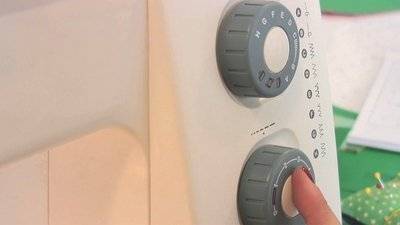
Get out your blind hem foot and put it on your machine. Set your
machine on the blind hem stitch and use an average stitch length,
between a 2 and a 3.
6.
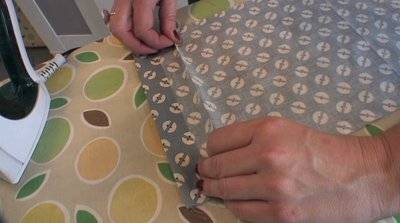
Slide the fabric wrong side up, and put the foot’s plastic straight
edge guide right up against the fold. The needle should just barely be
piercing the fold of the fabric. Put the needle in the fabric, drop
your presser foot, and you can start sewing.

7.
What will happen is the machine will do a little stitching on the part
of the fabric you don’t see, and then it’ll jump over to the right
side.
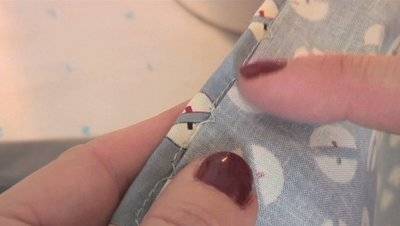
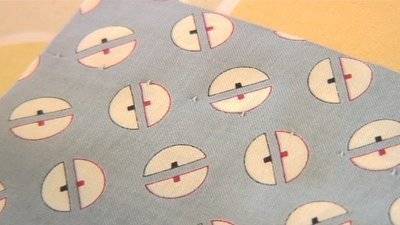
In
our example, we used slightly lighter thread so that the stitching is
visible to the camera. When you’re done, if you use matching thread the
hem will be invisible from the right side!
