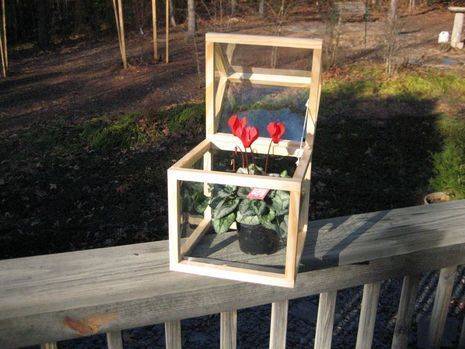
It all started when I decided to get my mother a herb garden for Christmas. I had a vague memory of a countertop greenhouse I saw at an Ikea store about 5 years ago. It was made of thin wood and thin plastic. I decided that a plain old herb garden starter kit wasn’t enough, it needed a greenhouse to go around it. In my folks kitchen bay window, it would do great.
First thing was getting the major materials together. These where:
- 1″ x 4″ x 8′ board of southern yellow pine. I could have purchased two 8 foot pieces of 3/4″ square moulding, but decided to rip up a 1 x 4 instead. Half the cost, twice the material as the moulding. I picked up the 1×4 at Lowes for $4.75 plus tax. The moulding is $5.23 for 8 feet and you need two of them if you go that route.
- 1 yard of heavy duty clear vinyl that I picked up at Wal-Mart. Cost of $2.57 plus tax.
- box of (24)#8 x 1/2″ panhead sheet metal screws. This was $0.83 plus tax. You need ten of them for this project but that’s a handy size and style to have around so I don’t mind the extras. I had just used up my old surplus in another project last week.
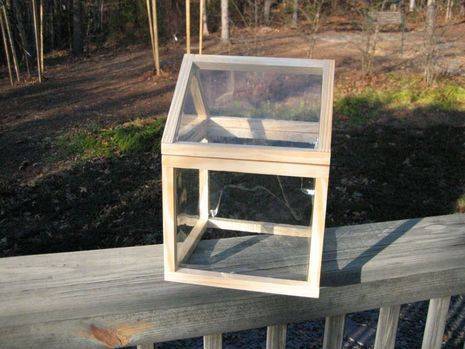
This greenhouse is 10.5″ wide by 10.5″ deep by 15.25″ tall. It fits four small pots (3.25″ dia) comfortably and hopefully has enough headroom to have the herbs grow tall in.
I decided to use 3/4″ sq wood because that is what is available as moulding for those that don’t have a way to rip up larger boards into smaller ones. Since a 1 x 4 board is in reality 3/4″ thick by 3.5″ wide, I just had to cut the board down to a 3/4″ width and I’d have my 3/4″ square.
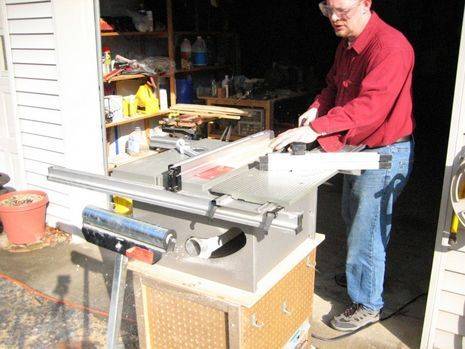
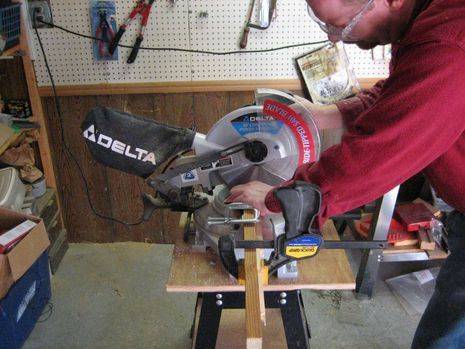
First step – cutting the 1×4 into thirds so I can rip it easier. To do that and to cut the 3/4″ sq pieces to length, I used a miter saw. You could use a miter box and hand saw if you needed to, it’s just more work.

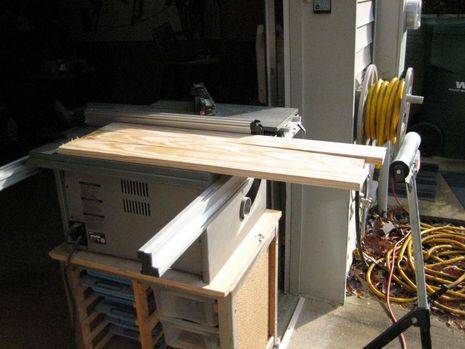
After cutting the 8 foot long board into roughly thirds, I started in with the ripping. Ripping in woodworking is making a wide board into a skinny board with the grain. So I was taking a board that’s 3.5″ wide (the true width of a 1×4) and cutting out 4 pieces that are 3/4″ wide. With the saw kerf, I was left with a shaving after that last cut.
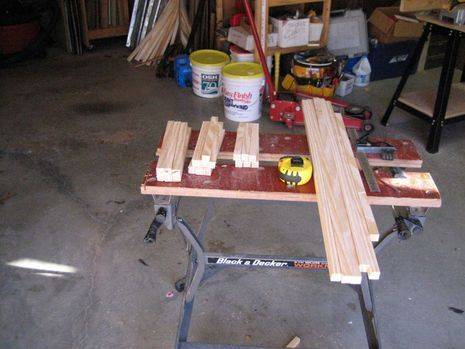
Once I had the entire board cut down to 3/4″ square, I had 32 linear feet (8 feet long x 4 cuts = 32) to play with. I tried to make sure the dimensions of the piece would fit within 16 linear feet (2 mouldings) so I had plenty to play with and make mistakes.
For this project you need:
- 3/4″ sq x 10.5″ – 6 pieces
- 3/4″ sq x 9″ – 7 pieces
- 3/4″ sq x 7.5″ – 6 pieces
- 3/4″ sq x 6″ – 2 pieces
That’s 183″ linear inches, should fit into the 196″ you get from two 8 foot moulding pieces
It was time to start cutting to length. Not that exciting, just use a stop on your miter saw and take your time and it’s all good. A few years ago I almost lost an eye from rushing with a miter saw and not wearing safety glasses. Trust me, I’m in not such a hurry these days. And yes, I make sure about the safety glasses as well.
Now that we have all the wood pieces, it’s time to start glueing. I just used old school Elmer’s Wood glue and clamps – no fasteners at all. I thought about using brad nails but decided it might split the wood and it’s another thing to deal with.
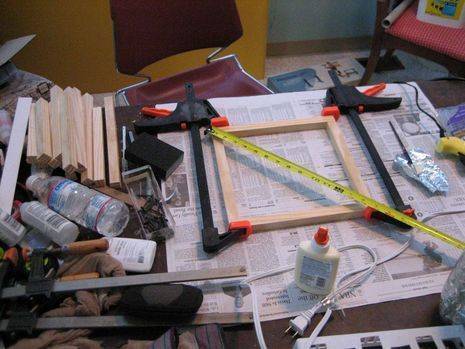
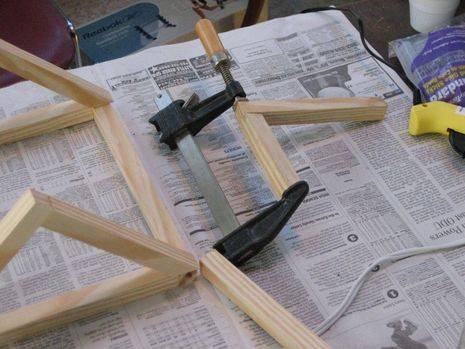
Glue up three seperate square frames of 10.5″ on a side. Put the pre-cut 10.5″ long pieces on the top and bottom and put the 9″ long pieces on the sides. Just butt joint the pieces together and you have a nice square of wood. Don’t forget to check the diagnals for square. Clamp it up on the two sides and let it sit overnight. On a test piece I found that the wood grain fails before the glue joint does, so no nails or screws is not a problem.
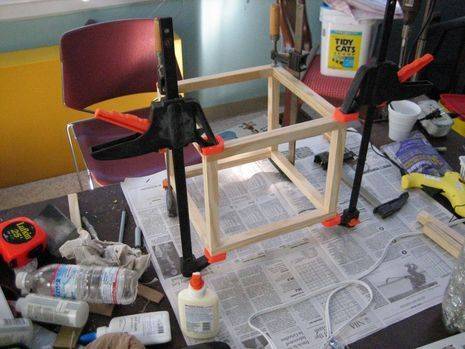
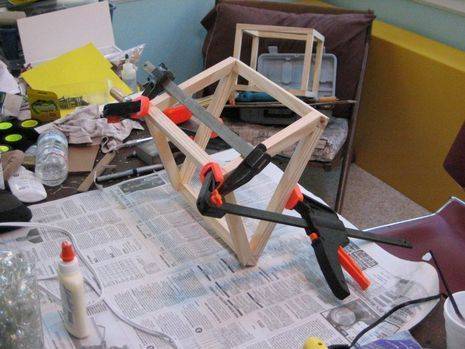
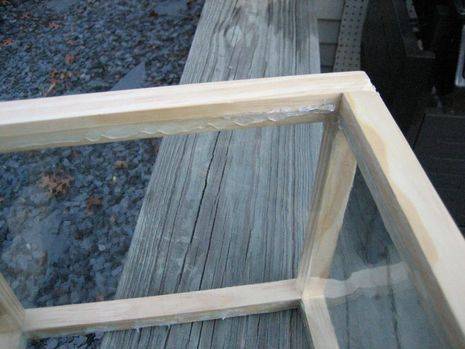
Once you have your three wood sqare frames, it’s time to enter the third dimension. Take four of the 7.5″ long pieces, put glue on each end, and glue up two frames together into a box.
The picture below should help. It’s a 10.5″ frame on top and bottom with the 4 seperate 7.5″ pieces on each corner. Glued up and waiting to dry.
While that’s drying I glued up the roof sides. Take a 7.5″ long piece and a 6″ long piece and glue them into a right angle, with the outside length being 7.5″ from the corner. Sort of like this. This is from a test piece I did but it should be a hint in the right direction – I forgot to take a picture of the roof sides. D’oh!
Once the roof sides are done, we need to cut an 45 degree angle on them. Now, with a 10.5″ long base, the sides should be 7.42″ long from the tip. the 7.5″ we have it not so bad, we just need to cut the 45 degree angle at the bottom so it lies flat on our final 10.5″ square frame. For that, I marked them with my combo square and just cut it with a hand saw so it was 7.4″ or so from the tip to the outside edge on both sides. Quick and easy. Once those are cut, it’s time to glue the roof together.
Hopefully you had enough wood pieces to get here and don’t have any left.
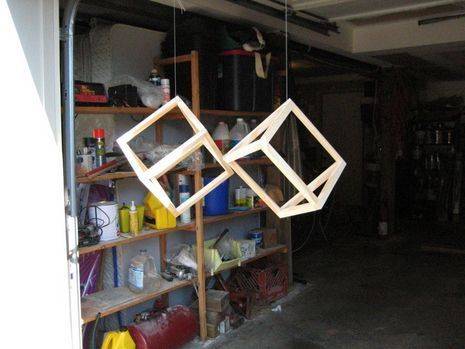
Now we have the frame of our greenhouse. It’s time to finish it. I just hanged it up and used a gloss spray polyurethene. In hindsight, I think I would put it on a table and paint on the poly with a brush. But hanging and spraying did work.
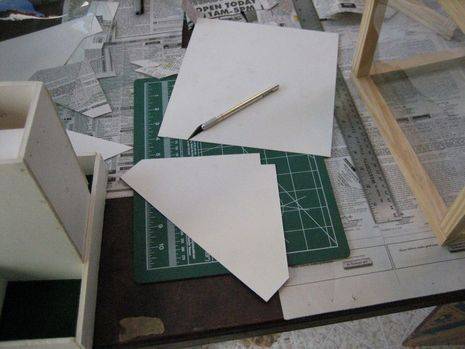
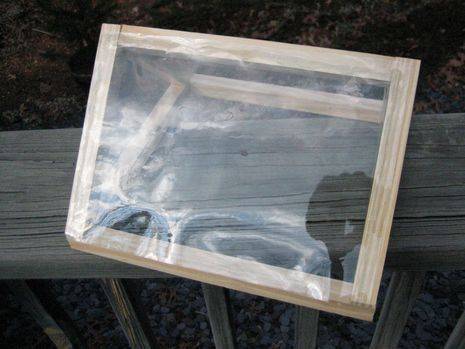
Now for the vinyl. I found that taking some cardstock and cutting out a pattern that I could place on the vinyl and trace with an xacto knife worked well. For the base part of the greenhouse I just used a 9″ x 8.5″ pattern to cut 4 pieces. The vinyl is gapping and open near the sides of the wood, but I found it doesn’t look bad and it would be a bitch to make it all line up perfectally and wrap around inside the wood frame.
My original idea was to staple the vinyl down on the inside of the frame, but that didn’t work. Southern Yellow Pine is a bit dense to take a staple deeply, and getting the staple gun head into some of the tight corners wouldn’t work. So I went to that standby, HOTGLUE. Gotta love hotglue. I would glue up the top and put it tight towards the bottom and then glue it there. It doesn’t actually touch the sides at all, just flaps free.
The triangular pieces for the roof sides where a bit trickier, but I traced the roof side on the card stock, cut that out and then kept trying to make it fit and cutting off pieces until it did. It came out fine.
Finally the roof top, front and back. I decided to put this vinyl on the outside because there wasn’t a good “grip” place on the inside for both front and back. One could have done it but not both. Now that I think about it I might have done it on the inside for the front piece and outside for the back, but what the hey. I had the bottom edge line up with the frame, not go over it. So it’s glued on three sides and floats on the bottom. Hopefully the picture will help.
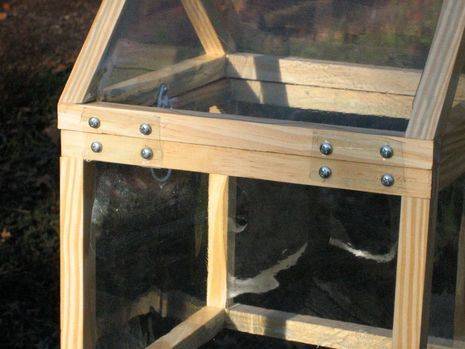
Ok, now all the vinyl is cut and glued into place, it’s time to do the hinges. I just used scrap pieces of vinyl I cut and glued to the back. I took a 3/32″ drill bit and drilled in a 1/2″ deep pilot hole for the #8 screws. The vinyl is tough and flexible, it should hold up fairly well.
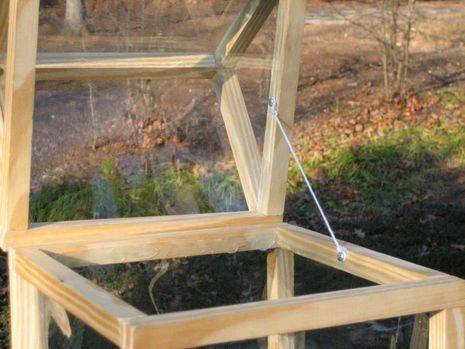
Now for the string to hold the roof in place. That was simply drilling a pilot hole on the side of the roof frame and the top of the base frame, screwing in the #8 panhead screw, and tieing the string in place. Holds up well.
And with that it’s done! And all for under $20 in materials. I hope mom likes it and I hope you do as well.