Love where you live. Sign up for our newsletter

How to Make a Picnic Blanket Backpack Out of T-shirts

by on Jun 6, 2008

Do you have an abundance of extra t-shirts lying around that you have
no use for? Do they not fit you or are they too worn out? Well, with
the help of Threadbanger you
can take those t-shirts and make your own Picnic Blanket Backpack! All
you need is 10 shirts to make blanket, backpack, and even pillow. So
whip one up and go outside! For more information, watch the video, and for more Threadbanger diy style, subsribe to Threadheads on iTunes!

 
A backpack made of old tshirts.

Materials: 10 old t-shirts, serger or sewing machine, scissors, ruler, pins, pencil

1.
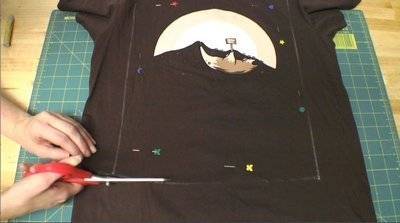
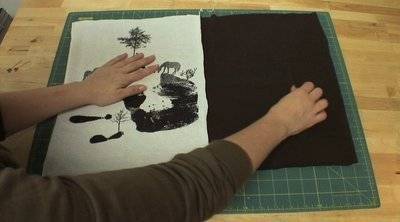
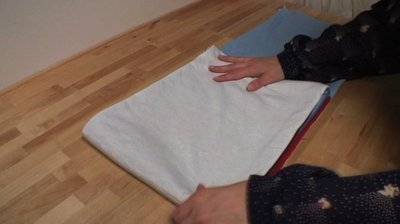
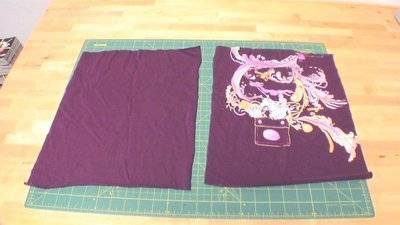
Take out one of the shirts, measure a 12 by 15 inch rectangle, and pin
the front and back layers together. Use a straight edge to connect your
points, cut out the square, and you will have 2 equal rectangles.

Cutting up a T-shirt.

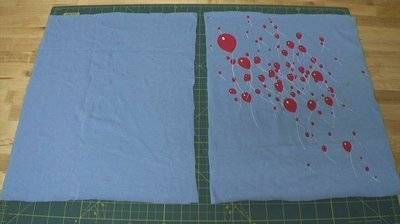
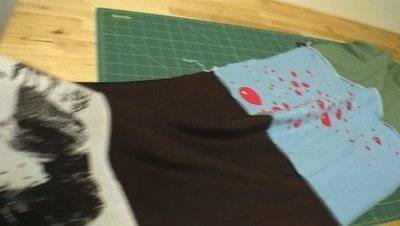
2. Repeat with 7 more shirts and you will have a total of 16 squares.

Red balloons are printed on a light blue material.

3.
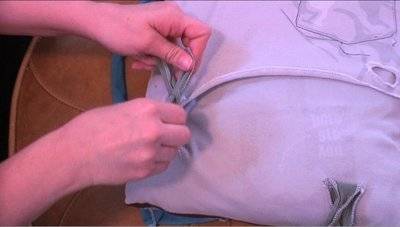
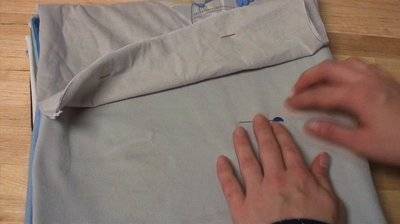
Place 2 squares wrong side together, pin one side, and sew a seam. Use
a serger, or if you don’t have one, a small zigzag stitch and cut the
extra fabric from the seams.

A white piece of cloth with grey horses and a handprint on it on top of a green cutting mat.
A person's hand holding down a white piece of cloth with a black handprint and horses, and a black piece of cloth, on a green cutting mat.

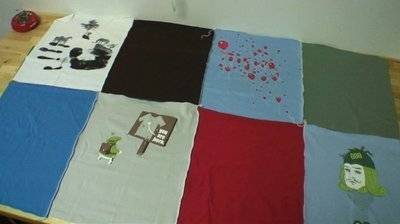
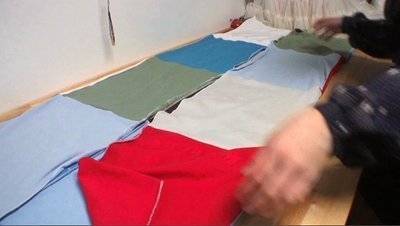
4. Continue connecting squares until you end up with four rows of four squares.

Red balloons are shown on a multicolored piece of material.

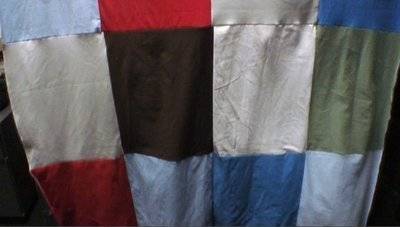
5. Now sew all your rows together and sew a seam around the entire thing.
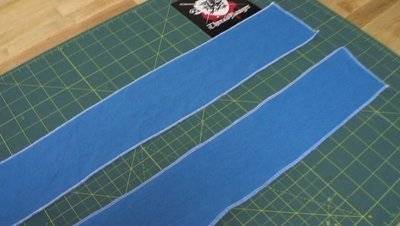
A blanket with different color


A person sewing a red piece of fabric.
Blanket portion of the bag, finito!
Rectangular patches of various solid colors sewn together like a quilt.

6.
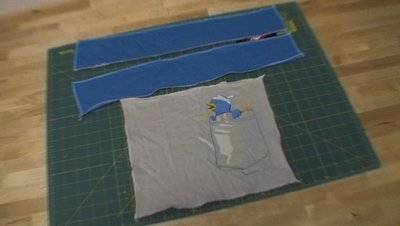
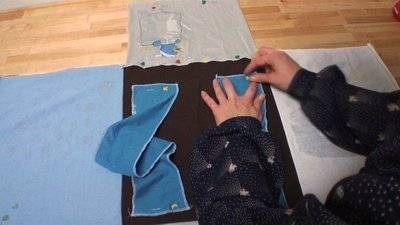
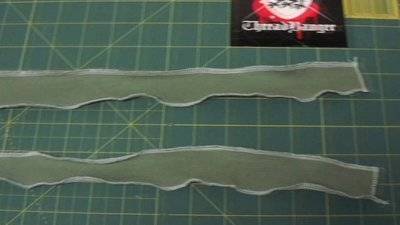
Take out a large scrap and cut out two straps that are 20 inches by 4
inches. Serge or sew around the the edges of both straps.

Two strips of blue cloth that is laid out on a green board.

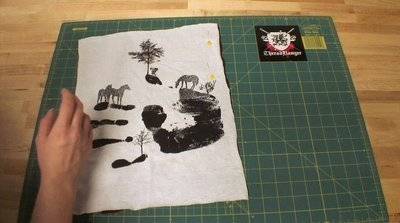
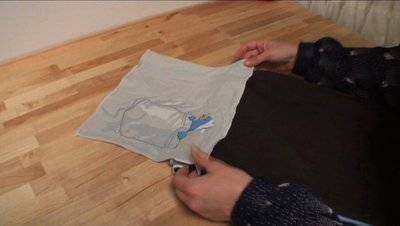
7. Cut a rectangle measuring measuring 12 by 10 inches. Finish the edges of that rectangle as well.

A green squares of fabric which has several smaller parts sitting on top of it.
 
8. Lay the blanket right side up. Fold in two sides then fold it in half. Now fold it up from the bottom square by square.
 
Squares of cloth cut out of old t-shirts are arranged next to each other on a table.


A person laying out multiple pieces of fabric.


A person laying out white fabric

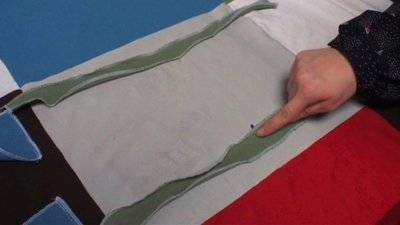
9. Pin your rectangle piece to the very back panel, flip it over, and mark where the ties go.

A person working with a white material on the floor.


Making a picnic blanket out of T-shirts.

10. Open it all up again and pin your straps to the appropriate panel.

A person is working with blue material on a black surface.

11. Use a straight stitch to attach your flap and two straps.

" Sewing  picnic blankets using unused T shirts "

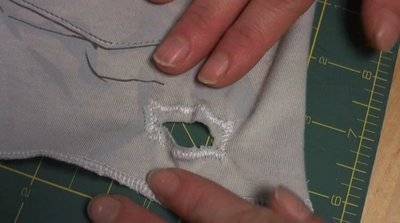
12. Make two holes in the flap, then cut two 20 by 2 inch strips and sew around the edges.

A square of fabric with a hole cut into it.


Strips of cloth on a cutting board

13. Now sew the strips to the appropriate panel using a straight stitch.

A person runs their finger down a green material.
 
So you may be asking yourself, “What are we gonna do with all these scraps?!”
 
" A lady holding  Picnic Blanket Backpack Out of T-shirts "


Simple: We’re gonna make a pillow!

14.
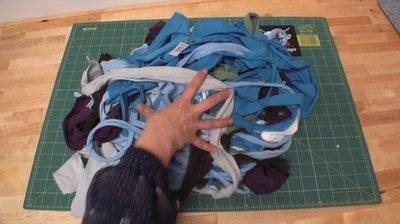
Cut the scraps into smaller strips, then cut two more 12 by 15 inch
squares. Serge around 3 sides, stuff it with your scraps, then serge
around the 4th side.

A person is grabbing at fabric scraps on a green grid.


Purple and white material on a gridded material.


And voila! Pilllllllllow!
 
A purple pillow with a pink feather design is laying on a green cutting mat.

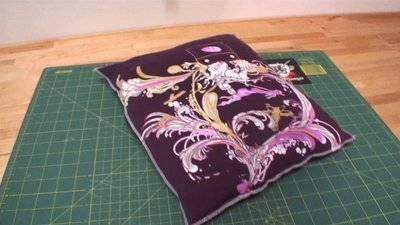
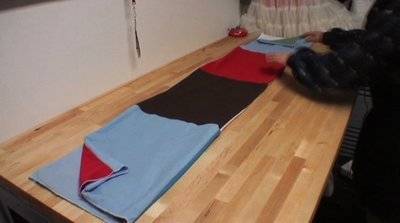
15. Now just fold the pillow up inside the blanket, tie it up, and go get yo’self some nature!

A person cutting the hem of a shirt.


Homemade children's backpack with a picture of a duck.


A woman reading a magazine outdoors

Leave a comment

Your email address will not be published. Required fields are marked *