
Oftentimes it’s quite simple to improve on an old idea. This DIY Hangable Hamper took me two hours, tops, to design and complete. It can be constructed from remnant fabrics and old purse handles salvaged from the Goodwill or your mom’s closet. My less-than-tidy husband is thinking of attaching a hook on the wall in the closet so he can test out his wife’s jiffy design.
what you need:
sewing machine
1 yard remnant or new fabric
2 plastic purse handles
scissors
thread
something round to use as a curved pattern
what you do:
1. Fold one width of 1 yard of fabric in half, lengthwise.
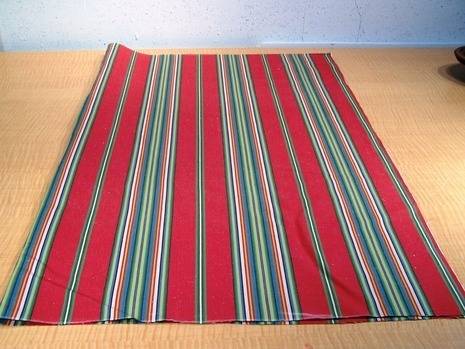
2. Determine how wide you want your hamper to be and cut off excess fabric from the
open ends or “selvage” side of your fabric.
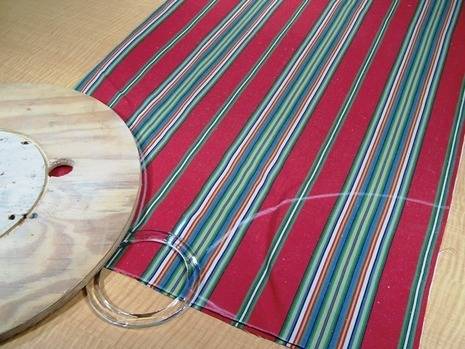
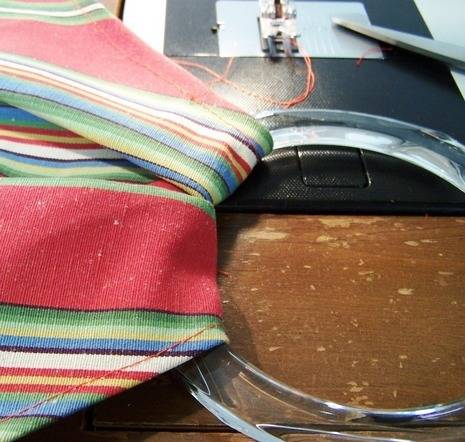
3. Place your handles at the centerpoint and mark the center with chalk.
4. Using a round shape, chalk two curves on either side of your handle to be cut out.
I used my trusty and versatile wooden spool for my curve pattern.
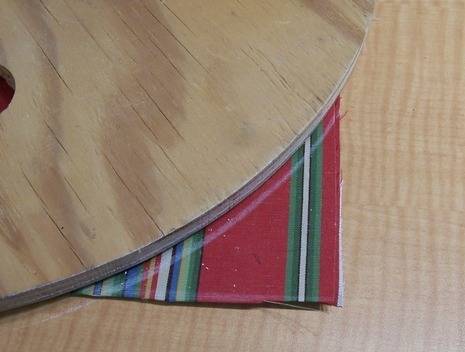
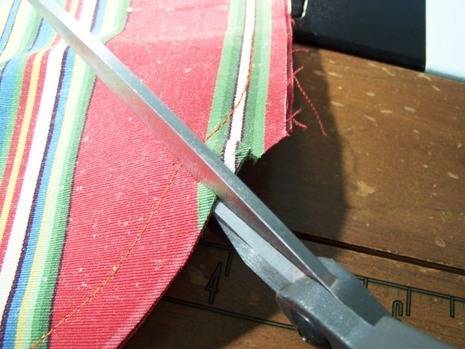
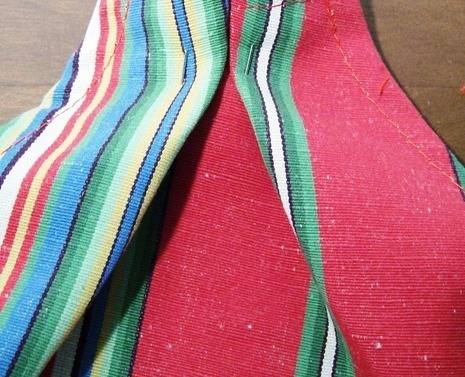
5. Use the same curve, just a smaller segment of it, and chalk lines on the bottom of your fabric to give it curve appeal. Cut the corners off.
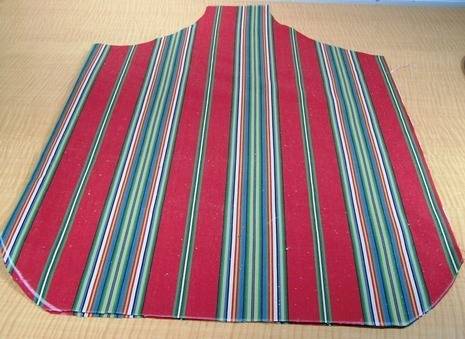
6. On the top handle “tab” that is at the center, top of your hamper, chalk another curve and cut it out, giving the tab an inward curve reflecting the curve of the handle. (no picture of available)
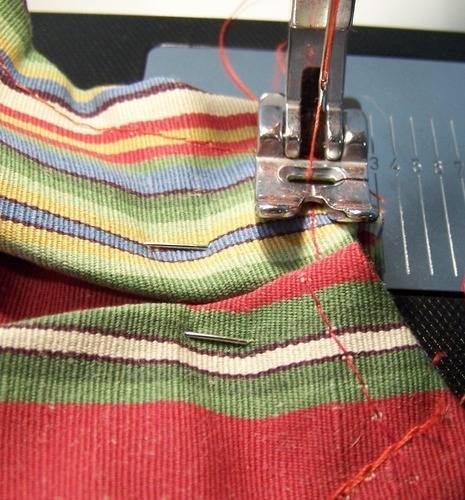
7. Clip that curve to prepare it to be folded over 1/4″ and stitched down.
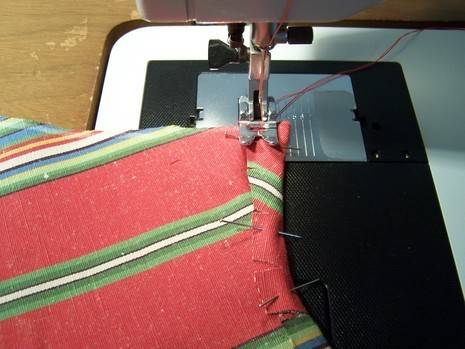
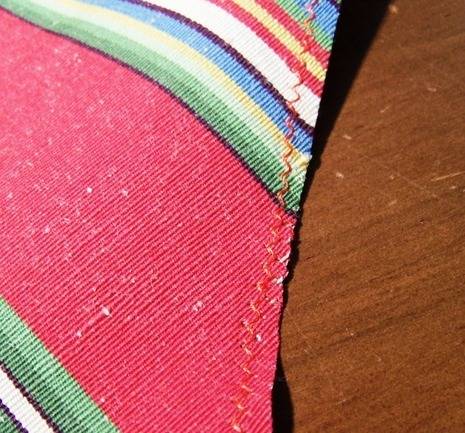
7. Starting at bottom of hamper, right next to folded edge, stitch all the way around the bottm and up the side, backstitching to lock stitches in place.
Cut curves of bottom of hamper.
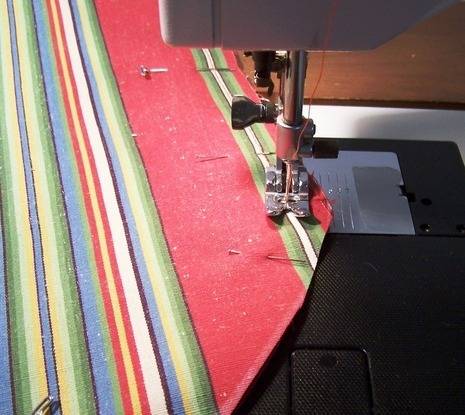
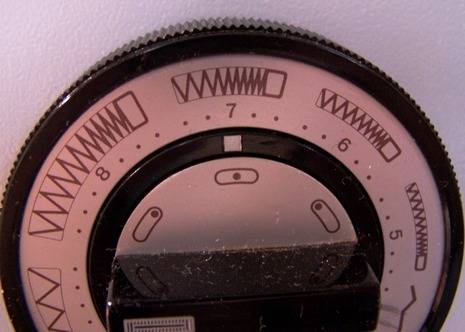
8. Set machine to zigzag stitch and zigzag along both long inward curves of the hamper. The zigzagging will allow you to simply turn the edge over and stitch without the fabric fraying. If you have the time, you can turn the fabric over once 1/4″, press down, and turn it over again 1/4″, press, pin and stitch. Otherwise, fold zigzagged edge over 1/2″ and pin and stitch in place.
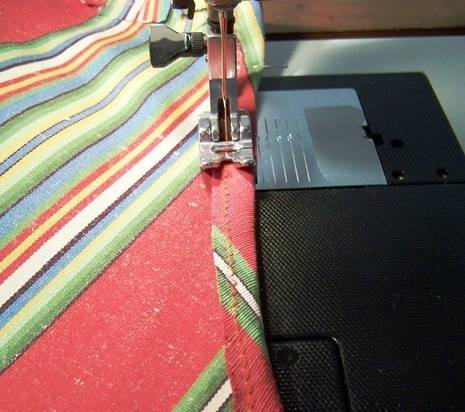
These curves are on the bias, so they stretch nicely and lay flat for stitching.
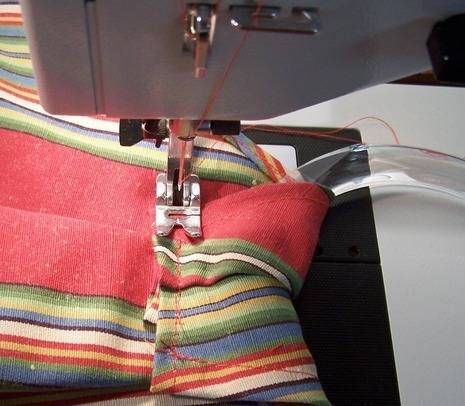
9. To prepare tab for folding and stitching over handle, using your hands, fold a pleat in the center of the tab, pin in place and stitch down.
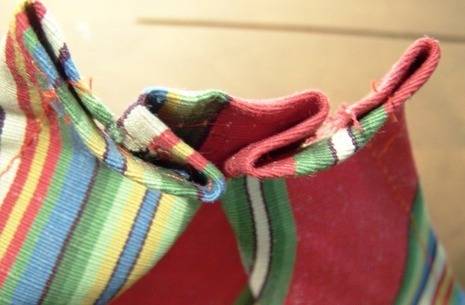
10. Now wrap tab through handle with tab coming over handle approximately 2″. Pin in place and stitch across tab securing it to hamper. Repeat for the other handle.
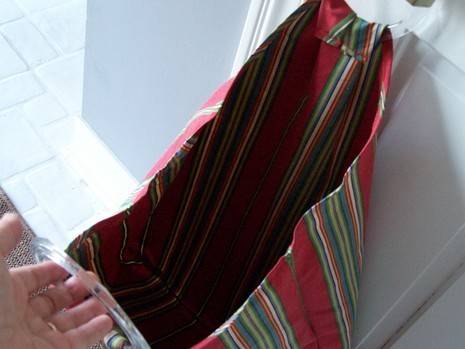
Turn your Hangable Hamper right side out, hang on your doorknob or hook, dump your dirty duds and look stylish carrying your hamper to the laundry.
Thank you very much for this tutorial. It’s very simple and interesting!