Hey guys!
So we know that you all love zombies, and maybe some of you even watched how to get the most realistic looking zombie makeup. Now we’re going to teach you have to build a fake brain. Yeah, it not that hard, but it does take some time and creativity. If you have an idea of your own, send us your videos!
For more tips and how to’s, visit our website, Indy Mogul and don’t forget to subscribe to our show on iTunes. If you want to see the complete video, click below.
Shopping list
1. Two loaves of cheap white bread.
(The softer the better. You might get away with one, but at $2 a loaf get a back-up.)
2. A big bottle of school glue or wood glue.
(I ended up using both, they are very similar)
3. A bunch of old newspaper.
(FREE)
4. Some masking tape.
(Duct tape would be too slippery on the back.)
5. A cheap paint brush or two.
(These are going to get filled with glue, so get the cheapest ones you can find.)
6. Some “brain colored” paint.
(I grabbed a tube of arylic “flesh” and “red” from my roommates paint set…FREE…until he finds out)
The Base
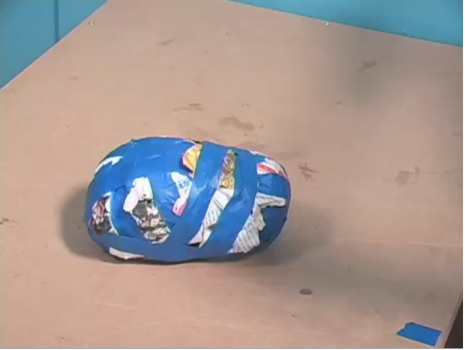
Ok, so you don’t want to build a fake brain completely out of bread. It takes way too much bread and doesn’t work, believe me I tried it. So we need a cheap and simple base that we can apply our cool looking bread brains to. Start making a ball of wadded up newspaper, using the masking tape to keep it tight as you go. I made one big ball, then a smaller one and taped those together. Just keep adding tape and paper until you get the basic oblong shape of a brain.
Mixing the Glue
Pour about a cup of glue into an old container then start adding small amounts of your paint. Stir until color is even, add and subtract glue and paint until it looks right.
The Messy Part
So now we enter the most time consuming, messy and important part of the build. Adding the brain folds! Put down a drop cloth or something that will keep the mess contained. Also keep in mind that you can only do a small section at a time, let it dry then do the next section until you’ve covered the entire base.
Apply an initial layer of glue to the section of the base you want to start with. Take a slice of bread and peel off the crust. Now squeeze or twist the “bread” into a little tube. You want to compress this bread as tight as possible. We are going to be covering it in a lot of glue and if you don’t get each piece really tight it starts to fall apart.
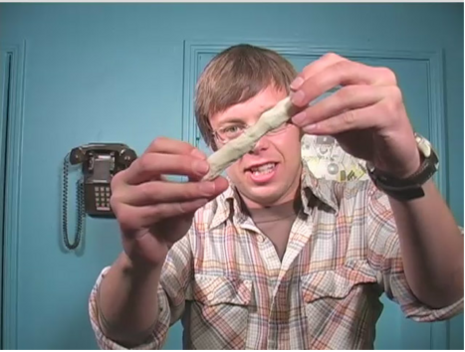
Stick your bread brain tube to the news paper, then cover it with glue. Add another bread tube next to the first one, brush on a bunch more glue. Try sticking the bread tubes to the brain base in twisty patterns. You can even mash your bread into a small flat disc like shape to change things up. The important things is to use a lot of glue and keeping everything tight.
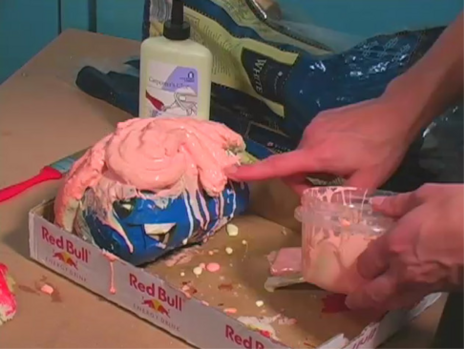
You can only apply about a 1/6th of the total surface area before it gets too messy and you have to stop and let it dry. After I completed the top half, I flipped it over, balancing it on a bowl, completed the bottom.
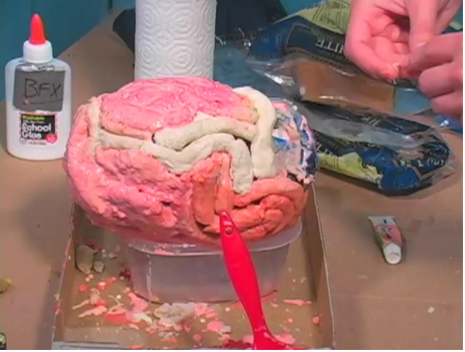
The second day after you complete your bread brain is the best. It is solid and yet squishy. If you used enough glue your bread brain should be good for at least a week. Keep it in the refridgerator when not “using” it. Before filming I’d recommend covering your fake brain with a bunch of fake blood. Now go have fun!
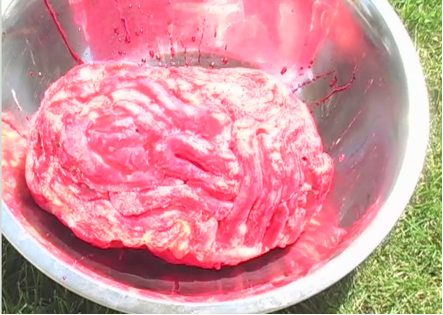
WARNING! DO NOT EAT BREAD BRAINS, GLUE IS NOT GOOD FOR YOUR STOMACH.
