
I’m a big collector of costume jewelry, so I’m always trying to find great ways to store it. A while back, I did this project so I have plenty of space for my necklaces and most of my dangly earrings. But I was still left wondering where to put all of my stud earrings, bracelets and other accessories. Until now. Keep reading to check out my incredibly easy, functional solution.
The anser is a tiered organizer made with a deviled egg plate and a couple of other pieces of dinnerware! Sometimes the best solutions are the simplest ones. Here’s what you’ll need to complete this project.
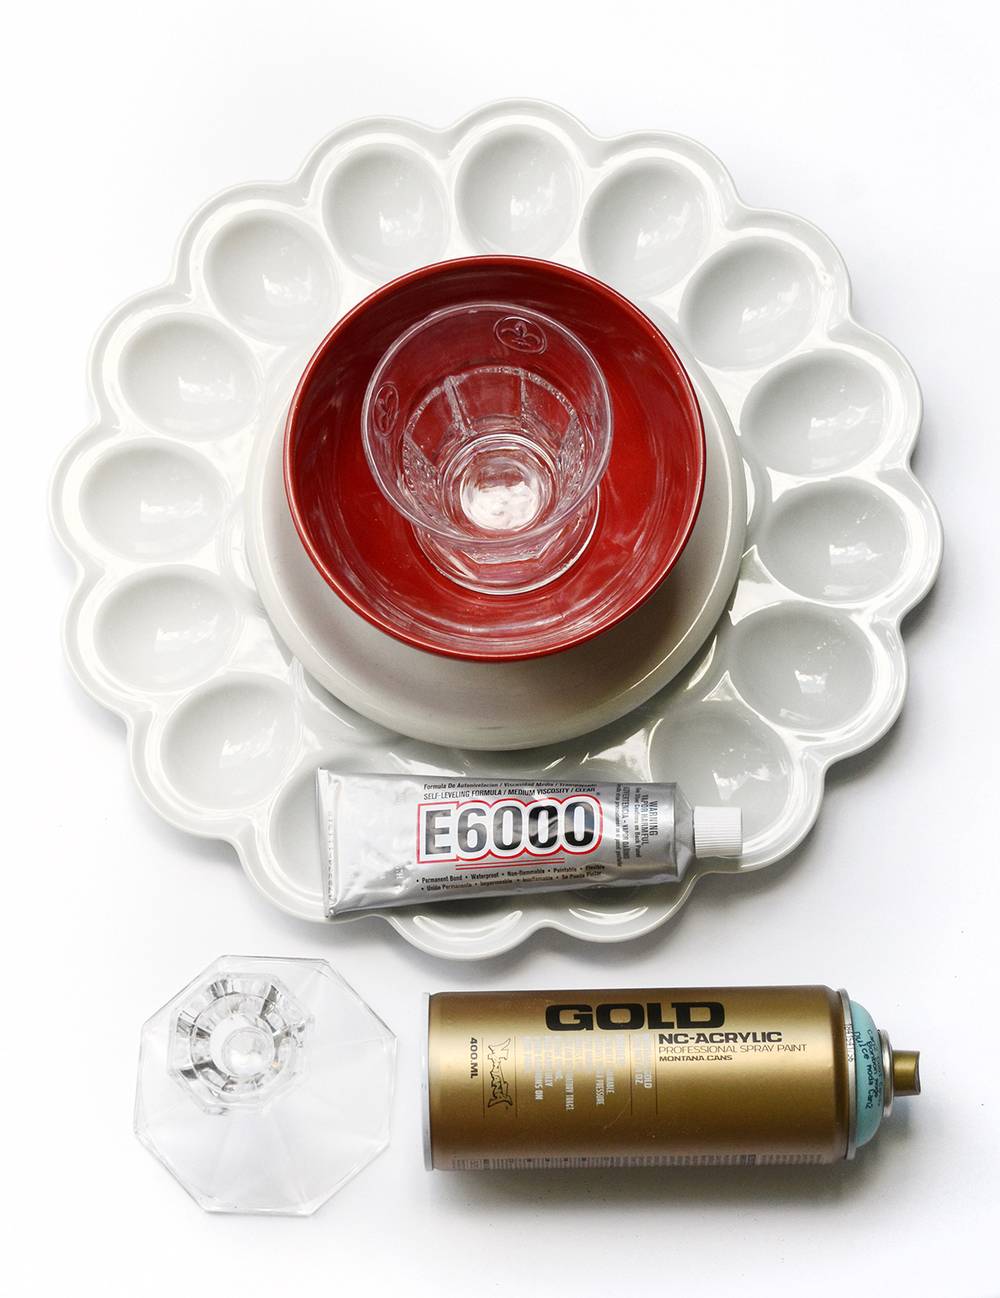
Materials
- 1 deviled egg plate (I got mine at Bed Bath and Beyond)
- 1 small dinner plate
- 1 cereal bowl
- 1 drinking glass
- 1 candlestick holder
- E6000 glue
- Spray paint (I used Montana Gold)
Step

Begin by selecting your tiers. The dinner plate will be the middle layer, and it should be narrower than the deviled egg plate but wider than the cereal bowl. The glass and candlestick holder will be the “in between” sections that hold everything up. If you find two candlesticks that would work well, go with it. There’s no exact science to this.
Glue the glass to the deviled egg plate, centering it. Odds are it will look better upside down, but do whatever looks best! Then glue the plate to the glass. Then glue the candlestick holder to the top of the plate.
Step
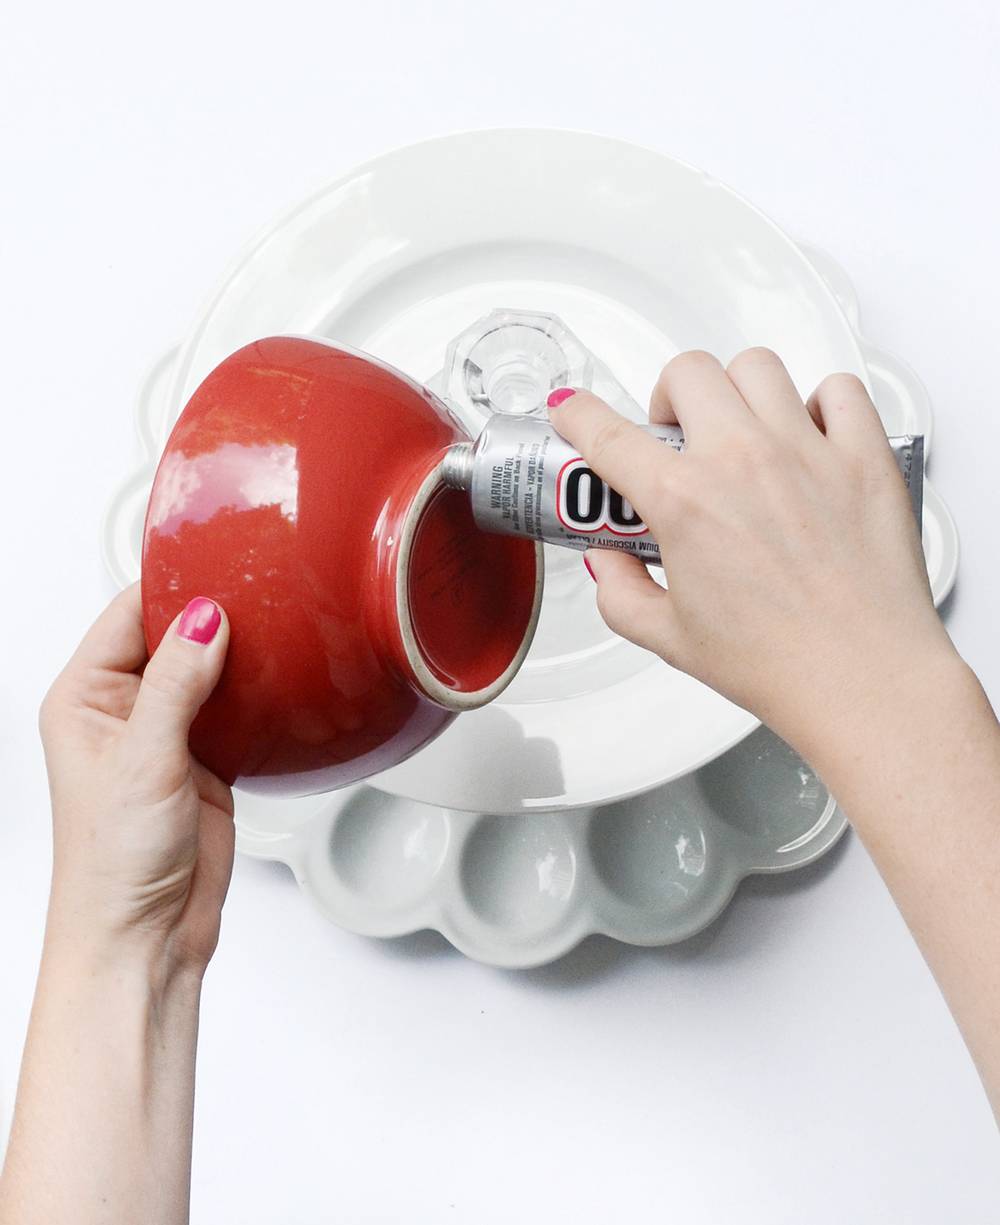
Last, glue the bowl to the top of the candlestick holder. Wipe off any excess glue with a paper towel. Let everything dry for a few hours.
Step
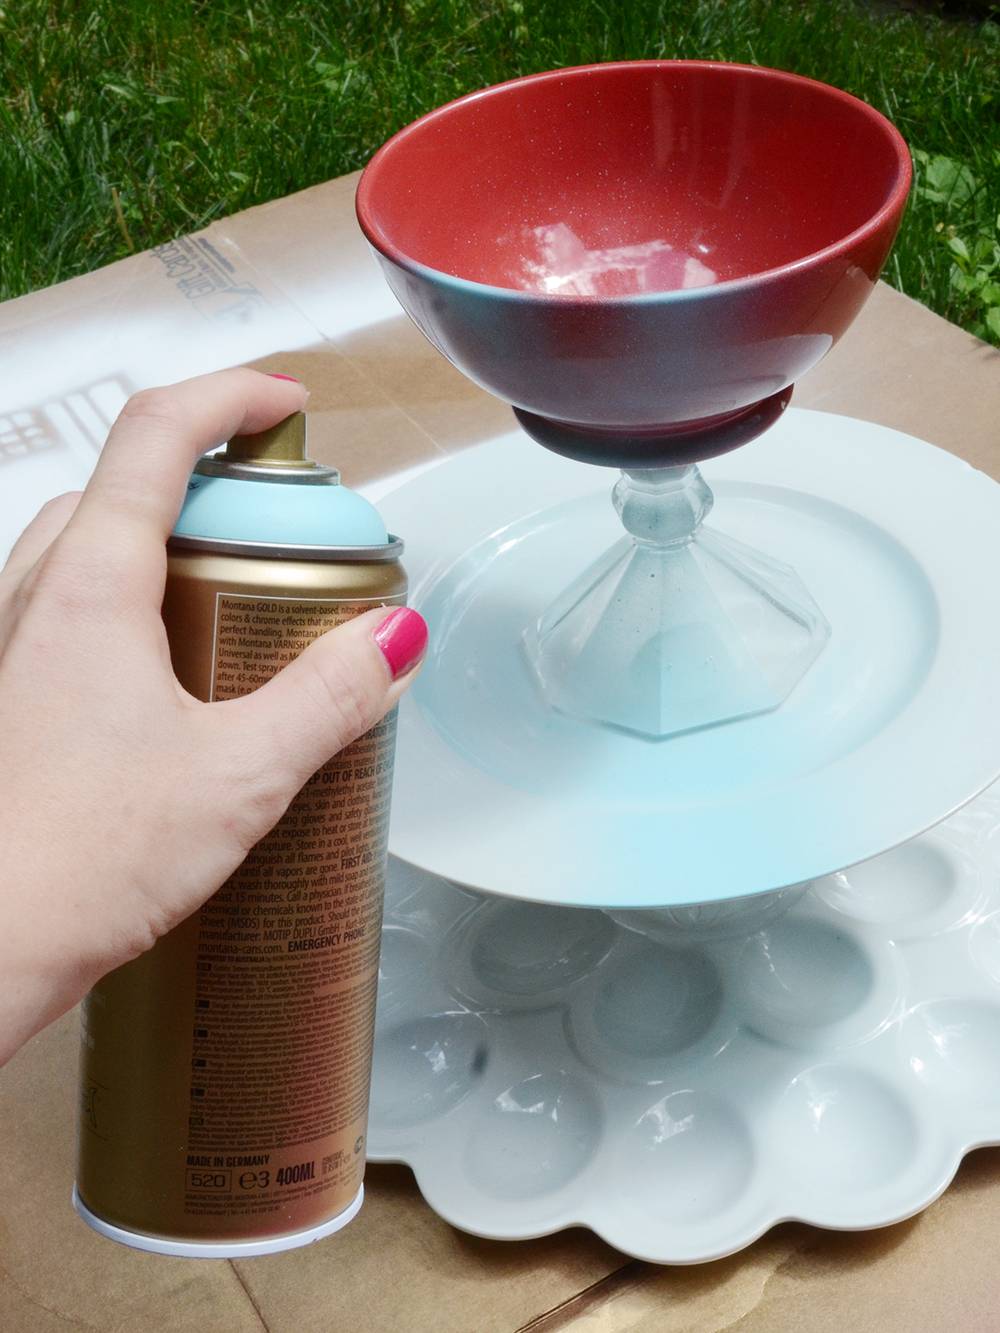
Last, grab a can of spray paint and go to town. Do thin coats, and a couple of them. Note – my spray paint ended up with a bit of a rough texture, I think because these materials were made of glass and porcelain. So if you prefer a smooth texture, I would recommend using acrylic craft paint and a paint brush. Let it dry, and you’re finished! I wasn’t lying when I said it was easy.
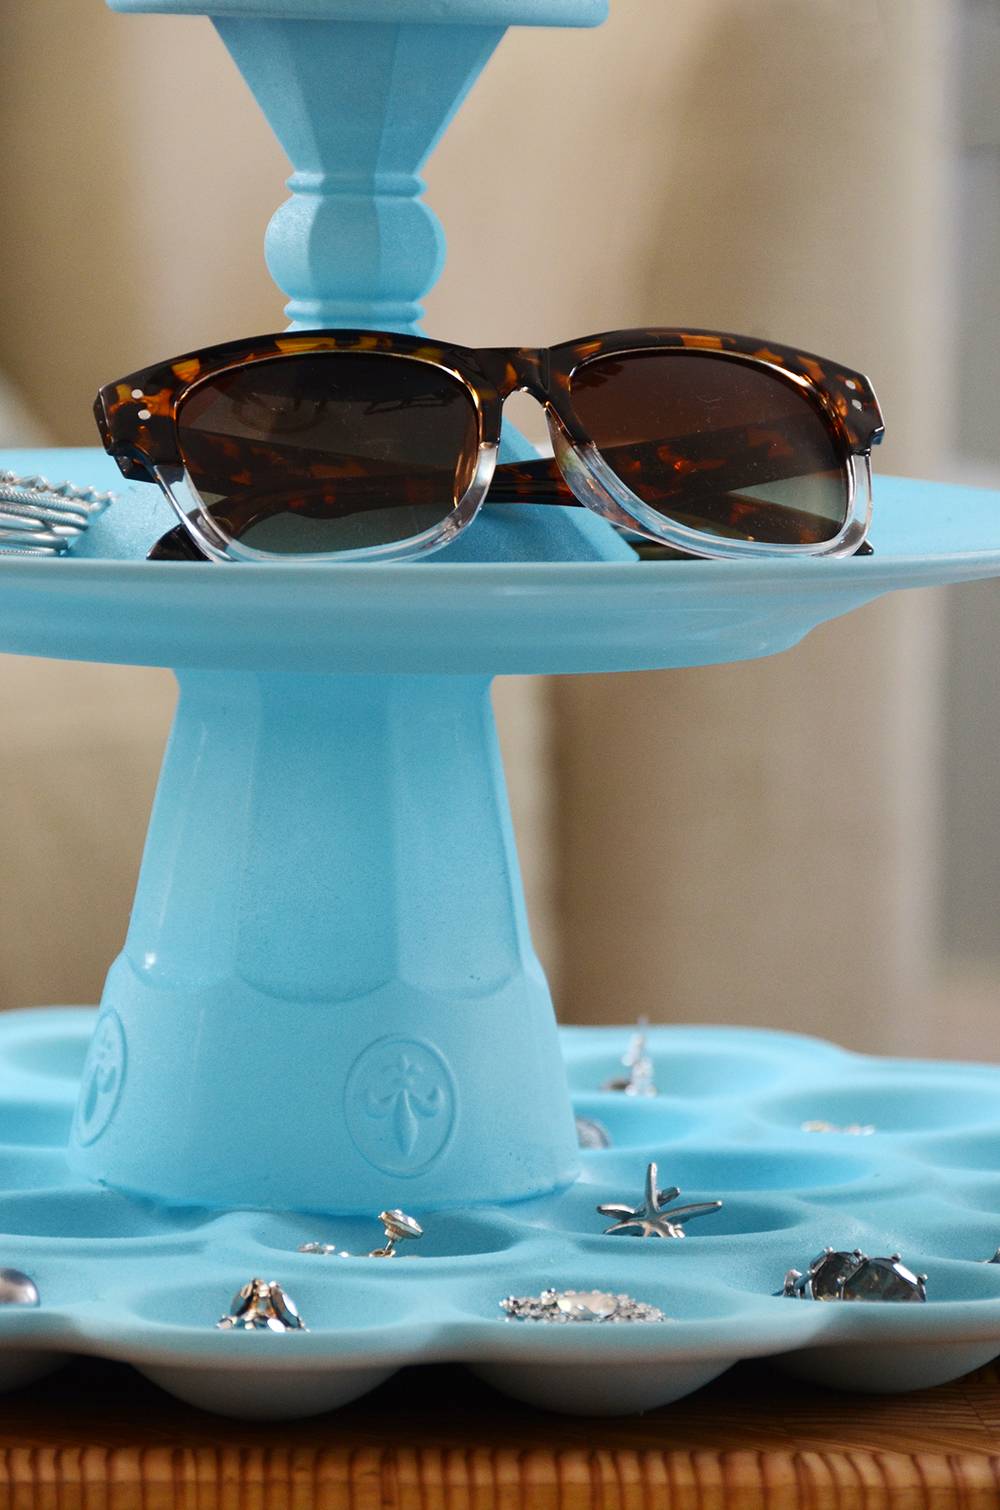
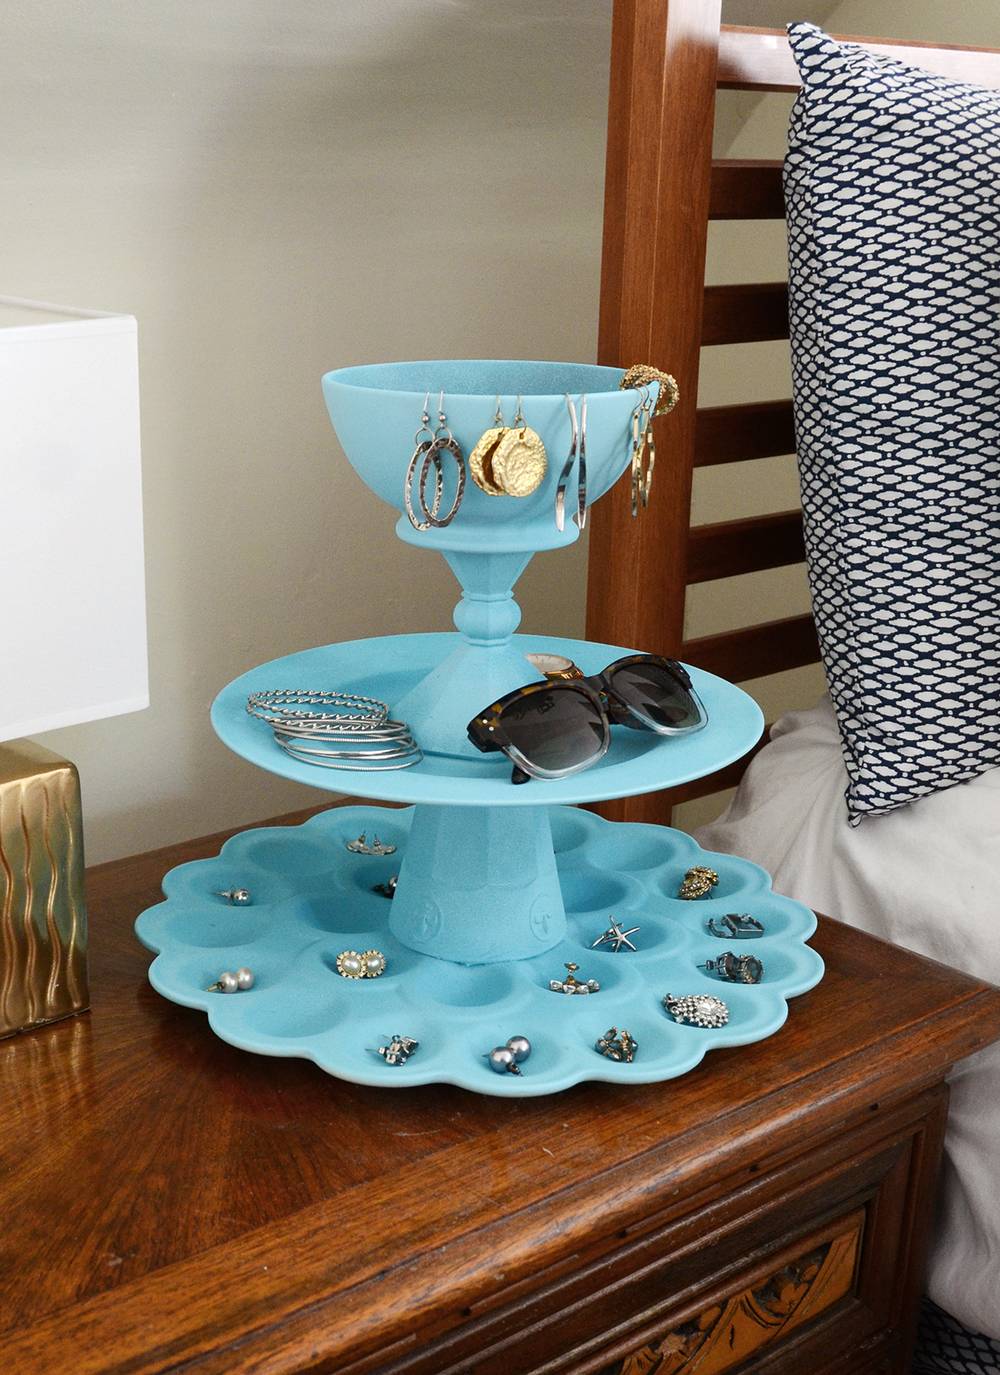
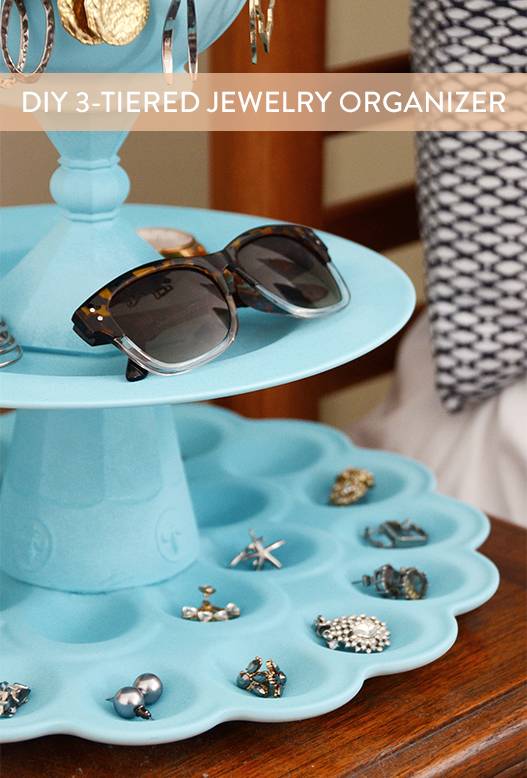
Here are some pictures of the finished product…

Mine is a nice size – large enough to hold most of my jewelry without being huge and bulky.
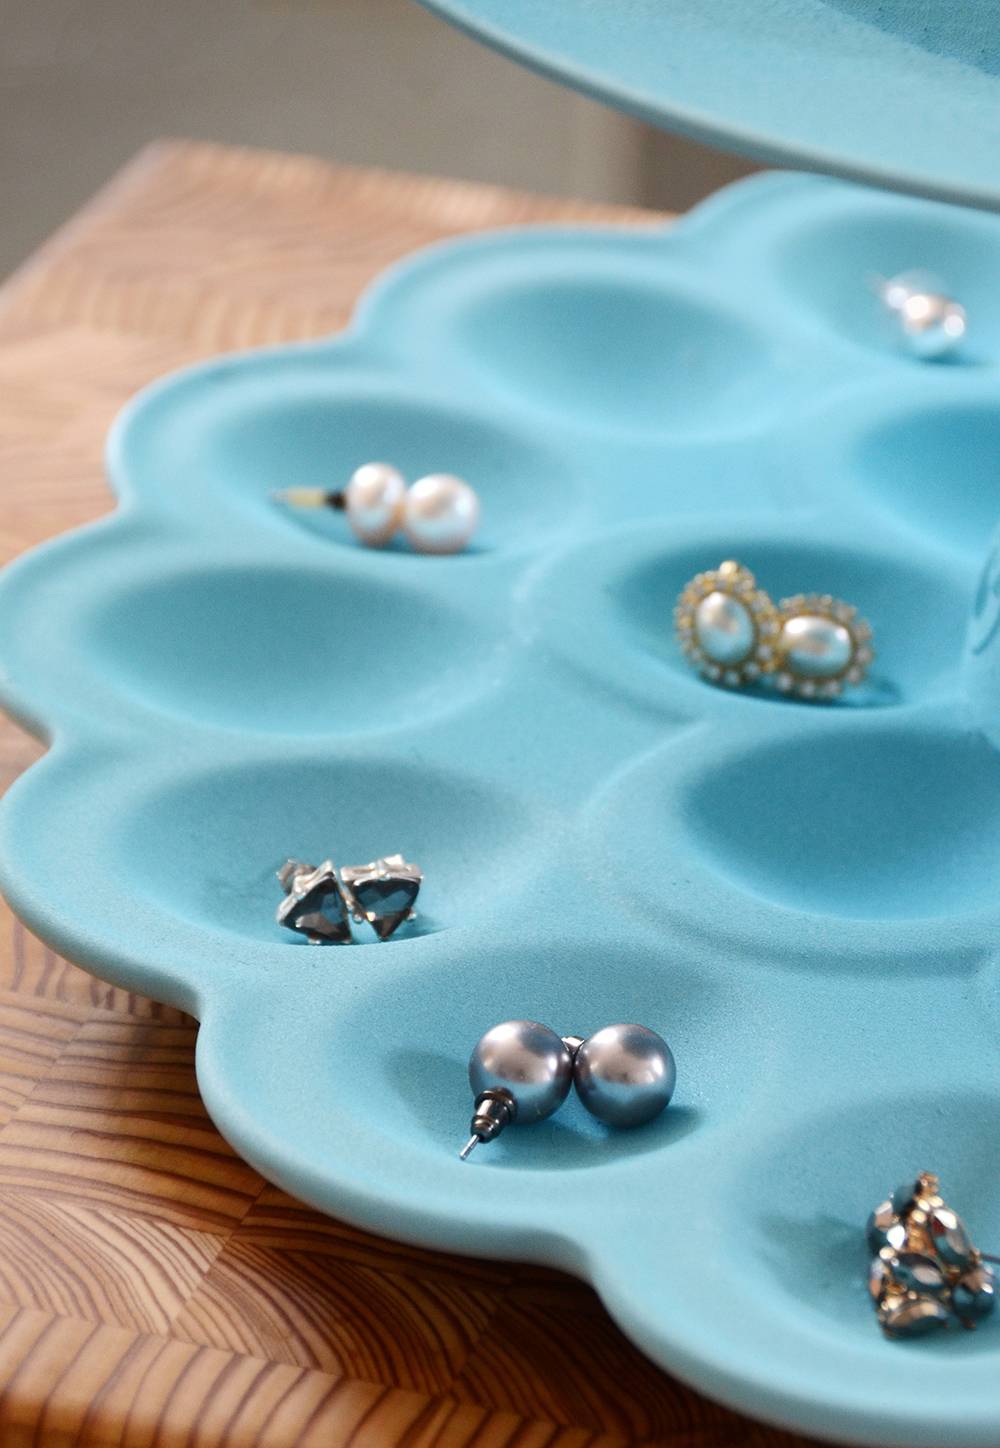
It is perfect for all of those stud earrings that are difficult to organize… it’s so much better than throwing them all together into a bowl!
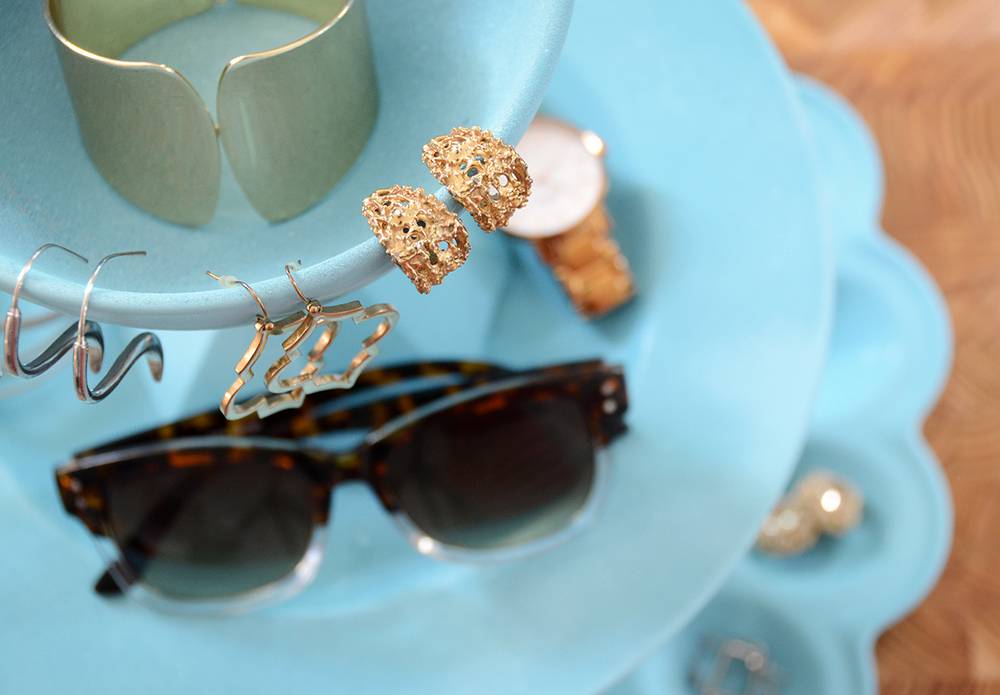

You can even hang dangly earrings around the edge of the bowl!
Feel free to share any questions in the comments section below. Now go enjoy your new jewelry organizer! Happy crafting everyone.
Would it be easier to paint all of the pieces before assembly? Or did you paint afterwards in case there was any glue that seeped out from under the edges that would be covered if project painted after assembly? Thank you. This is a great idea using an egg plate!