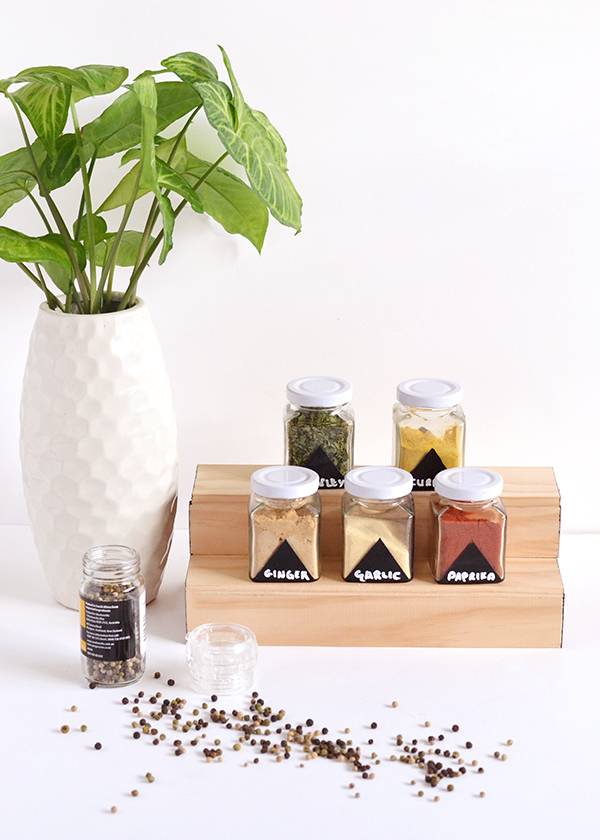
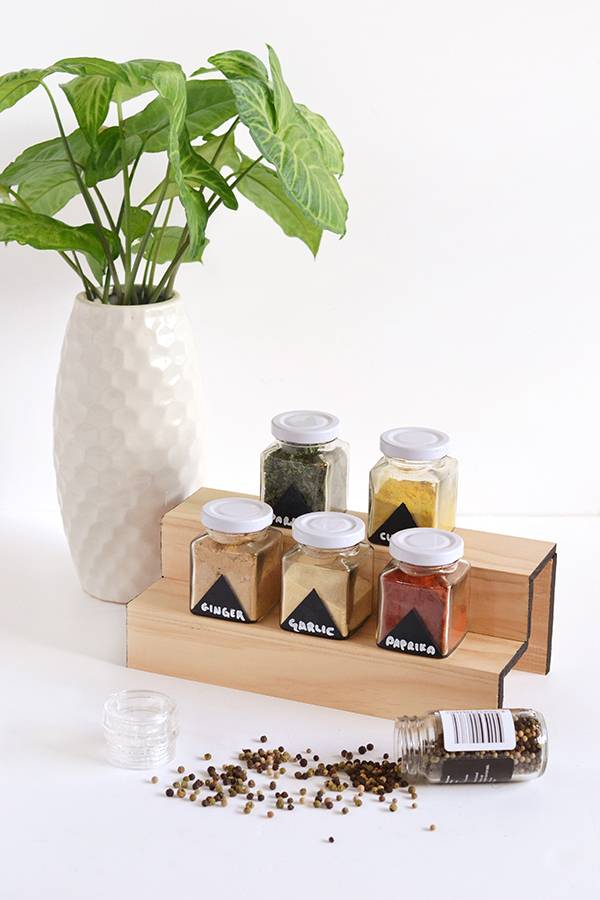
When I first started exploring the world of DIY, I decorated some spice jars in the hopes of introducing just a small amount of order into my otherwise unlabelled, disorganised and chaotic kitchen.
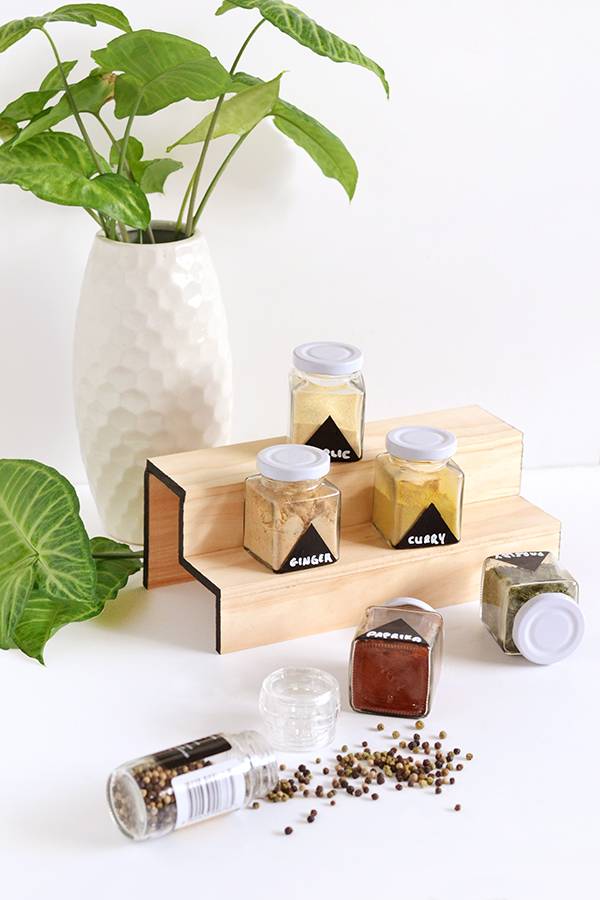
Fast forward two years later and the spice jars have stood the test of time, but sadly I can’t say the same about my good intentions to re-organise my kitchen. All the other items in my pantry remain unlabelled and my spice jars lie strewn all over the kitchen counter along with the other condiments that vye for precious bench space – eek!
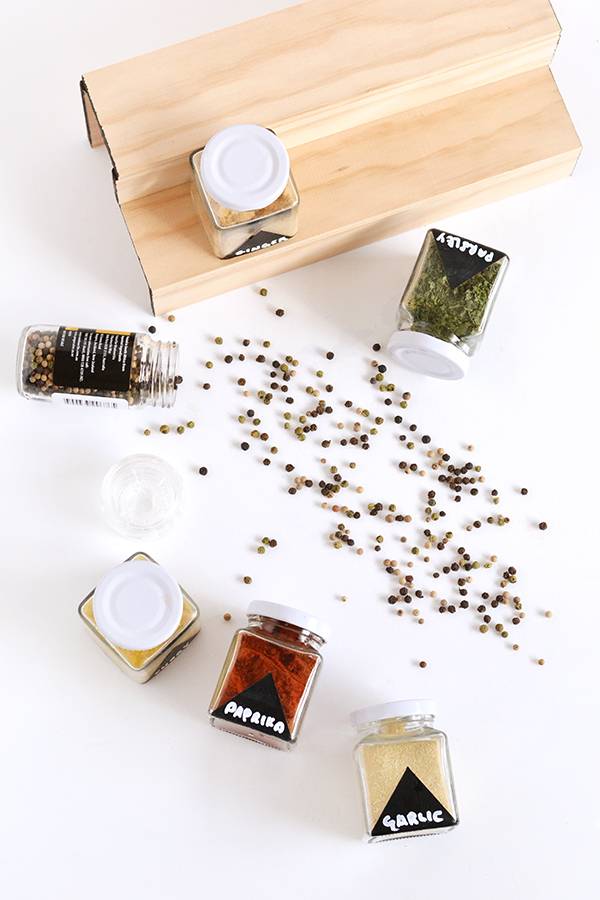
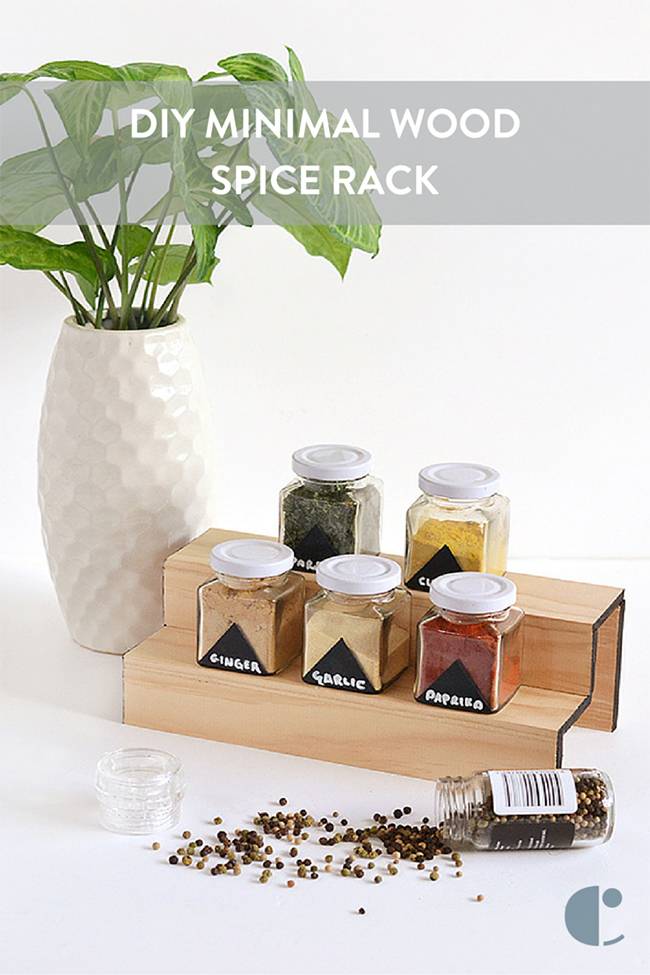
So I decided that it’s high time I made up a rack to separate the spices from my other cooking ingredients and keep things nice and orderly. This is another one of those super easy wood-working DIYs so if you’re into those, follow along!
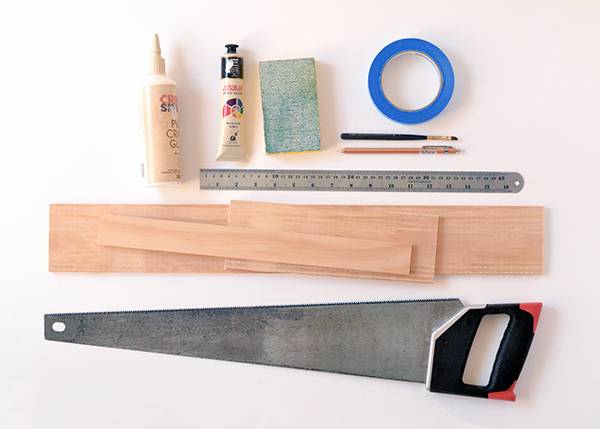
Materials
- Wood (I used pine)
- Ruler
- Pencil
- Hand saw
- Sand paper
- Wood glue
- Painter’s tape
- Black paint
- Paint brush
Step
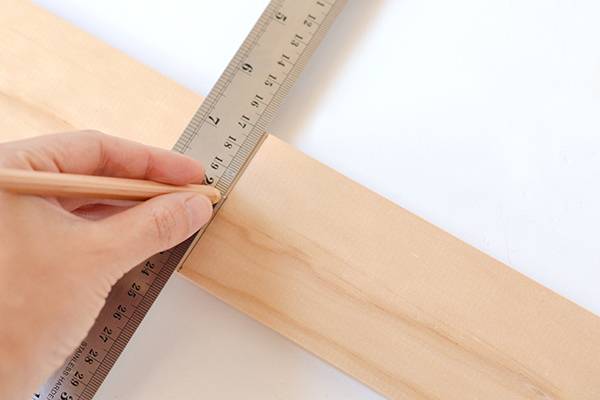
Measure and mark out the pieces for your spice rack with a ruler and pencil. Then cut each piece out with a hand saw.
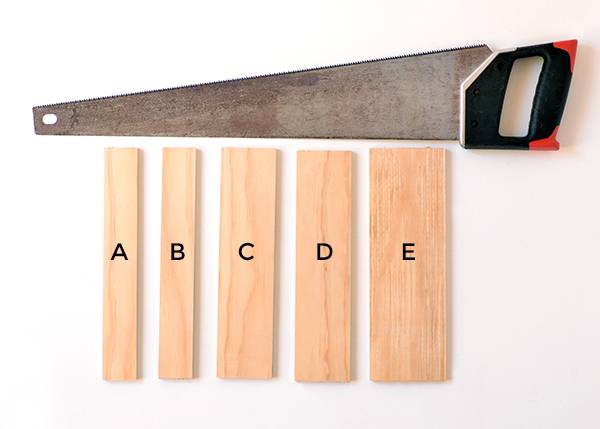
You’ll need to cut 5 pieces in total for the front, two shelves, middle and back. See the image above for all the pieces and their corresponding sizes below.
You can of course use whatever measurements you desire to make up your own version of this spice rack, but if numbers leave you scratching your head in confusion, just follow along with mine. 🙂
- Piece A, front of spice rack: 11 inches wide x 1.57 inches tall (280mm wide x 40mm tall)
- Piece B, middle of spice rack: 11 inches wide x 1.57 inches tall (280mm wide x 40mm tall)
- Piece C, lower shelf of spice rack: 11 inches wide x 2.56 inches tall (280mm wide x 65mm tall)
- Piece D, upper shelf of spice rack: 11 inches wide x 2.56 inches tall (280mm wide x 65mm tall)
- Piece E, back of spice rack: 11 inches wide x 3.5 inches tall (280mm wide x 90mm tall)
Step
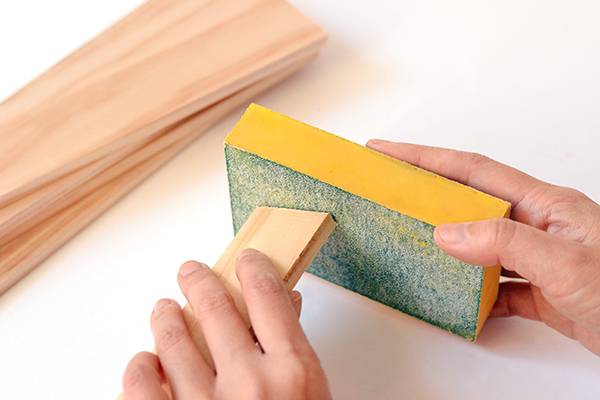
Once you’ve cut all your pieces, give the edges of each one a quick sand.
Step
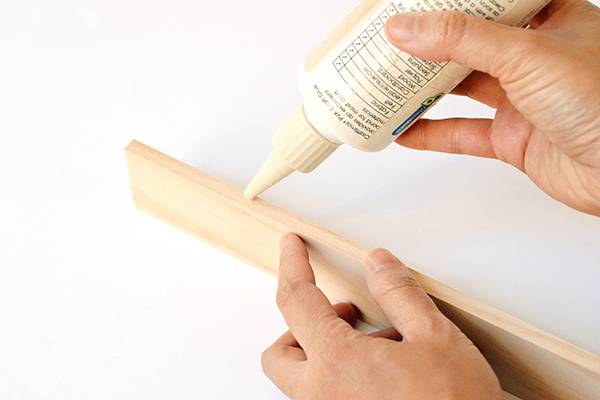
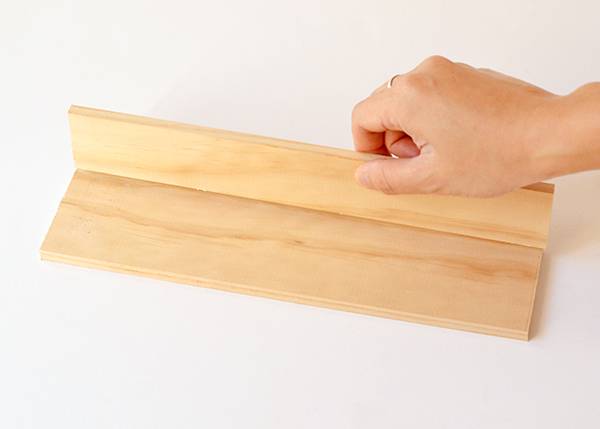
Glue Piece A (the front of the spice rack) to Piece C (the lower shelf of the spice rack) so that the two are at right angles.
Step
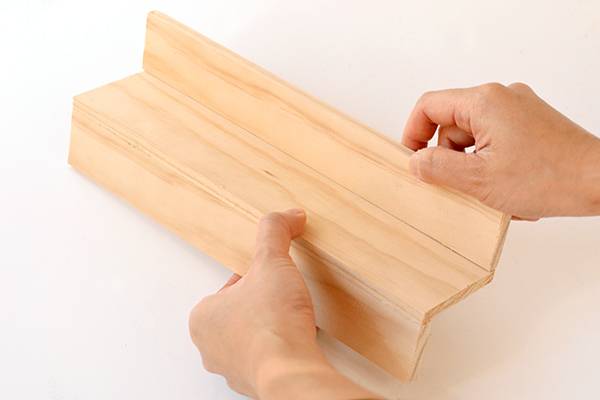
Once the glue holding Pieces A and C together has dried completely, attach them both to Piece B (the middle of the spice rack).
Step
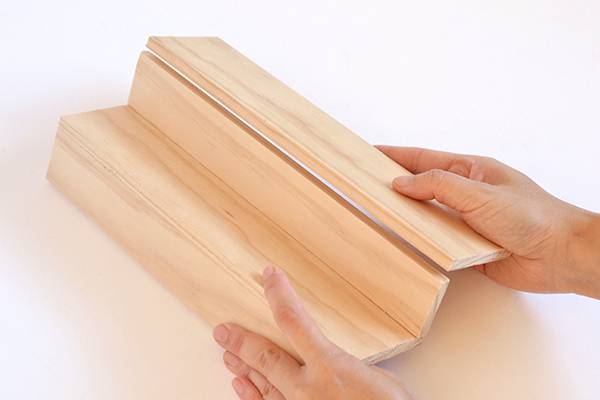
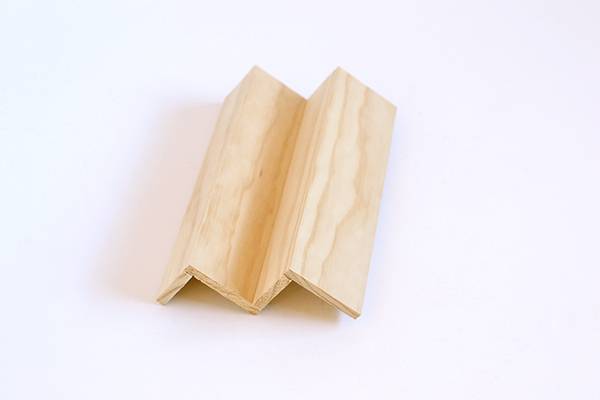
Repeat the process above to to attach Piece D (the upper shelf of the spice rack). Your ‘in-progress’ spice rack should now look like a couple of steps in a staircase.
Step
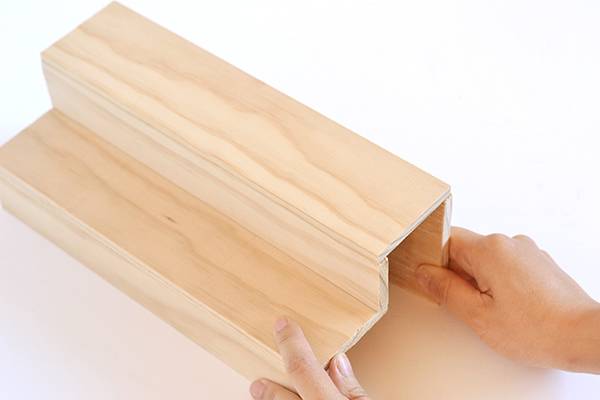
Finally, attach Piece E (the back of the spice rack).
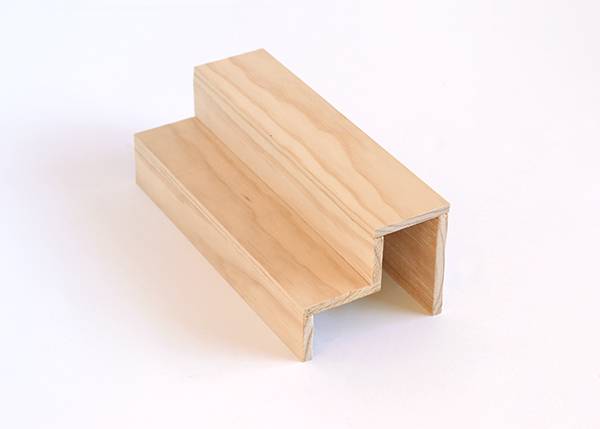
Step
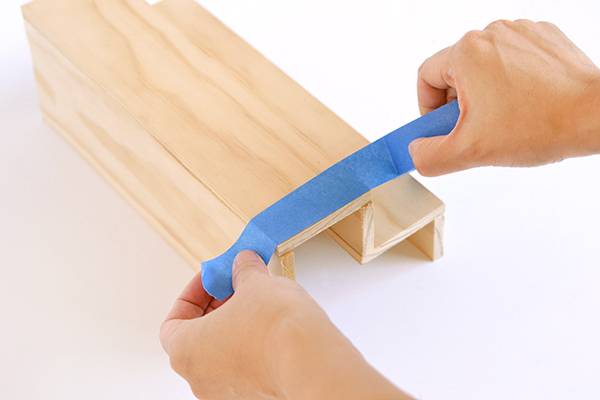
Once the glue that’s holding all your pieces together has dried, apply painter’s tape all the way around the side edges of your spice rack.
Step
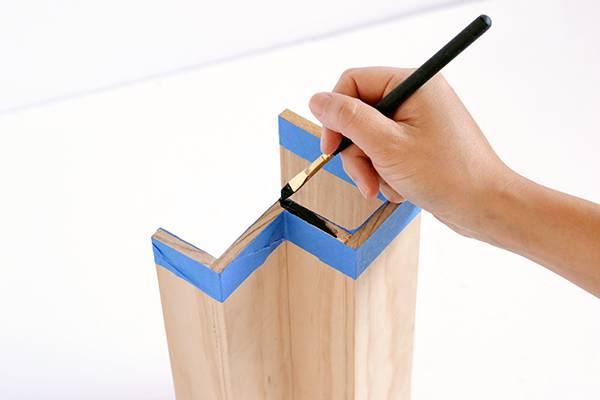
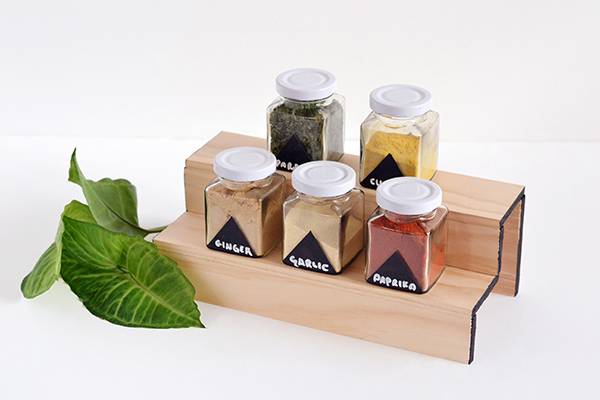
Make sure the tape is well stuck down, then paint the edges in black. Once the paint has dried, remove the tape to reveal your finished spice rack!
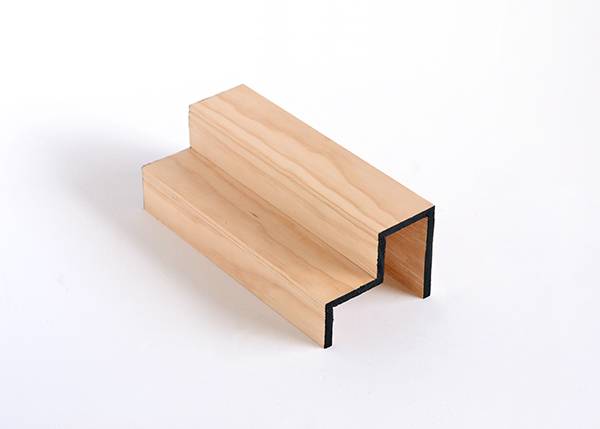
Now I know there are a lot of spice rack projects out there in the wonderful world of DIY, many of which are a lot more complicated or with more ornate finishings. But if you’re like me and have a soft spot for that minimal look then this is the project for you! Also, minimal is often a lot easier to craft (just sayin’). 😉
