Leather luggage tags are a classic travel accessory. They’re durable, they weather well, and they have a timeless throwback bit of nostalgia. They remind me of the days of yore when air travel was a bit more glamorous and passengers dressed in suits and tea dresses.

I’m heading to Palm Springs with dear friends next week, and in anticipation of our trip I put together a set of commemorative luggage tags to send us on our way. It was an easy project that you can complete in just a few hours. Here’s the scoop!
Materials

- Leather Luggage Tags: I used these tags in the following colors – pearl, white, and pink
- Leather-Safe Textile Paint: I used a set of Jacquard Textile Paint, and mixed colors to achieve the palette I wanted. They worked beautifully on the leather.
- Paint brushes
Step
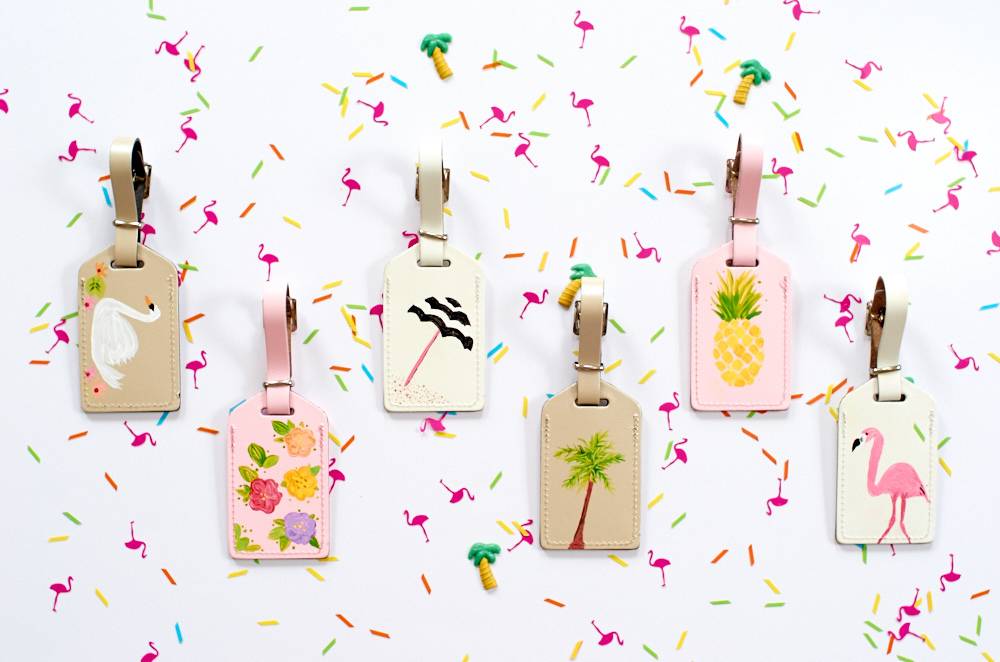
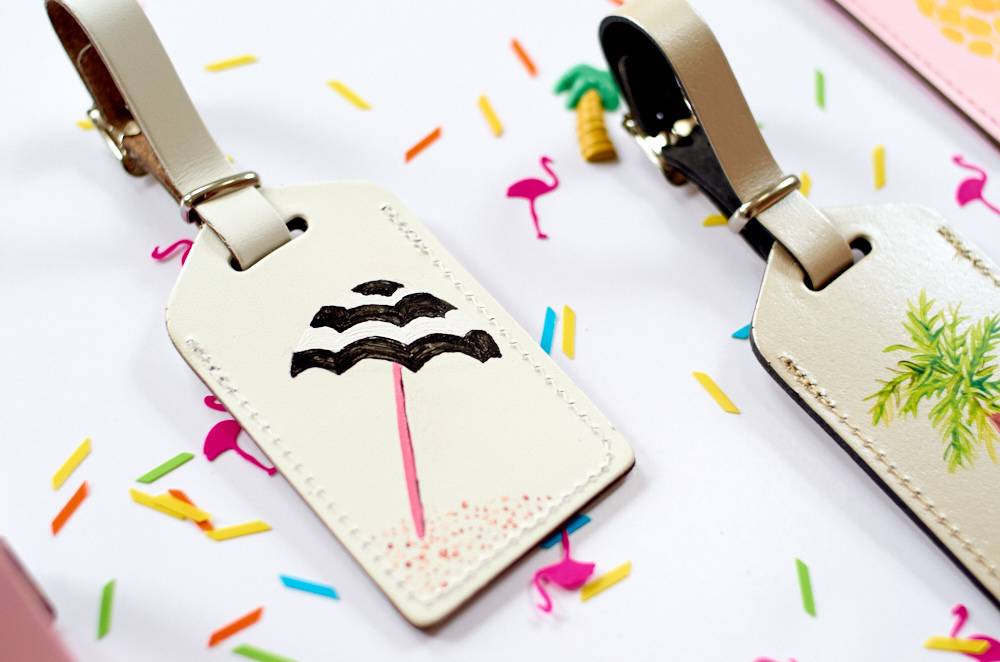
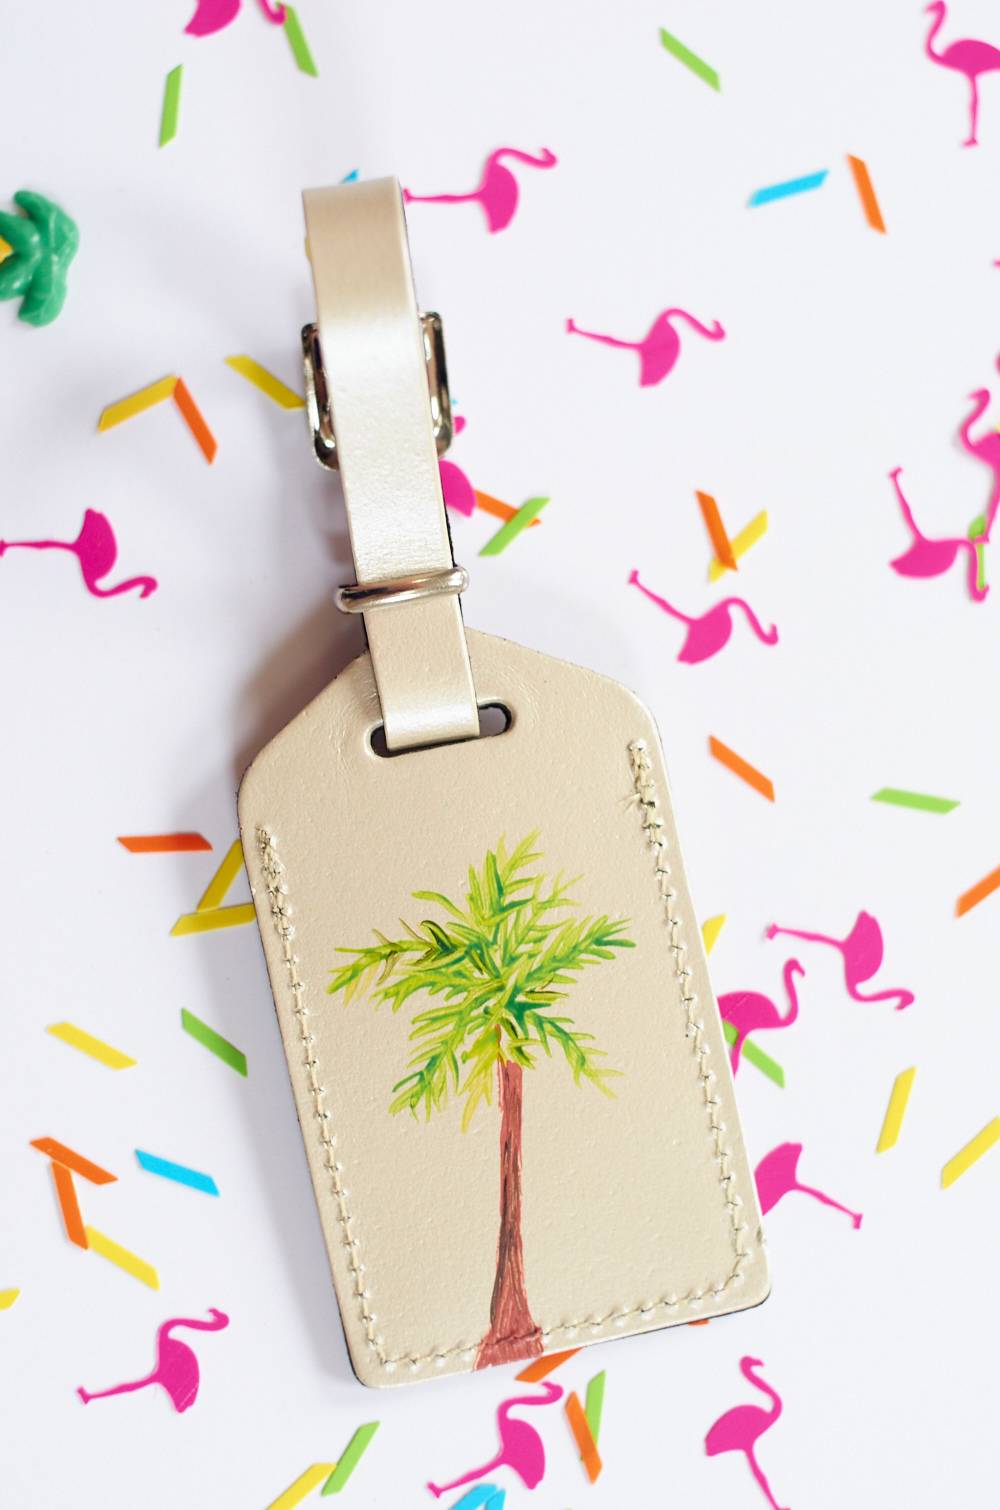
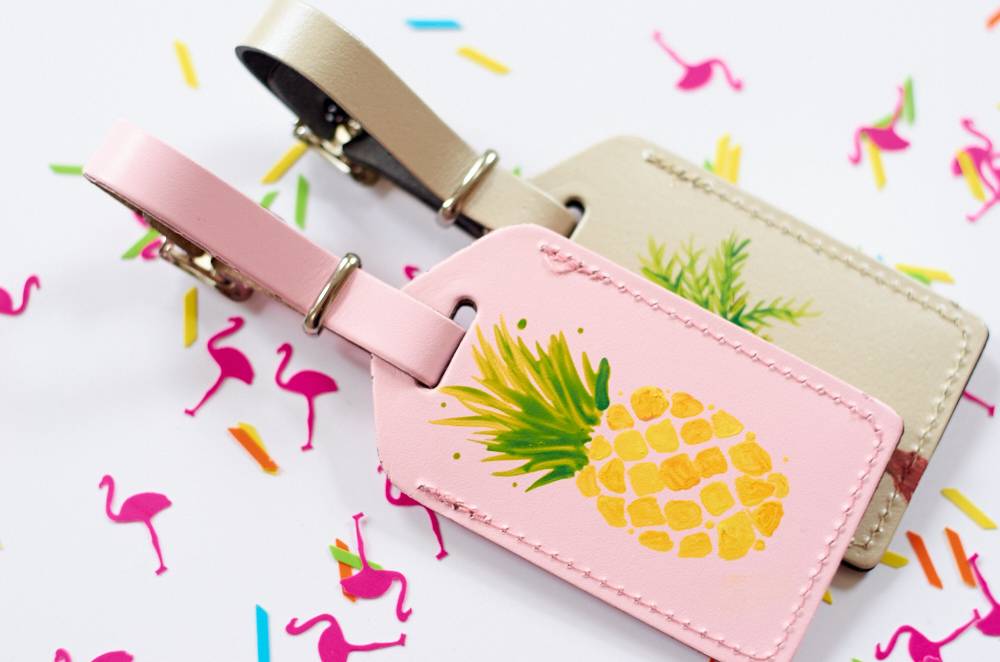
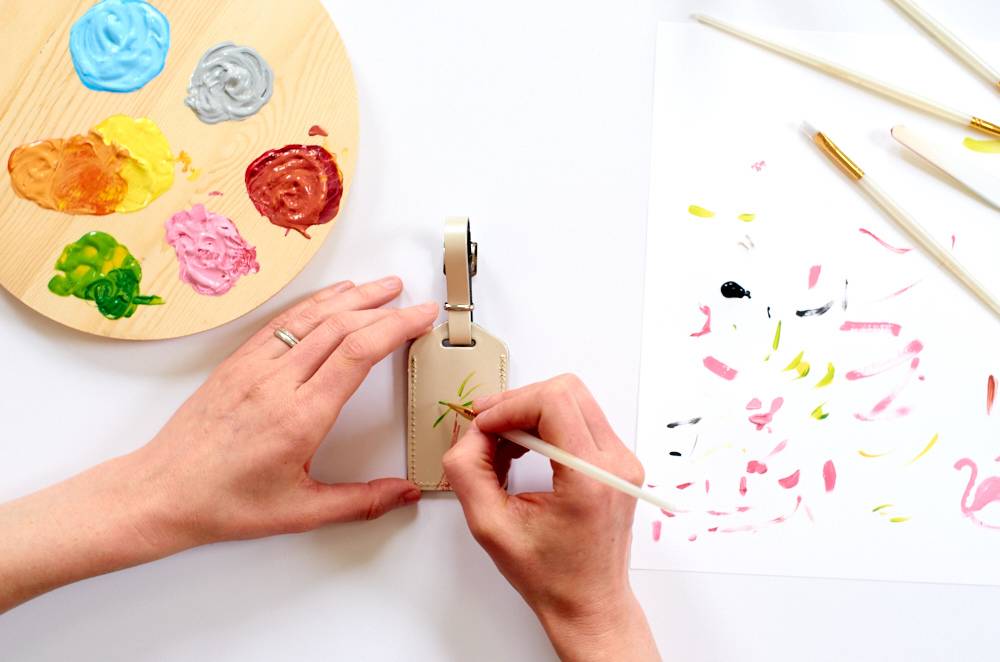
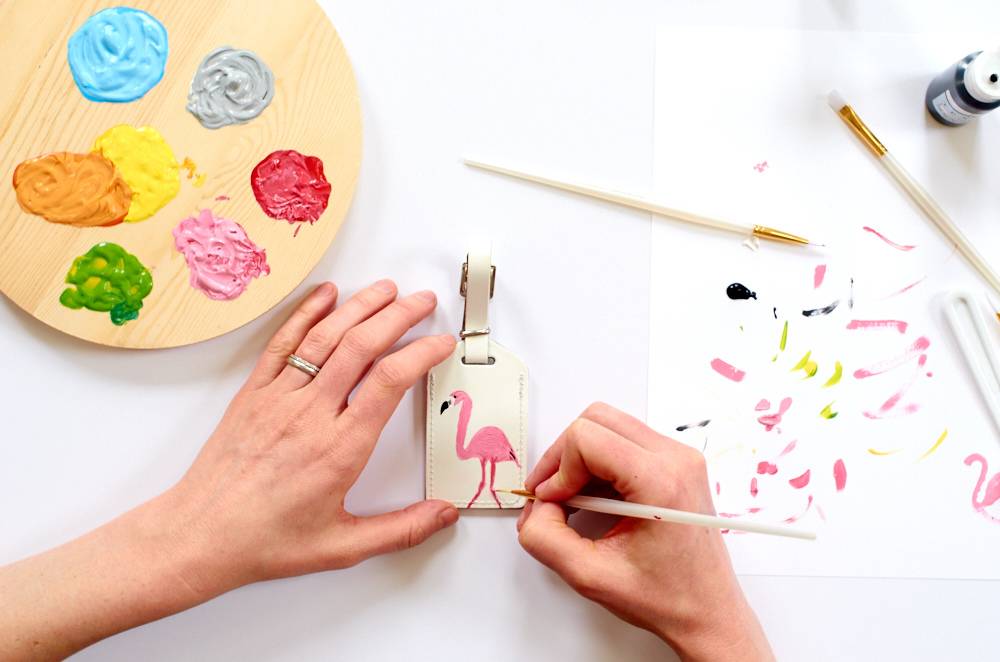
Choose some designs to embellish your tags. I chose Palm Springs-inspired designs as a nod to my vacation, but you could easily stick with polka-dots, stripes, or a simple pattern.

If you want to try a detailed image that requires the ability to wield a paintbrush with some finesse, I recommend finding some simple illustrated inspiration and using it as your muse. I chose a pineapple, swan, flamingo, palm tree, abstract flowers, and a beach umbrella. I Googled every image, searching for ‘watercolor’ versions of each so that I’d have an abstract guide to work from.
Step
Paint. You can’t go wrong here, and the paint-and-leather combination is quite forgiving. I was able to wipe the paint away several times and fine-tune my paintings. And frankly, the quirks end up being endearing reminders that they’re handmade.
Step
Let your tags dry overnight and pass them along to your favorite travel-mates, or fasten them onto your favorite suitcase.