
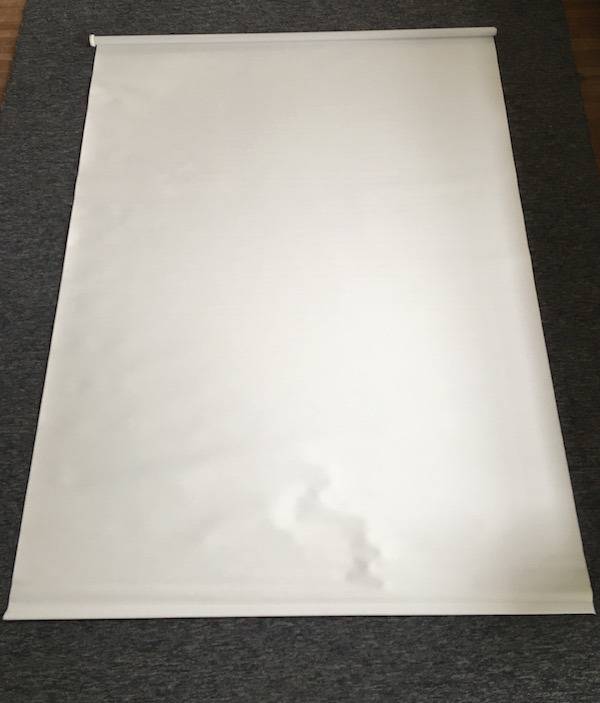
Roller shades are inexpensive, easy to install, and super functional. They are also great for privacy and blocking sunlight. The problem is they are just so boring. Here is how you can take a plain ‘ole roller shade and update it with a Sharpie.
Here is what you will need:
- Roller Shade (My favorite brand is Ikea’s Tupplur)
- Measuring Tape (optional: I had to cut my shade to size)
- Hack Saw (Optional: for cutting shade to size)
- Scissors (optional: if you need to cut the shade to size)
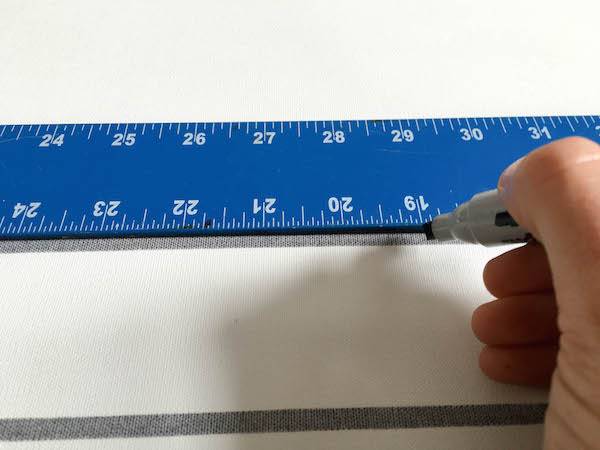
- Large Straight Edge ( I used a metal drafting ruler)
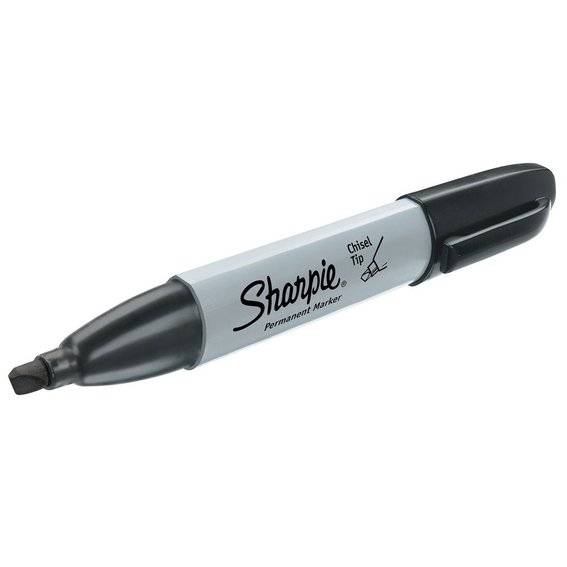
- Chisel Tip Sharpie
1. I used the instructions given by Ikea’s cartoon men to cut my roller shade to size. Many large home improvement stores will cut them for you, so make sure you take your measurements if you buy them there.
2. Lay your shade down on a clean flat surface and smooth out the wrinkles.
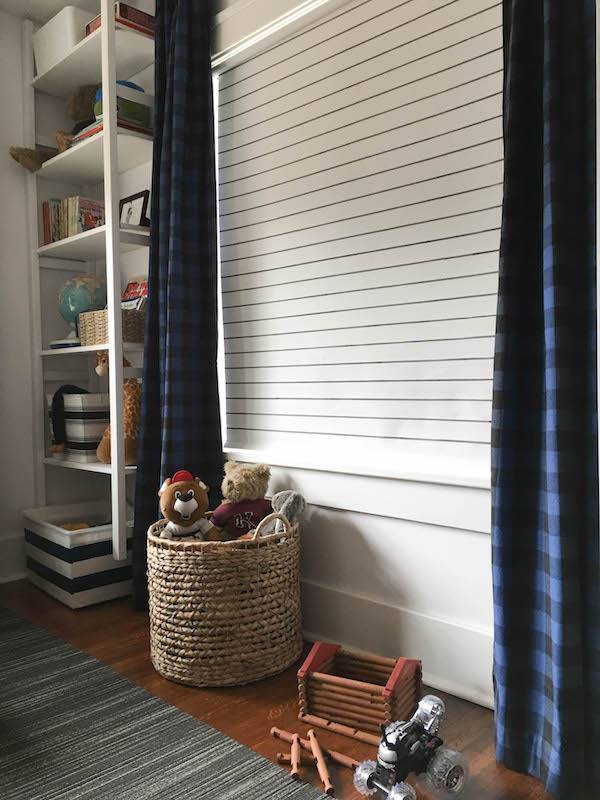
3. Here is where the fun starts. You could use a stencil or a pattern but I wanted simple stripes so I grabbed our large metal drafting ruler and a chisel tip Sharpie. You can use anything as a straight edge, but the trick is finding one that is the same size or bigger than the width of your shade. You don’t want to move the straight edge mid-stroke because the lines will not be continuous. For a larger shade you might want to two sharpies. Because I am a perfectionist (and maybe a little type A) I drew a few lines on my excess from cutting my shade. This was to practice my continual stroke but also to get a little bit of the initial dark ink out of the Sharpie. I did this when I switched sharpies as well. If you don’t do this your first couple of lines will be dark and the rest will be lighter.
4. Grab your sharpie and make your first line. Start at the bottom of the shade just in case the top of your shade is not glued onto the roller straight. When these shades are made, I think the machine just glues them on quickly and cuts the shade to length. The bottom will be level but the top might not. It will work out in the end if you start the bottom because the shade will still roll level and the lines will be straight.
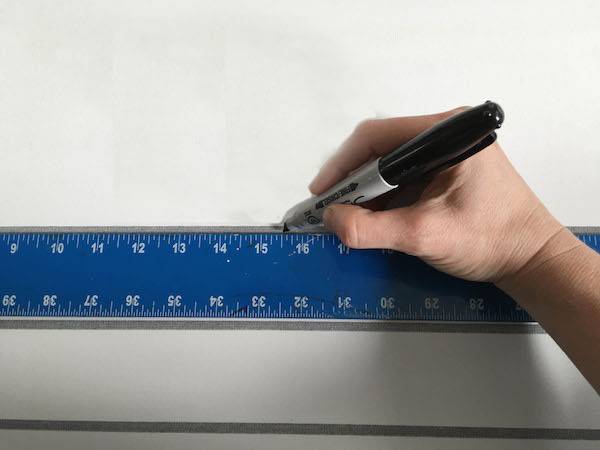
5. Draw the stripe in whatever way is comfortable to you, but position yourself in a way that will allow you to not break your stroke. Like I said above, I would suggest practicing drawing your lines first. One continuous stroke is the key. A time-saving tip is using your straight edge as your space marker. My ruler was 2 inches wide so it naturally was the space between the stripes.

6. Continue the pattern all the way to the top.
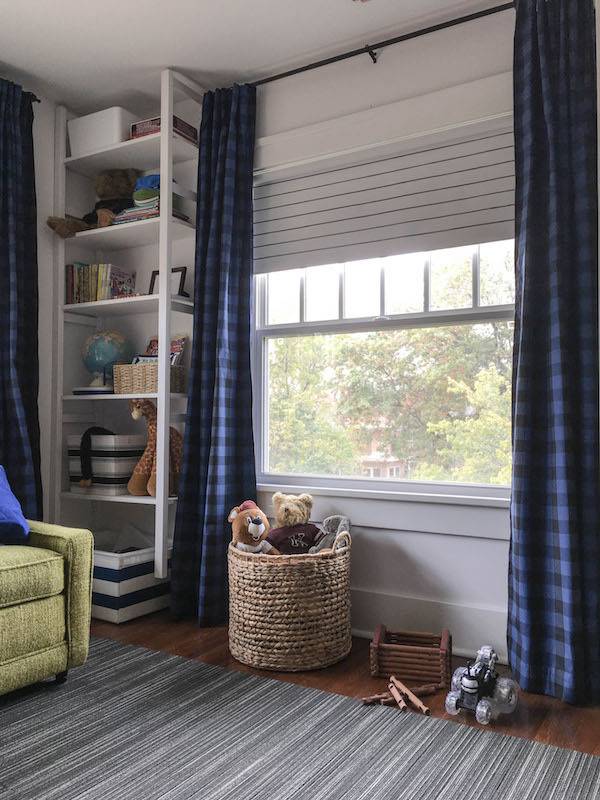
7. Hang the shade in your window and you are done. I love how the roller shade, something made to be functional and unnoticeable, updated brings interest and a little texture in the room.
It’s funny, no one but our family sees the shades all the way down but I actually really like them when they are down. It breaks up the white walls a little bit.
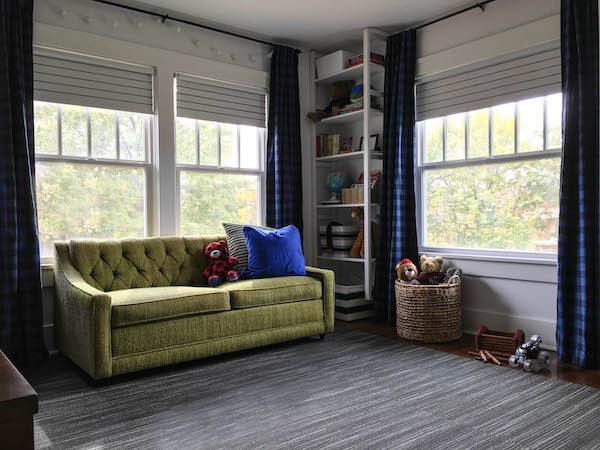
I have three in one room and I was worried about them not being unified but using the same measuring stick made it really easy.
This project was easy and took me a couple of hours. They are perfect in my little boys room. Are you interested in more window treatment DIYs? Here are a few more ideas from Curbly.
This is so cool!
What a simple and effective transformation. Awesome job, Jennifer!