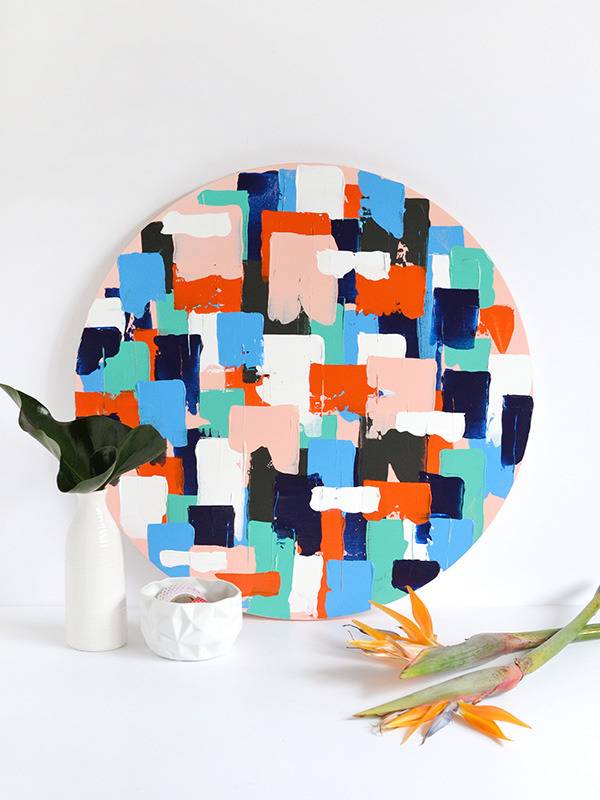
Despite having lived in our current house for three years, the walls are conspicuously bare and it’s getting to the point where dressing them up is at the top of my priority list.
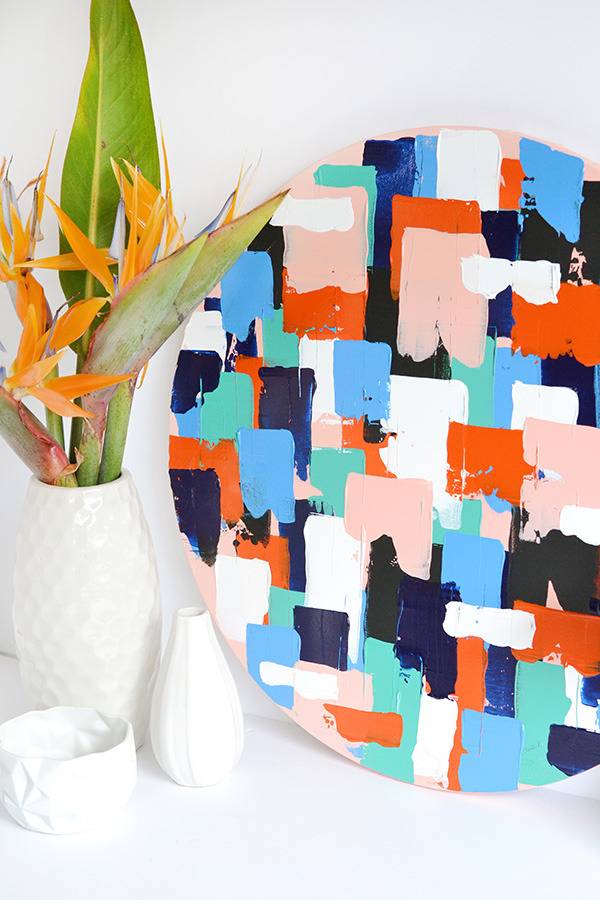
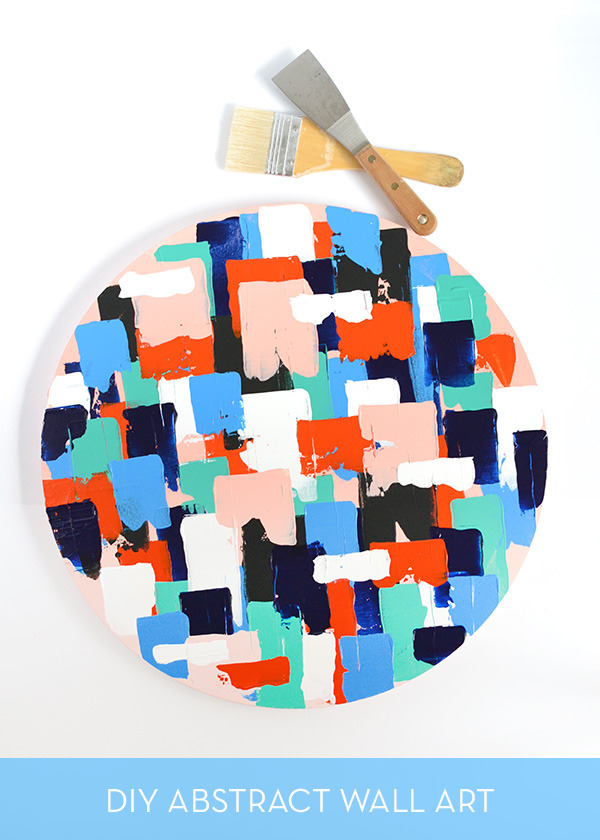
But while I love abstract art, sadly the pieces I’m drawn to are usually outside my price range. What is in my budget though is paint, canvas and a paint scraper, which is pretty much all you need to make your own painted artwork… click through to see how!
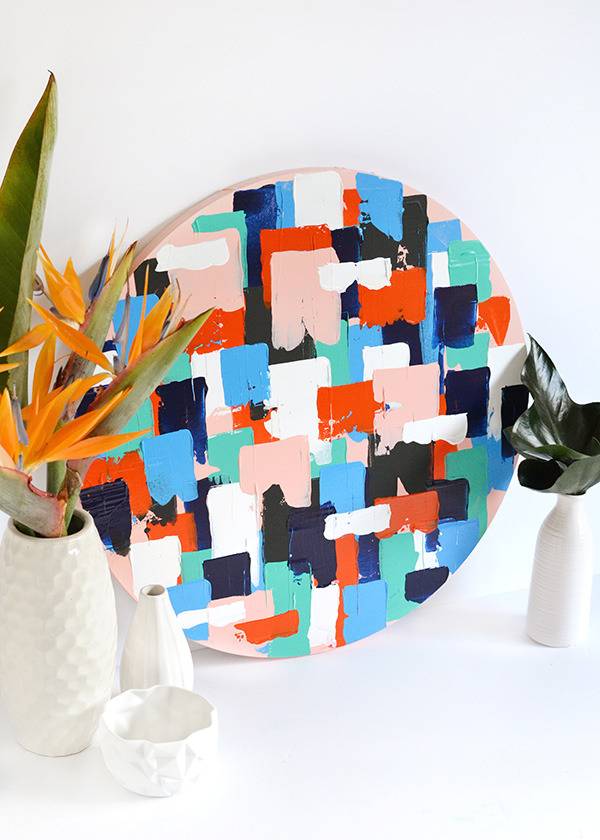
Materials
- Stretched and primed canvas
- Acrylic paint (in various colours)
- Paint roller
- Paint scraper
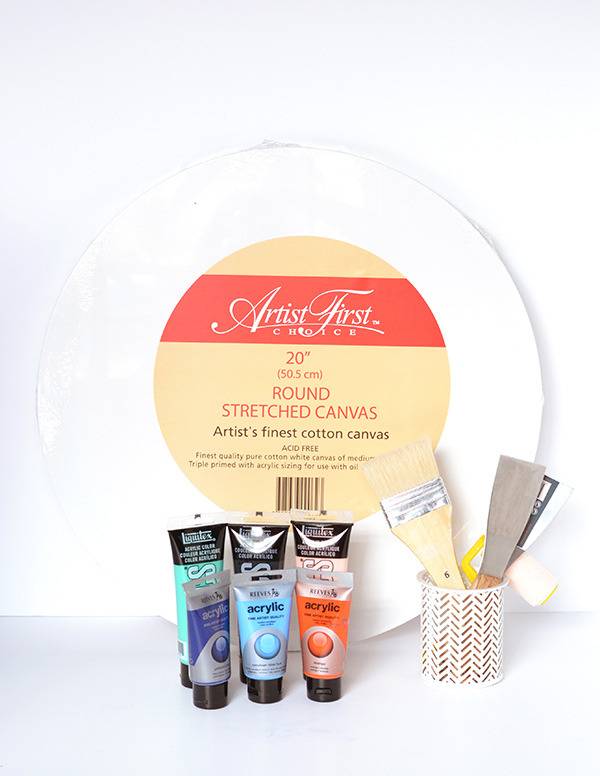
Step 1
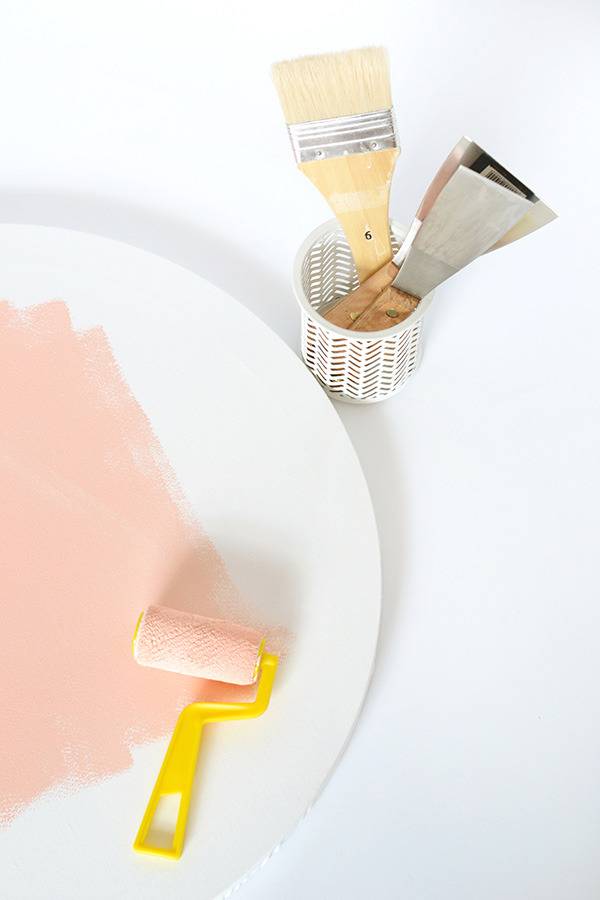
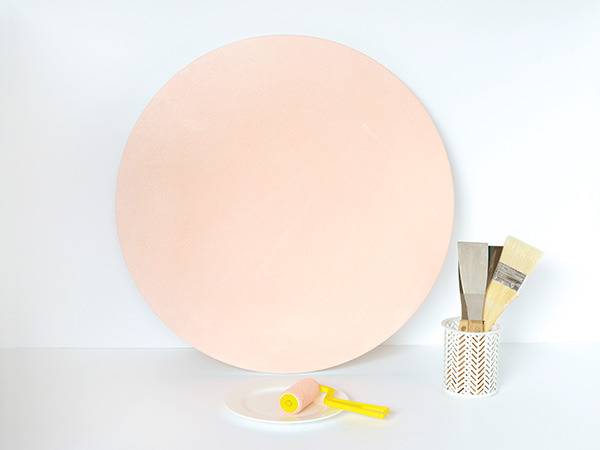
Cover your canvas with your chosen base colour. I opted for pale pink as a nice toned-down complement to the other brighter colours I’d selected for my artwork, but you can go with any colour that takes your fancy.
(Handy tip: For quick, even coverage, try using a paint roller instead of a paintbrush to apply the base colour)
Once your canvas is completely covered, wait for the paint to dry.
Step 2
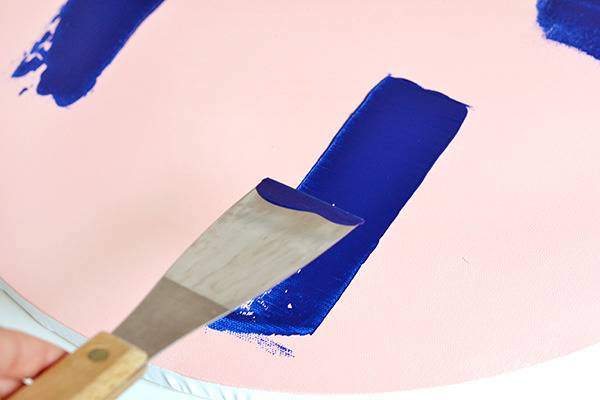
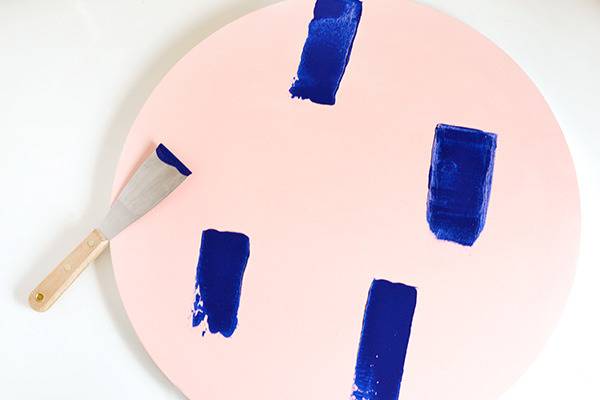
Use a paint scraper to start adding coloured strokes to your canvas.
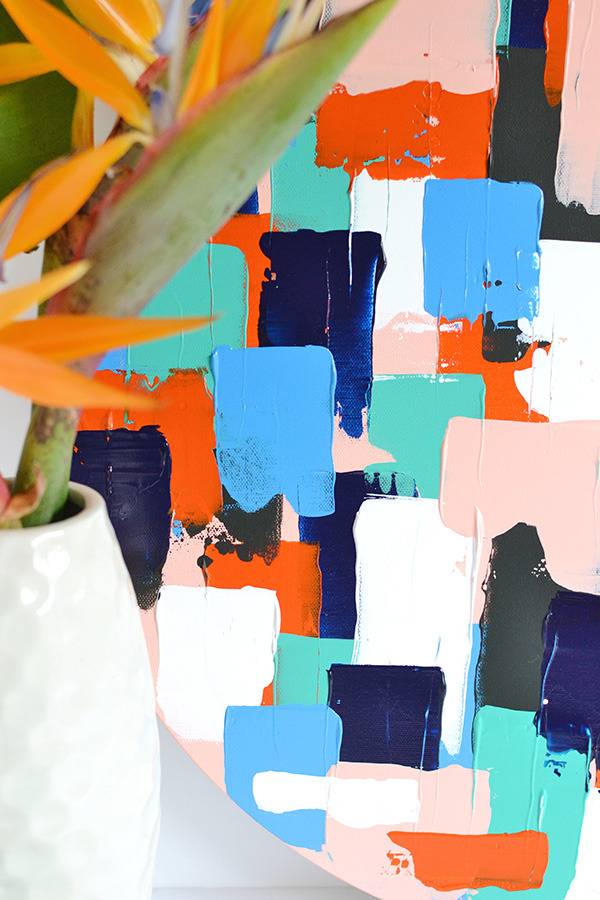
I’d suggest trying this out on paper first to get a feel for it – for a thick, paint-filled line you’ll need to hold the scraper almost horizontally and glide it gently over the canvas to spread the paint (rather than holding it upright and dragging it forcefully which will just end up scraping all the paint off).
Step 3
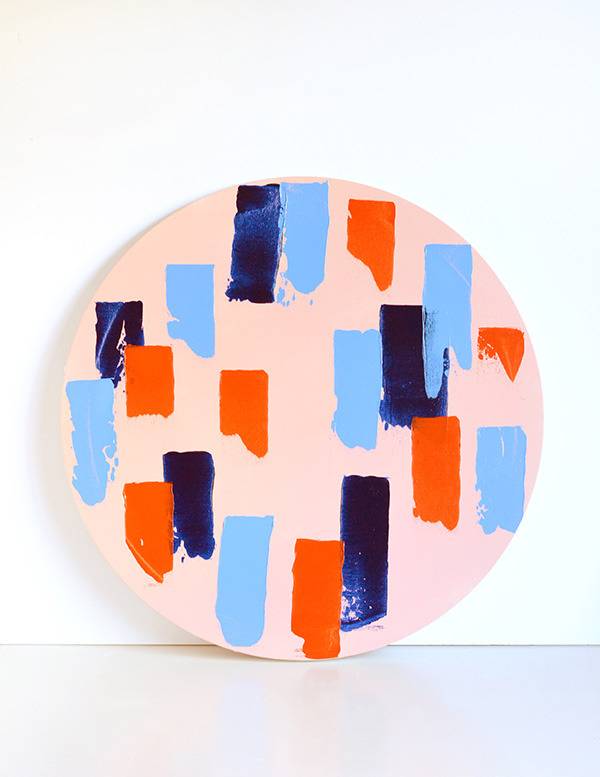
Once you’ve added several strokes in one colour, wait for the paint to dry and then repeat Step 2 for all the other colours you’d like to include.
The hardest part here is knowing when to stop! I went through all my colours twice, plus I added in a few strokes using my base colour (the pink) before I was satisfied with how it looked.
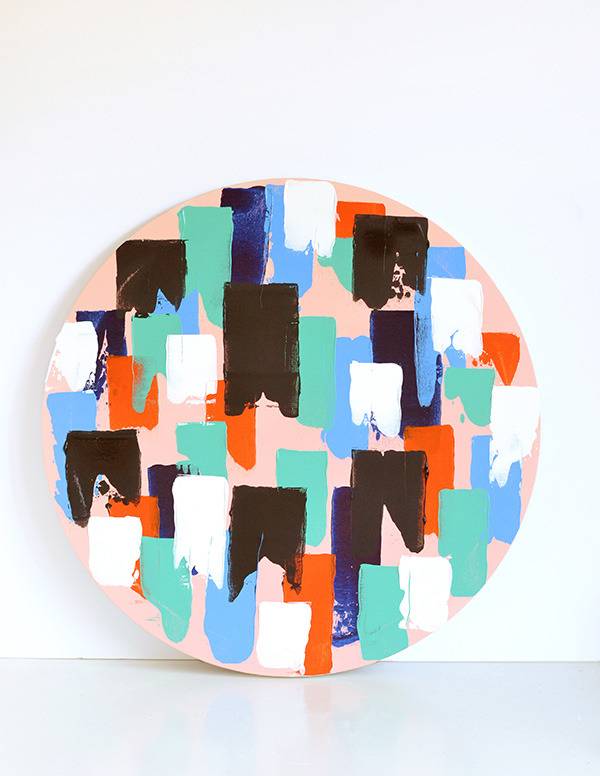
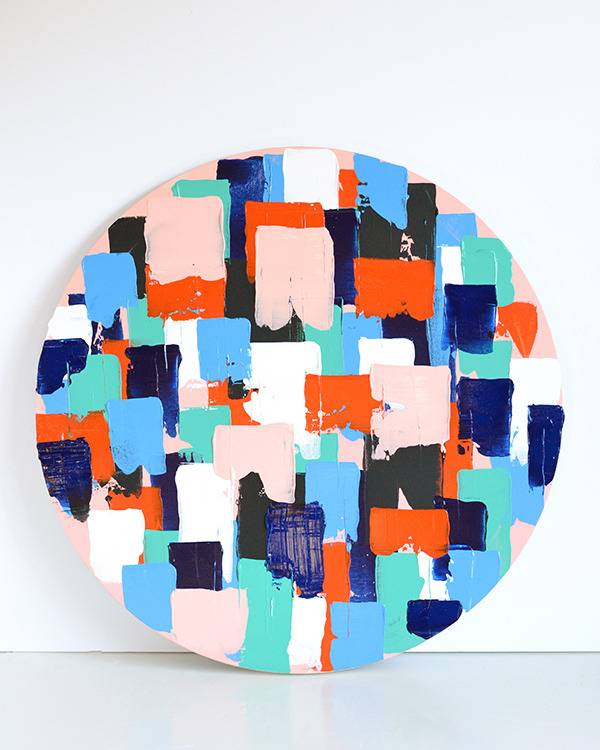
You’ll notice that some of the paint strokes are wider than others; this was where I switched out my narrow paint scraper for a wider one. Try varying up the widths of your paint scraper for different effects!
Once the paint has dried, all that’s left is for you to hang it up and enjoy your handiwork.
